I absolutely love hooded towels for my kids. Before my girls were born I never thought they’d come in so handy! It’s super easy to get your babies warm and snug after their baths. And for older toddlers and kids… well, it’s super easy to get them warm and snug after their baths!
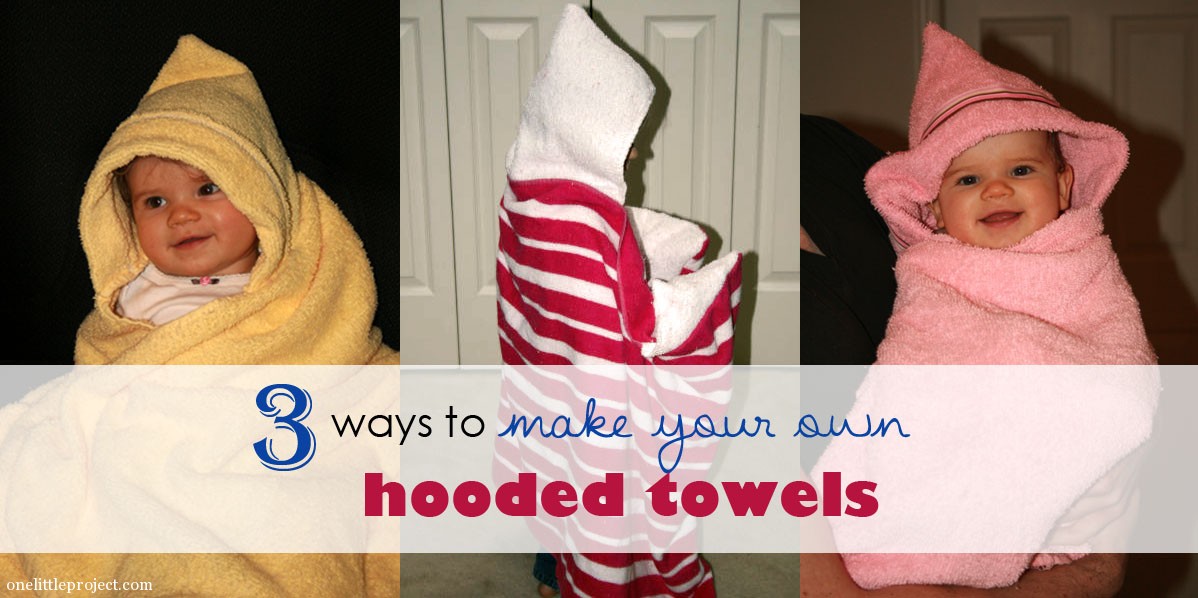
I couldn’t decide which hooded towel I wanted to make, so I decided to make three different versions. This was my first sewing adventure since I was a teenager and I’m glad it was, because these towels were all super easy to make and took about 30-40 minutes each (and would probably be much faster if I didn’t stop to take photos at each step!). I’m going to share all three in a 3 part series of tutorials.
Honestly, all of them turned out wonderfully, and I think they all look great! But today I’m going to share the one that I think is my favourite and that I’d be most likely to give as a gift.
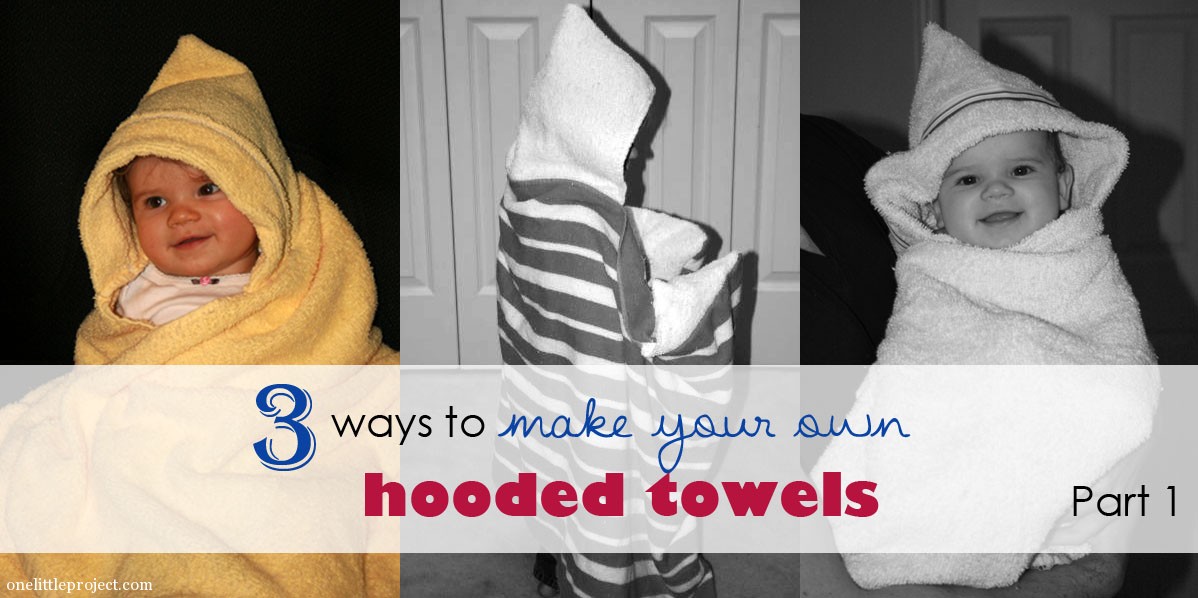
3 Ways to make your own hooded towels – Part 1
If you need more photos for inspiration, you can check out uh-oh mommy, which is where I learned this method.
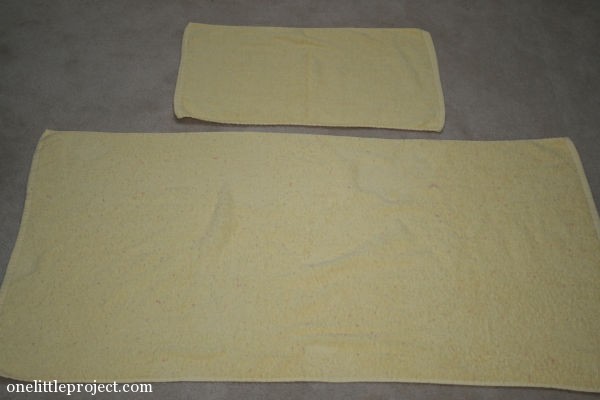
I had never thought about it before, but hooded towels are ridiculously easy to make! All you need is one bath towel, and one hand towel. For reference, the hand towel was about 12″ x 24″.
I bought all of my towels at Walmart. These yellow ones were $3.97 for the bath towel and $1.97 for the hand towel, but they are kind of on the small side and terrible quality. If I were to make these again (and I probably will make them again) I would buy more expensive towels, especially if I was going to give them as a gift. I pre-washed all my towels before I sewed them and they turned into scraggly linty messes. So if you are thinking of doing this, spend the extra couple of dollars and buy something of decent quality.
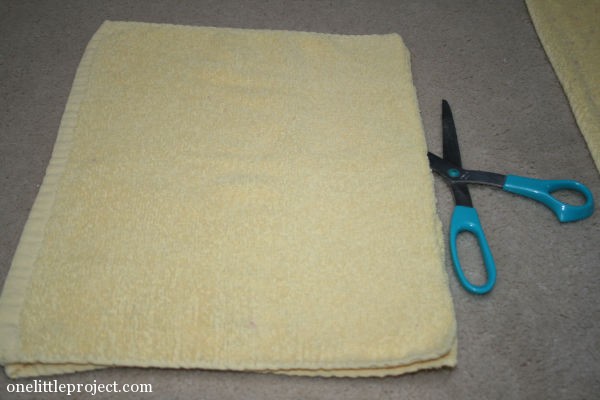
So, to start making your hooded towel, fold the hand towel in half and cut it into two pieces. You are only going to use one of the pieces, so if you have a second bath towel, you could easily make two hooded towels.
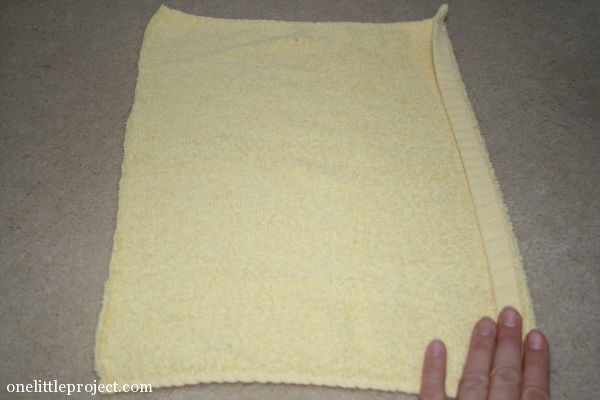
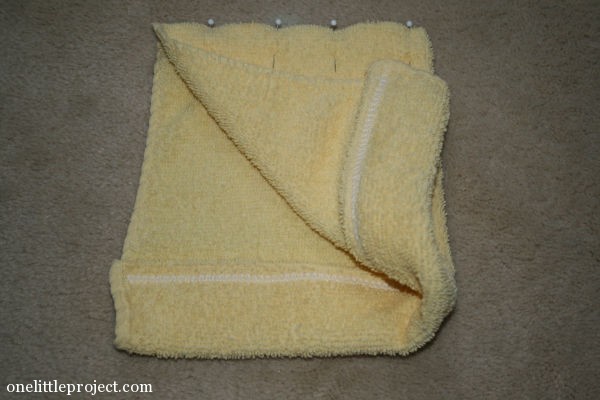
I didn’t like the edging on my towel, so I folded it over.
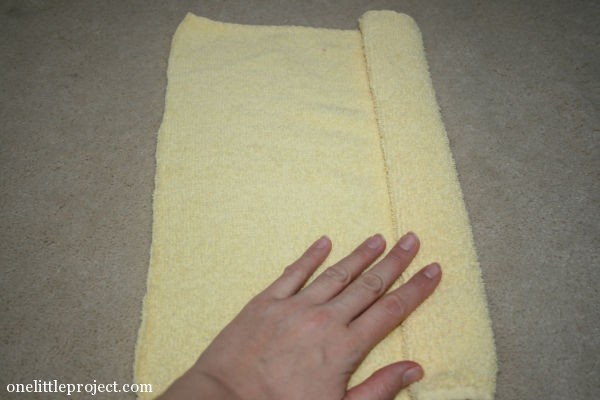
Then I folded it over again by about 2″.
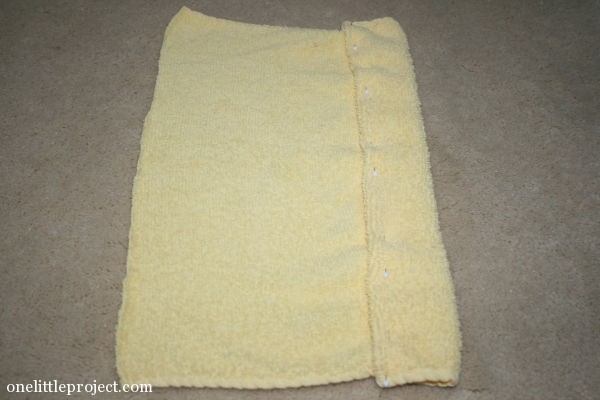
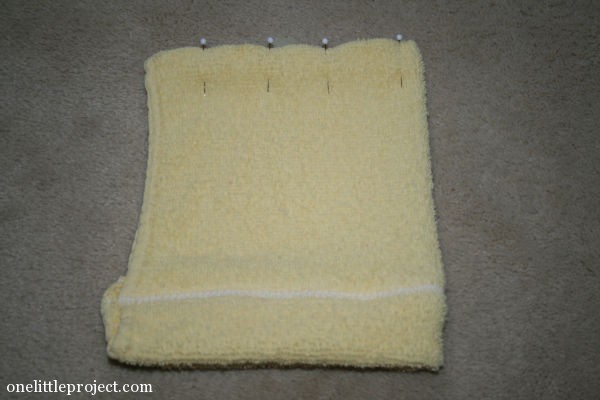
I then pinned it in place.
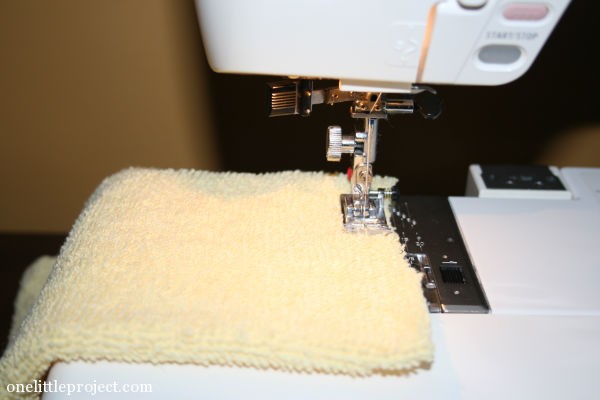
Then I sewed it in place using a fancy snowflake stitch on the fancy schmancy sewing machine my mom let me borrow (indefinitely).
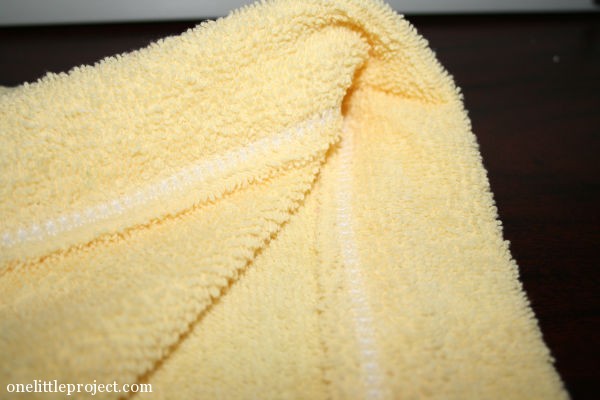
At this point, you can decide which side you want to be the inside of the hood and which side you want to be the outside, but I wanted the folded over hem to be decorative so that’s the side I have on the outside of mine.
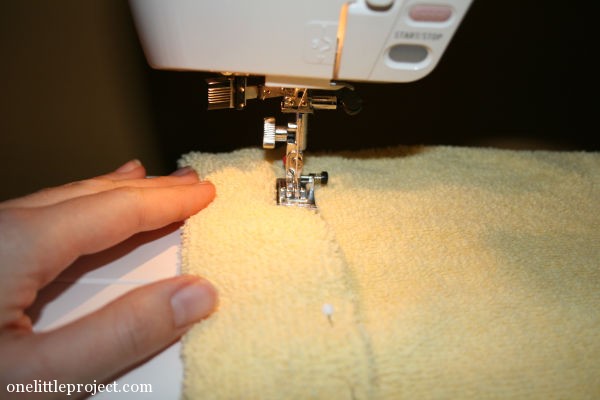
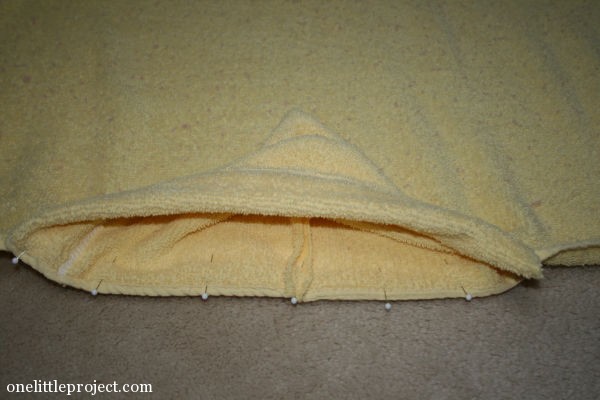
Then you pin the opposite edge of the hood with the right side on the inside.
And you sew that edge (just a regular stitch this time).
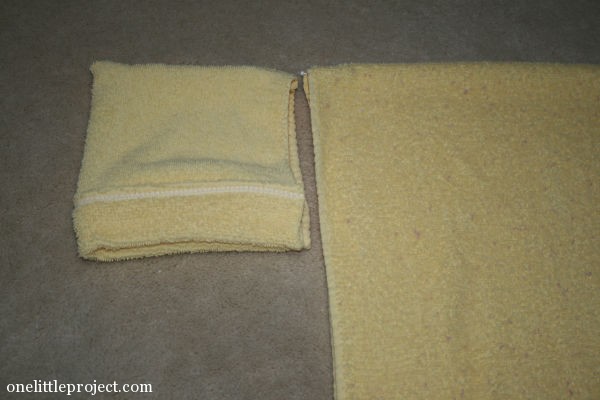
The hood portion is now complete. Fold the bath towel in half and mark the centre, then pin the hood to the bath towel as shown below.
Sew the hood to the towel.
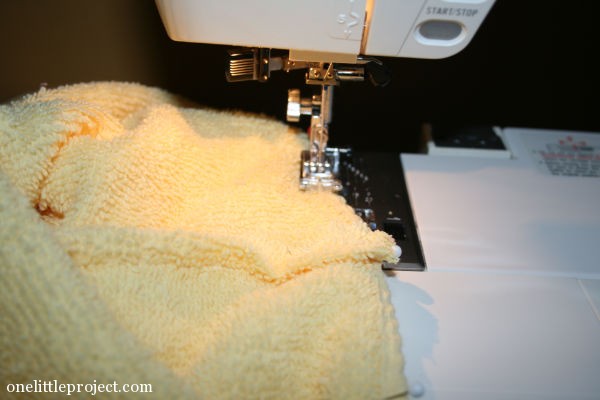
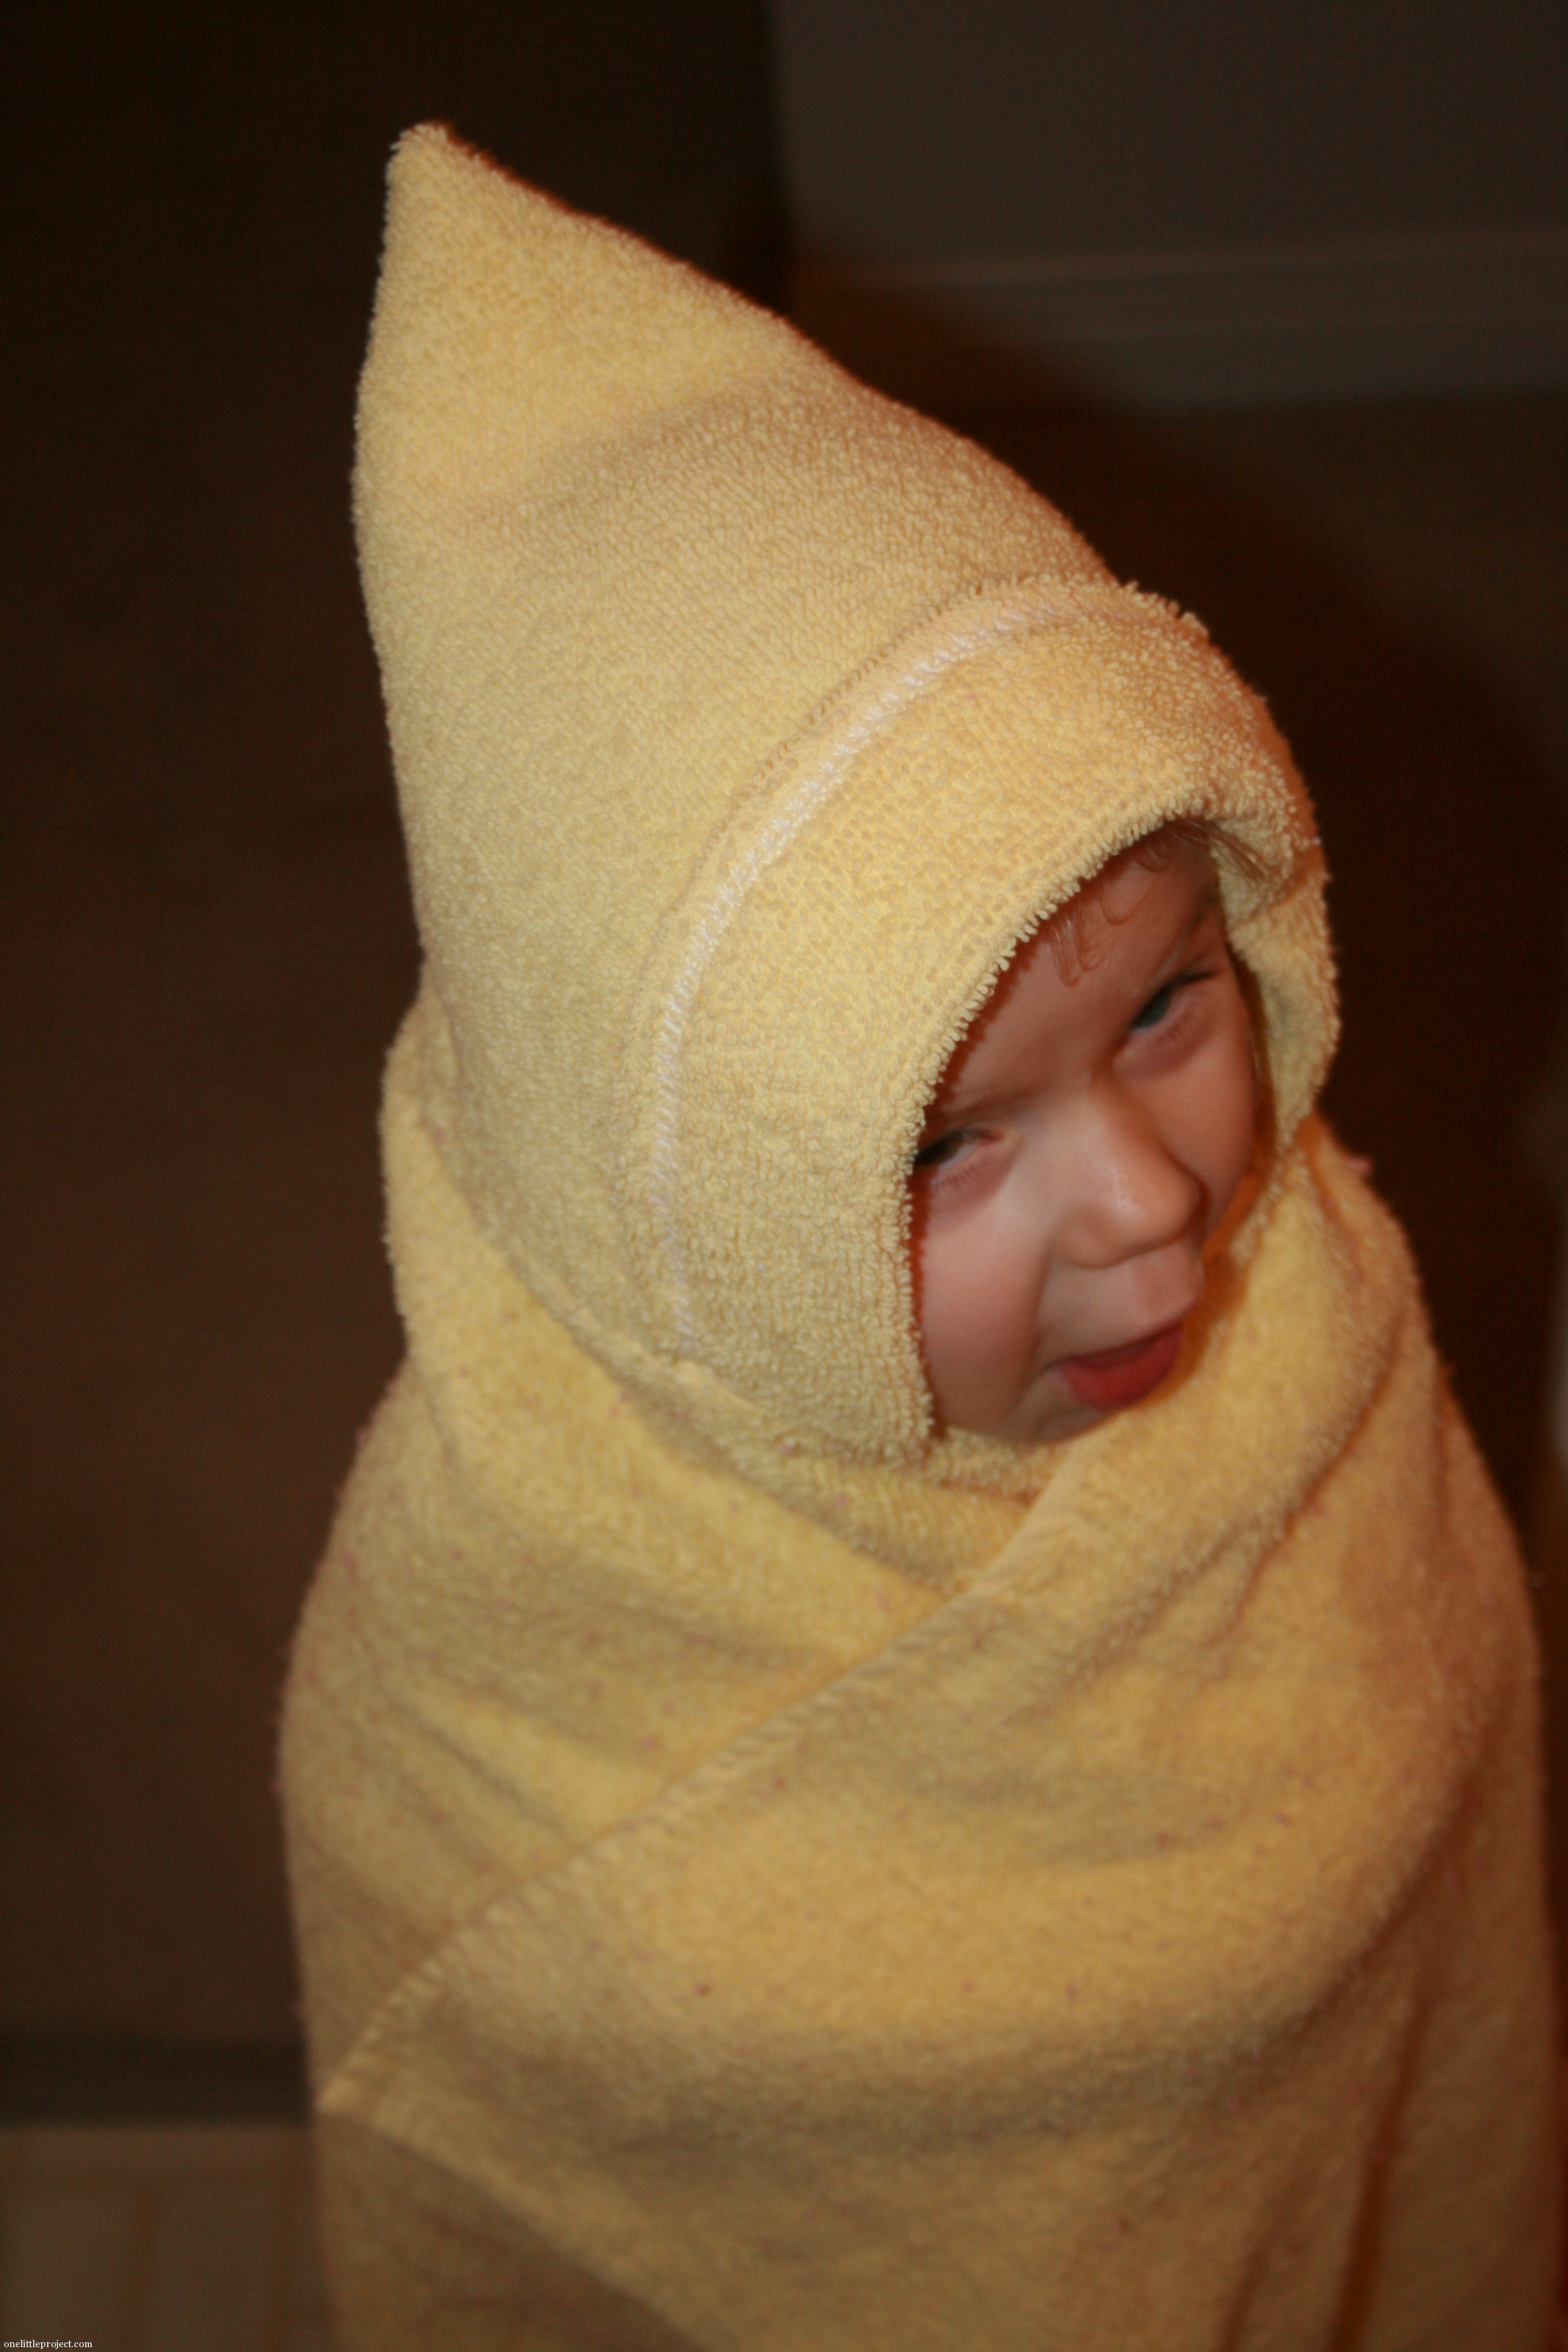
And that’s all there is to it!
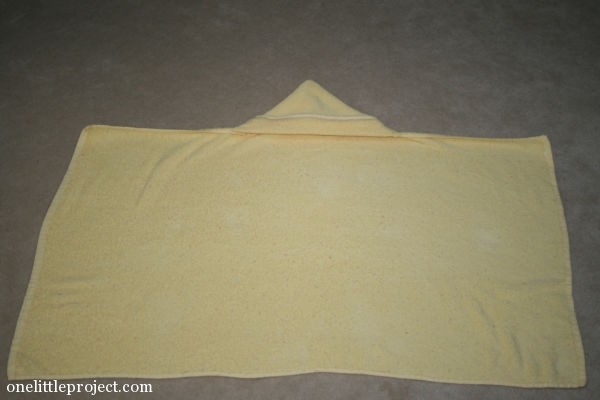
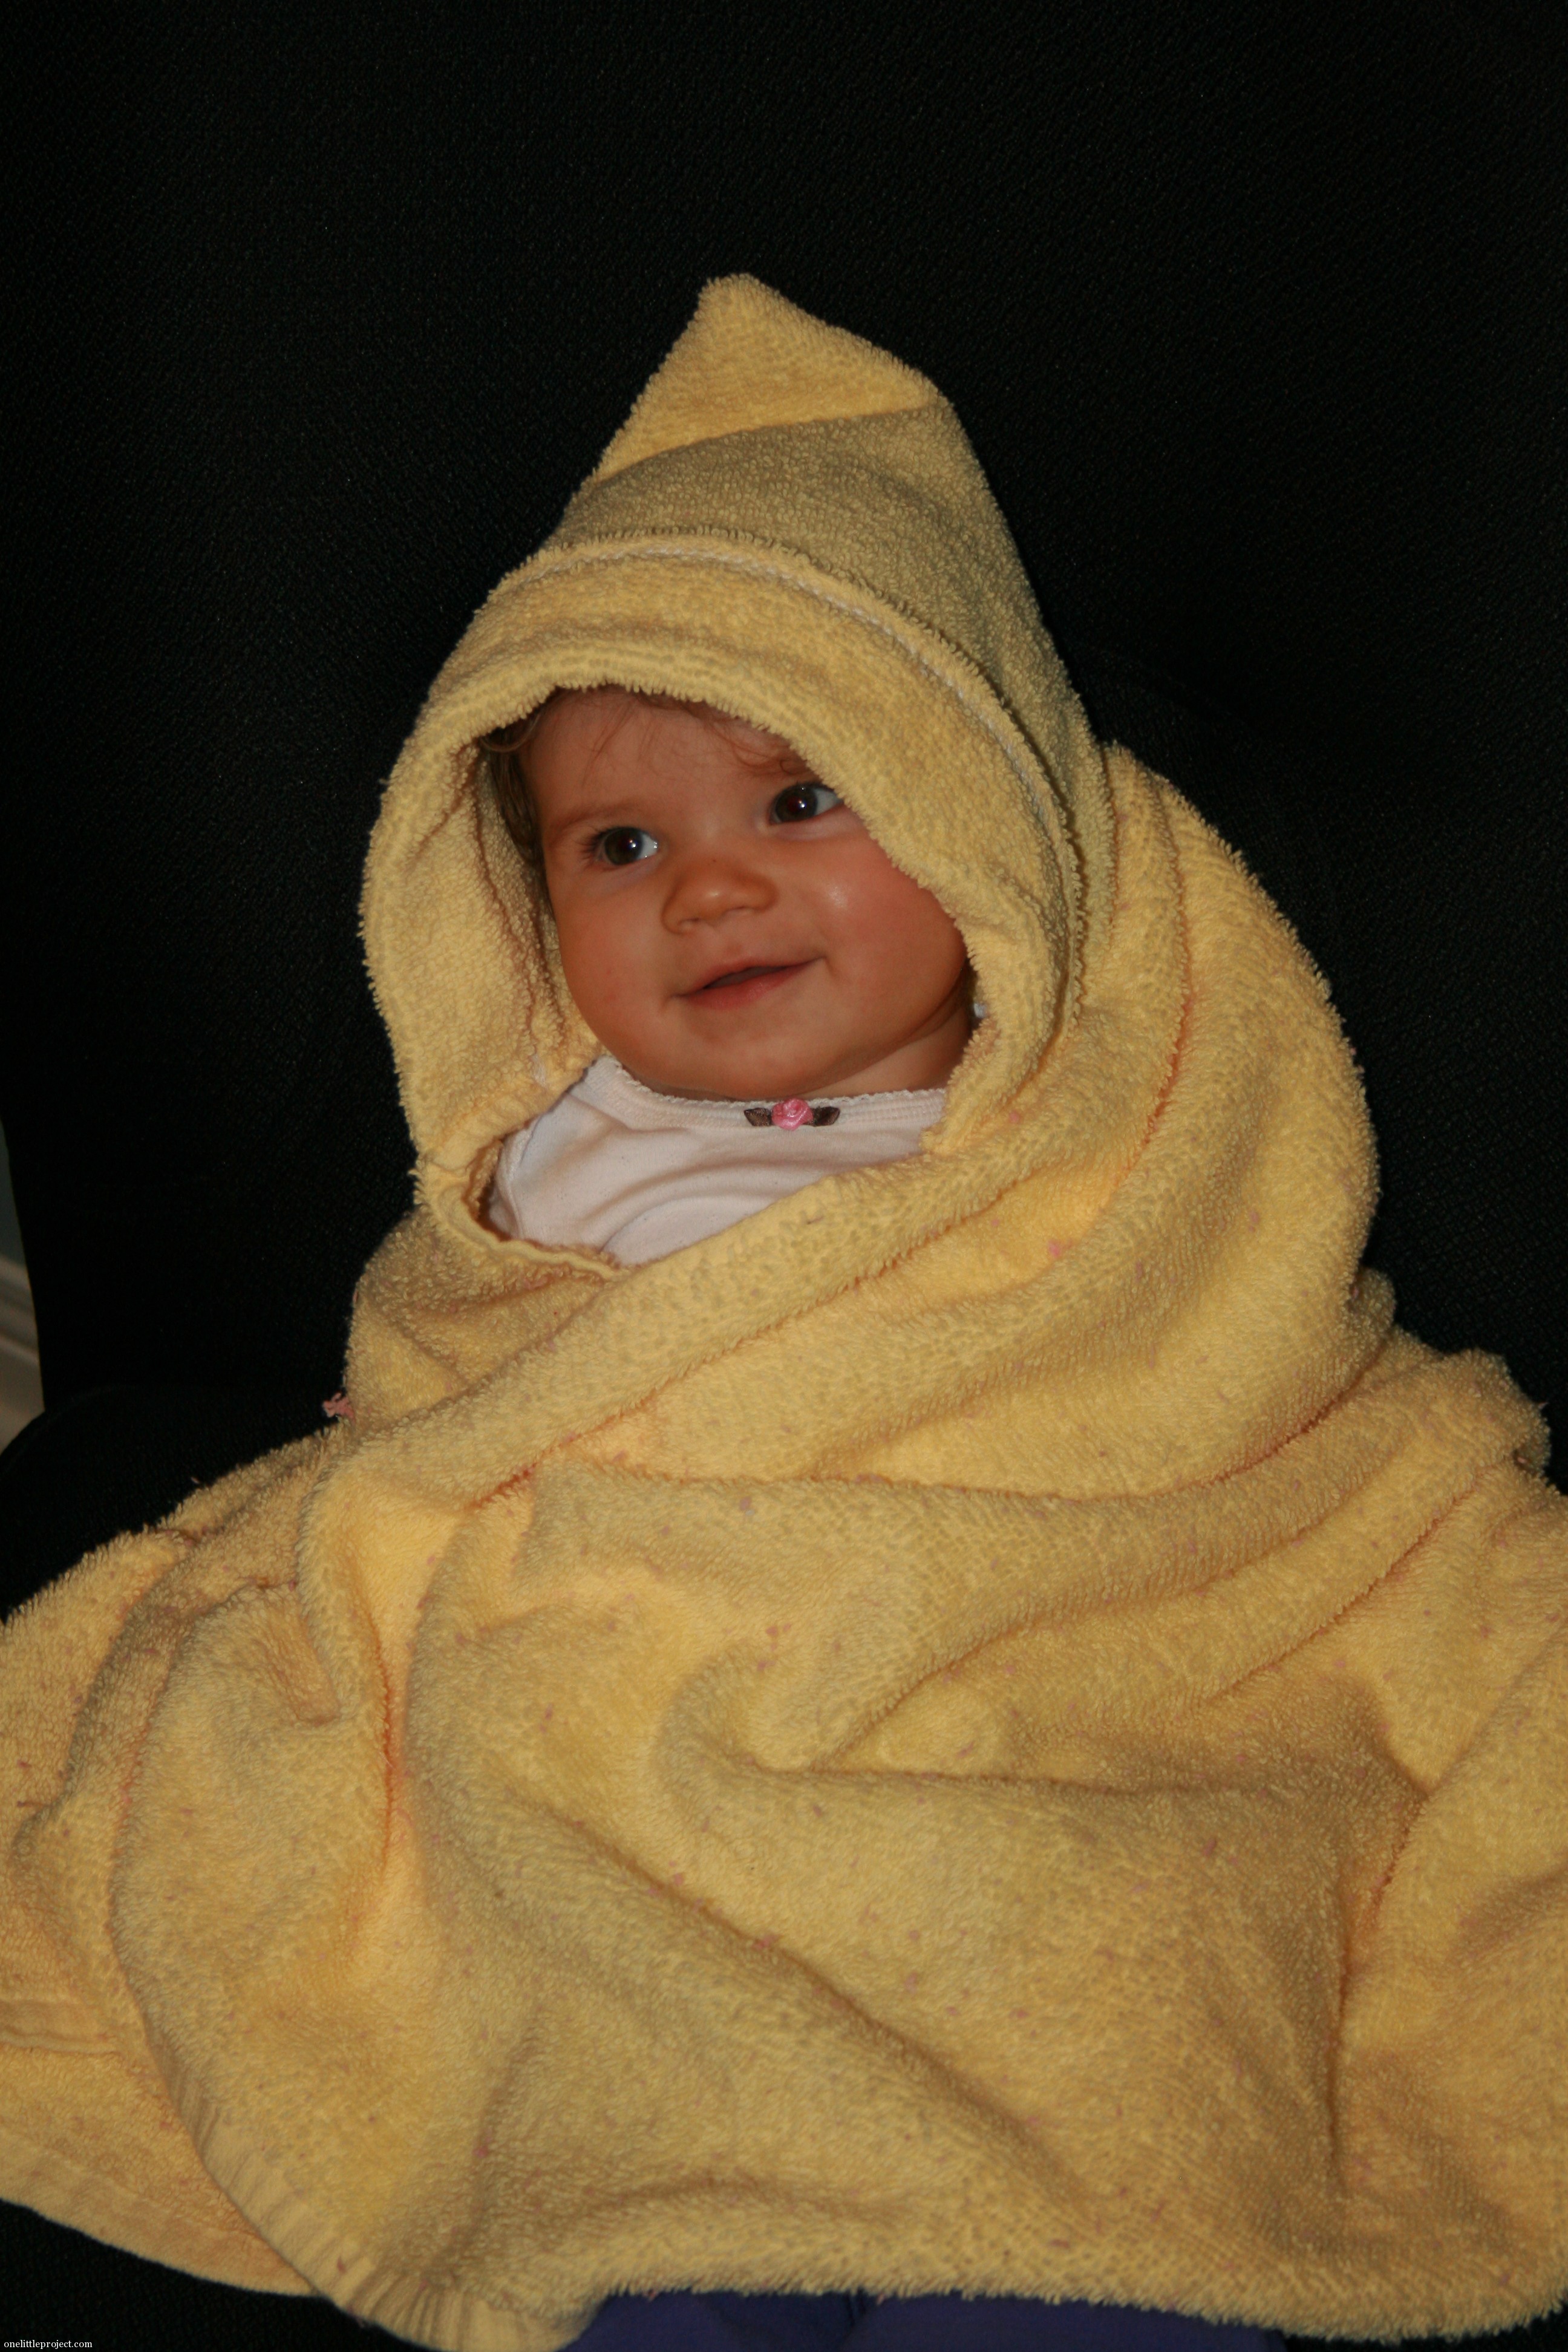
This bath towel was on the smaller side, so it’s the perfect size for my 8 month old.
My 2-3/4 year old isn’t the most agreeable model yet though. She also had trouble understanding where these towels came from. Here’s our conversation tonight:
Leah: Mommy, where did these towels come from?
Me: I made them.
Leah: Made them where? Did you buy them?
Me: No, I sewed them on the sewing machine.
Leah: Oh. Thanks Mommy!
And I even got a thank you! 🙂
Be sure to check out 3 Ways to make your own hooded towels – Part 2 and 3 Ways to make your own hooded towels – Part 3, which will be coming in the next couple of days.
Source : onelittleproject.com
Read more...


Post a Comment
Post a Comment