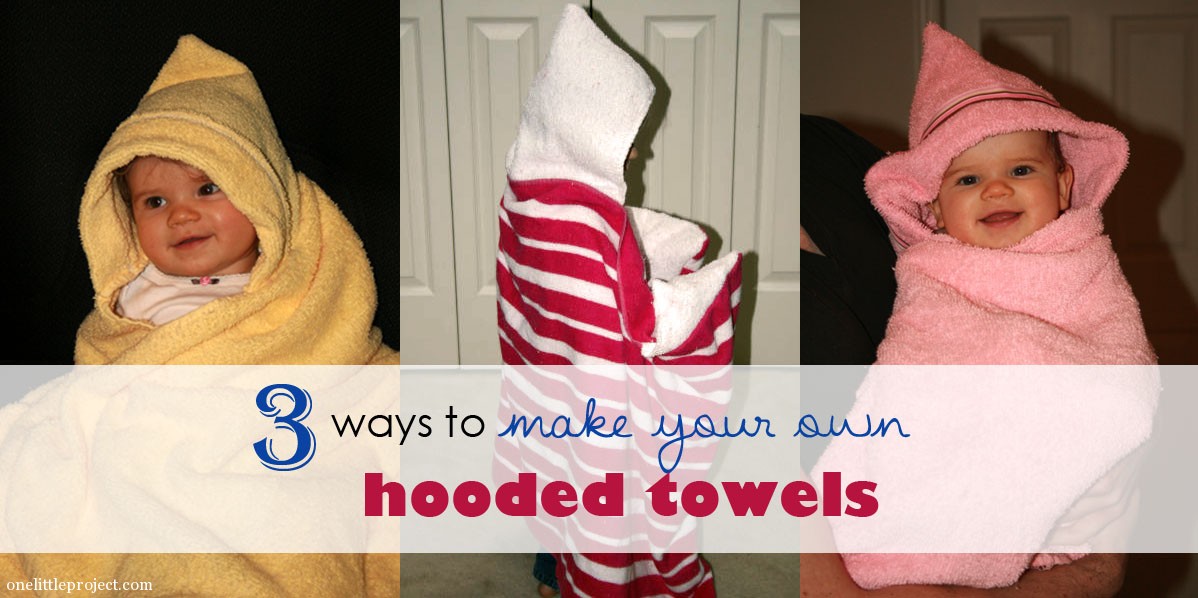
Happy New Year everyone!
In case you didn’t start by reading 3 Ways to make your own hooded towels – Part 1, let me recap:
- I love hooded towels for my kids.
- Hooded towels are VERY easy to make and only require a bath towel and a hand towel.
- I bought inexpensive towels from Walmart and they turned out to be terrible quality, so I suggest spending a few more dollars for a nice quality towel.
- Part 1 was the towel I would be most likely to give as a gift.
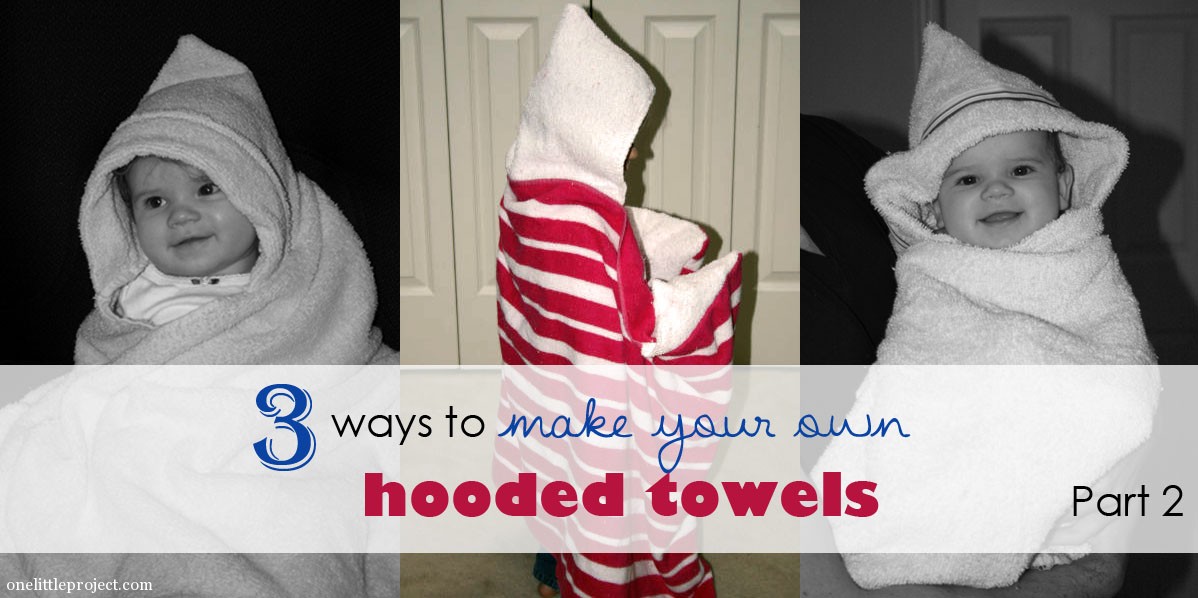
In Part 2 I’m going to show you the method I think makes the best towel for an older child. It has the absolute easiest hood to make! And since it was so easy I decided to make it more complicated by adding pockets for the hands to fit into to make it easier for your child to get wrapped up in their nice, cozy towel. I say it’s for an older child because Leah, my 2-3/4 year old is just not interested in the pockets. So I just think she’s too little to appreciate them.
I really did love the idea of having pockets on the towel! (as done on Sew Like My Mom). I was a little disappointed that Leah wanted to have nothing to do with them, so I’m not sure I’ll add them to any future towels that I make until she gets a little older and hopefully asks for them.
This is also the easiest possible way to make a hood (found in several spots, like Domestic Charm and Make and Takes) . The hood is fine. If you aren’t a confident sewer, or if you don’t have a lot of time, it’s still a perfectly acceptable hood. The seam is at the top of the head rather than hidden at the back, and there is just nothing fancy about it, which is why it’s not my favourite. For the tiny bit of extra effort it takes to make the hoods in Part 1 or Part 3 I’d rather have the decorative hood. But that’s just me.
3 Ways to make your own hooded towels – Part 2
Now on to the tutorial!
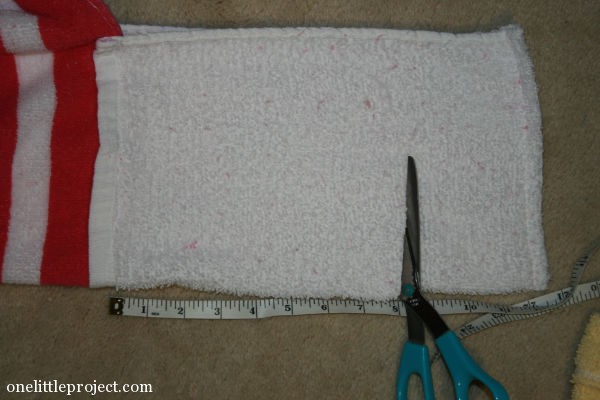
Just like in 3 Ways to make you own hooded towels – Part 1, you will need a bath towel and a hand towel. This bath towel cost me $4.97 from Walmart and it is ever so slightly better quality than the yellow one from yesterday, but still a little flimsy, so choose your towels carefully. For reference, the hand towel was about 12″ x 24″.
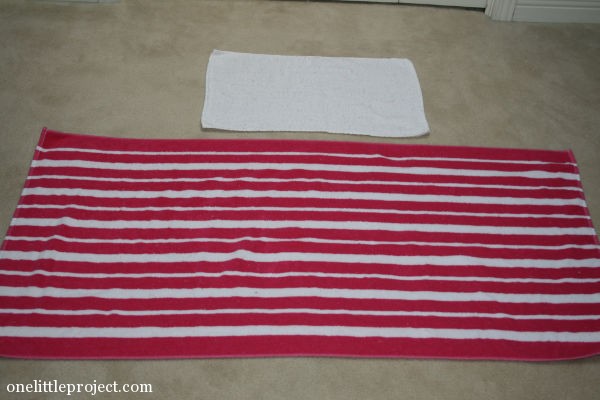
As with yesterday’s tutorial, cut the hand towel in half.
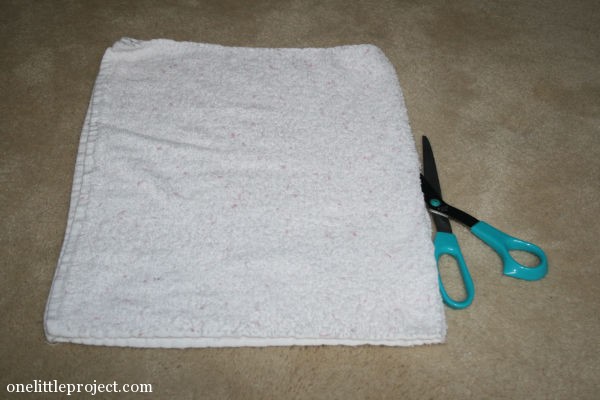
Set one of these pieces aside and take the other and fold it into a triangle. Cut it to make a square piece.
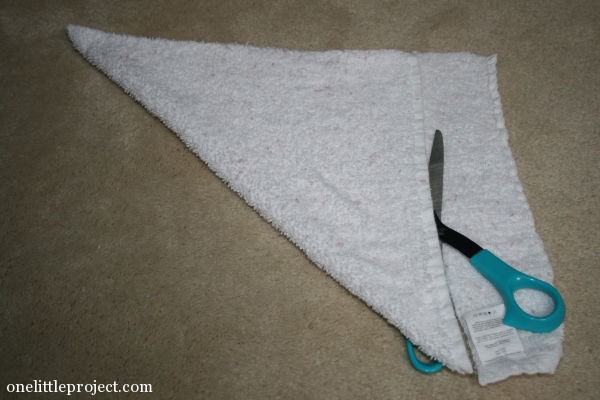
With the square folded in half, cut the piece diagonally to make two triangles for the pockets.
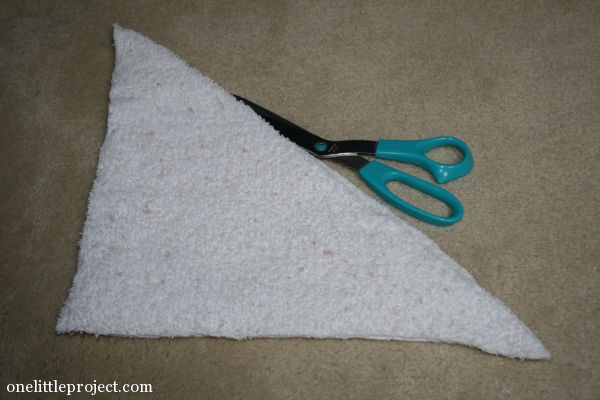
And you’ll end up with something like this:
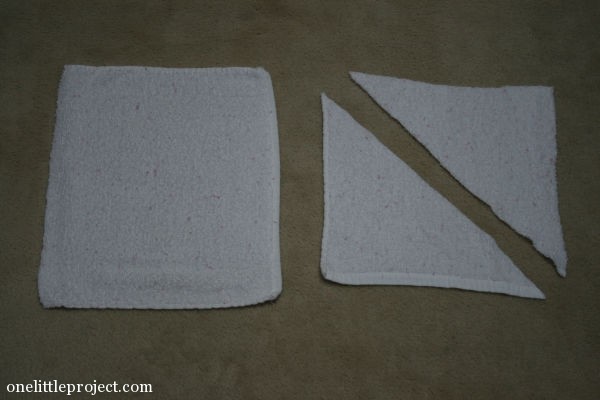
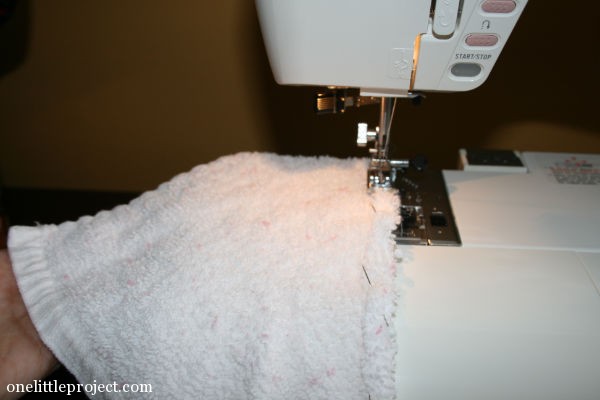
This is where I had my “DARN IT!” moment when I realized that the long edges of the triangles needed to be hemmed. So I had to spend the time to fold over a tiny amount of towel, pin it and sew it:
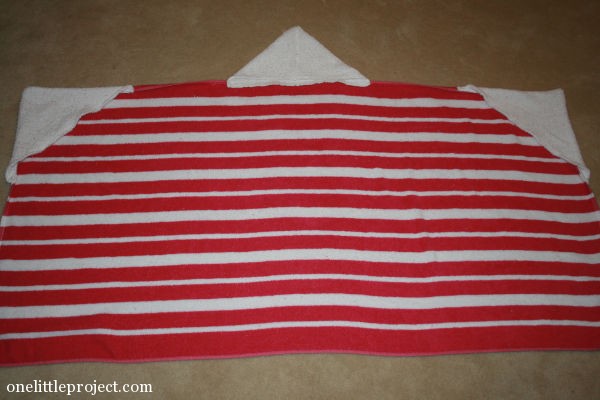
Pin the pockets to the corners of the towel.
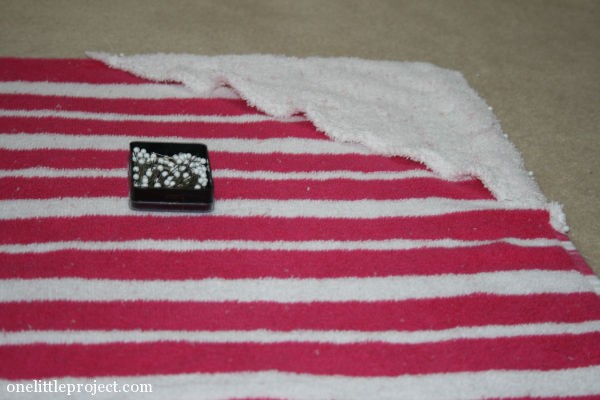
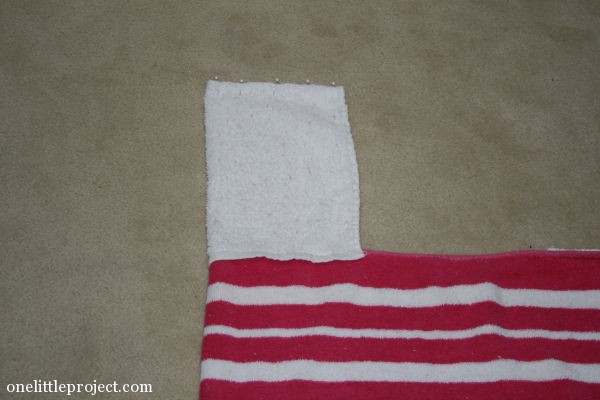
Fold the bath towel in half to find the center, and do the same with the other half of the hand towel. Then pin the hand towel piece to the bath towel so you have something like this:

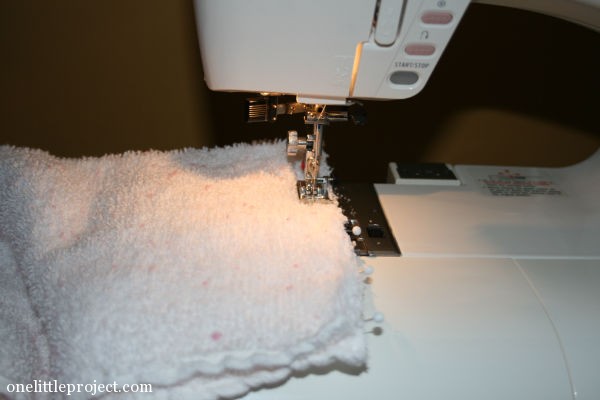
Sew the hand towel piece to the bath towel. (You can kind of see here how terribly linty my towels got after pre-washing them. There was lint everywhere!)
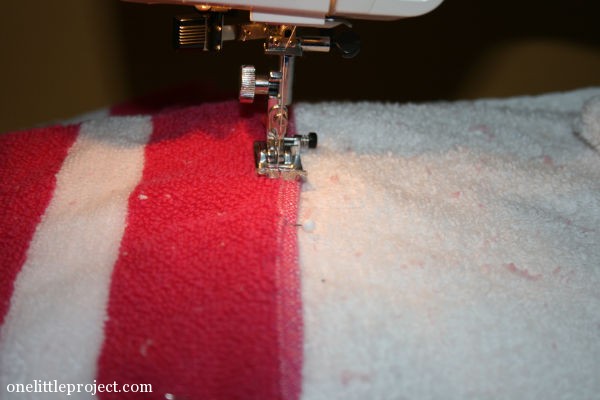
Sew the pockets to each corner of the towel. (Again, I apologize for the terrible looking linty towels. Jason’s comment was “these would look great if you used new towels!” to which I replied “these ARE new towels!” Choose your towels carefully!)
Now you’ll have something like this:
Trim the corner off the inside of the pocket so it makes a cleaner corner when you turn it right side out. Make sure you don’t snip your seam:
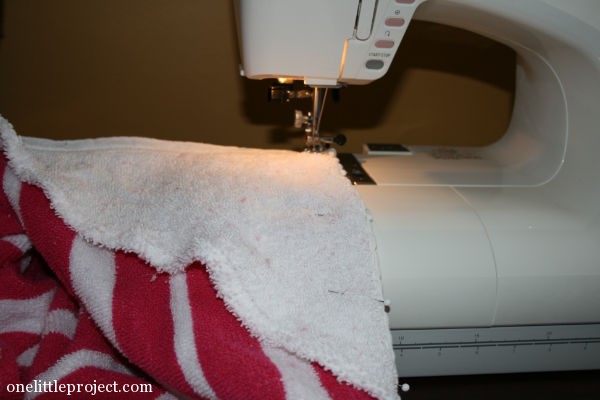
Fold the entire thing in half and pin the top edge of the hood.
Sew the edge at the top of the hood.
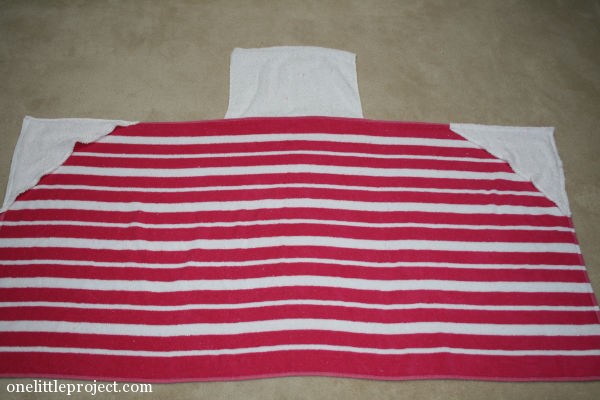
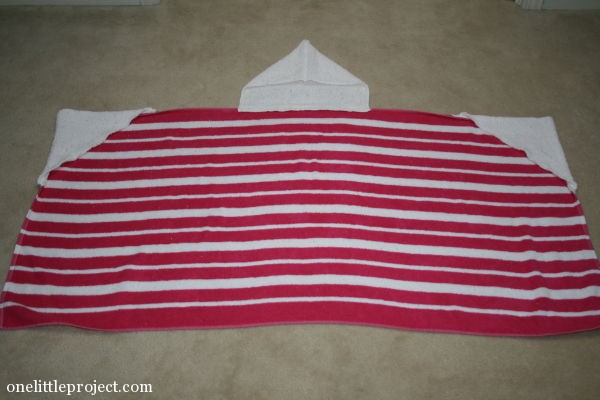
Turn everything right side out and you are done!
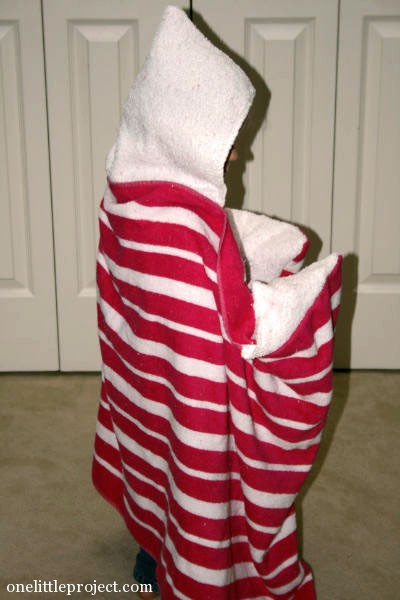
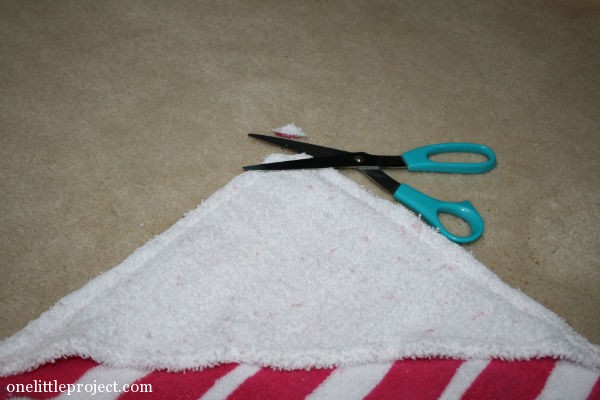
Well, maybe you are done. Since my girls are so little I decided this hood was much too big on them. It made the bath towel droop below Leah’s shoulders when she had it on, so I trimmed it shorter, to about 8″ long and sewed it again.
This time I ended up with a much shorter hood, but it was way more appropriate for my girls. The great thing about this hood is that it’s super easy to trim if you decide you want to make it shorter.
So although I absolutely love the pockets on this towel, they weren’t as much of a hit as I was hoping they’d be. Here are a couple photos of my reluctant model.

You can see in the photo below of my grumpy bear how low the bath towel was sitting before I trimmed the hood. You can also see the seam right at her forehead, which I’m not a huge fan of.
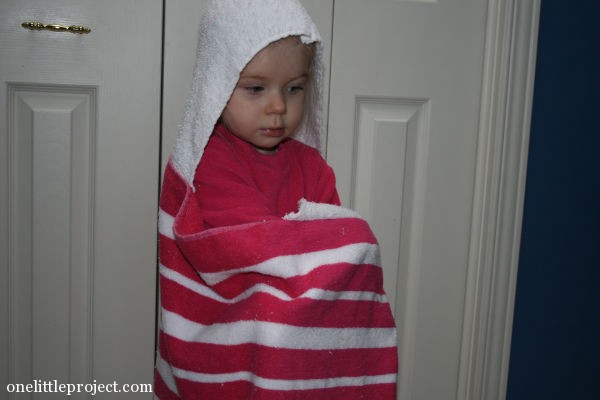
At least after I trimmed it and re-sewed it it sat at a better height for her size.

So that completes 3 Ways to make your own hooded towels – Part 2. Be sure to check out 3 Ways to make your own hooded towels – Part 3 tomorrow and if you haven’t looked already I highly recommend checking out 3 Ways to make your own hooded towels – Part 1.
Wishing you all a wonderful and prosperous 2013! I made it to 11pm last night and went to bed. Sleep is just way too hard to come by in my house with an 8 month old who still wakes up 2 or 3 times a night. On the bright side, I figure I just celebrated new year’s an hour early on Nova Scotia time! Happy New Year!
Source : onelittleproject.com
Read more...


Post a Comment
Post a Comment