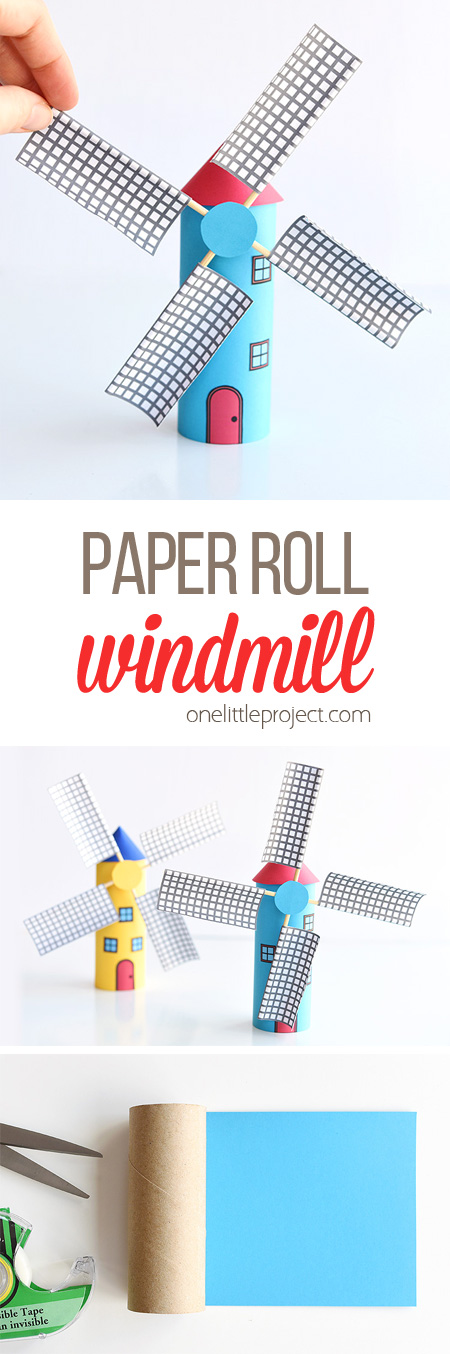
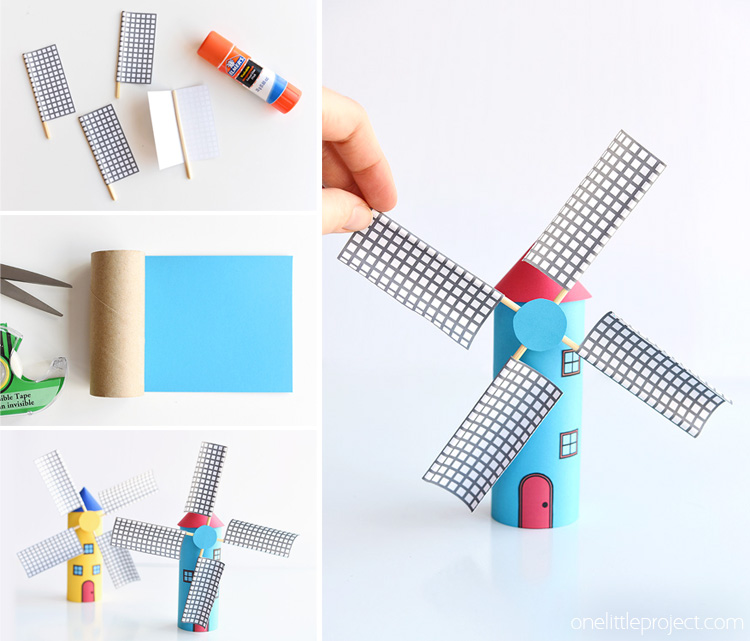
This paper roll windmill is so much fun! And it’s surprisingly easy to make! You can use the free printable template down below to get all the shapes, or you can create them yourself. It’s totally up to you! It takes about 10 to 15 minutes to make one and you probably have most of the supplies at home already!
My favourite thing about this paper roll windmill is that the blades actually spin. It’s ridiculously satisfying to watch it spin when you’re done!
I worked as an engineer for 8 years before I started working on the blog full time. And I also went to school for architecture, so this project was crazy fun for me to design. It was like I was putting all those years of education to good use… well… I don’t know if this qualifies as “good” use, but it sure was a fun way to use my skillz! haha I hope you enjoy it as much as I did!
This is one of those projects that makes me feel like a geek. It is just so. Much. Fun. I love the moving parts. I love that you can blow on the windmill and make it move. It’s seriously, just awesome, and a super fun project for kids to make!
How to Make a Paper Roll Windmill
These affiliate links will take you to similar products that are available on Amazon. You might be able to find the supplies locally at a better price, but at least it will give you an idea of the type of supplies I used.
Here’s what you’ll need:
- coloured card stock
- toilet paper roll
- 2 wooden skewers
- 2 plastic pony beads
- single hole punch
- scissors
- pencil
- glue stick
- hot glue gun
- tape
- paper roll windmill template
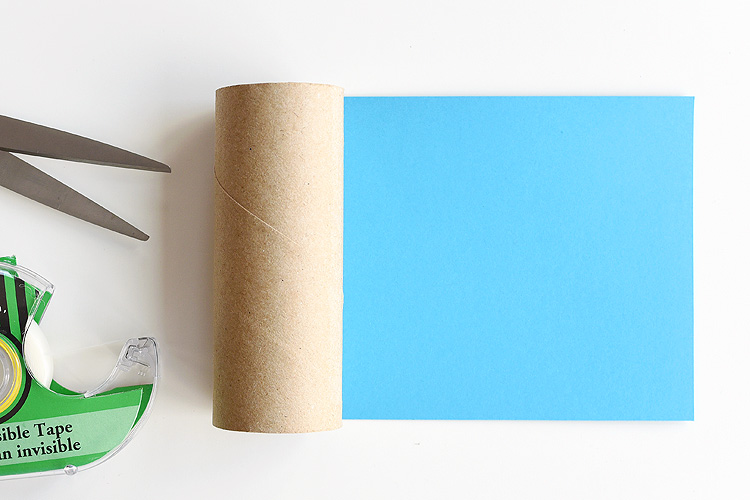
You can use any type of paper to cover the toilet paper roll – wrapping paper works well too! I recommend using heavier paper for the roof if you can. If you don’t have any heavy paper, glue some paper on top of the cardboard from a cereal box or leftover greeting card. It will help give it a little bit more stability.

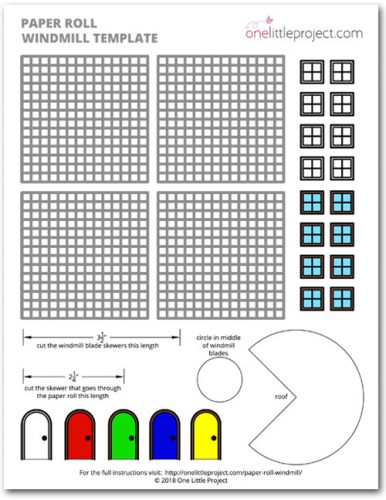
You can download our free printable paper roll template here. Print it on regular letter (8.5″ x 11″) sized paper, and make sure you select a printer setting that prints it at 100% scale (in other words, try not to shrink or “auto fit” the print or the size might not fit your paper roll properly).
—> Download the template here <—
Disclaimer: I’ve created this template based on the toilet paper rolls we have here in Canada. I’m really hoping toilet paper rolls are the same size everywhere?? Ours are 4.5″ tall and 1.5″ in diameter. If your rolls are different than that, you might have to adjust some of the measurements. Or you can make your own roll without a toilet paper roll by using heavy card stock on it’s own – Just cut it to 4.5″ x 6″ and use a glue gun to hold the roll together.
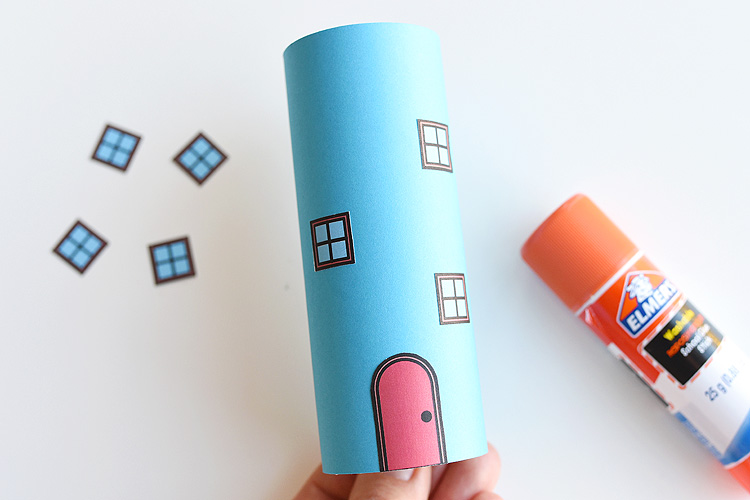
Cut a piece of paper or card stock just large enough to cover a toilet paper roll. I find that 4.5″ tall by 6″ wide fits my rolls perfectly.
Tape one edge of the paper to the paper roll to keep it in place while you wrap it around the roll.
Add a line of hot glue to the other edge of the paper, then firmly press it down to hold it in place. You can use tape if you want, but I find that after a few days, tape will come loose, so I prefer hot glue.

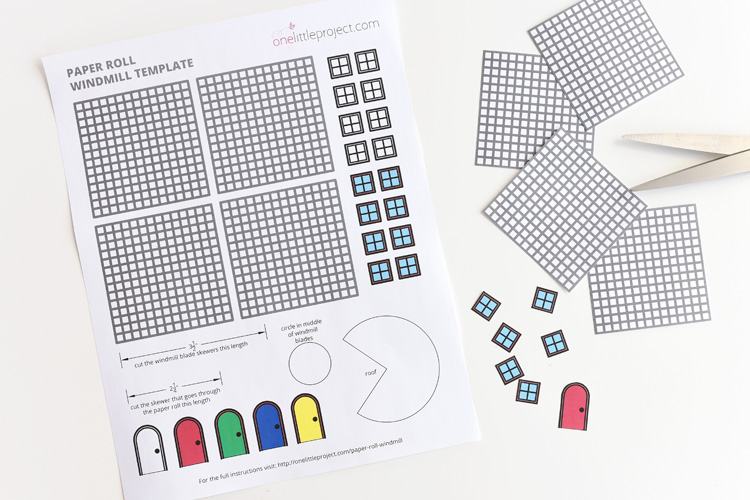
Cut out the little windows and door. I’ve included both a coloured and uncoloured option on the template so if you don’t have a colour printer, you can colour them yourself.
Use a glue stick to attach the windows and door to the paper roll.
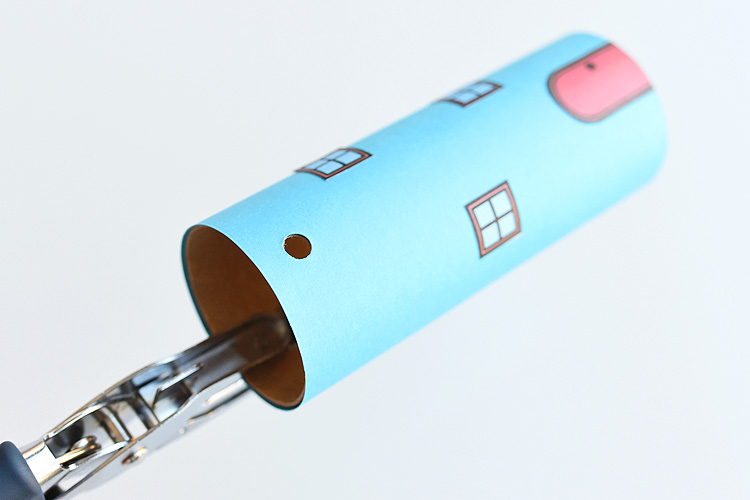
Use a single hole punch to add two holes about 3/8″ from the top edge of the paper roll. Make sure the holes are directly across from each other.
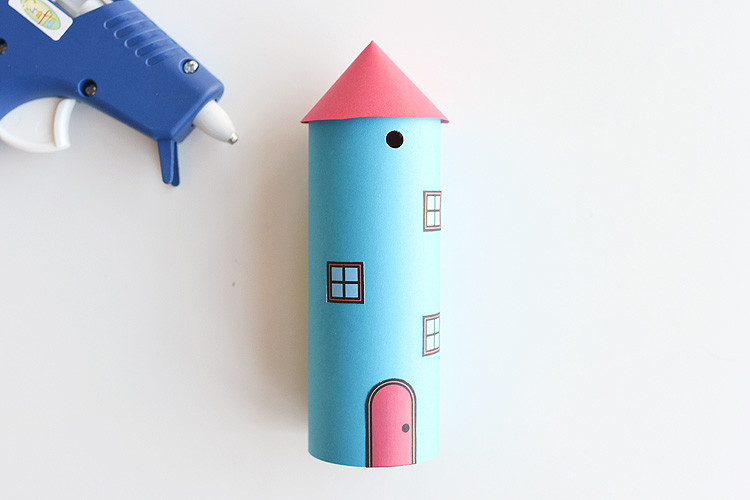
Cut out the roof shape from the template and trace it onto a piece of paper or cardstock. Wrap one edge around itself to make a cone shape just slightly larger than the top of the paper roll. Don’t make the cone too big or the blades of the windmill won’t spin.
Add a small piece of tape to the inside edge to hold it in place, then add hot glue to hold it together.

Add hot glue to the top edge of the paper roll, then carefully attach the roof.
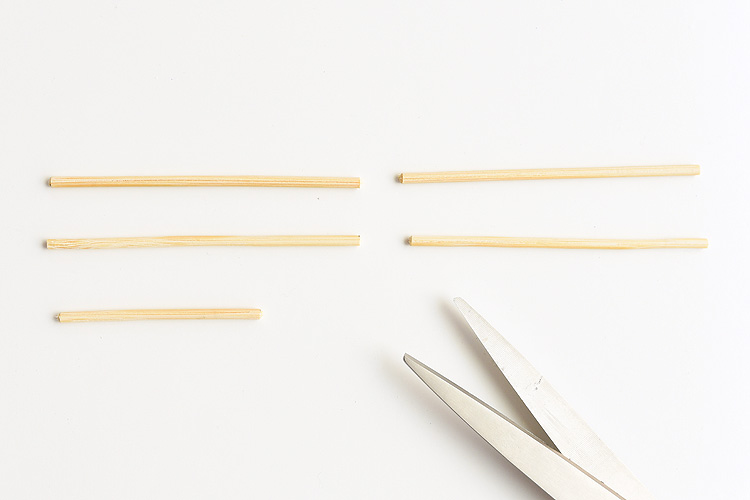
Cut out the skewer pieces. You can either measure the skewers (you’ll need 4 pieces that are 3.5″ long and 1 piece that is 2.25″ long), or you can just use the arrows on the template to make the measurements.
Skewers can be tricky to cut through, so I recommend using scissors to make an indent all the way around the skewer and then snapping the skewers at the indent.
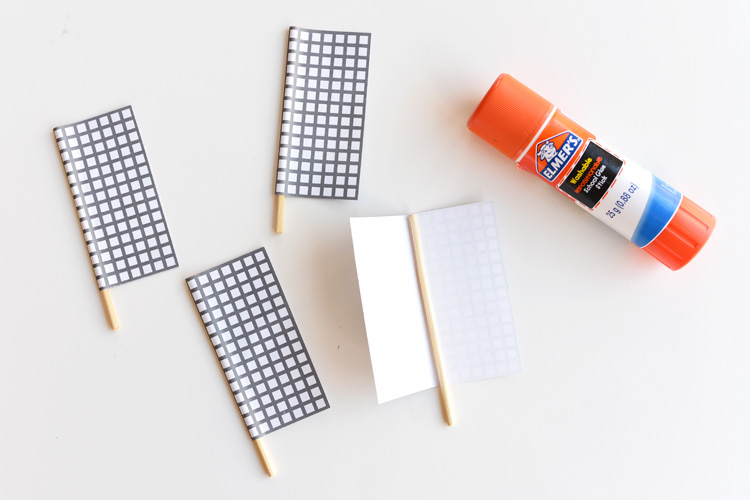
Cut out the windmill blades and fold them in half. Then apply glue from a glue stick to the entire inside edge.
Place a 3.5″ skewer in the fold of the windmill blade, then fold the paper in half over top of it, making sure you line up the edges. Press down to make sure the paper is stuck together and the skewer is as tight in the fold as you can get it.
Cut out a 1″ circle from card stock or cardboard (or you can cut out and trace the circle on the template).
Make sure you use cardboard or cardstock for the circle. Paper will be too flimsy and won’t hold the blades.
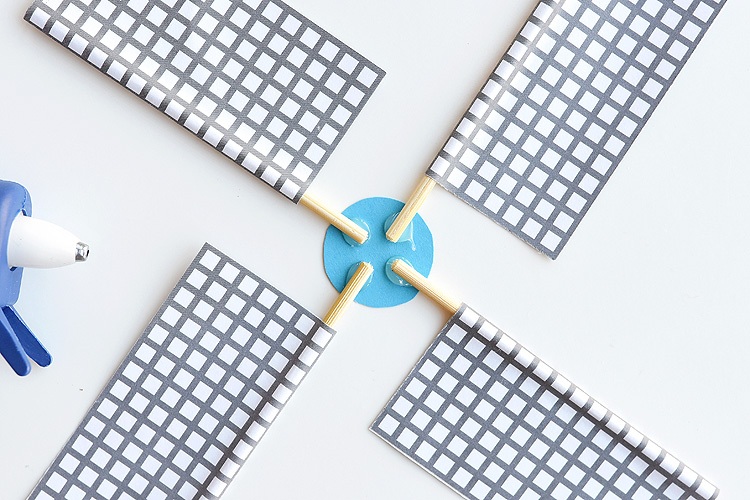
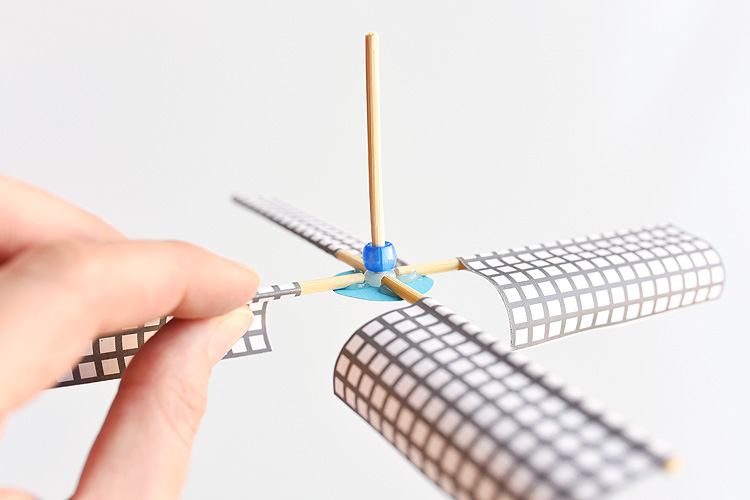
Add a dab of hot glue for each windmill blade, and attach them to the back of the circle as shown in the photo below.
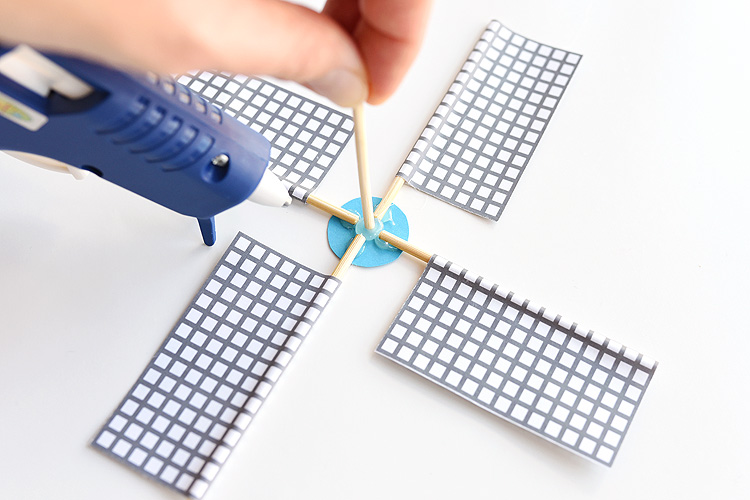
Add a bigger glob of hot glue to the middle of the circle, then carefully press the 2.25″ skewer into the glue so that it stands up straight.
Hold the skewer upright for about 30 seconds until the glue is dry. Make sure you hold it steady so that the upright skewer is as straight as possible.
Use a pencil to curl the paper windmill blades towards the front. This will help them catch the wind when you blow on them.
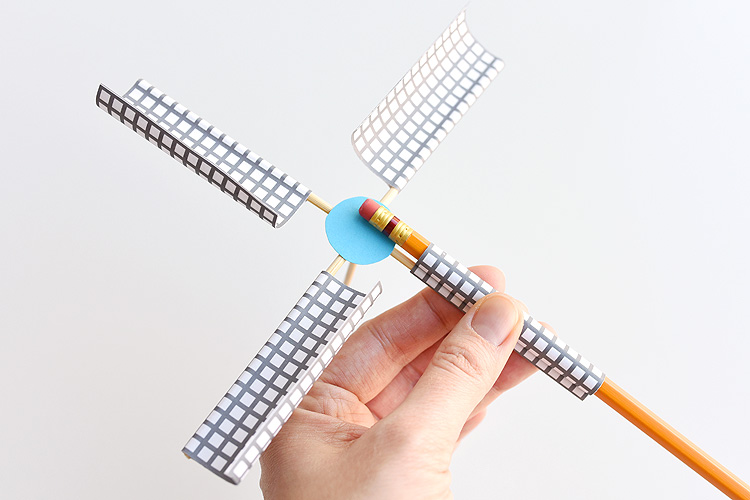
Add a plastic pony bead to the upright skewer, then carefully push the skewer through the two holes in the paper roll.
After you’ve inserted the skewer through the holes in the paper roll, fill the hole of the second pony bead with a bit of hot glue, then carefully press it onto the short end of the skewer sticking out of the back of the paper roll.
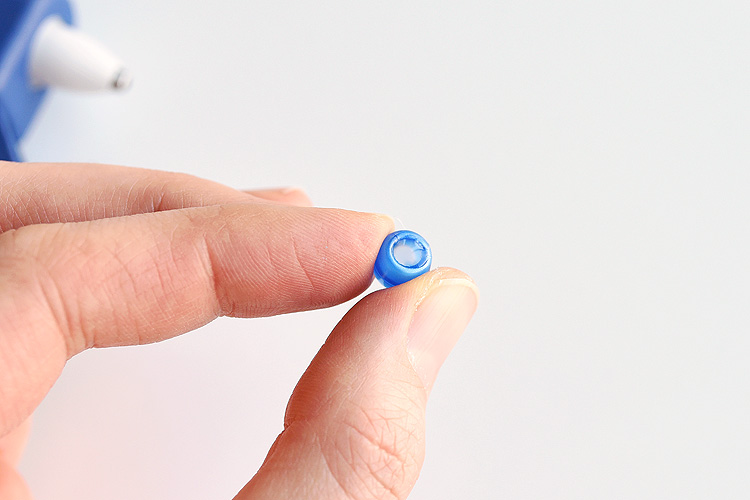
Don’t push the pony bead too tightly against the paper roll or your blades won’t spin.
So when you’re done, you’ll have your windmill blades, a pony bead, the paper roll, then another pony bead on the back, like in the photo below.

Turn it around and you’re done!
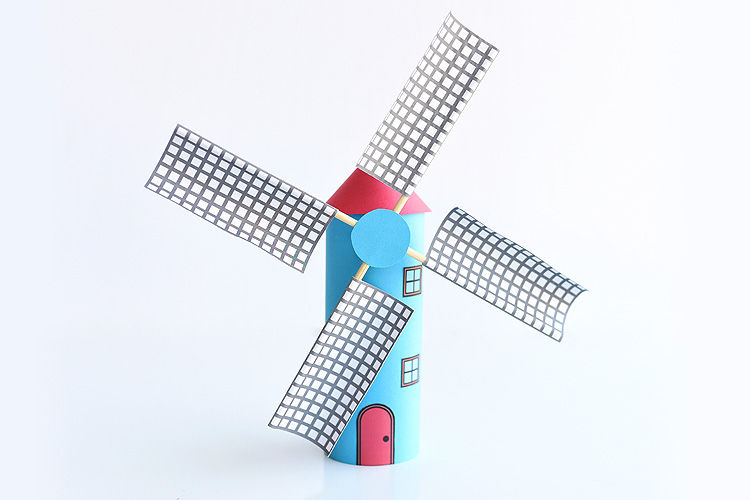
The windmill blades actually spin! If you’re having trouble getting yours to spin, just pull/bend the blades towards the front a little bit so they don’t catch on the paper roll.
Then make some more windmills in different colours!

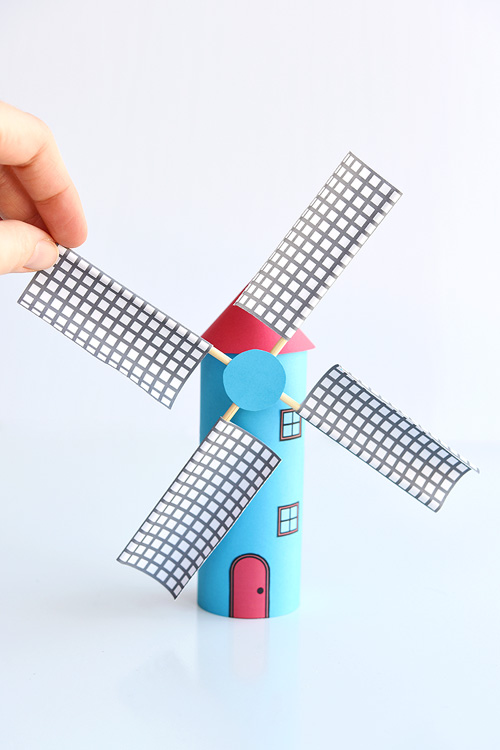
You can use your finger to spin it, or you can blow on it. To get it to move by blowing it, turn the windmill sideways and blow from the outside edge of a windmill blade towards the center.
Look at it go!
Paper Roll Windmill:
Print the instructions on one page here:

Make a paper roll windmill from a toilet paper roll! This is such a fun kids craft and the blades actually spin! Such a cool windmill craft and it would be a great way to explore DIY projects and crafts with moving parts at school!
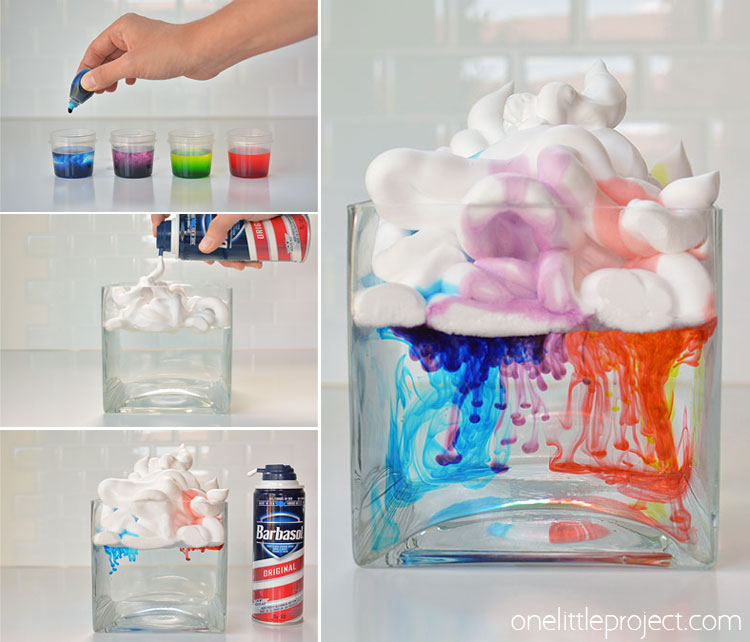
If you’re looking for more fun projects to try, check out our Shaving Cream Rain Clouds science experiment. This was SO MUCH FUN and so cool to watch!!
Source : onelittleproject.com
Read more...


")


Post a Comment
Post a Comment