These coffee filter dancers are SO PRETTY! I really love how bright and colourful they are. And the best part is that you only need a few simple dollar store craft supplies – They’re actually really simple to make!
We used Crayola washable markers for this craft, but you can also use Mr. Sketch markers. (Do you remember those smelly markers?? I was so excited to see that they still sell them!!) Just make sure the markers are washable, otherwise the colours won’t bleed.
Even my 4 year old little guy wanted to make one (mostly because he reeeeeeally loves colouring coffee filters and watching the colours change when you get them wet. It’s like a little science experiment every single time!). So he made a Scottish dancer with a kilt to go along with the pretty dancers in the beautiful gowns.
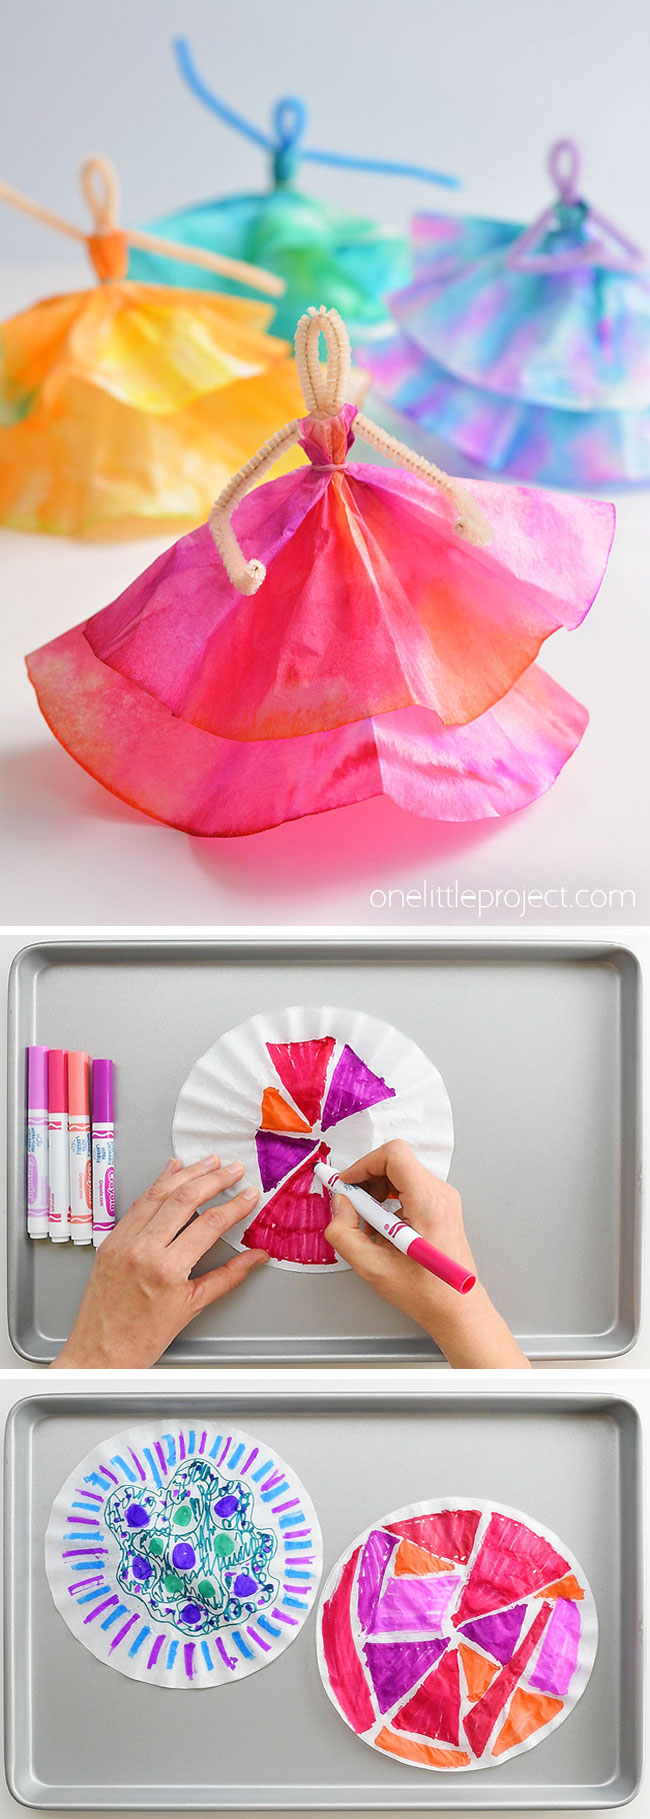
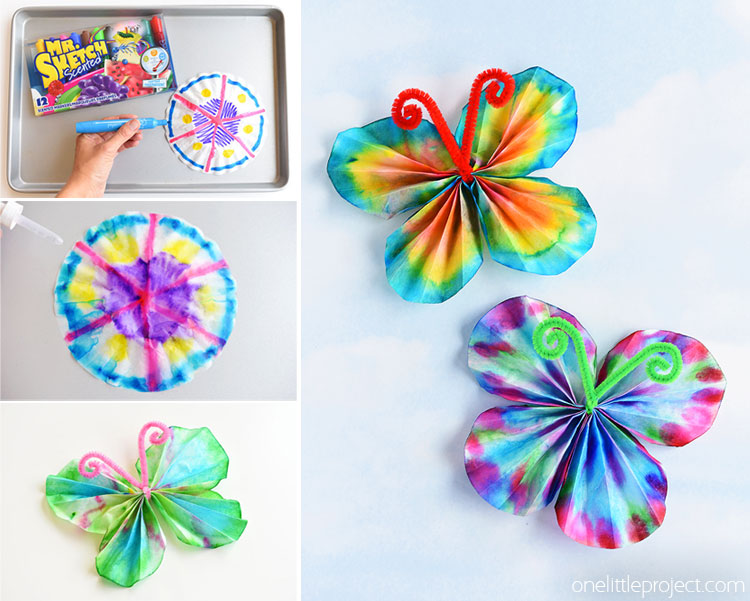
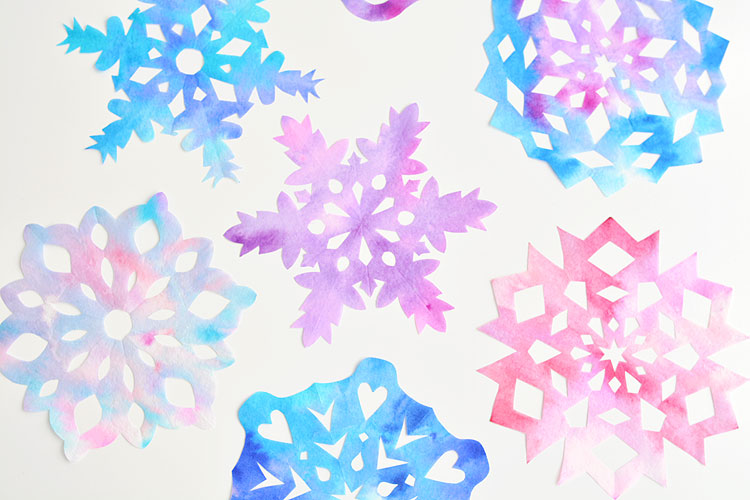
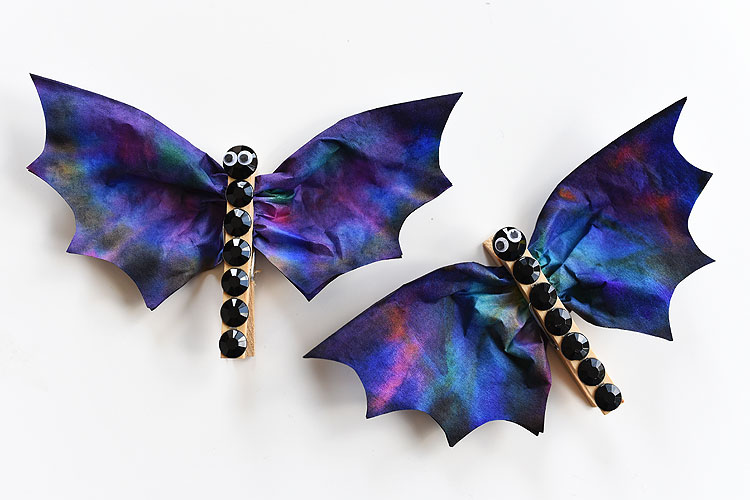
We are loving coffee filter crafts this year! We’ve made amazing coffee filter butterflies, super cool coffee filter bats, and beautiful coffee filter snowflakes. All of them have turned out so well!
Coffee filters are seriously amazing. Can you believe you can make something so beautiful from regular old coffee filters?!
Check out our video for how to make Coffee Filter Dancers:
If you make these coffee filter dancers, here are a few similar crafts that would be great to make at the same time:
How to Make Coffee Filter Dancers
Here’s a list of what you’ll need. The affiliate links below will take you to products on Amazon that are similar to the supplies we used to make this craft:
- Coffee Filters (I used the larger 10 to 12 cup size)
- Washable Markers
- 2 Pipe Cleaners
- Tiny Elastic
- Scissors
You’re going to want to use TWO coffee filters, one on top of the other for this craft. The colours from the top one will bleed into the bottom one and you’ll end up with two nearly identical pieces to make the dresses for your dancers.
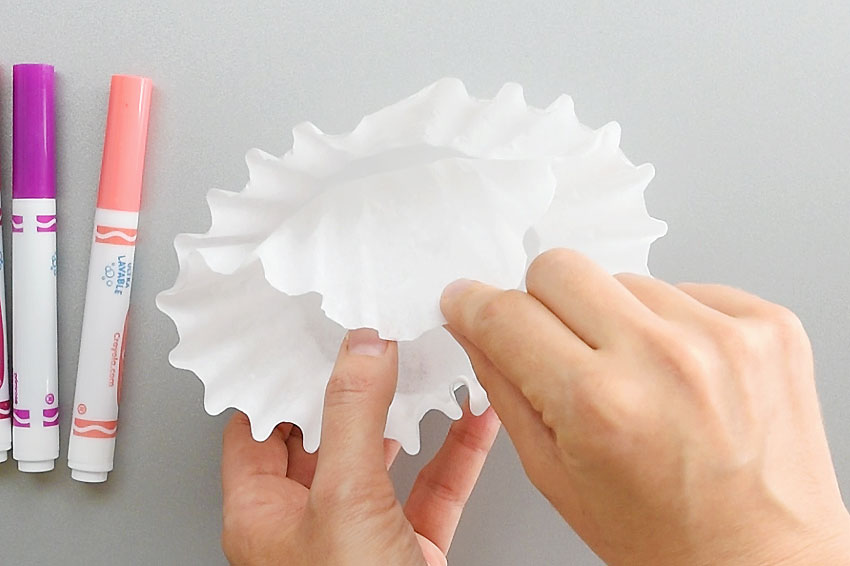
We like to make our coffee filter crafts on a baking sheet. It helps sooooo much to keep the mess down!! You know I love low mess crafts for kids!
Flatten out the coffee filters as best you can before you get started.
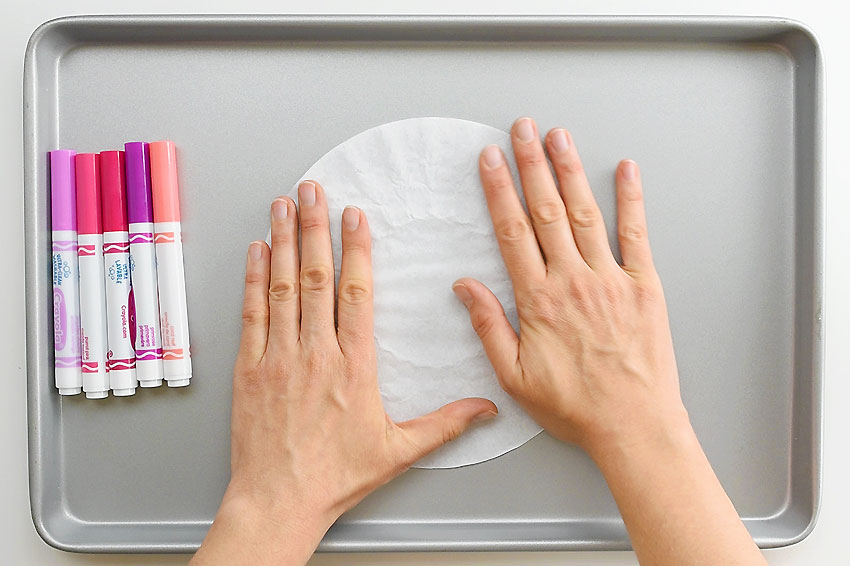
If you want the dresses to have strong colours, make sure you cover a lot of the coffee filter with marker, leaving very little white space. The more marker you add, the darker the colours will be. (If you add lots of dark colours without white space it almost turns black, just like on our coffee filter bats).
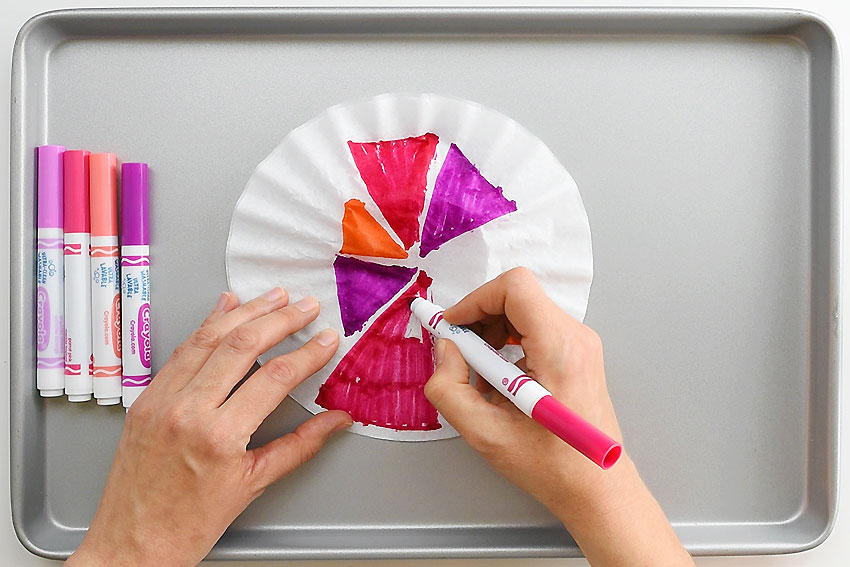
I highly recommend using colours from the same colour families for each of your coffee filters.
If you add too many colours you could accidentally end up with brown coffee filters. And somehow brown dresses just aren’t as fun!

Using an eye dropper, or a small measuring spoon, carefully drop water all over the coffee filters until it’s completely soaked through. They should be completely wet, but they shouldn’t be sitting in a pool of water.
Once it’s completely soaked, stop adding water. Don’t flood the pan with water, otherwise your colours could run a little too much and it will take foreeeeeever to dry!
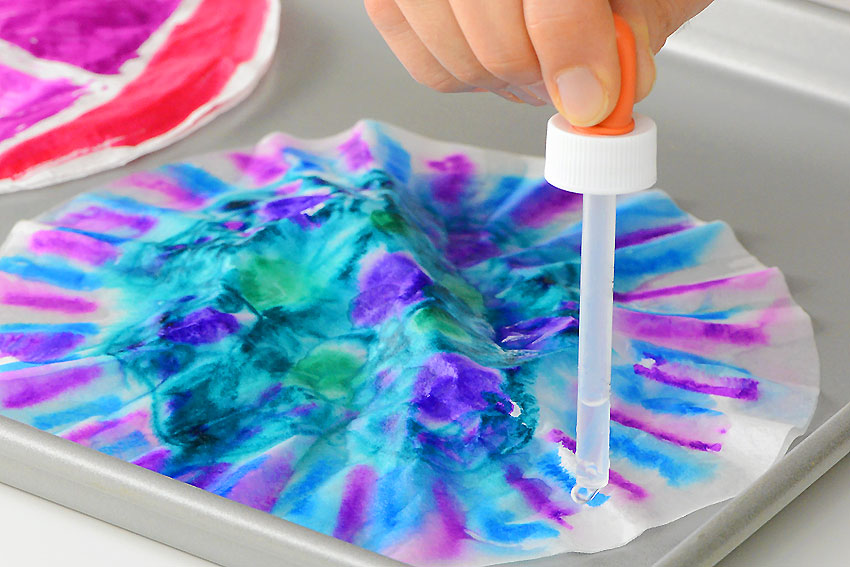
So here’s the progression of the coffee filters. I don’t know why, but I always find the before and afters so fascinating!!
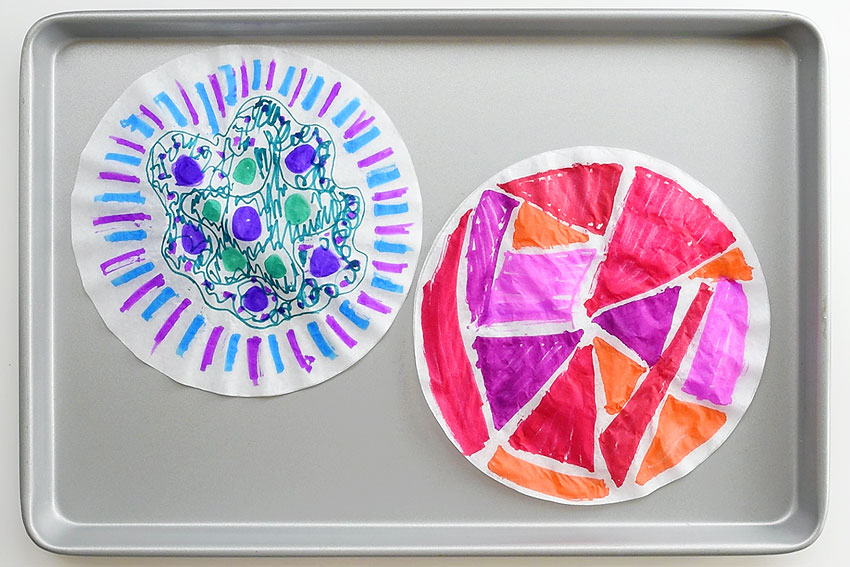
And here they are after we added the water:
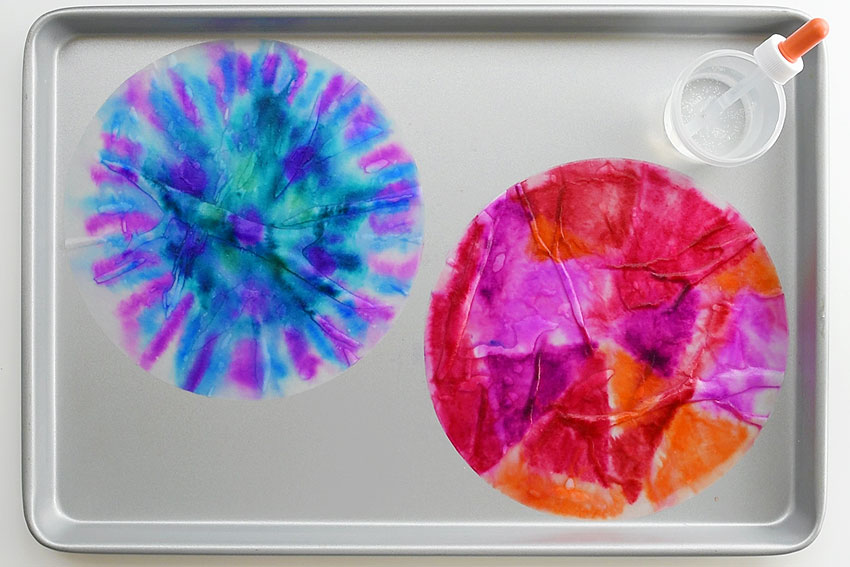
And here they are after they were dry:
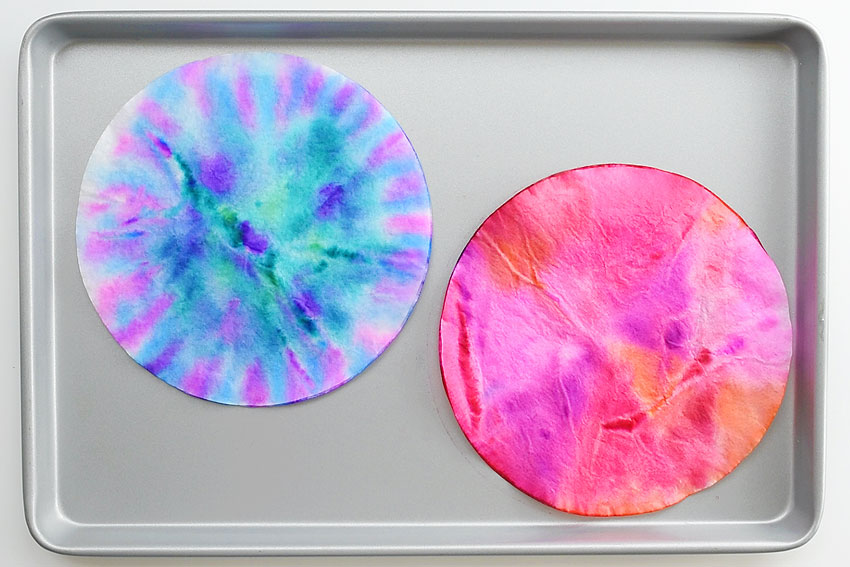
How to Dry the Coffee Filters
There are a few ways you can dry your coffee filters:
1. You can let them air dry overnight. This is easiest, but I’m incredibly impatient so I’d really rather not wait so long!
2. You can set them out in the sunshine on a warm day to dry. This method works really well, and they’ll dry in about half an hour in direct sun. But be careful, because the minute they’re dry, they tend to blow away with the slightest wind, so you have to keep a close eye on them!
3. My favourite method is to dry them in the oven. Set the oven temperature super low to 120F. It only takes 20 to 30 minutes for them to dry in the oven! I’ve had success at 130F as well, but if you don’t take them out in time the edges start to curl. (You can iron them between two pieces of paper on super low heat to fix that). I have found that an oven temperature of 120F works the best.
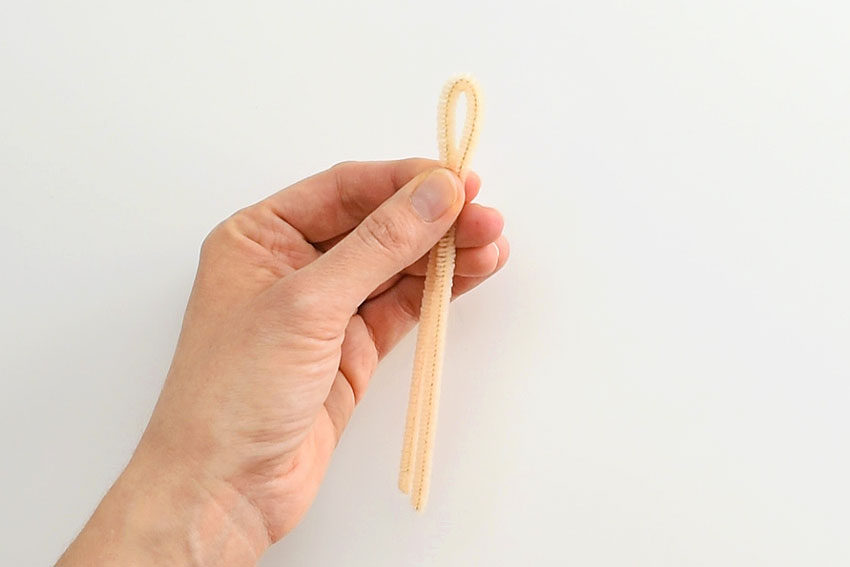
While you’re waiting for the coffee filters to dry, you can make the form for your person. You’ll need two 12 inch long pipe cleaners, in whatever colours you like.
Start by bending the pipe cleaner in half. But don’t pinch the fold in the middle. This will be the head of your dancer and it looks better when it’s not squished closed.
Line up the second pipe cleaner behind the one that’s folded in half, a little below where the “neck” of your dancer will be.
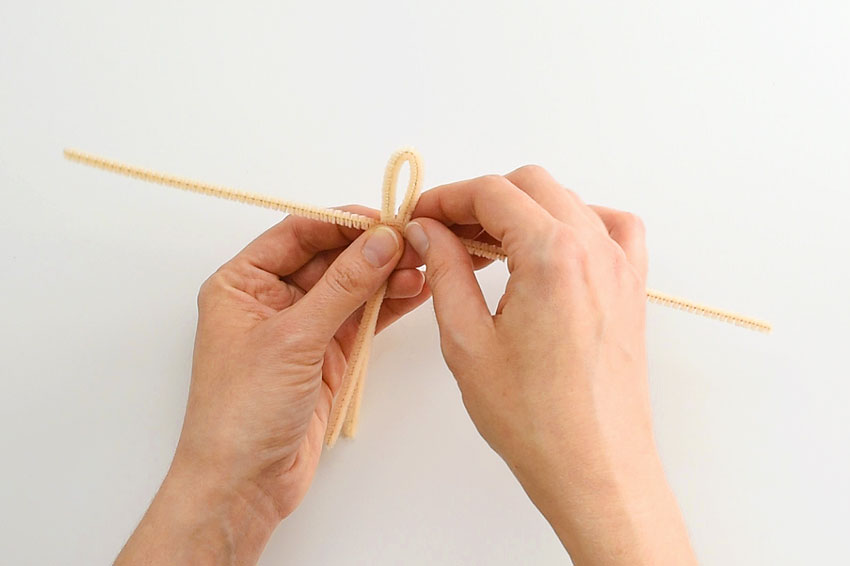
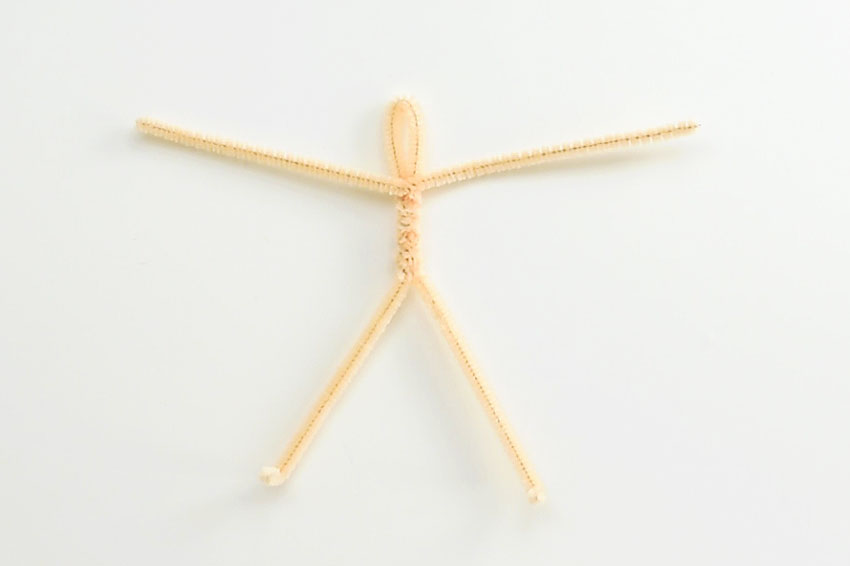
Wind the two “arms” around the middle pipe cleaner several times to make a body. Keep winding until you have about 2.5 inches of pipe cleaner left on both sides. Make sure when you’re finished winding that the arms come out right below the head at the position of the neck.
Bend the bottom pipe cleaners at a right angle to make small “feet” for your dancer.
When your coffee filters are dry, you can separate them. See?? Two nearly identical, beautifully coloured coffee filters for the first dress!
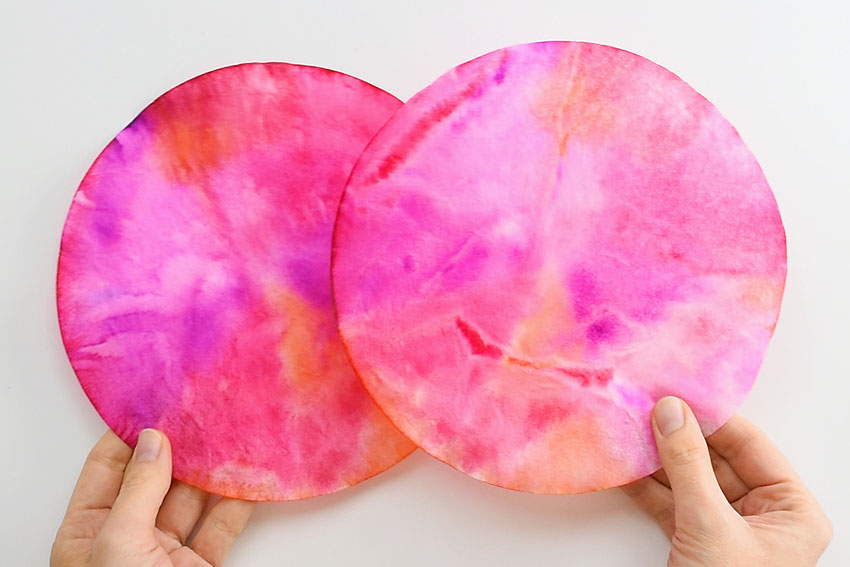
Fold one of the coffee filters in half.
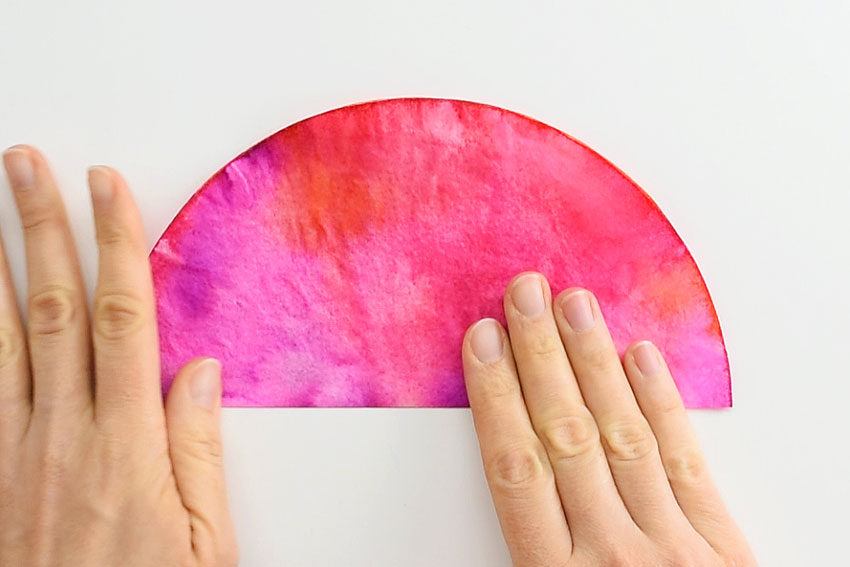
Then keep folding it in half until it’s about the size below.
Cut a tiny point off from the tip. Make sure it’s small – you’ll be surprised how much bigger the hole gets when you open up the coffee filter again!
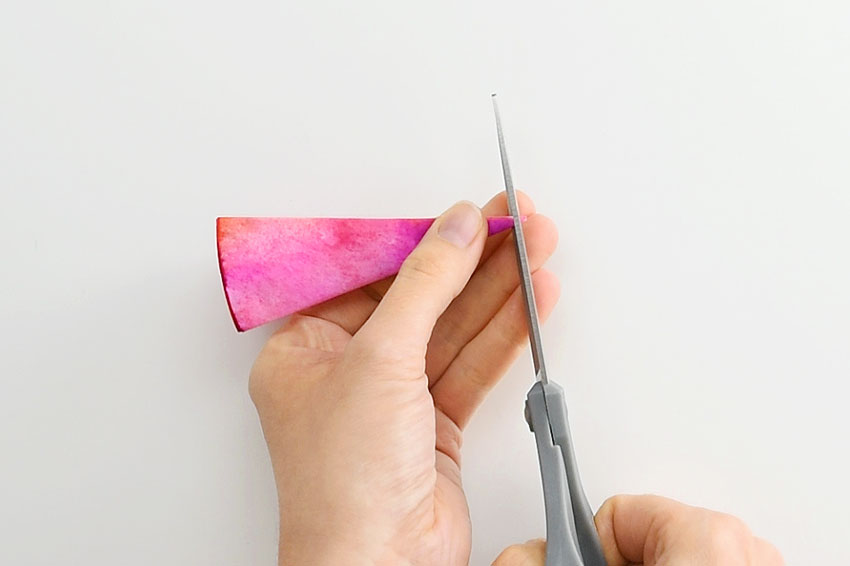
Unfold the coffee filter until it’s only folded in half. Cut two small slits about 1/4 inch away from the middle hole. These will be the holes for the “arms” to go through.
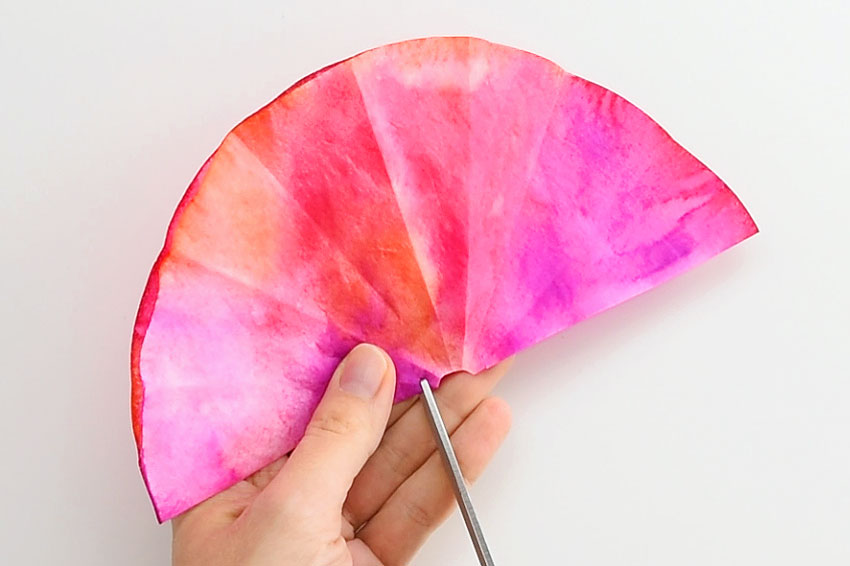
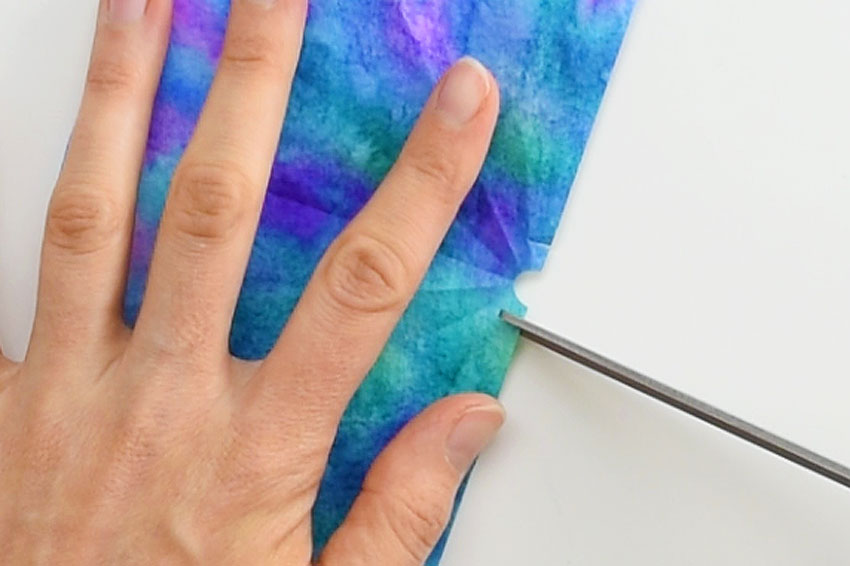
I’m including a second photo on the blue “dress” to to make sure you can really see those small slits for the arms.
Bring the pipe cleaner “arms” up over the doll’s head. (Reminds me of getting my kids dressed…)
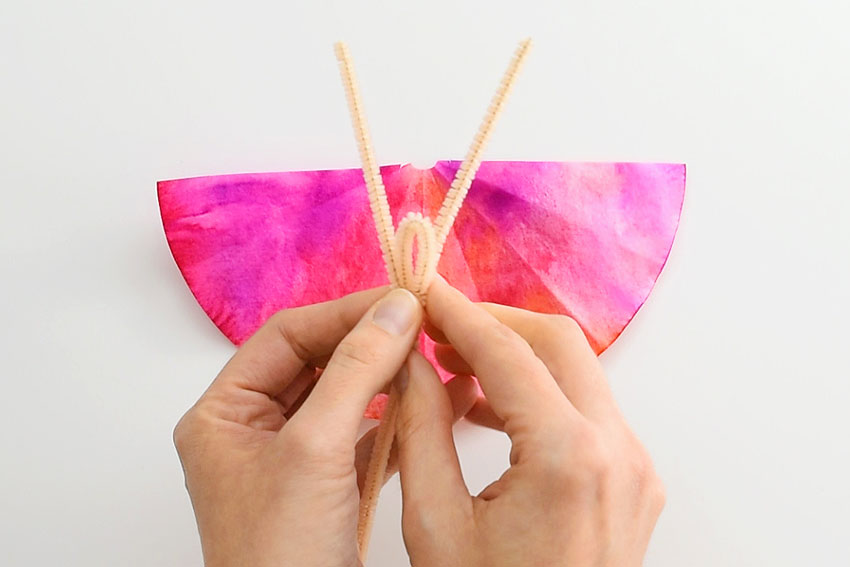
Then carefully slide each arm through one of the small slits you cut into the coffee filter.
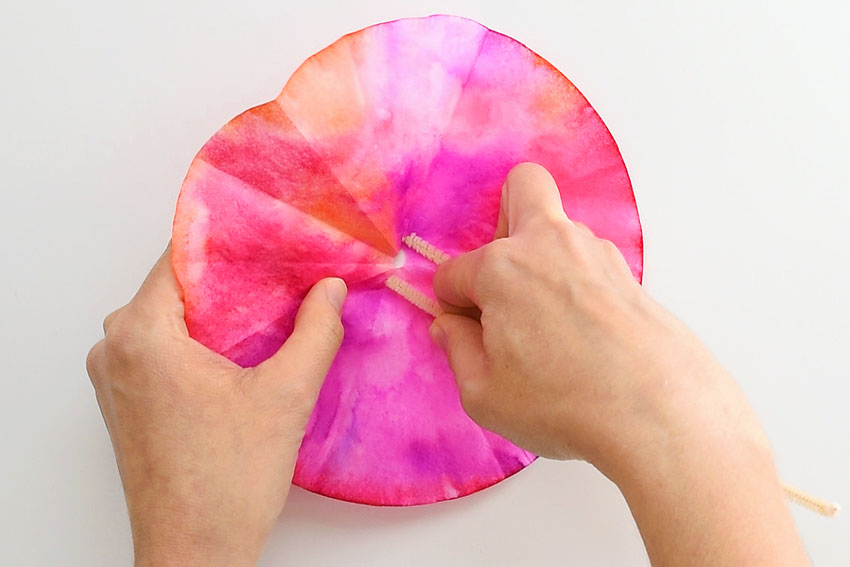
Carefully pull the coffee filter down over the body. The head should easily fit through the bigger hole in the coffee filter.
Bunch the coffee filter around the doll into the shape of a dress. Wrap a tiny elastic around the dress, roughly at the position of the waist so that it looks like a belt.

Cut a small hole into the center of the second coffee filter (fold it in half a few times then snip off a tiny piece at the tip, just like you did with the first coffee filter).
Then slide the feet through the hole in the second coffee filter.
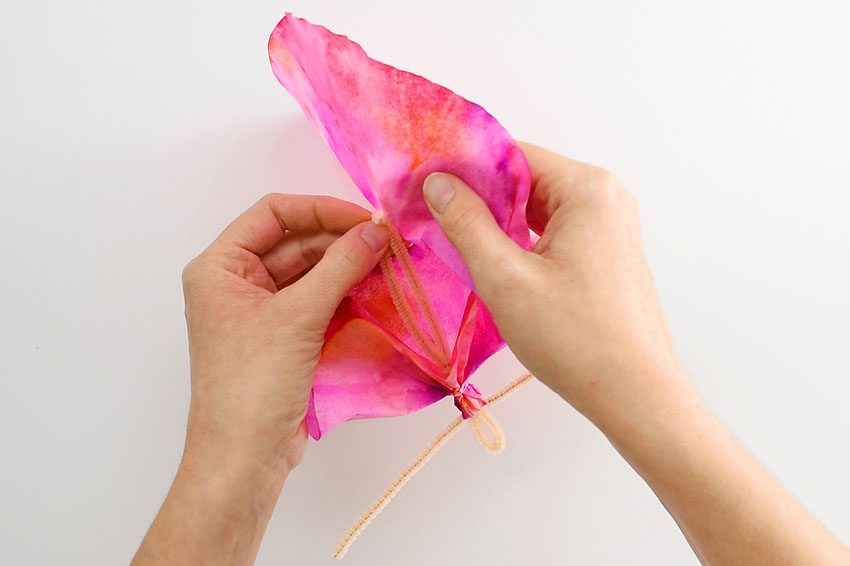
Push the dress up to the waist of the doll, shaping it into a beautiful, frilly gown.
I didn’t bother attaching the second coffee filter, but if you need to you can add another tiny elastic to hold it in place.
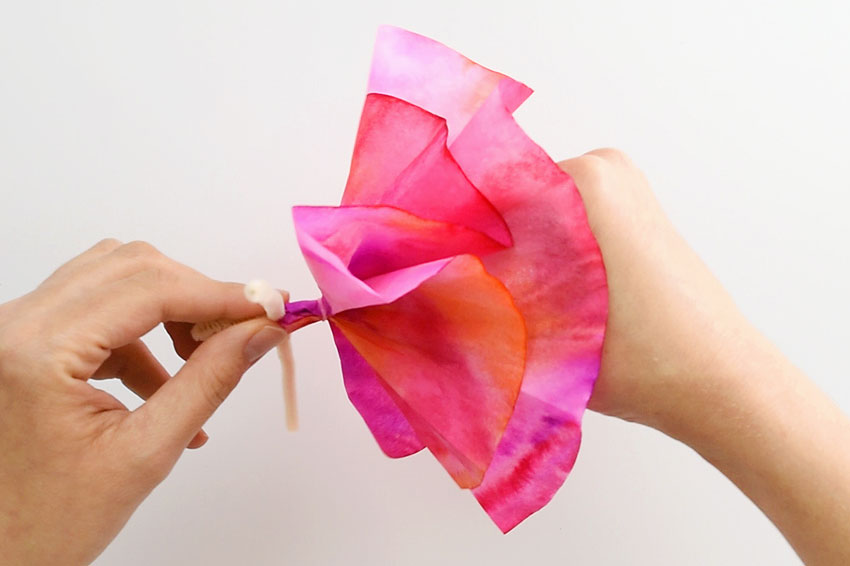
You don’t have to add two coffee filters to the dress if you don’t want to. The doll on the left in the photo below has a cute little short dress using only one coffee filter.
But with only one coffee filter, the doll won’t stand on it’s own.
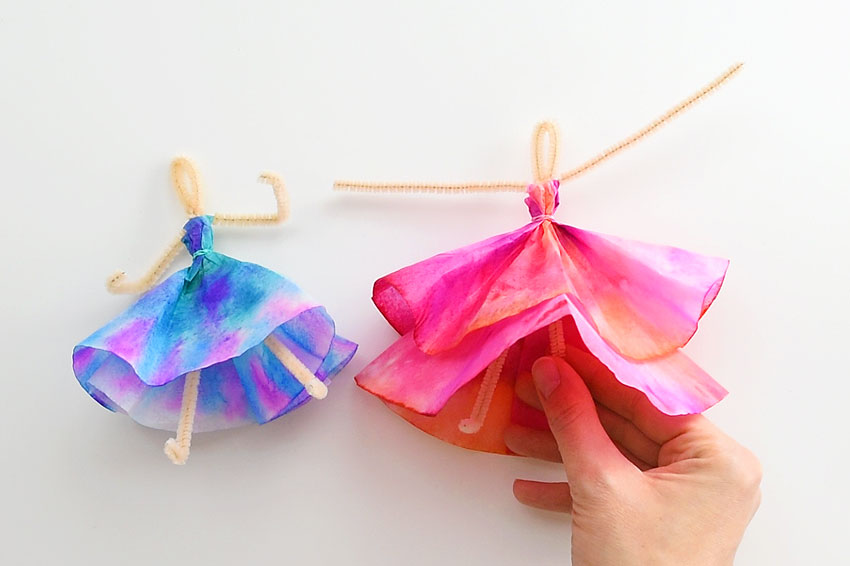
You can bend the arms of your coffee filter dancers however you like. And with pipe cleaners, you can change the arm shape again and again!
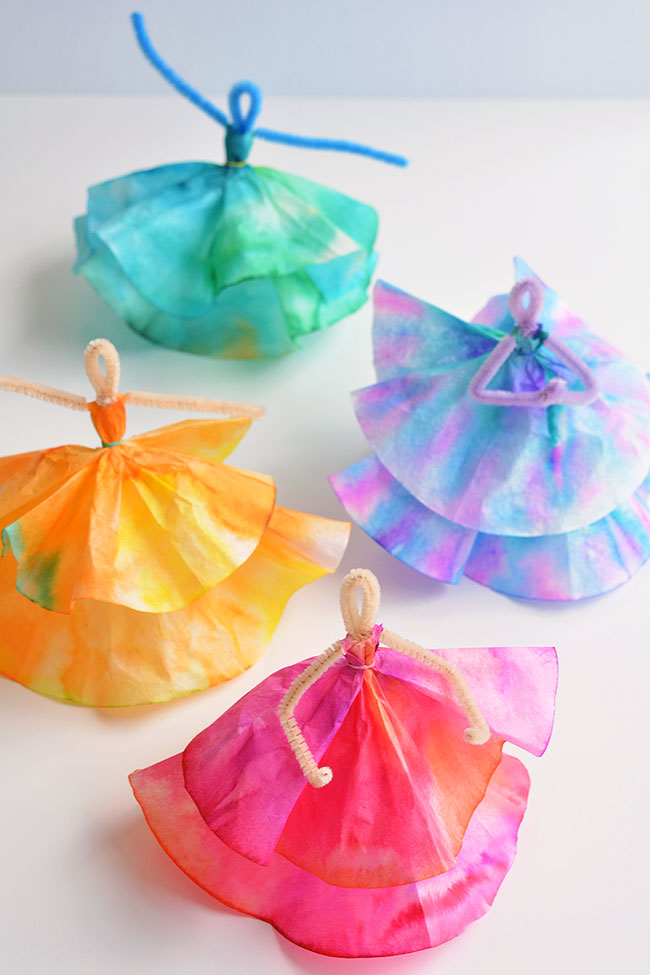
Colours for the Dresses:
So here’s all the coffee filter dancers we made. I chose the colour I wanted the dress to be, and only used the colours in that family:
Pink Dress – Pinks, reds, purples
Green Dress – Greens, turquoise, blues
Yellow Dress – Yellows, oranges, light browns
Purple Dress – Purples, pinks, blues, turquoise
I dried the yellow and green coffee filters on the same baking sheet and you can see that the colours bled into each other a little. So there’s a bit of yellow on the green dress and a bit of green on the yellow dress.
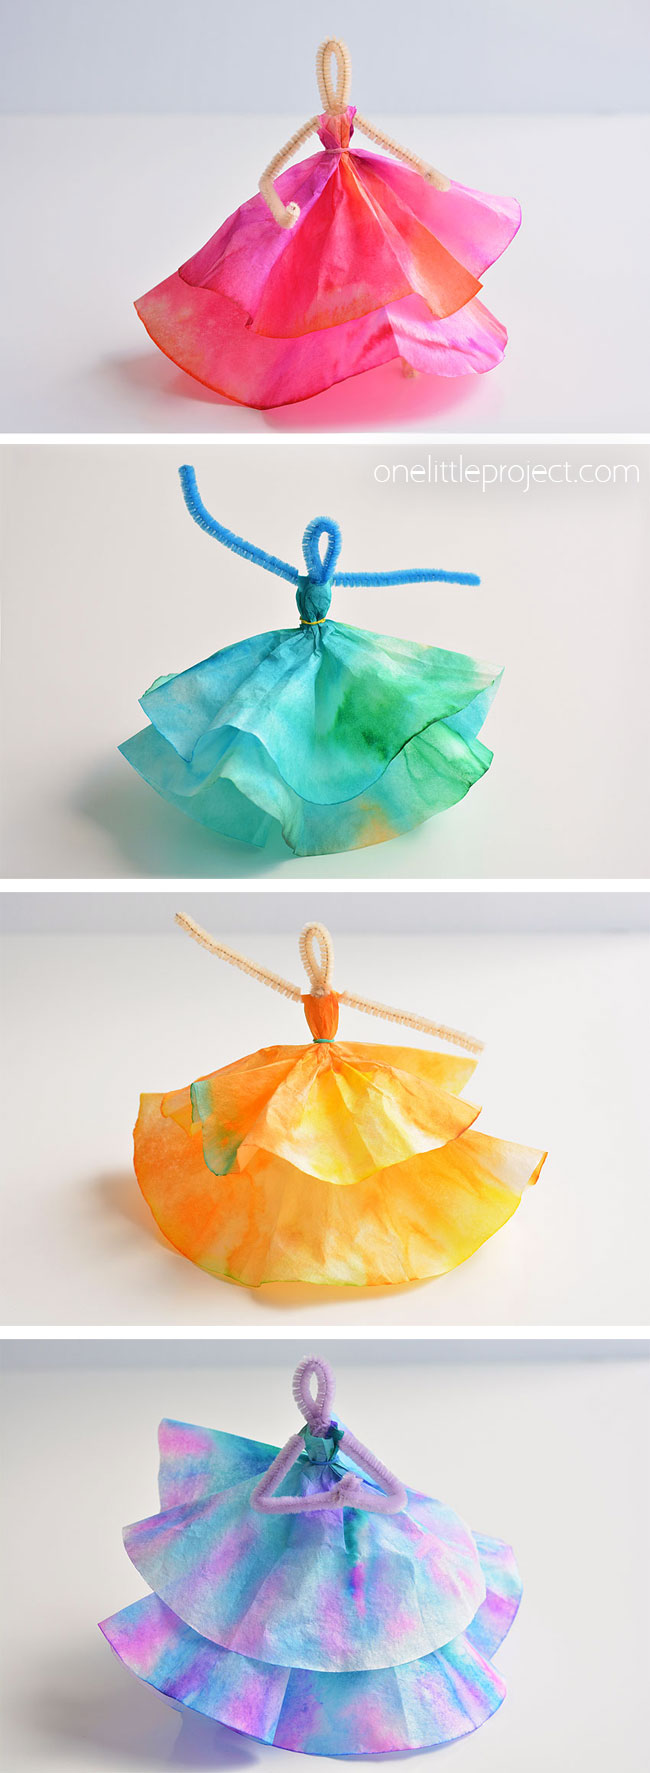
Aren’t they pretty!?!?
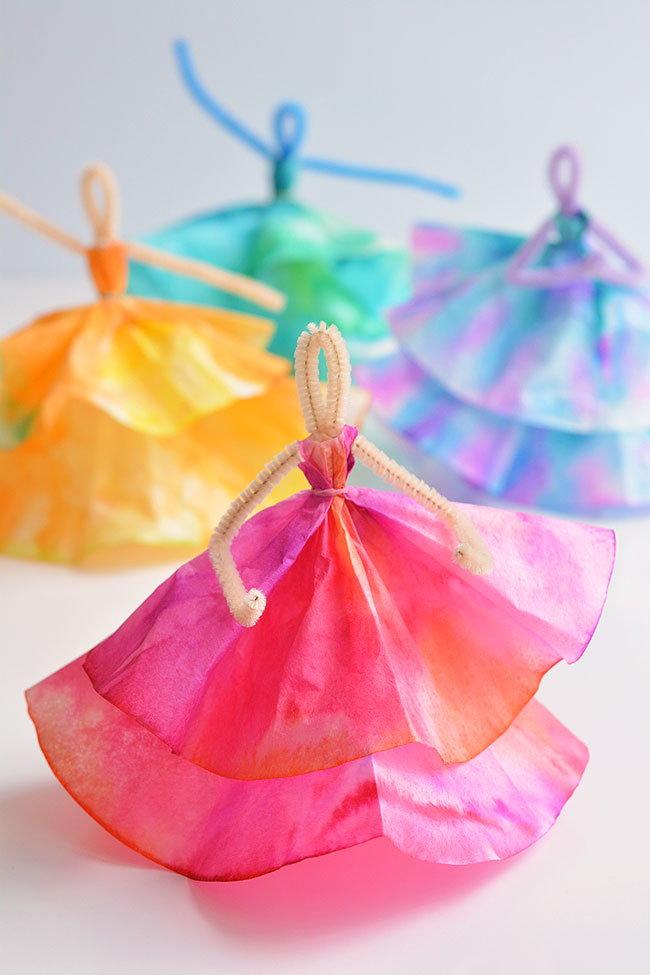
My 7 year old was soooooo excited to play with these! She locked all their arms together so they were first dancing in a long line, and then in a circle.
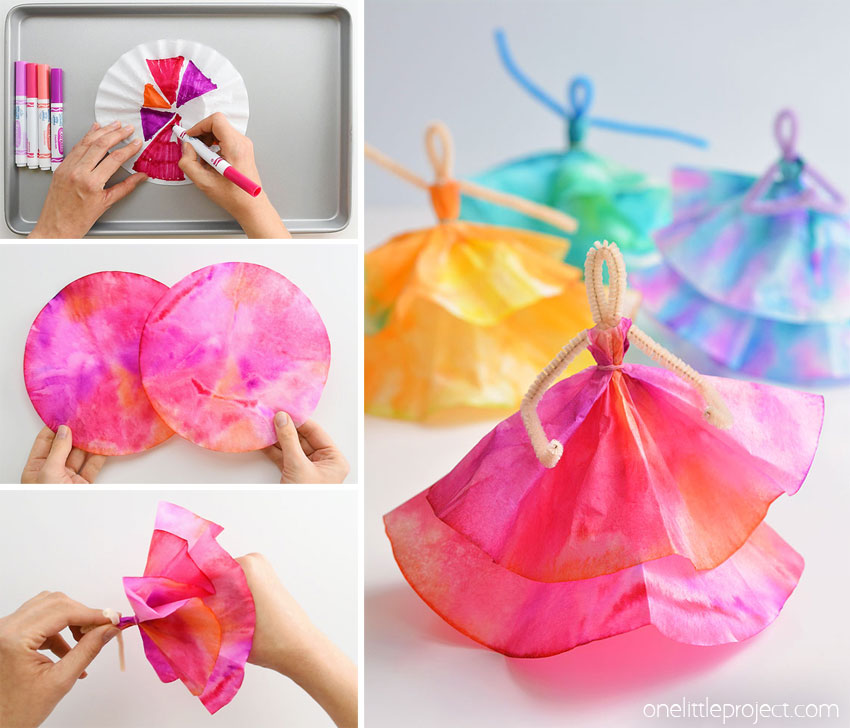
These coffee filter dancers are SO PRETTY! And all you need are markers, coffee filters and pipe cleaners. This is such a great coffee filter craft and a super fun craft for kids – I love crafts that the kids can play with when they’re done! Kids love colouring the coffee filters and then watching the science magic that happens when the colours bleed together. I can’t believe you can make something so beautiful from coffee filters!
Here’s even MORE coffee filter craft ideas:
If you’re looking for more fun coffee filter crafts, check out our coffee filter butterflies. This is such a classic, yet awesome craft idea!
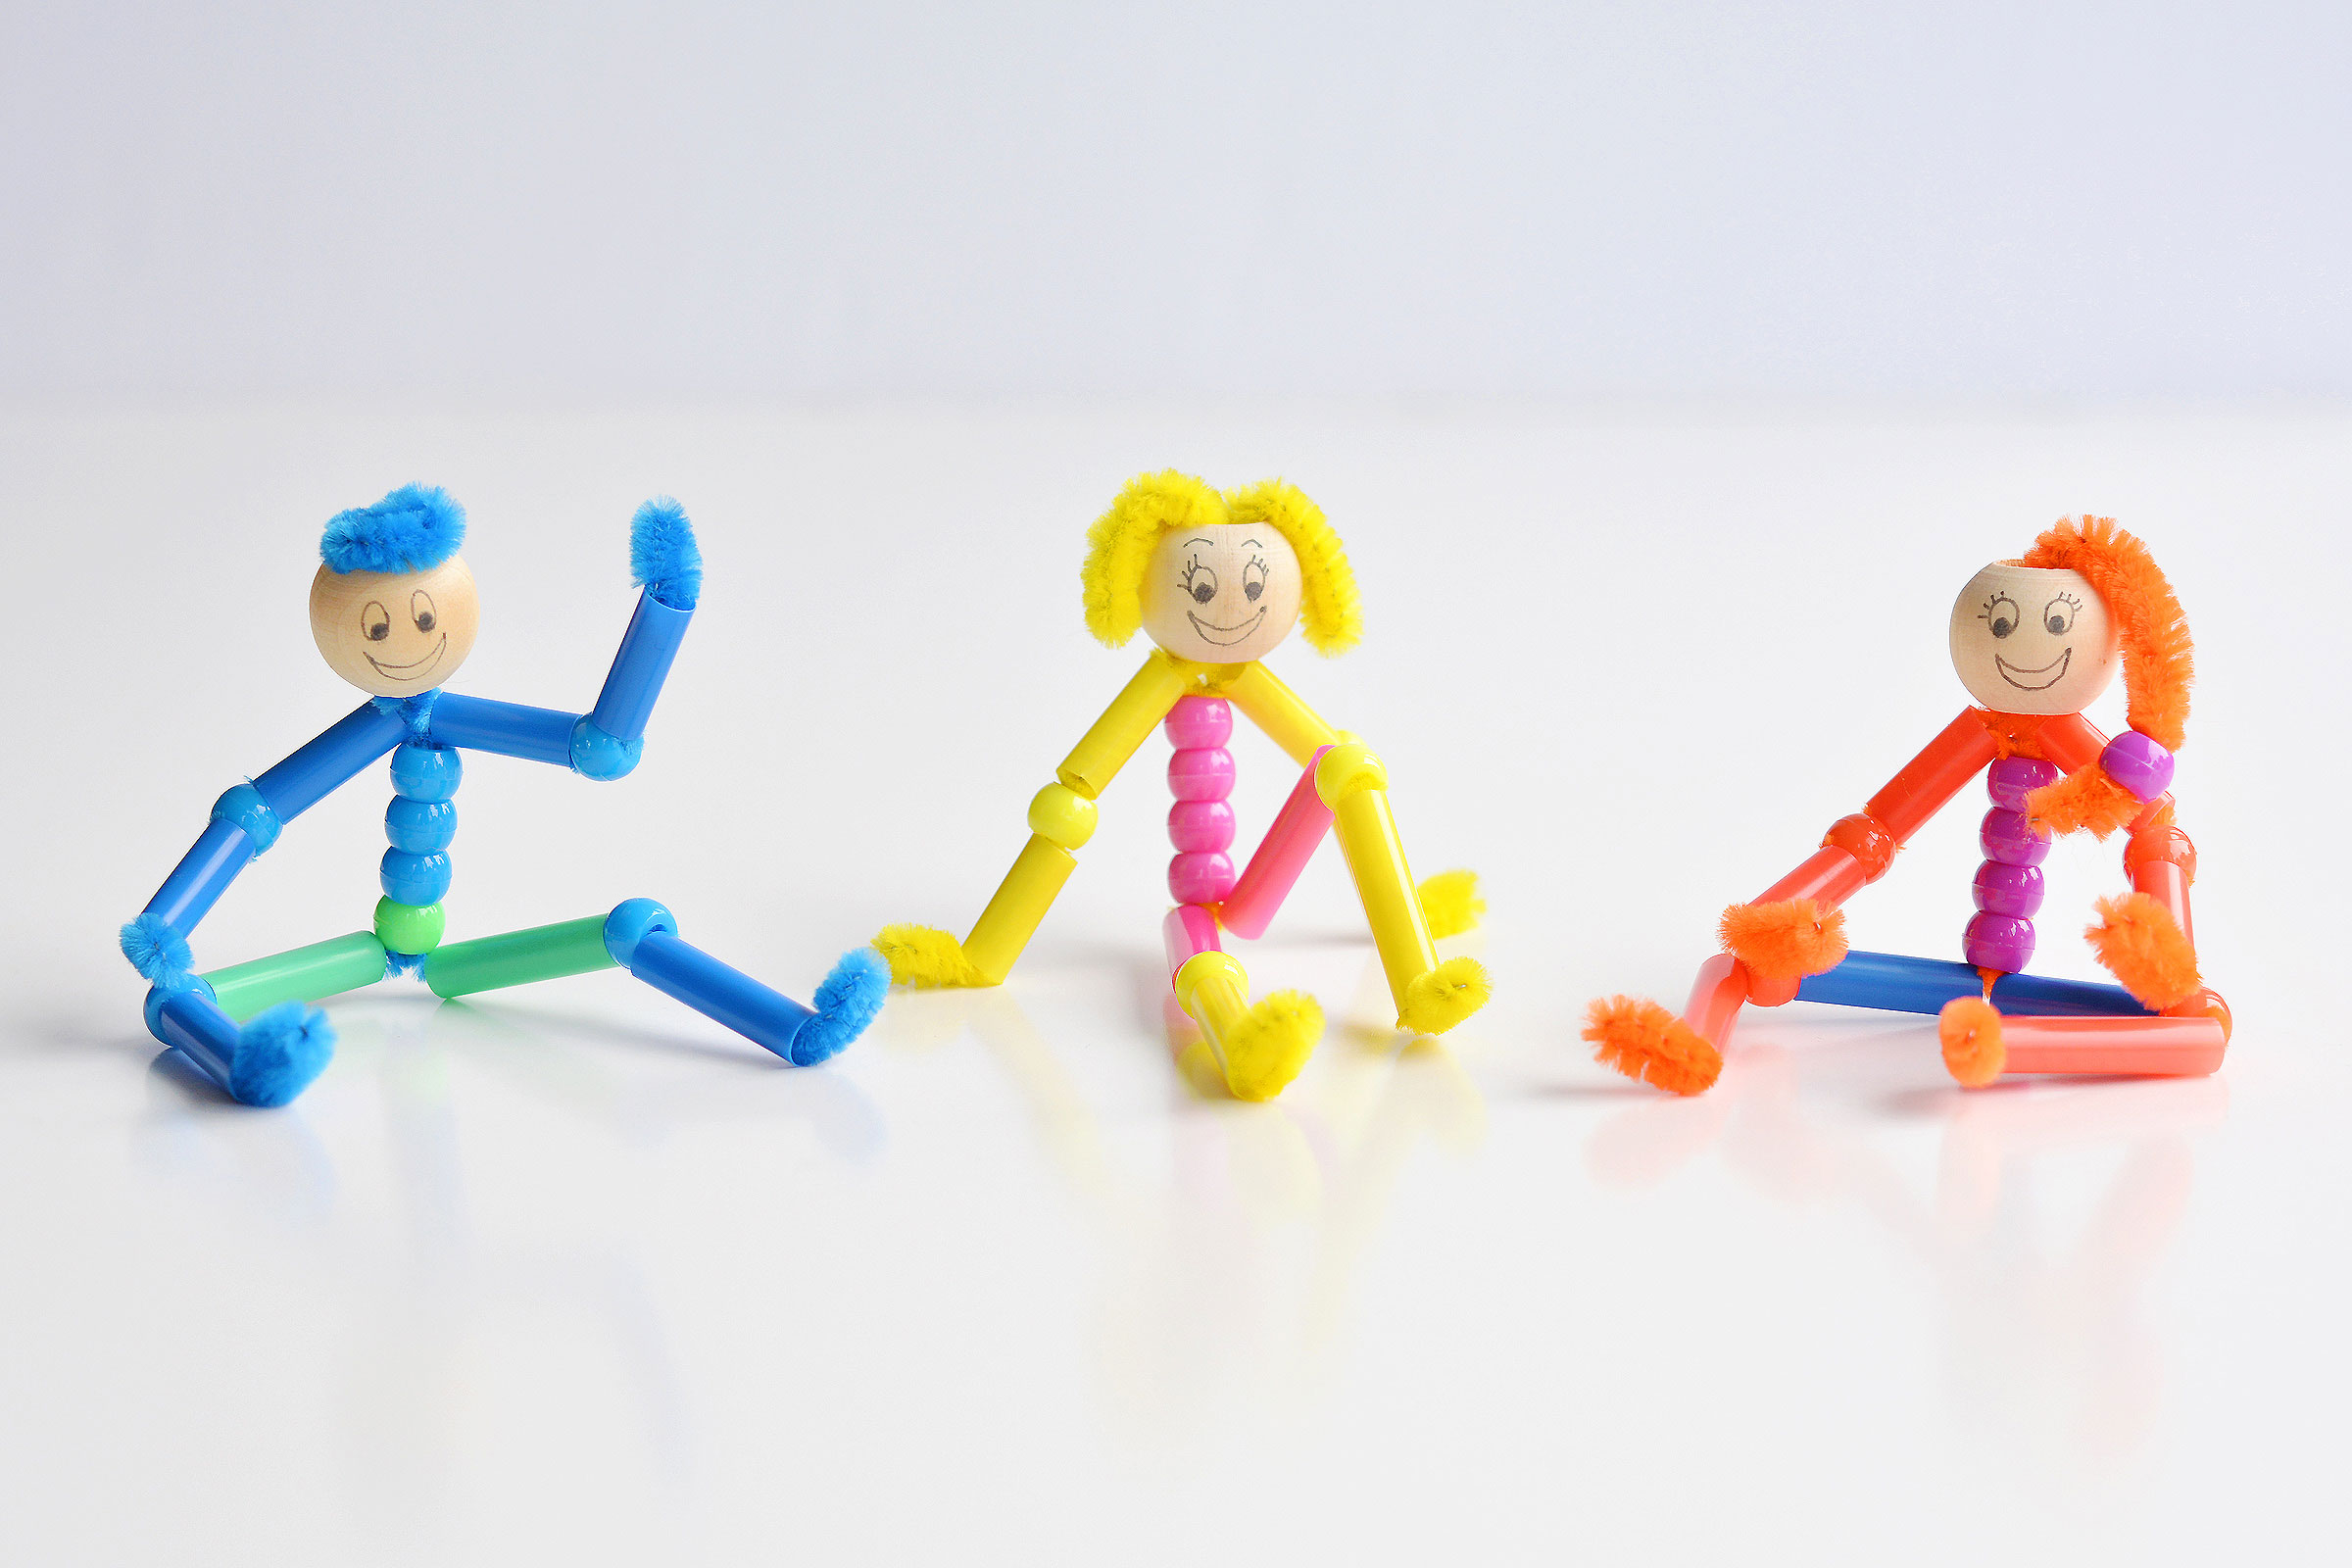
Or you can check out our beaded pipe cleaner people. These would make great partners for your dancers!!
Source : onelittleproject.com
Read more...
Post a Comment
Post a Comment