Canada is awesome, but let me tell you, we just had a snowstorm yesterday, and I am SO done with winter. I made these paper flowers in bright summer colours to remind myself that at some point, the flowers outside are going to have to bloom! Since I don’t have any real flowers, I went a little crazy with these super easy rolled paper flowers and made myself a whole bouquet. Chances are, you live somewhere warmer than me, but I’m sure we can all appreciate a little more spring celebration, so I’m going to show you how to make them below.
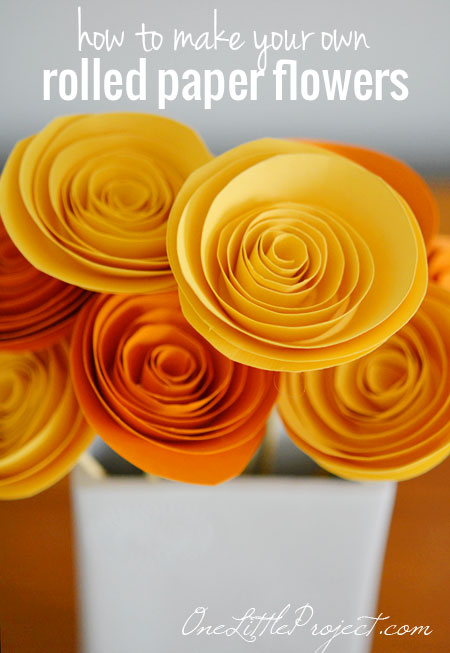
These are super easy, and I love how they look! You can use any kind of paper. I used a slightly textured card stock with a ribbing pattern. It was subtle, but I like that it gave some extra texture to the flowers.
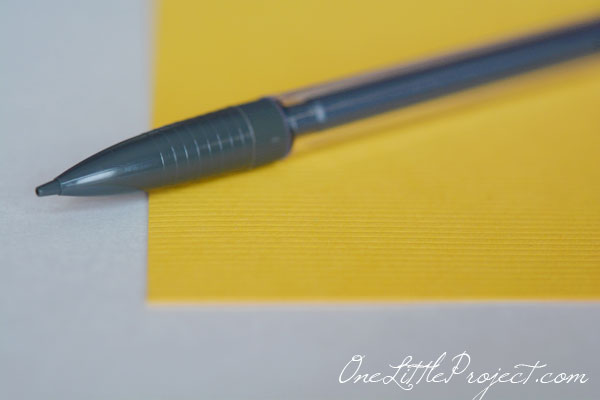
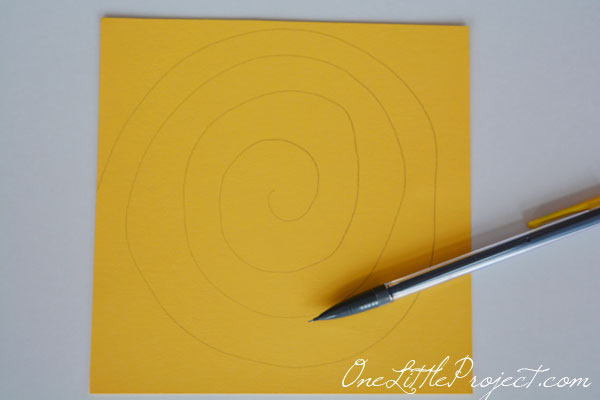
Cut out a sheet of paper to about 6″ x 6″ square. Draw a spiral on the sheet of paper. It doesn’t have to be perfect. In fact, if you make the lines kind of wavy, it will give the flower even more depth and make it seem like it has petals.
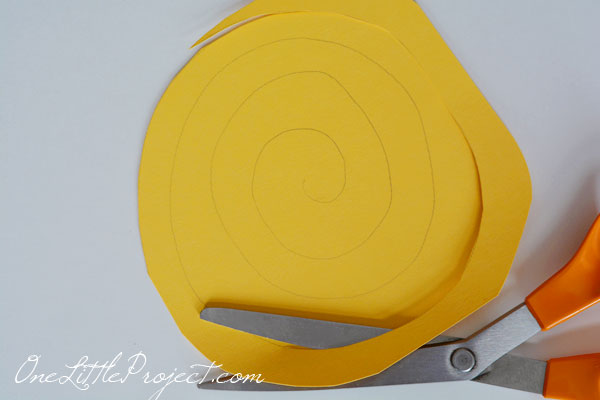
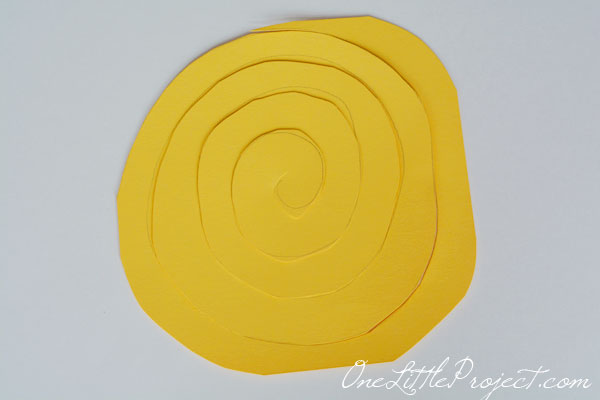
Trim off the corners to make it kind of circular. Then cut along the pencil lines around the spiral. You really only need to trace it out the first time you do this. After that, you will be enough of an expert that you can eyeball it and just go at it with the scissors. Which is nice, because unless you drew your lines very lightly, you’ll be able to see the pencil lines on the finished flower.
Here is what you start with. I actually trimmed off the very end after this photo so I had a flat edge to work with. I’m not really sure why, I just thought it would make it easier to get it started.
Use a pencil to get started with the rolling if you need to. If your paper is heavy, it’s hard to get that first twist going without accidentally folding the paper.
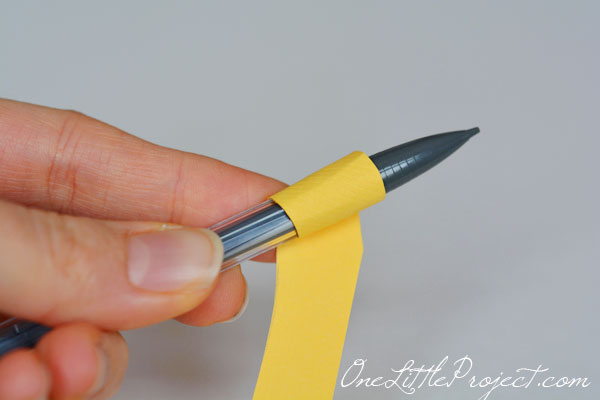
Once you’ve gotten it started, just keep winding the paper around itself, using your fingers to keep it from popping open.
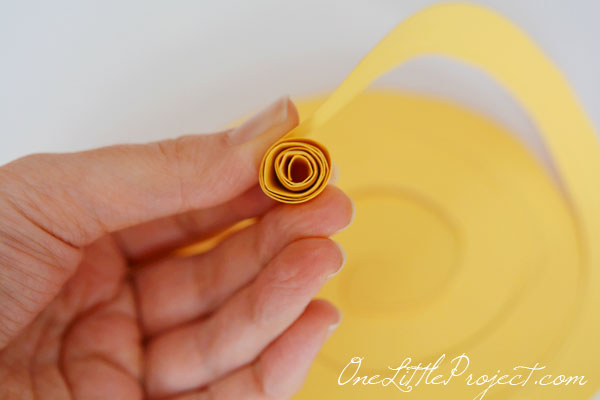
This is where it gets really fun. When you get to the middle of the spiral, you are going to have a portion that you just can’t wind around anymore, but don’t worry. Set your flower down and let it loosen up a bit. It’s best to let it expand out a little bit rather than having a super tight cylinder.
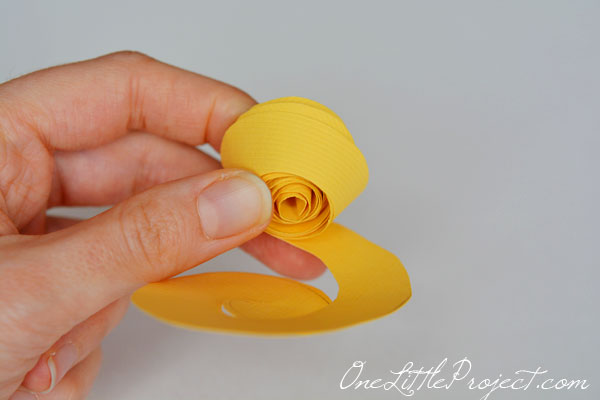
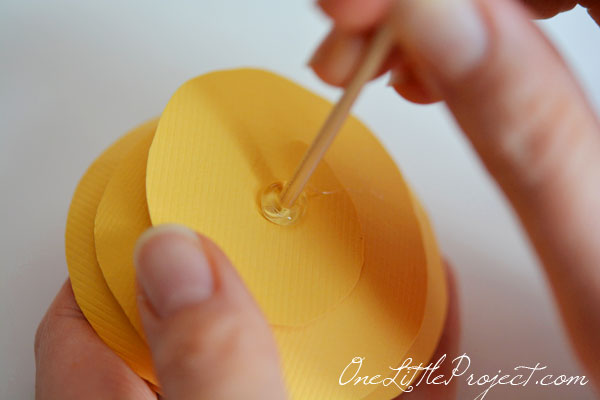
So you know that middle of the spiral where you had to stop winding? That part is going to be the base of your flower where you are going to add the glue. Using a hot glue gun, add a generous amount of glue to the base, and then press the spiral part of the flower onto it, until it sets.
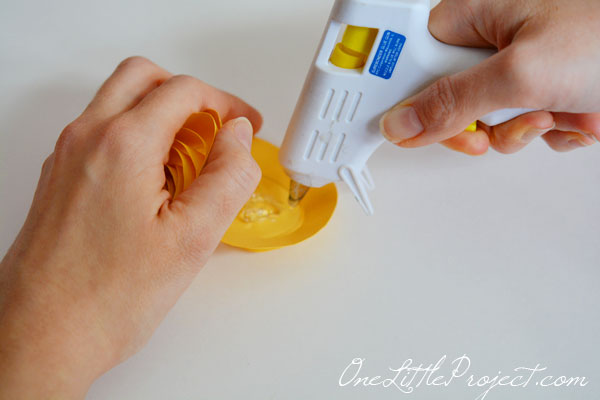
And voila, a fabulous rolled paper flower! Quick, easy and surprisingly fun!
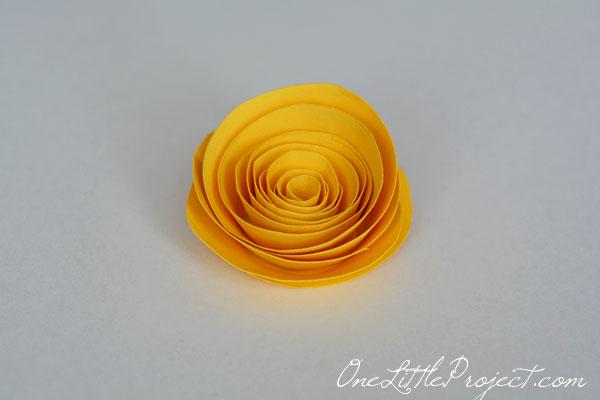
Now repeat the process a few times so you can have more.
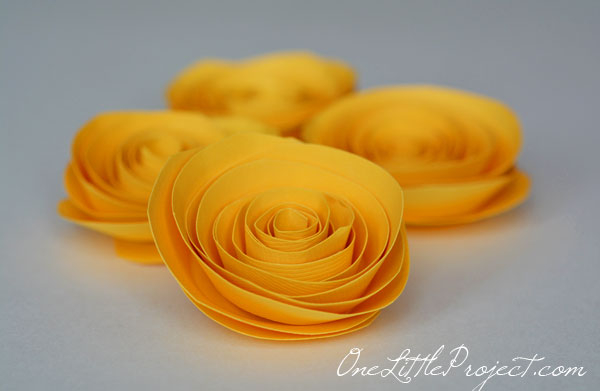
And of course, switch up the colours to add a little more interest.
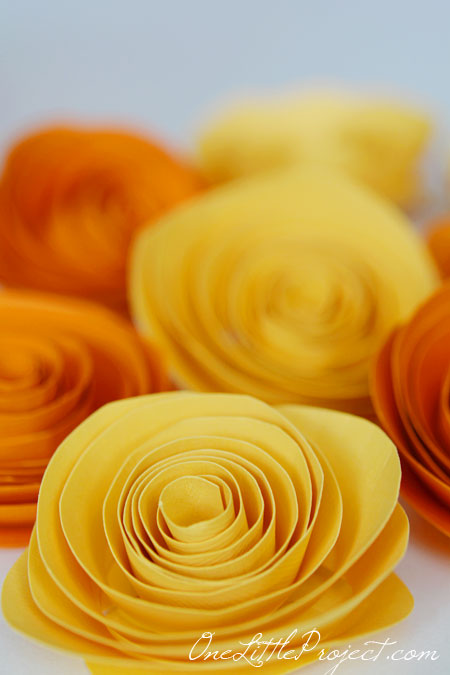
For the stem, I’ve seen it done with wire, but I really didn’t have any wire that was going to work. But what I did have tons of were wooden skewers for shish kabobs. And really, how often do we really make shish kabobs? I totally raided my kitchen cupboards and adopted them for my flower stems. Add a generous glob of hot glue and press the flat end of the skewer into the glue. It kind of takes a bit for it to set, so you might want to set the flower upside down, and lean the skewer against something so it can dry in the right position.
And once you have done that about a dozen times, you have a unique, homemade paper flower arrangement!
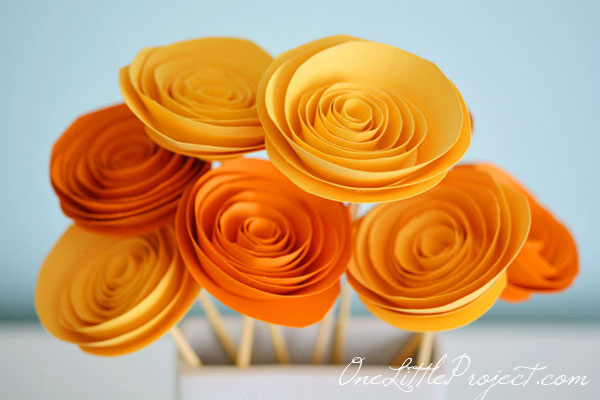
Aren’t these fantastic!? I love how they turned out!
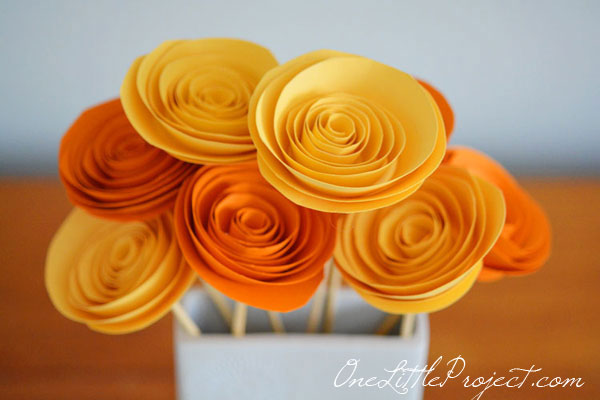
They live in Leah’s room now. The poor girl was in need of some accessories in her room, so she was pretty excited when I told her she got to keep them.
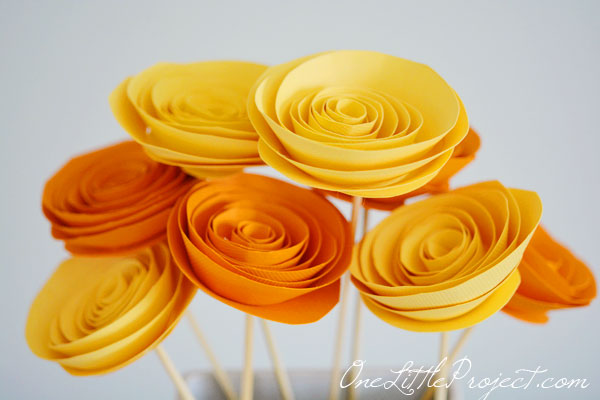
These paper flowers are super easy to make, and they are lots of fun! Make yourself a spring bouquet to celebrate spring. Make some tiny ones for a birthday card. Or make a bunch and throw them into a bowl for a flowery centerpiece. It only takes a few minutes per flower and it will brighten any room.
Source : onelittleproject.com
Read more...

Post a Comment
Post a Comment