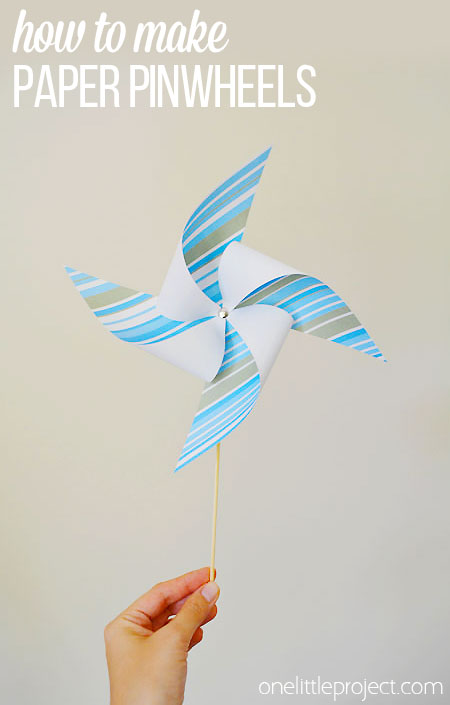
This is my first attempt at making paper pinwheels. Since this post, I’ve written another how to make a pinwheel post here with a better method of attaching the pinwheel to the skewer. The tutorial below definitely works to make paper pinwheels, but they are mostly decorative and don’t spin very well. So be sure to check out the updated post here!
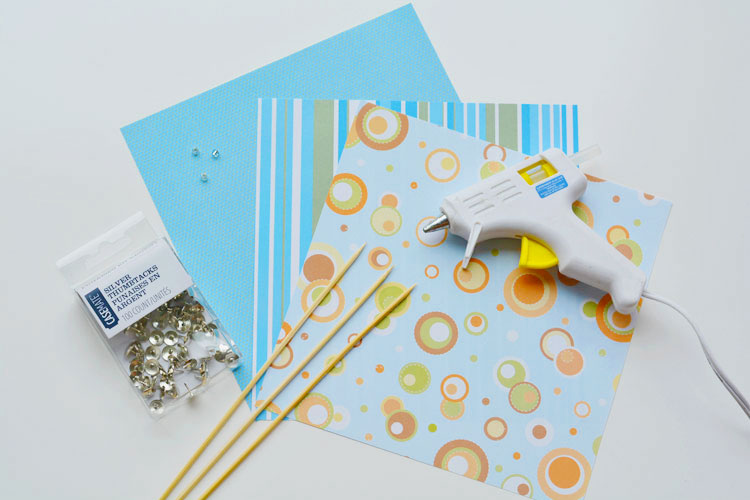
You’ll need:
- a sheet of paper, either 5″ x 5″ or 6″ x 6″ square
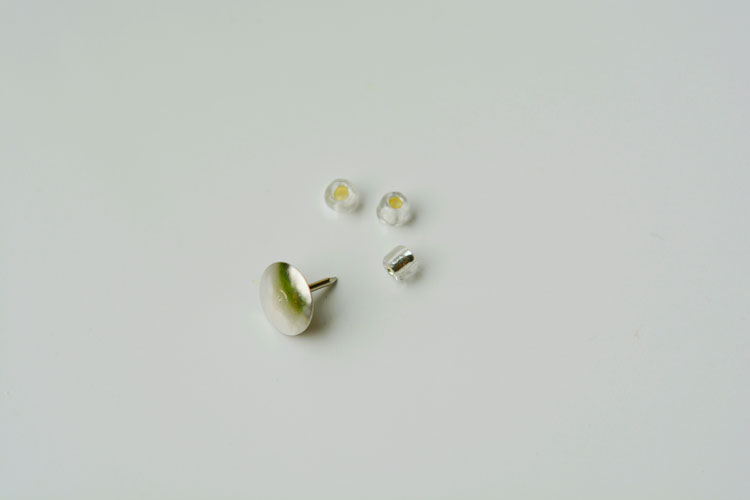
- a thumb tack (if you have options, choose thumb tacks with the longest pin)
- a bamboo skewer
- a small bead
- hot glue
- scissors
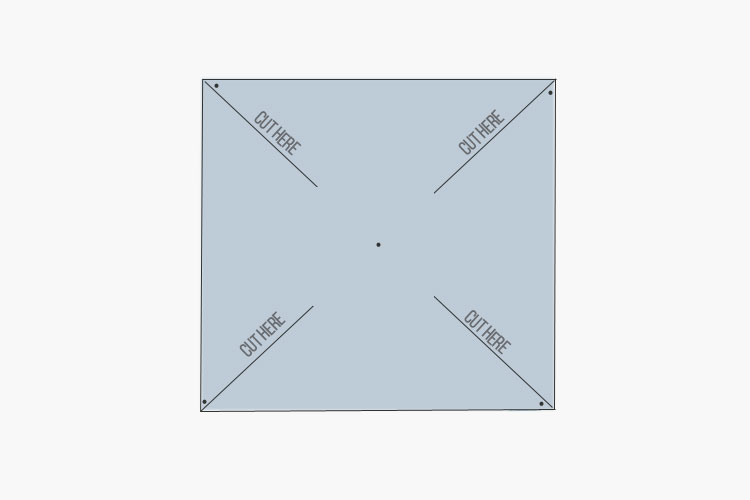
Use a pencil to lightly mark out where you’ll need to cut and where you’ll need to poke the holes. You can use the image below as a guide. You’ll be cutting where the lines are, and you’ll be poking the holes where the dots are. Start with a sheet of paper that’s about 5″ x 5″ or 6″ x 6″. Don’t use really thick paper or you’ll have a tough time fitting it all on the thumb tack.
Soak the skewers in a small amount of water. This will help soften the bamboo so it’ll be easier to press the pin into it. Just remember to dry it off before you put it near you pinwheel so it doesn’t leave water marks on the paper. I left a few water stains on my pinwheels by accident!

Try to find some tiny beads to go over the thumb tack The smaller, the better, but you have to make sure they slide over the pin on thumb tack and spin freely.
Cut the slits in your paper based on the template shown above. Then pre-poke all of the holes. I would recommend putting the paper on a cutting mat or on top of a few sheets of paper and then pressing the pin into the paper where the holes are supposed to be. If you try to make the holes in the paper while you are holding it (without something below it), it will bend the paper when you try to poke the pin through.
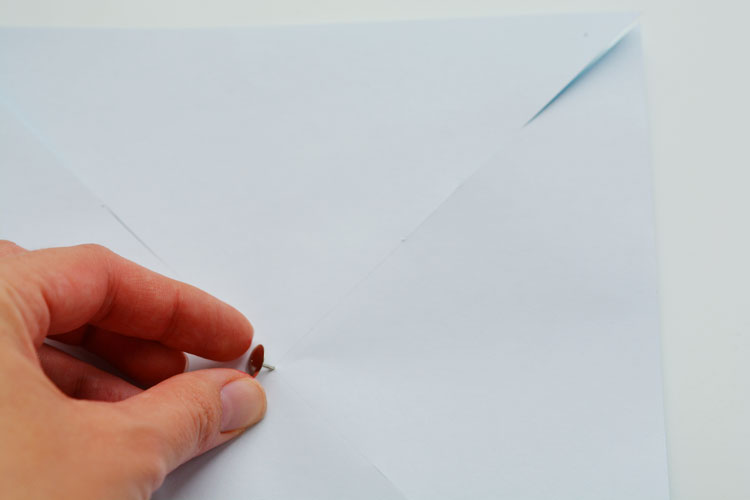
Pre-poke the hole in the skewer at this point too – you might need to hammer it in to get it to go through. I banged it with the end of the scissors and it did the trick! Don’t worry if the wood splits – You can fix it with the glue gun later.
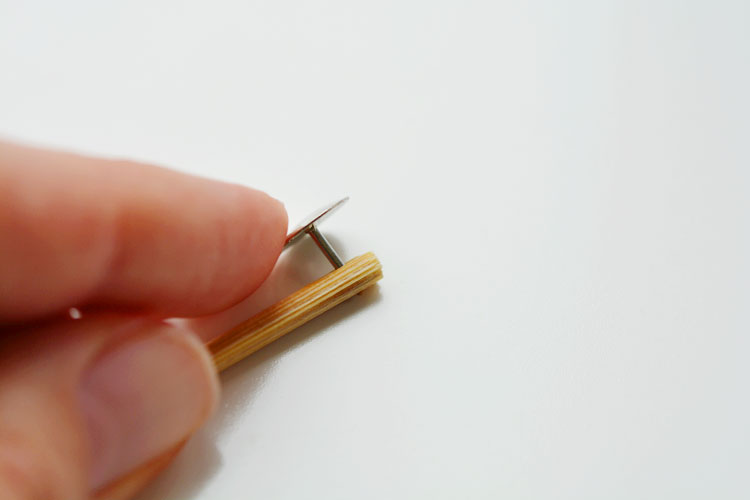
Now you are going to start bending the paper into a pinwheel shape. It’s hard to describe in words, but hopefully the photos help. It should make sense when it’s there in front of you! Start by poking the thumb tack through one of the corners.
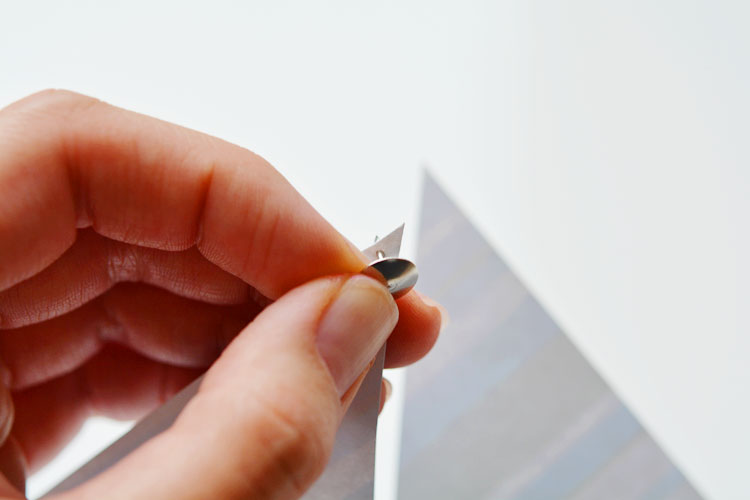
Then poke it through the next corner:
Then poke it through the third corner: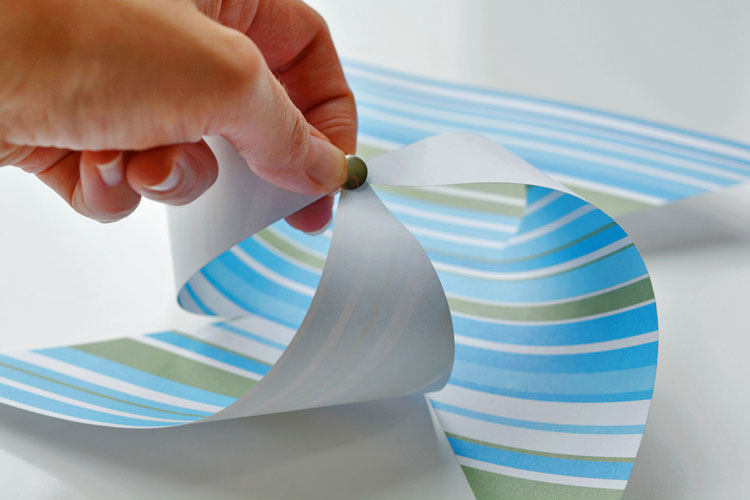
And then the fourth corner: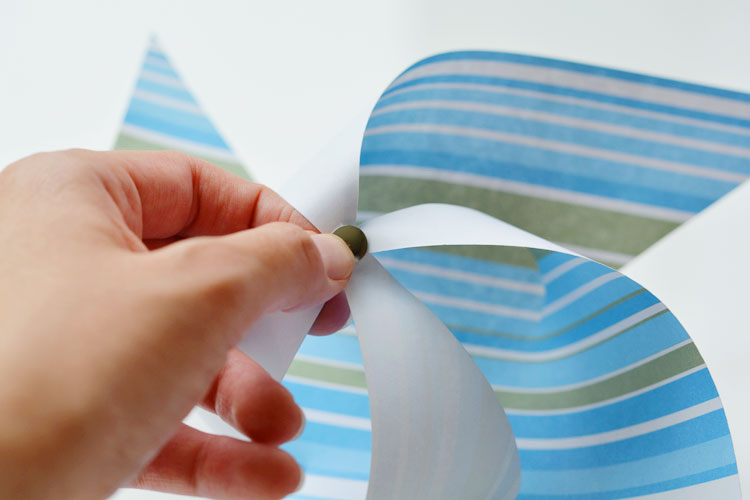
And finally, poke it back through the center:
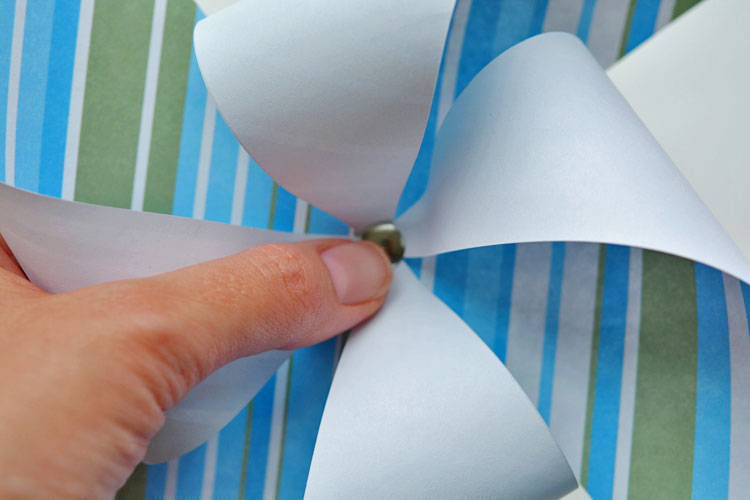
So on the back of your pinwheel, you’ll have the pin sticking out like this:
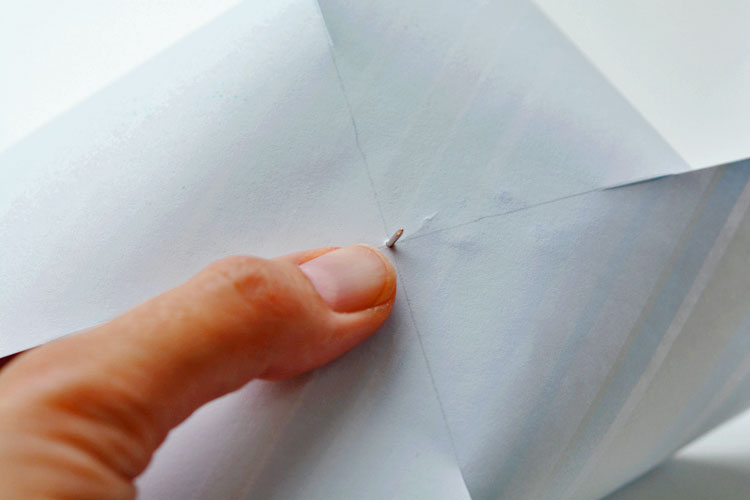
Put the tiny bead on the pin: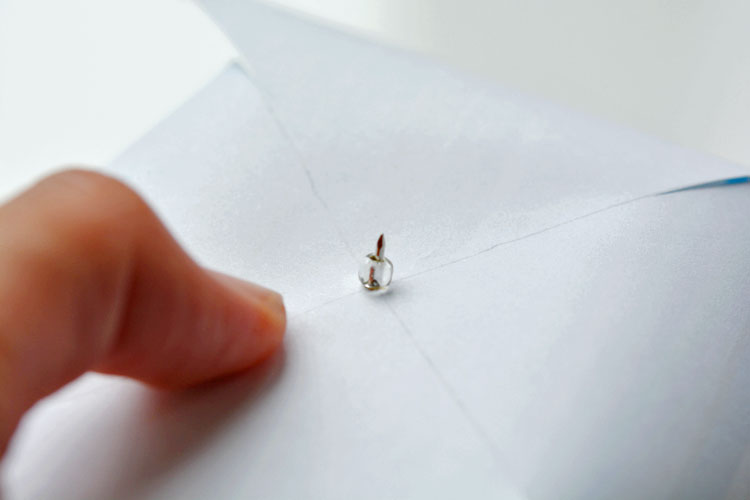
Press the pin through the skewer, and then cover it with as much hot glue as you can. Just be careful not to get the hot glue on the pin, since that’s what will help the pinwheel spin.
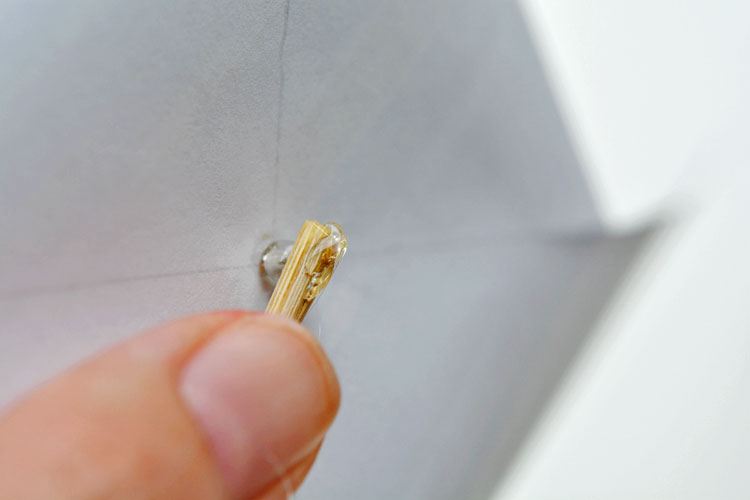
So, on the thumb tack you’ll have the paper pinwheel, a bead, the skewer, and hot glue:
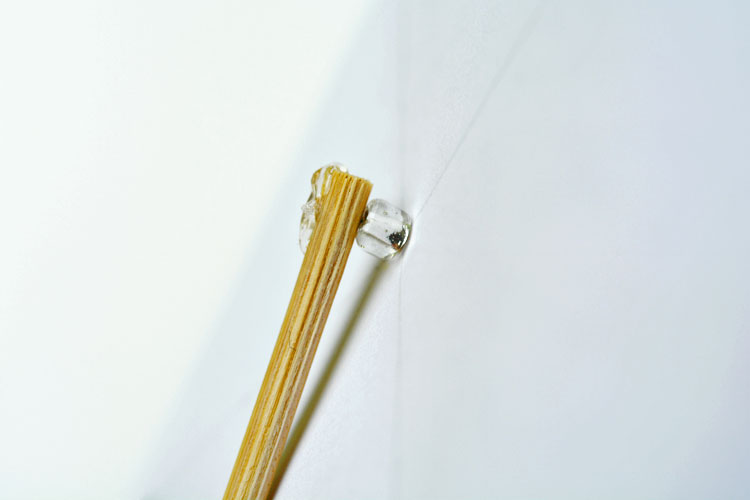
I’d recommend using 6″ x 6″ square paper. I made mine with 8″ x 8″ scrapbook paper, but the pinwheel was so big, that it had trouble spinning. You can kind of see in the photo above that the paper went down at an angle and made it hit the skewer as it rotated.
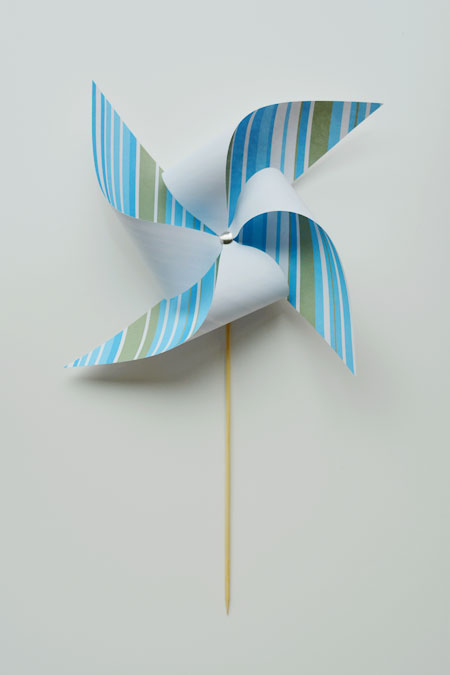
It will depend on the look you are going for, and whether or not it’s important for it to spin around. The smaller the paper for the pinwheel, the easier it will spin.
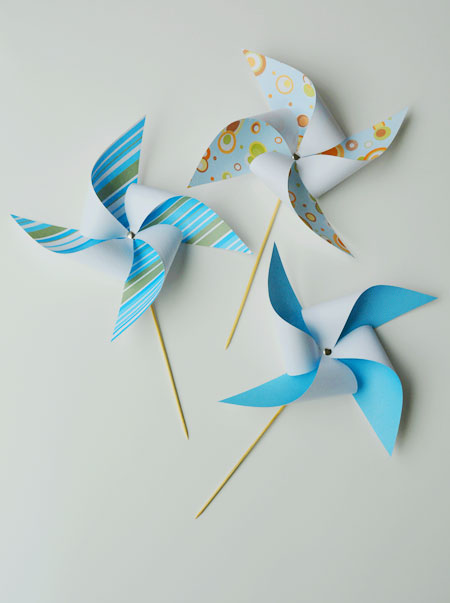
These are beautiful, and they make wonderful party decorations, but I really don’t recommend giving them to children to play with – unless they are older and know how to not poke their fingers on the thumb tack (my girls definitely can’t be trusted with thumb tacks yet…). These are fairly fragile, so they’ll pop off the skewer fairly easily, even with the hot glue.

These pinwheels make beautiful party decorations! They are also fun if you want to add some details to your summer decor. They are fairly simple to make and only take about 5 minutes each from start to finish.
Be sure to check out my updated pinwheel post with a much better method of attaching the pinwheels to the skewers so they actually spin without falling apart here:
Source : onelittleproject.com
Read more...

Post a Comment
Post a Comment