These pom pom chicks are so adorable for spring! And you don’t need any special tools to make the DIY pom poms – just your hands and a pair of scissors! It’s fun and easy and they look sooooo cute when you’re done!
Why have I never tried DIY pom pom crafts before this year?! They are so flipping cute!? In the last few months, I’ve made pom pom penguins, pom pom dragons, pom pom sheep and now pom pom chicks. I can’t decide which ones I like the most!? They are all really cute and surprisingly easy to make!

Make sure you check the dollar store for the craft supplies! You can get everything except the yarn at the dollar store. I found my yarn on sale at Michaels. There’s a link to the exact yarn I used in the list below – just for your reference. It will probably be cheaper in a craft store than on Amazon.
I love crafts that the kids can actually play with when I’m done! My 9 year old has been collecting all of the pom pom crafts we’ve made, and these pom pom chicks are going to join the penguins, dragons, and sheep on her night stand very soon!
Check out our video for how to make Pom Pom Chicks:
How to Make Pom Pom Chicks
Here’s a list of what you’ll need. The affiliate links below will take you to products on Amazon that are similar to the supplies we used to make this craft:
- Yellow Chunky Yarn
- Yellow and Orange Felt
- Orange Pipe Cleaner (12 inches long)
- Googly Eyes (mine were 7mm)
- Scissors
- Glue Gun
I like making DIY pom poms using chunky yarn because you don’t have to wind it as many times around your fingers – so it’s much faster!
That being said, you can still use regular thickness yarn to make pom poms, you just have to wind it more times to get a full looking pom pom. I’ll let you know down below how many times to wind the yarn for both regular thickness and chunky yarn.

Cut a piece of yarn, about 8 inches long and slip it between your first two fingers, as shown in the photo below.

Next, wind the yarn around THREE of your fingers about 60 times. If you’re using regular thickness yarn, you’ll probably want to wind the yarn around your fingers about 110 times.

After you’ve finished winding the yarn around your fingers, take that loose, 8 inch long piece of yarn and tie it around the middle of the yarn loops. Only tie it once – don’t knot it yet. You just want it to hold the loops together so you can slip it off your fingers without everything falling apart.

Carefully slide the yarn off your fingers, then pull the ends of the 8 inch long piece of yarn as tight as you can. Then tie it in a knot to keep it secure.

Using a sharp pair of scissors (this would be a great time to pull out your fabric scissors if you have any), cut the loops evenly through the middle, working your way around the entire circle.

Repeat the process again, except this time wind the yarn around TWO of your fingers about 50 times. If you’re using regular thickness yarn, you’ll want to wind the yarn about 100 times.

When you’re done, you’ll end up with two, very scraggly looking pom poms – one just slightly larger than the other.
Don’t worry, they’re supposed to look messy like this!

You just have to give them a bit of a “haircut” to make them into perfect circles. Just keep working your way around each pom pom until the yarn is even and it actually looks like a perfect ball.

I find that trimming and shaping each pom pom takes about 5 to 10 minutes per pom pom. It’s up to you how much time you spend on this part. The more care you take, the better your chicks will look in the end.
I actually really enjoy this part. It’s kind of therapeutic!

Cut out wings and a diamond shaped beak from felt.

Add a small dab of glue from the glue gun to the center of the diamond. Then pinch it together into a beak shape.
You need it to actually look like a beak before you attach it to the head, otherwise the felt will just pop open.

Using a hot glue gun, attach the eyes and beak to the smaller pom pom to make the chick’s face.

Add a small dab of glue from the glue gun to the tip of each wing, then attach them to the top of the larger pom pom.
Then add a large glob of glue from the glue gun to the top of the larger pom pom (including the edges of the wings if you can), as shown in the photo below.

Gently press the smaller head pom pom onto the larger body pom pom. Make sure you hold it together until the glue from the glue gun dries.

To make the feet, fold a 12 inch orange pipe cleaner in half. Then fold one end into a zig zag shape with 3 equal zig zags like in the picture below.

Pinch each point of the zig zag tightly together and shape them into the chick’s feet, as shown in the photo below.
Repeat the process for the other end of the pipe cleaner so you have two feet, with 3 toes each.

Add a line of glue from the glue gun to the pipe cleaner between the two feet.

Then carefully press the pom pom chick onto the feet.

And your pom pom chick is complete!

I love how when you look from the side the beak looks like it’s open.


Aren’t they cute!?

These pom pom chicks are SO CUTE for spring time! This is such a cute Easter craft idea for kids! They’d look super cute as a decoration on the Easter table, or just a festive spring craft to make with the kids on a rainy day. You don’t need any special tools to make the DIY pom poms, just your hands! Each one takes about 15 minutes to make using simple craft supplies. The kids will love playing with them when you’re done!
If you’re looking for more fun pom pom craft ideas, check out our tutorial for making pom pom sheep. I’ve gotta say, these will go PERFECTLY with your pom pom chicks if you make them together!!

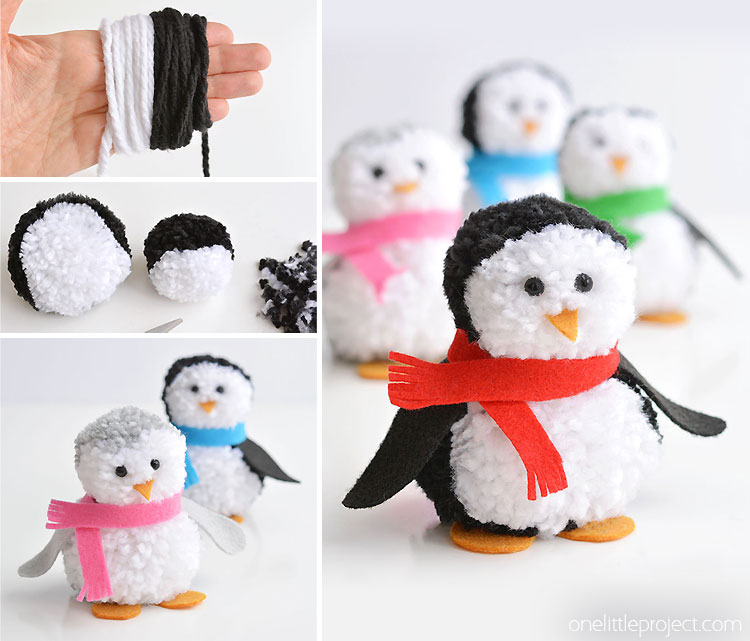
And I’ll throw in a link to my tutorial for pom pom penguins… just because they are cute… and they make me smile. Who says penguins can’t play with chicks and sheep!?
Source : onelittleproject.com
Read more...


Post a Comment
Post a Comment