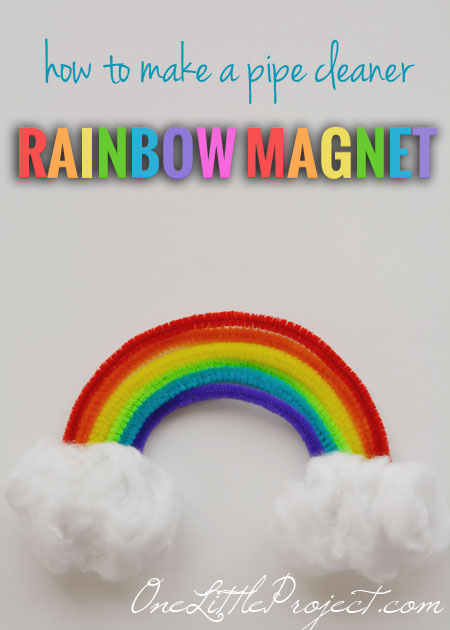
Happy first day of spring! Here is a super easy tutorial to make a pipe cleaner rainbow magnet to celebrate! I may still see snow on the ground (hooray for Canada!), but this little rainbow magnet brightens up my kitchen and gives me hope that at some point, I’m going to get to stop wearing my winter jacket! Leah loved helping me out with these. Sorting all the colours and putting them in the right order was a great task for her!
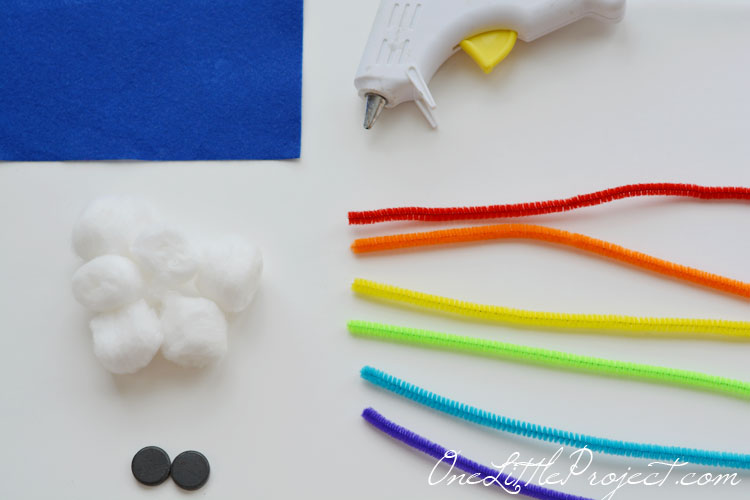
To make a pipe cleaner rainbow magnet, you’ll need pipe cleaners in all the colours of the rainbow (I usually have lots on hand from the dollar store), some cotton balls, some blue felt, two magnet pieces, and a hot glue gun.
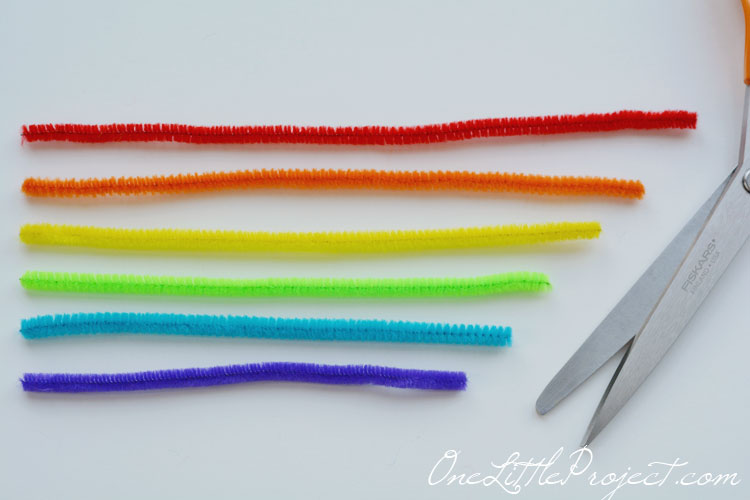
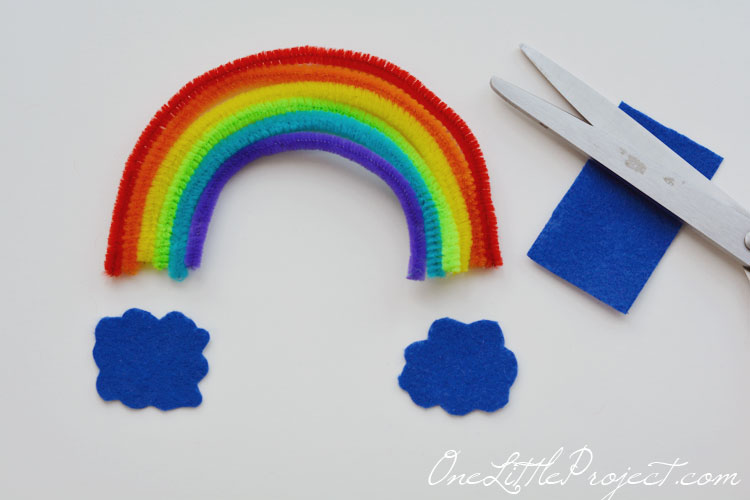
Set out the pipe cleaners in the order of the rainbow, and then cut them. Each one should be a little bit shorter than the one before since we are going to bend these into shape.
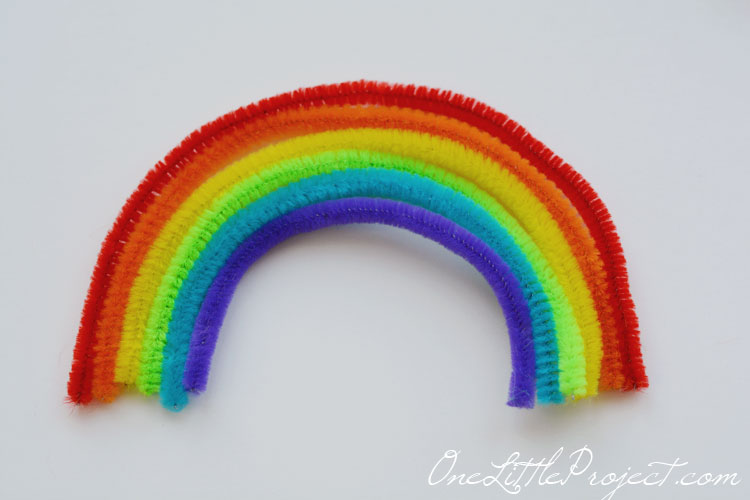
Bend each one of the pipe cleaners into a rainbow arch, tucking the next colour inside the one before as you go along.
Next, take a small piece of blue felt, and cut it out into the shape of a cloud. You’ll need these (or some heavy paper or cardboard if you don’t have felt) so you have somewhere to put the hot glue.
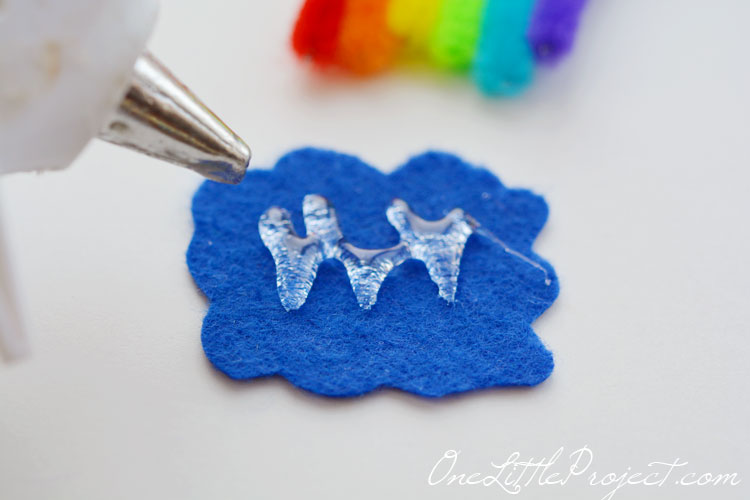
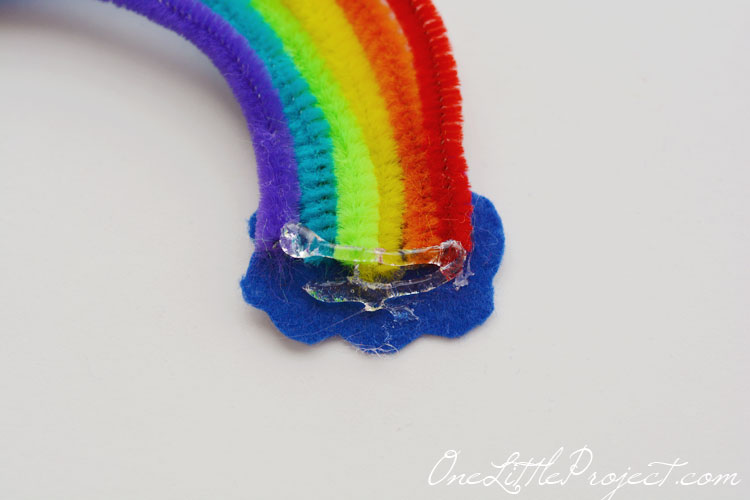
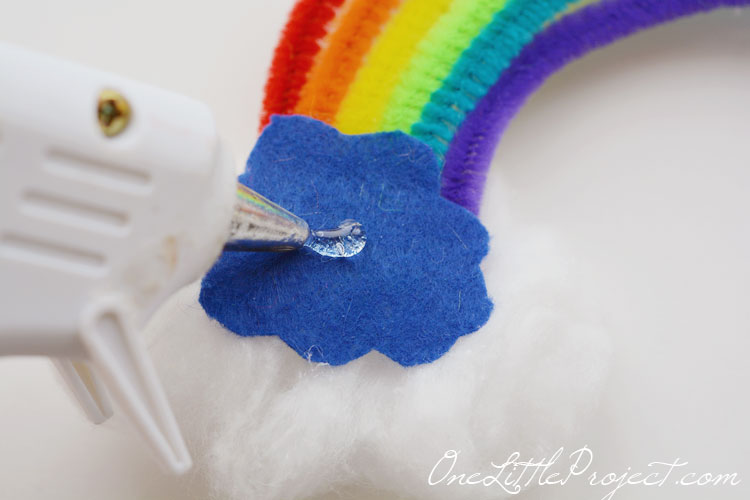
Add a generous amount of hot glue to the little felt cloud:
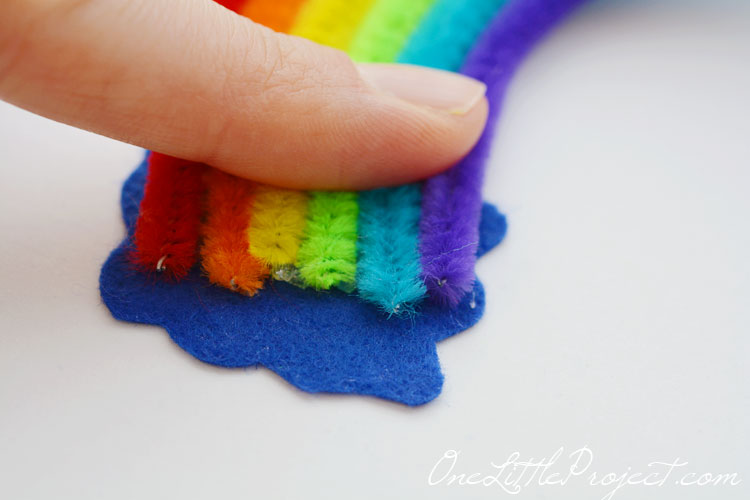
And then press the pipe cleaners down onto it until it’s set:
Do the same thing for the other side of the rainbow:
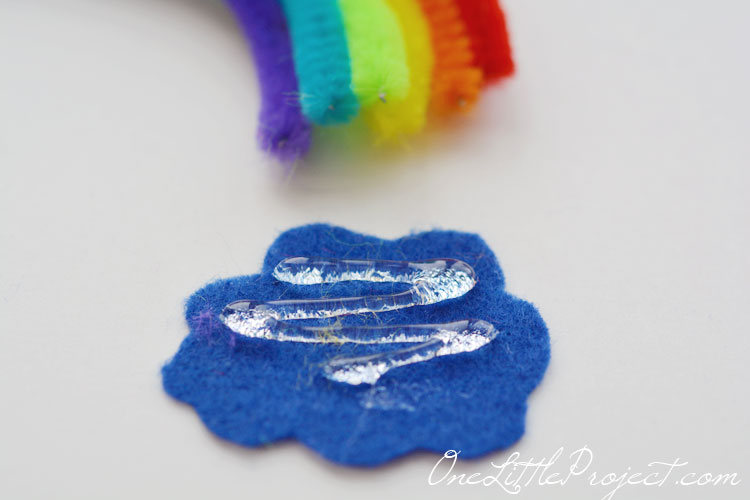
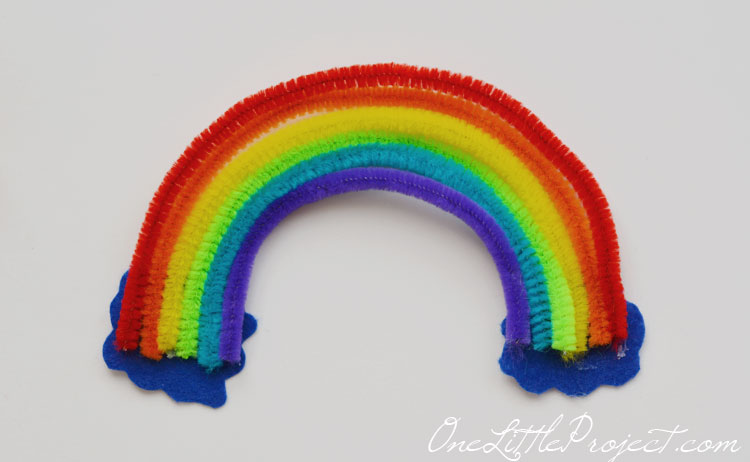
Now you should have a full arching rainbow that is held together by the little blue felt clouds:
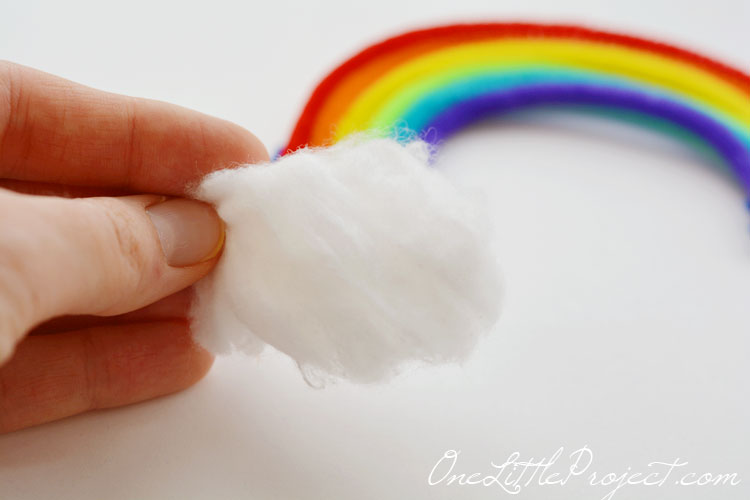
Take a cotton ball, and stretch it out until it’s big enough to cover the blue felt piece:
Add a generous amount of hot glue to the top of the pipe cleaners. You’ll probably want to use even more than I did here. Mine worked, but after a few tugs from my girls I had to glue the cotton ball back on.
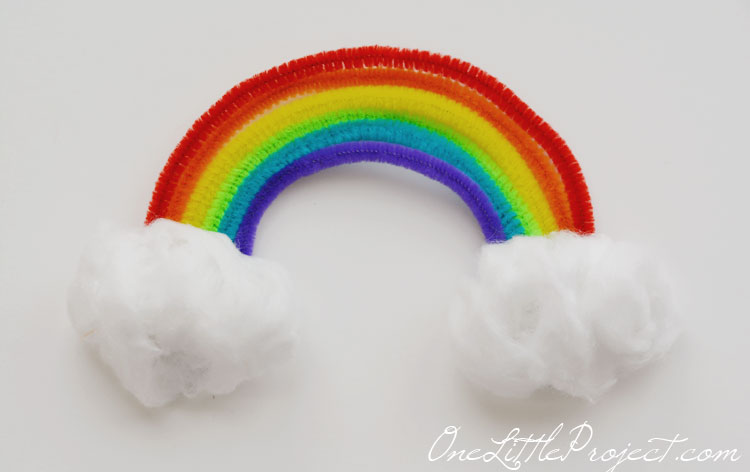
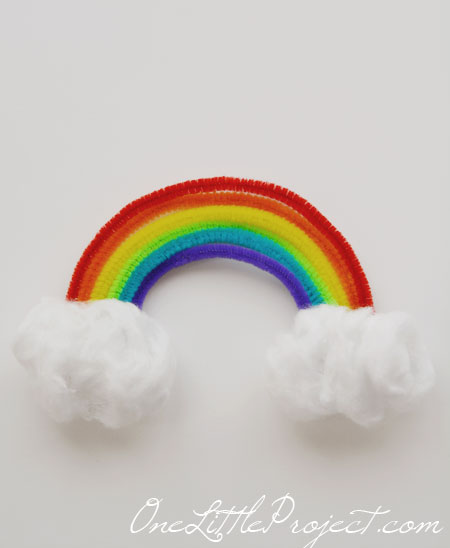
Press the cotton balls onto the end of each rainbow to be clouds. The front is ready to go! You can stop here if you don’t have any magnet pieces. I’m pretty sure kids will have just as much fun with it if they just have the rainbow to play with. But since I had a couple of magnets laying around, I decided to use them for this fun project.
I added a small glob of hot glue to the back of each of the blue felt clouds:
And pressed down the magnets onto the felt until the glue was set:
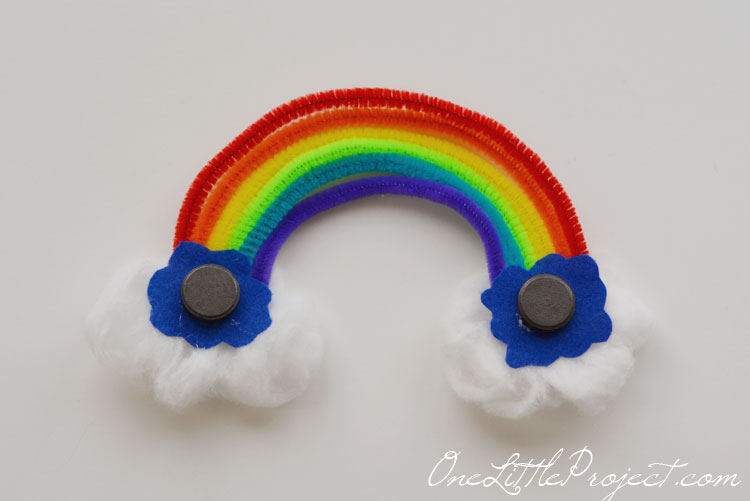
I had some trouble finding a red pipe cleaner in my craft cupboard, so this one had a little more “love” than I normally would use. But it still worked, despite the extra bends it carried along with it.
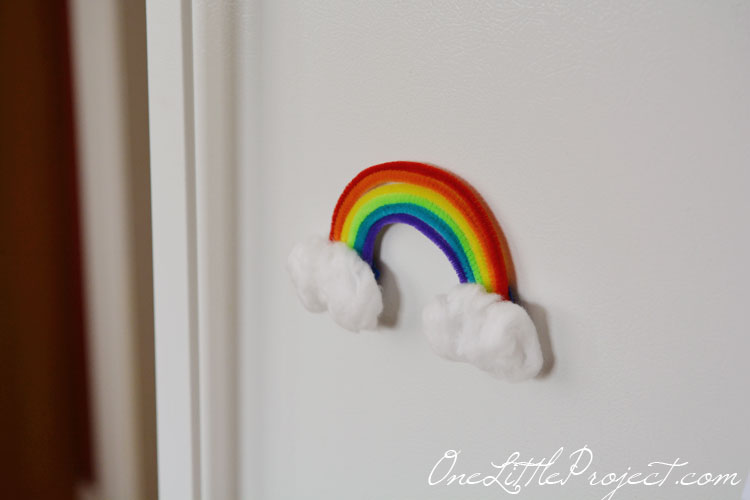
And ta-da! Here is the rainbow magnet on the fridge, ready to brighten up our kitchen. With a 4 year old and an almost 2 year old, you can guess how long this stayed on the fridge before they insisted on taking it down to play with it (about 30 seconds).
Cotton balls make perfect clouds, don’t you think? Leah loved pulling them apart and shaping them until they were just right to add to the bottom of each rainbow end:
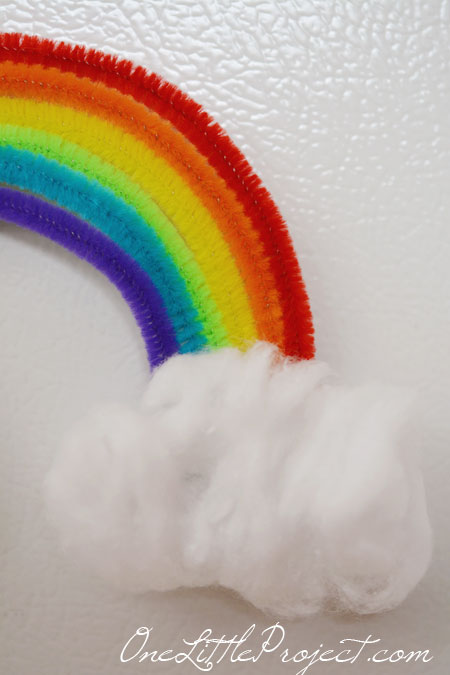
These are so quick and easy to put together! If you have another rainy day while waiting for the warmer weather to come (or another snowy day… just saying…) this is a great activity to keep you and your kids occupied.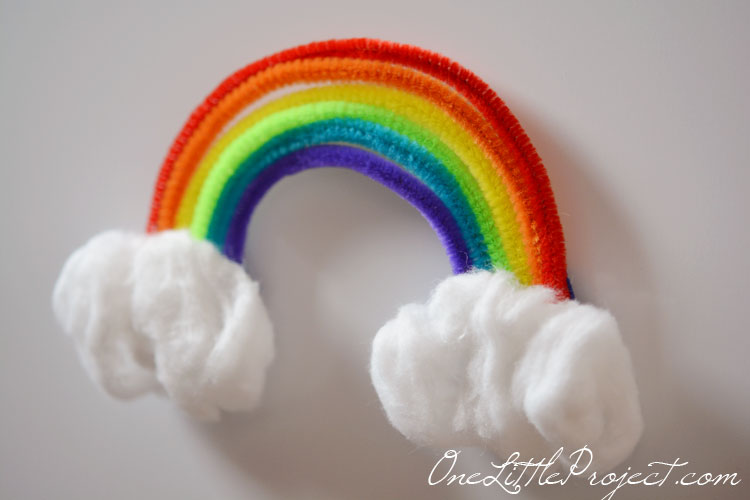
These rainbow magnets take about 15 minutes to put together. If you don’t feel like adding magnets you can make them without, or you can use some masking tape and hang them on the walls in your kids’ bedrooms. It’s a great craft for kids (with help from an adult with the glue gun of course) plus it’s a great opportunity to teach them about the different colours of the rainbow. Happy spring!
bch
Source : onelittleproject.com
Read more...

![Easy Chicken Shawarma Quinoa Bowl [Video] Easy Chicken Shawarma Quinoa Bowl [Video]](https://blogger.googleusercontent.com/img/b/R29vZ2xl/AVvXsEjke0cxW9oE_yFH8Adx_PFDYoM0uY5_Sfhu9obss7PT24aPBoVB2cjrIzq_6Kx7De-55IBXMaRvZ8E2RxAeH_slmP0qyhH2Pb2qN6LiCnACEhDmLvyRW9of9_eEs5bg3b40N25Htp55yLyh/w75-h75-p-k-no-nu/3+%25282%2529.jpg)
Post a Comment
Post a Comment