These pipe cleaner daisy rings are such a fun summer craft project! They’re super simple to make and they look so pretty. And best of all, you only need a few pipe cleaners to make them.
Don’t you love easy crafts that only need ONE material!? You know I’m a pretty huge fan of low mess crafts so I’m really loving all these pipe cleaner rings!
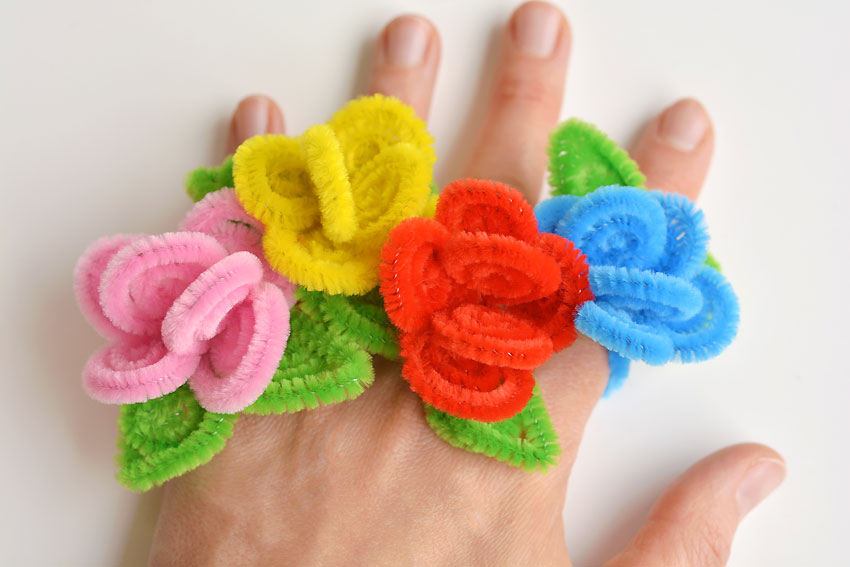
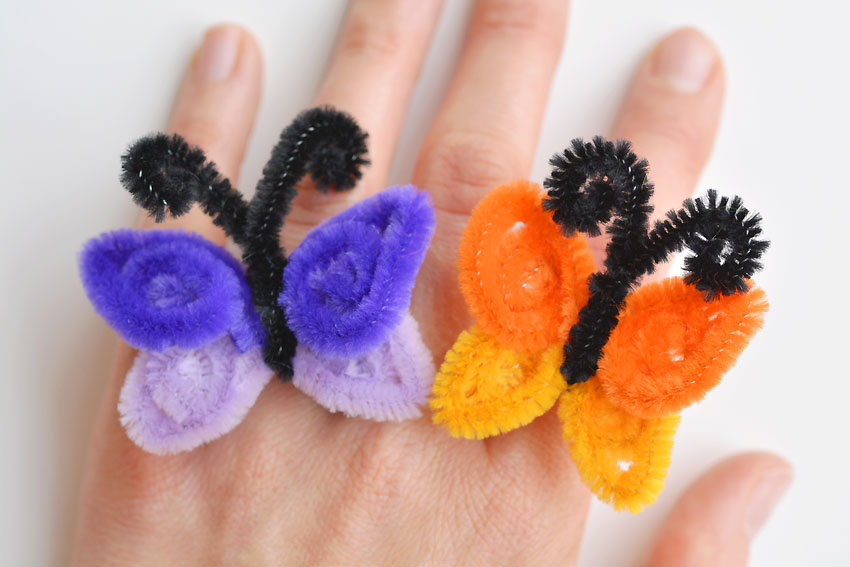
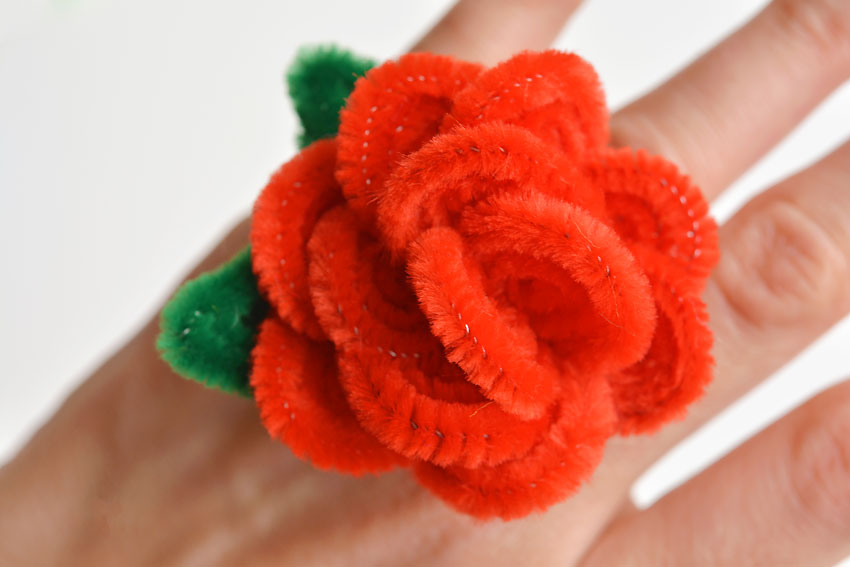
If you haven’t been following along, these pipe cleaner daisies are Part 3 in our pipe cleaner rings series. We’ve also posted tutorials and videos for Pipe Cleaner Flower Rings, Pipe Cleaner Butterfly Rings, and Pipe Cleaner Rose Rings.
I kind of got a little obsessed with pipe cleaner rings this month, mostly because they’re so easy to make and they end up looking so beautiful! These pipe cleaner daisy rings remind me so much of summer!

I used to love picking daisies when I was younger and then doing “he loves me, he loves me not,” leaving a trail of white petals behind me. My kids are still too little to enjoy that game (thankfully they have no interest in dating… yet…), but they do enjoy picking daisies and bringing them to me. Although usually I get bouquets of dandelions, and lately, bouquets of clover flowers.
In case you’re wondering, clover flowers hold up surprisingly well in water?! The last bouquet my 4 year old picked for me is almost a week old and it actually looks really healthy! They may not be fancy flowers, but I will happily take a bouquet of daisies, dandelions or clover flowers that were picked with love from my kids any day. It makes my heart happy every single time I see them on the kitchen counter!
Check out our video for how to make pipe cleaner daisy rings:
Watch the rest of the videos in our pipe cleaner rings series here. You can make them all in just a few minutes:
How to Make Pipe Cleaner Daisy Rings
Here’s a list of what you’ll need. The affiliate links below will take you to products on Amazon that are similar to the supplies we used to make this craft:
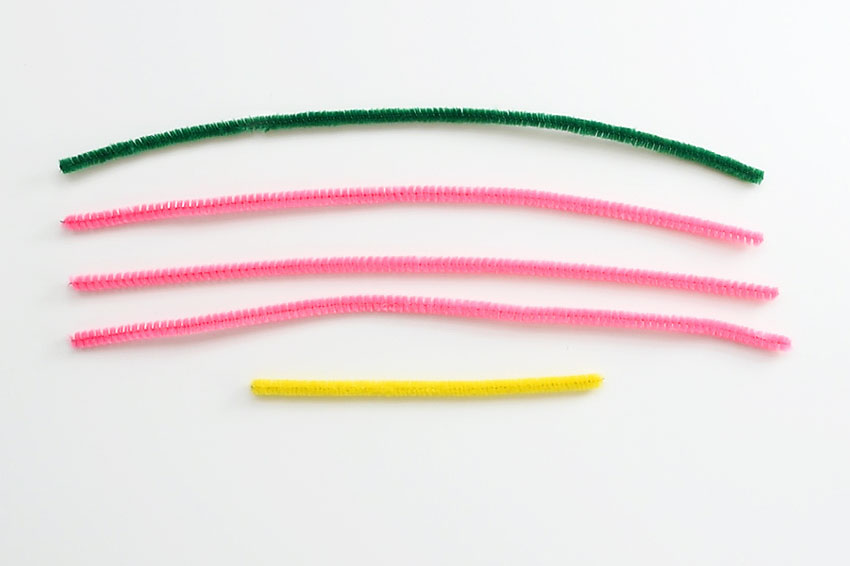
- 4 pipe cleaners – 12 inch length (3 of the same colour, and 1 green)
- 1 pipe cleaner – 6 inch length (yellow)
I really love the white daisy, but it’s really hard to photograph white pipe cleaners on a white background – trust me – I’ve made that mistake way too many times! So this tutorial will use a pink daisy instead.
You can make your daisies in all your favourite colours. Or even multicoloured daisies!
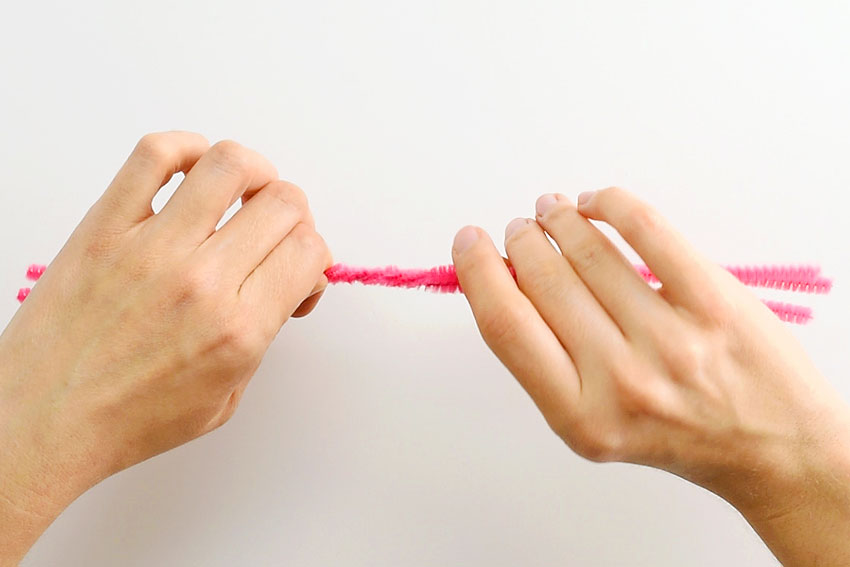
Take the 3 pipe cleaners that are going to be your flower (in my case, the 3 pink pipe cleaners). First line up the ends, and then twist them together 4 or 5 times in the middle. This will be the part of the ring that goes around your finger.
Wrap the pipe cleaners around your finger.
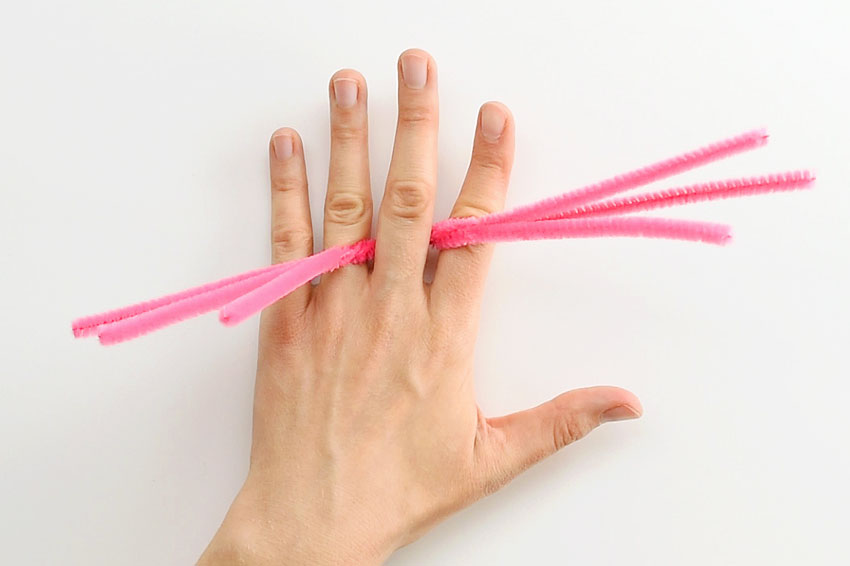
Then, making sure the ends are even on both sides, twist the pipe cleaners together 2 or 3 times.
Sometimes it’s easier to cross the pipe cleaners, just to get the size, and then pull it off your finger while you twist.
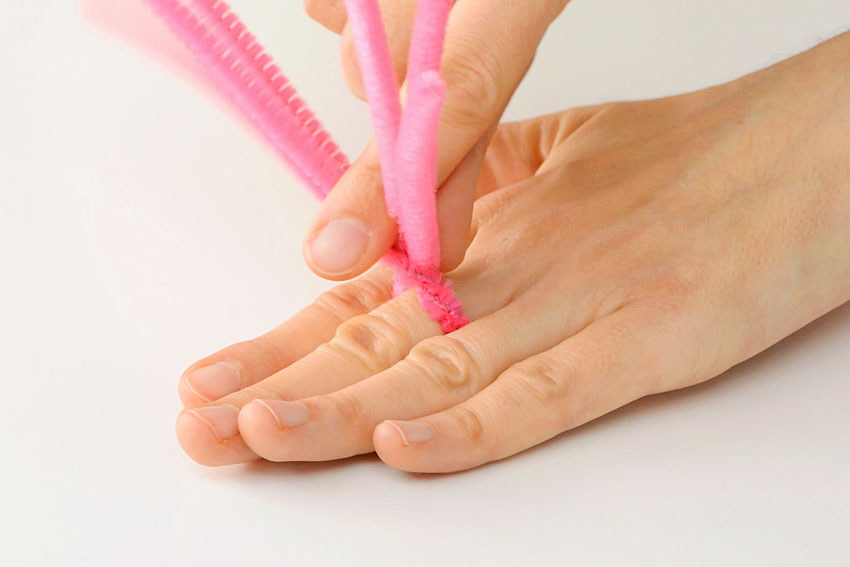
Make sure you double check that the ring still fits on your finger before you continue. Sometimes the ring gets smaller as you twist. If it’s too small, untwist it and try again until you’re happy with the size.
It should look like this:
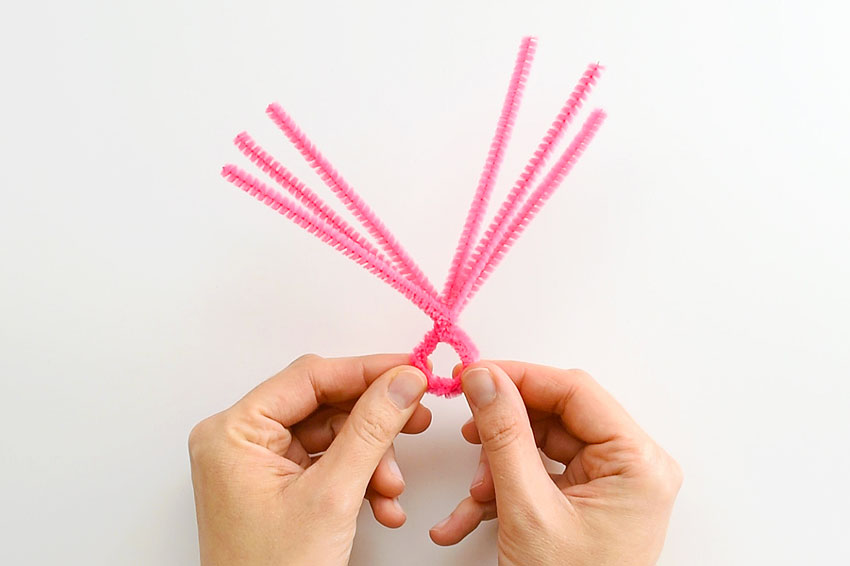
Spread out the 6 pipe cleaner ends so they’re evenly spaced.
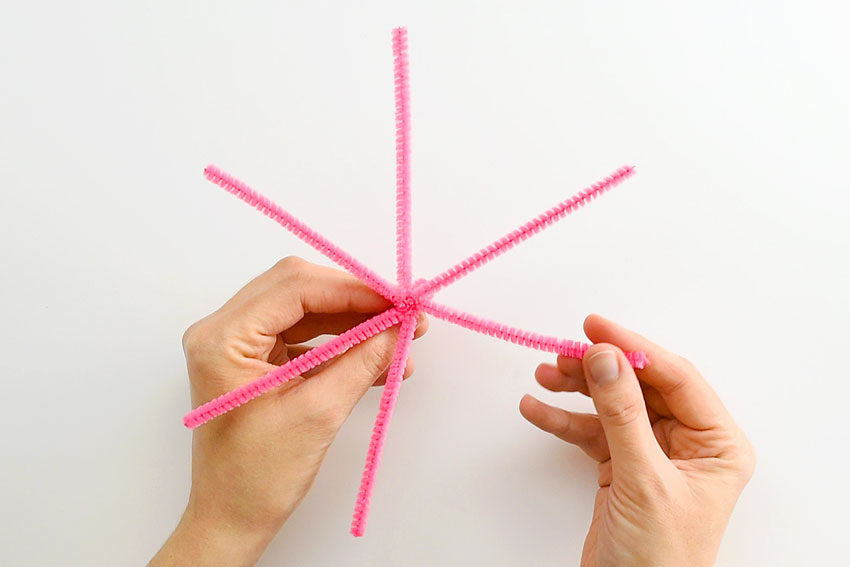
Bend the end of one of the pipe cleaners into a small “L” shape, about 3/8″ to 1/2″ long.
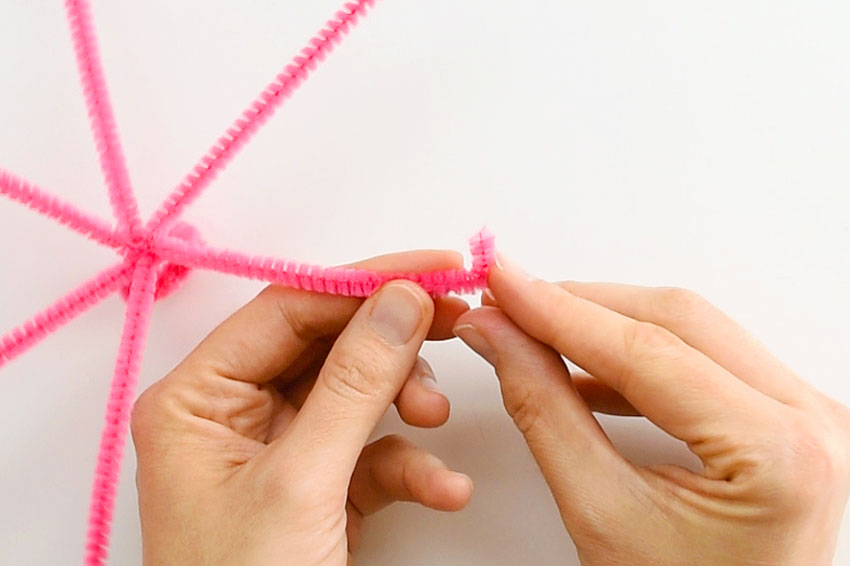
You basically need to make an elongated spiral. So keep “rolling” the pipe cleaner around itself into a long petal shape until you reach the center.
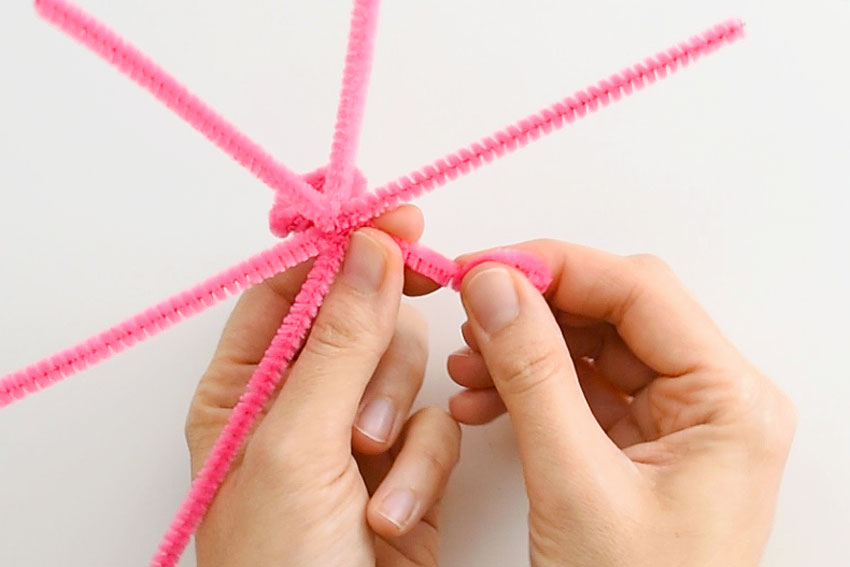
Then repeat the process for the other 5 pipe cleaner ends.
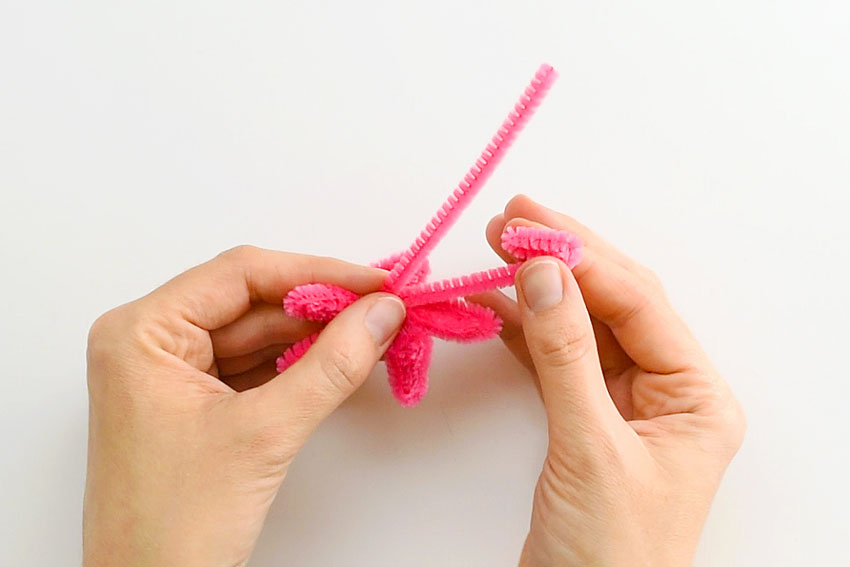
You should end up with a daisy shaped flower with 6 pointy petals, like in the photo below.
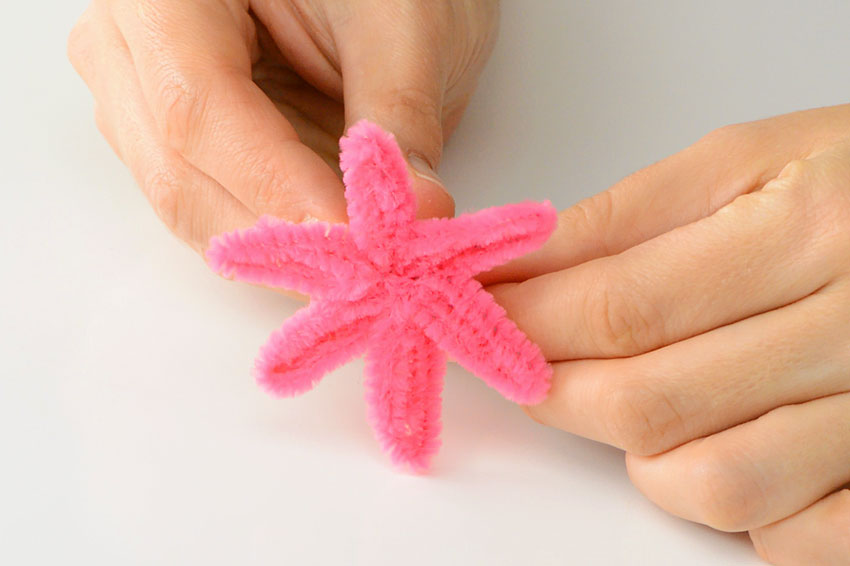
Next, take the yellow pipe cleaner (remember, it only needs to be 6 inches long), and place it across the back of the flower (on the side with the ring).
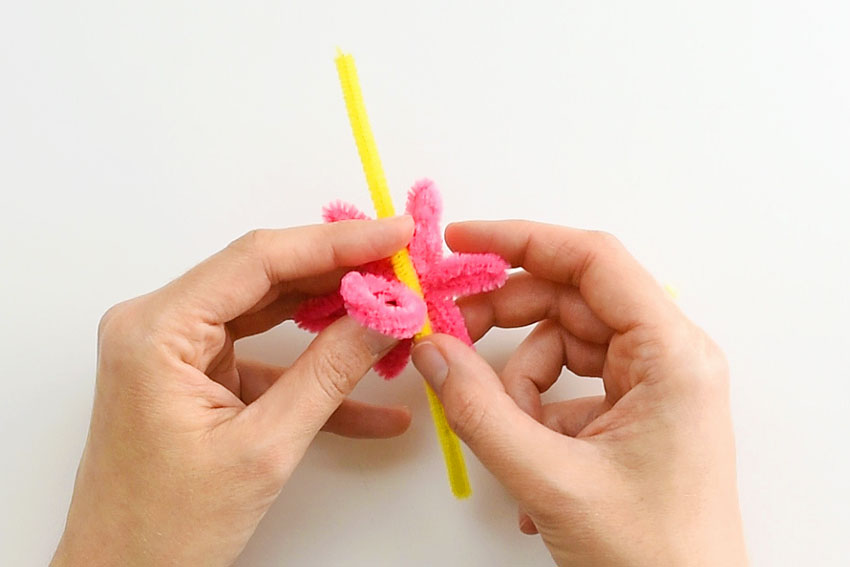
Bend the yellow pipe cleaner between two petals on the top, and the opposite two petals on the bottom. Make sure the ends are even, then twist it, right against the top of the flower to hold it in place.
Then twist the ends together, all the way to the end, like in the photo below.
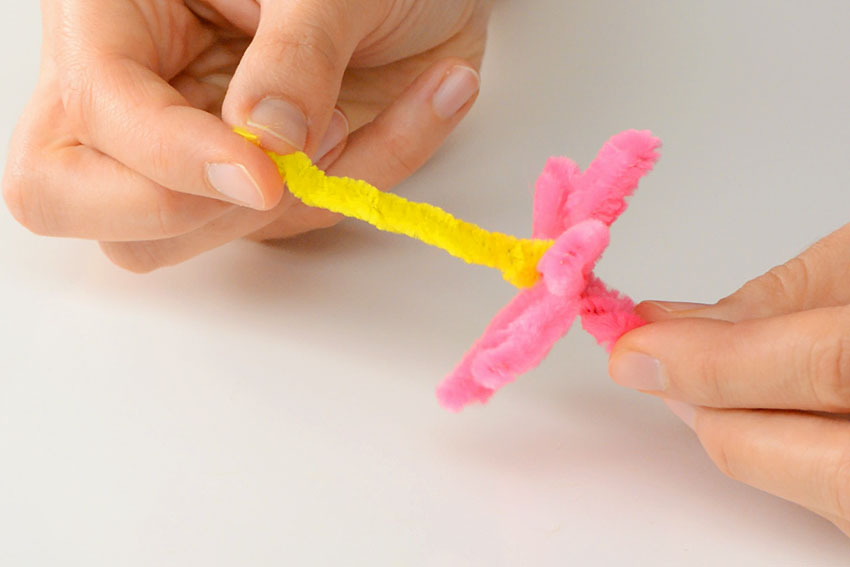
Pinch the tip of the yellow twisted pipe cleaners, and roll them into a tight spiral (like in the photo below) until you reach the flower.
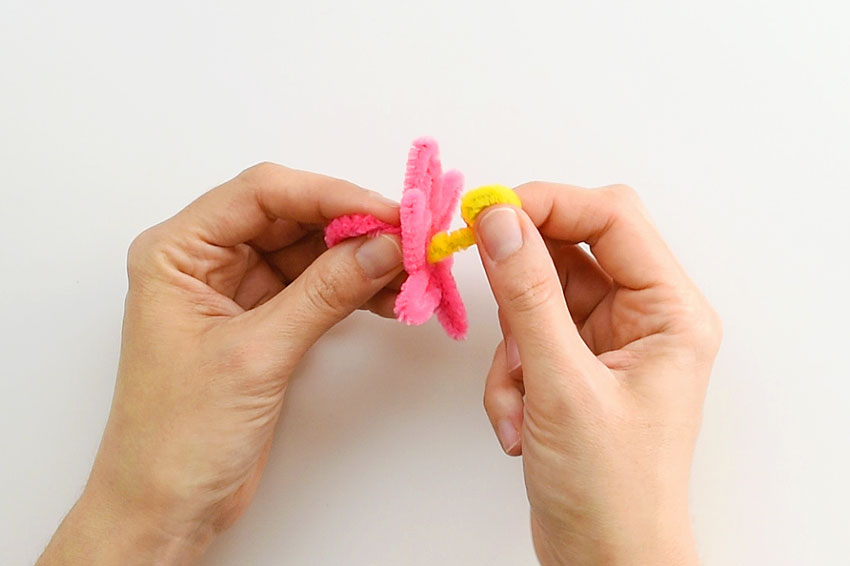
Then bend the yellow spiral down and into place in the center of the daisy.
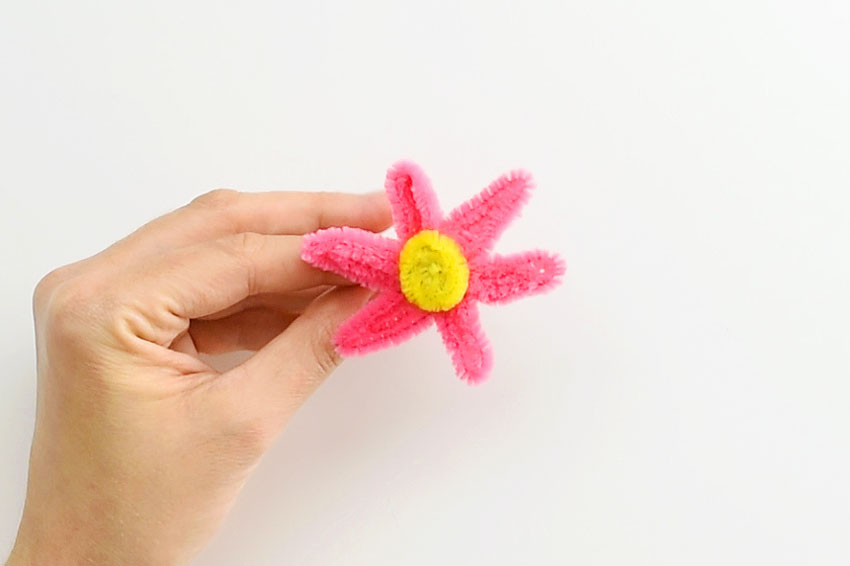
Take the green pipe cleaner (this one needs to be full length, so 12 inches long) and wrap it around the ring on the back of the flower. Twist it a couple times to keep it in place.
Then pinch the end of the green pipe cleaner and roll it into a spiral until you reach the center.
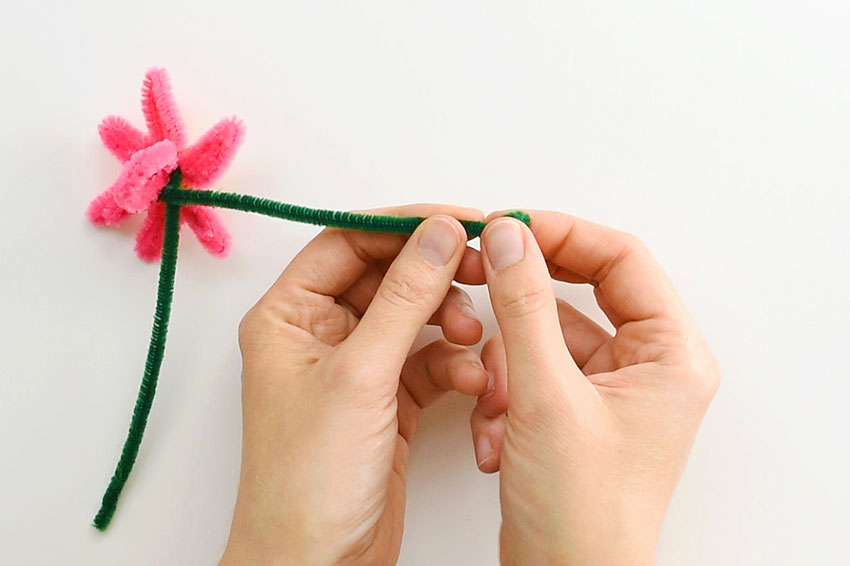
Repeat for the other end of the green pipe cleaner. You should have two green spirals, just like in the photo below.
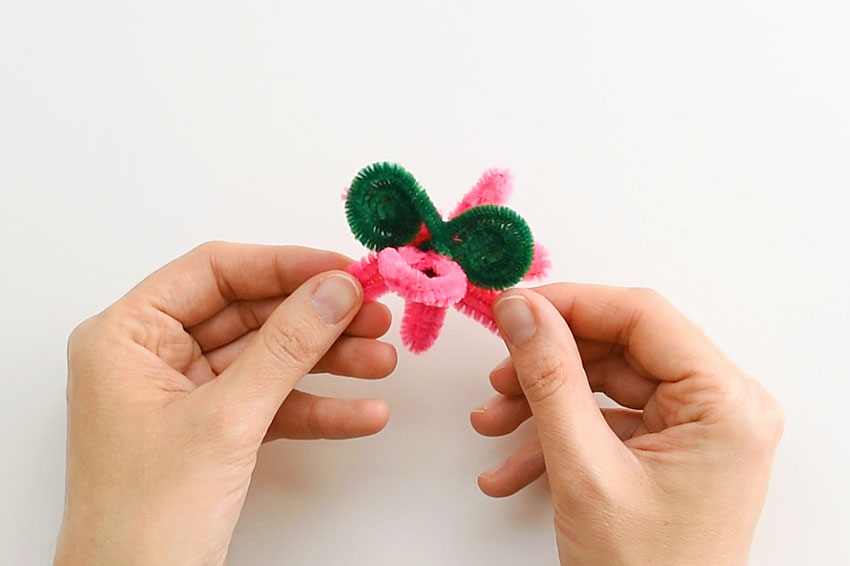
Pinch the green spirals to shape them like leaves.
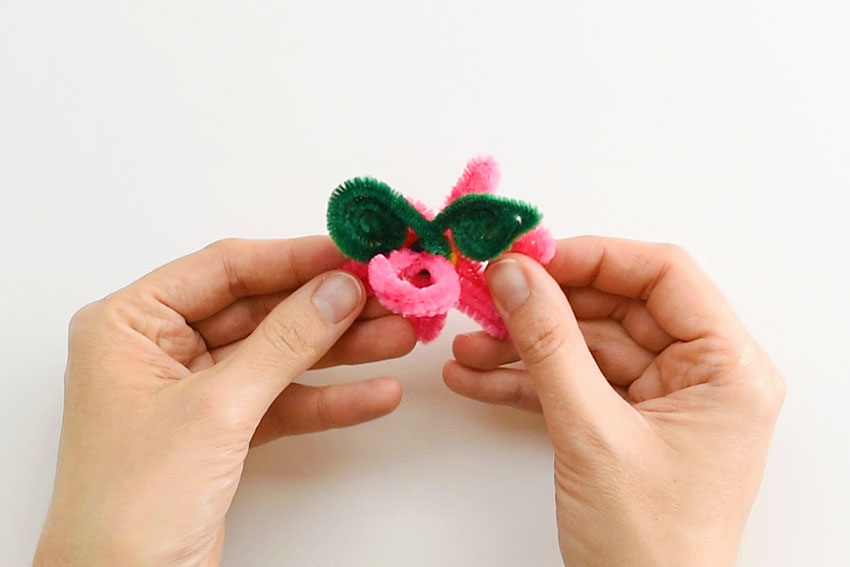
Flip it over and your pipe cleaner daisy ring is done! Feel free to adjust the petals and the leaves if you need to.
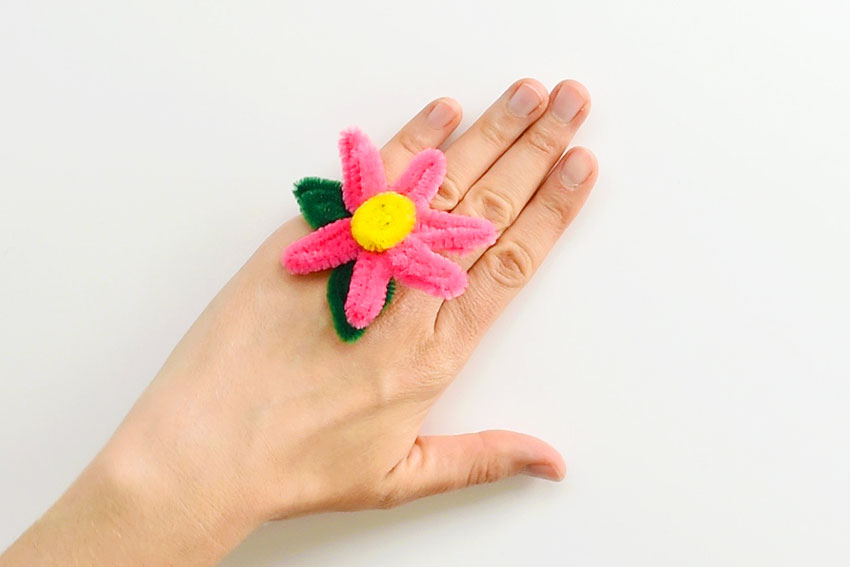
Then make them in all your favourite colours!
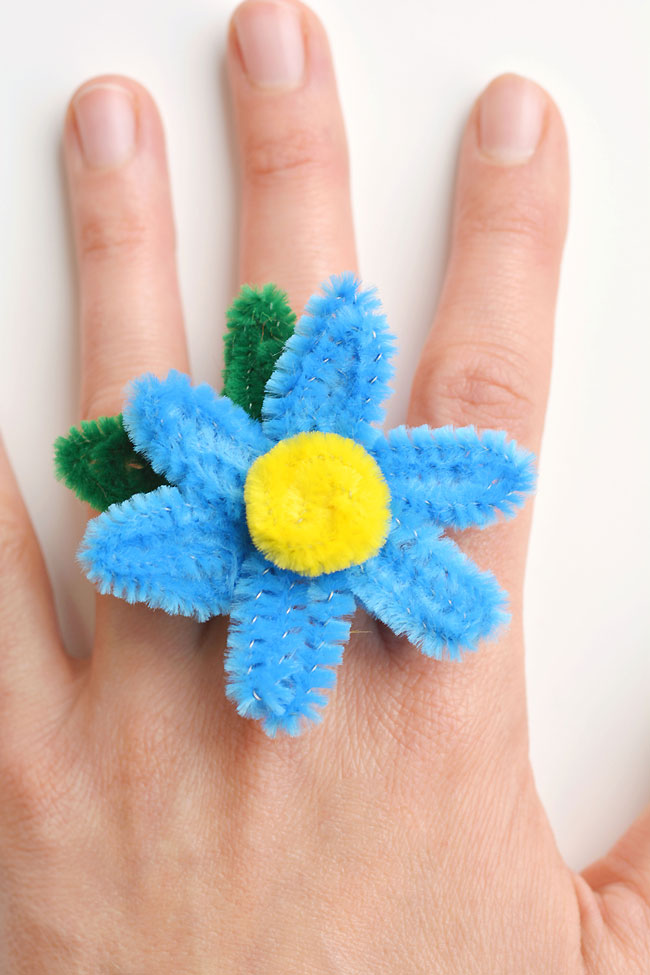
I really love how summery these white daisies look!
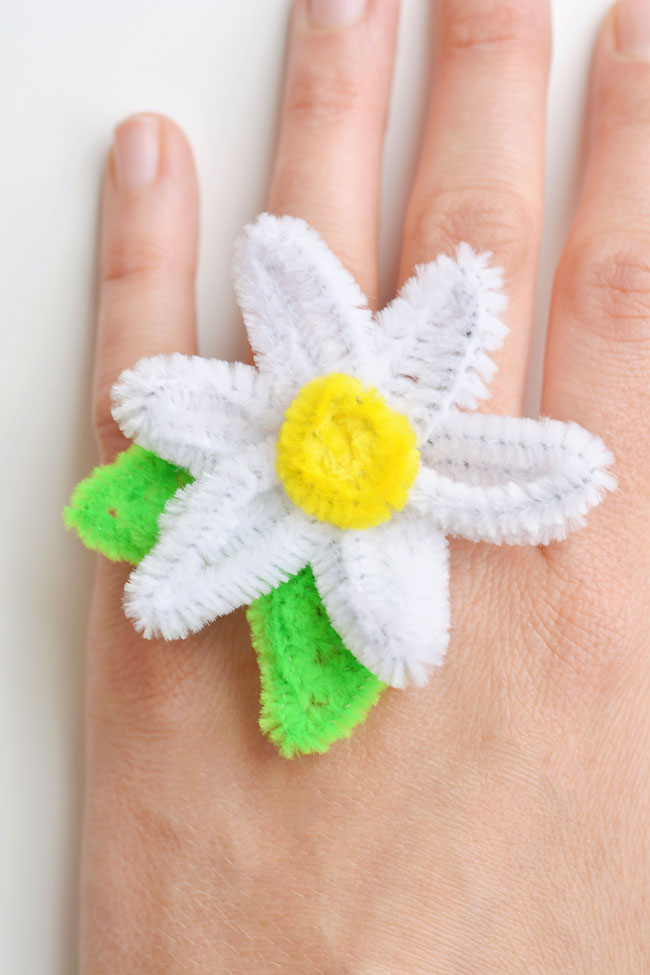
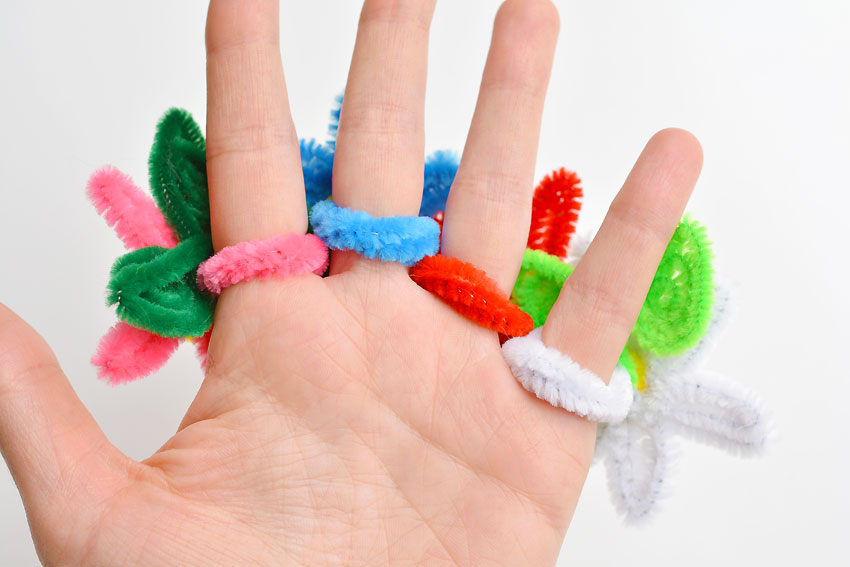
This is what the rings look like on the back of your hand. I don’t know that I really recommend wearing 4 pipe cleaner daisy rings at once like in the photo below. lol It was definitely a little much!
If you make them using different coloured pipe cleaners they’ll look like the pink, red and burgundy flower in the photo below.
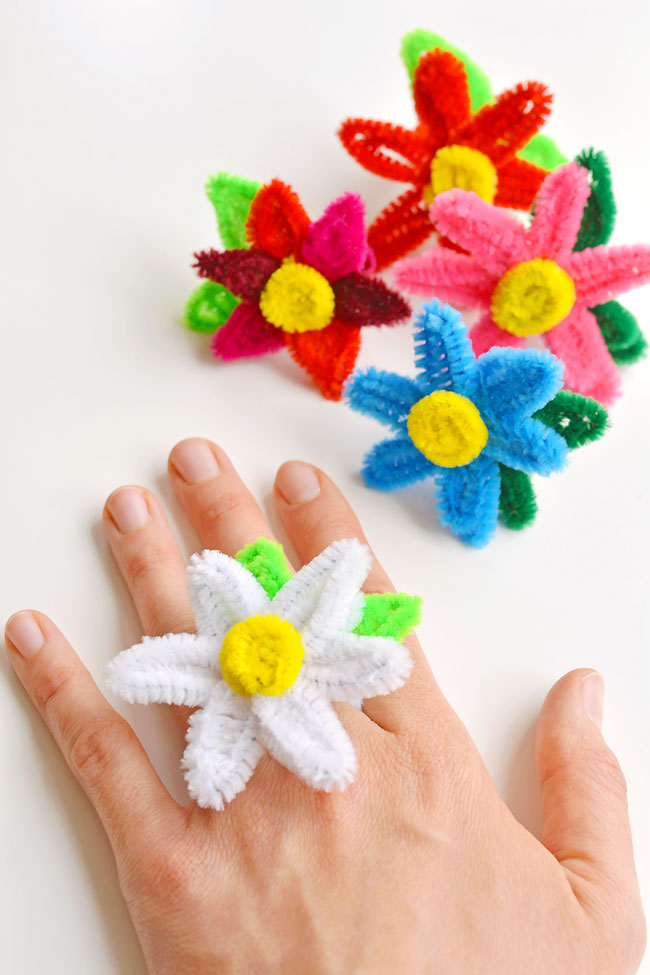
I personally like the flowers made with one colour, but my kids LOVE making things using as many different colours as they can.
Kids are surprisingly good at coming up with really fun colour combinations and they almost always end up looking great – way more creative than what I come up with!
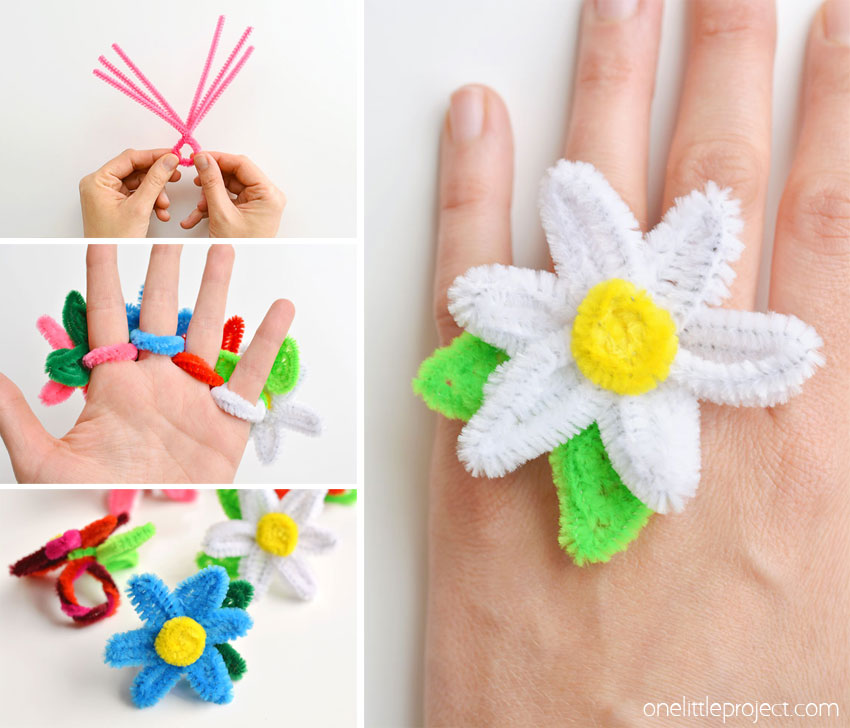
These pipe cleaner daisy rings are so fun and they’re really easy to make! This is such a fun summer craft idea and a great craft for kids, teens, tweens and even adults. Each one takes less than 5 minutes to make and you only need pipe cleaners! Such a great way to make homemade jewelry.
Here are the links to the other pipe cleaner ring tutorials in our 4 Part series – Don’t forget to save them to your favourite Pinterest boards:
Our book Low-Mess Crafts for Kids is loaded with 72 fun and simple craft ideas for kids! The projects are fun, easy and most importantly low-mess, so the clean up is simple!
Source : onelittleproject.com
Read more...

Post a Comment
Post a Comment