These easy pipe cleaner daffodils and tulips have to be the PRETTIEST things I’ve ever made from pipe cleaners! I really can’t help myself from buying pipe cleaners. I see them at the dollar store all bright and rainbow coloured, and my crazy craft brain kicks in and I find myself throwing bags of them in the shopping cart without even thinking about it. Then I get them home and I have NO IDEA what to do with them. What do you use pipe cleaners for??
If you’re as stumped as I am about what to do with pipe cleaners, then you’re going to love these flowers! They are so easy to make and they look gorgeous when they’re done! Pipe cleaner flowers! Who knew it was a thing?!
I made these while my 6 year old was at school, and when she came home and saw them sitting on the table, she enthusiastically exclaimed “Oooo… What are those!? I LOVE them!!”. Which, coming from my daughter is the highest compliment ever. It totally made my day that she liked them. I think it might have made my whole month?? And then of course when my 4 year old came home, we ended up making ten of the flowers in various shades of pink. Ah, you’ve gotta love having little girls!

I guess I’m a little late on the spring flower thing, seeing that it’s nearly summer, but I don’t think it matters? Daffodils are my absolute favourite flower, and ours just stopped blooming in the front yard so I’m going to continue to celebrate them here on the blog, mmm-kay? Besides, they’re so pretty and so fresh looking, what’s not to love?!
How to Make Pipe Cleaner Daffodils
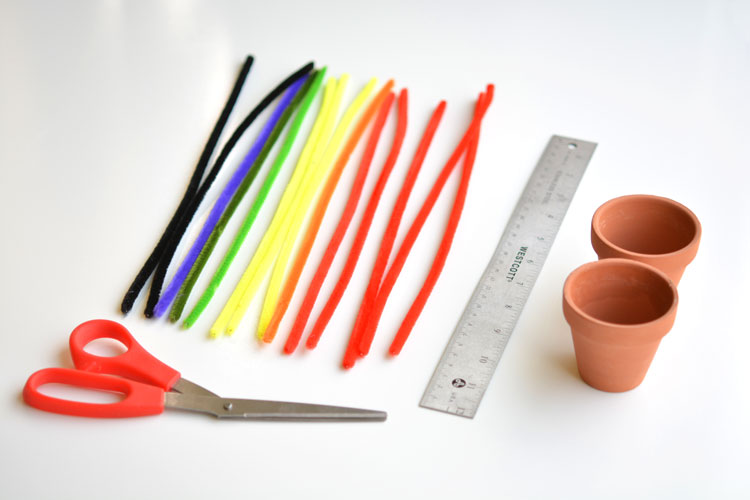
Here’s what you’ll need:
- 3 yellow pipe cleaners
- 1 orange pipe cleaner
- 1 green pipe cleaner
- hot glue gun
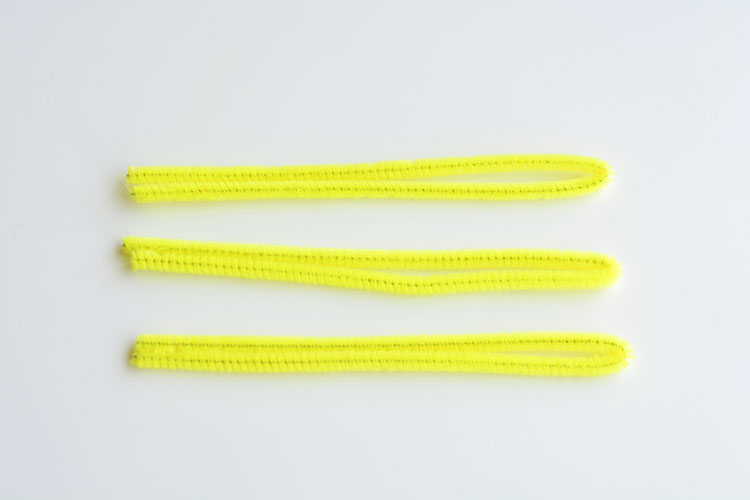
Start by folding each of the yellow pipe cleaners in half to find the mid point:
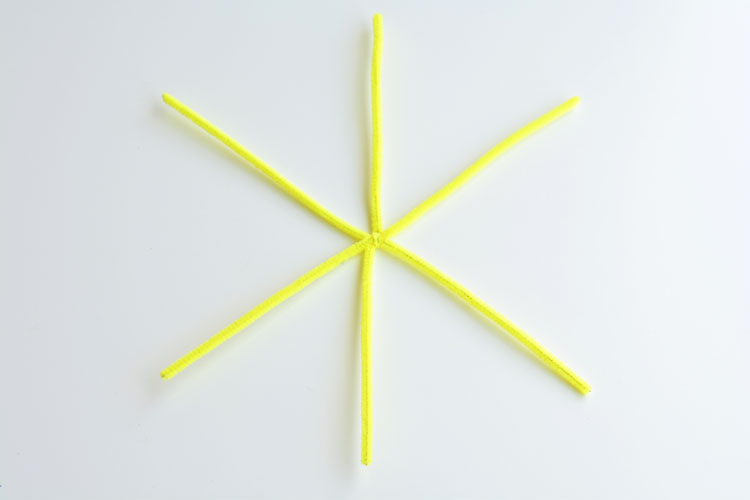
Then open them back up and arrange them into a star, twisting them at the middle so they stay in place:
Take each end and roll it tightly like a snail:
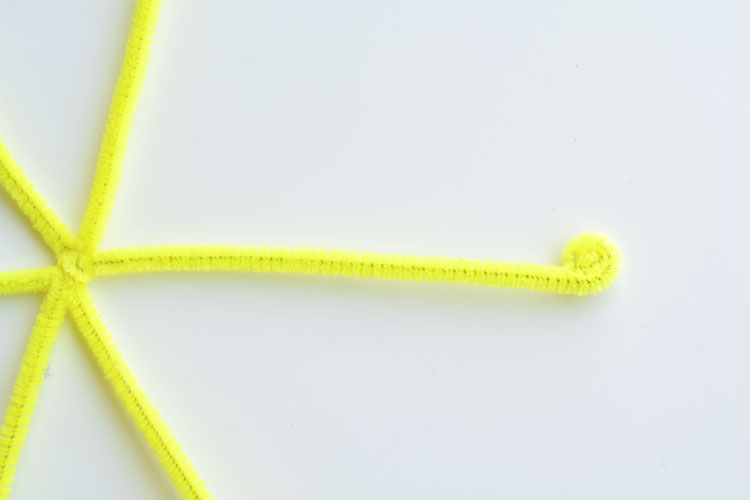
Keep winding it until you get to the center:
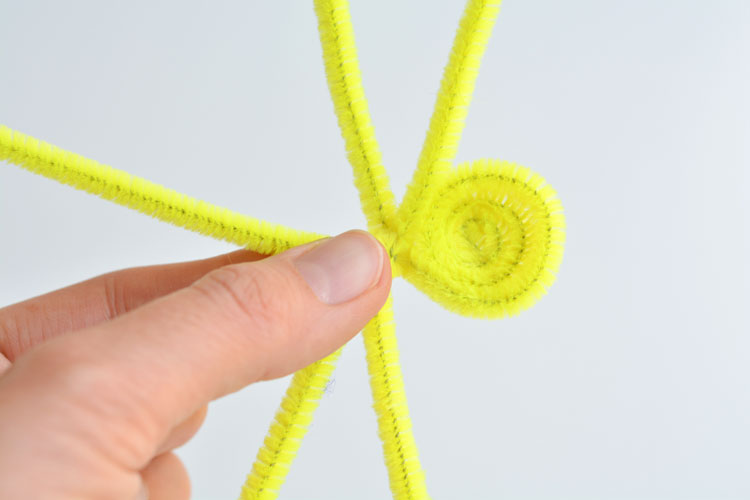
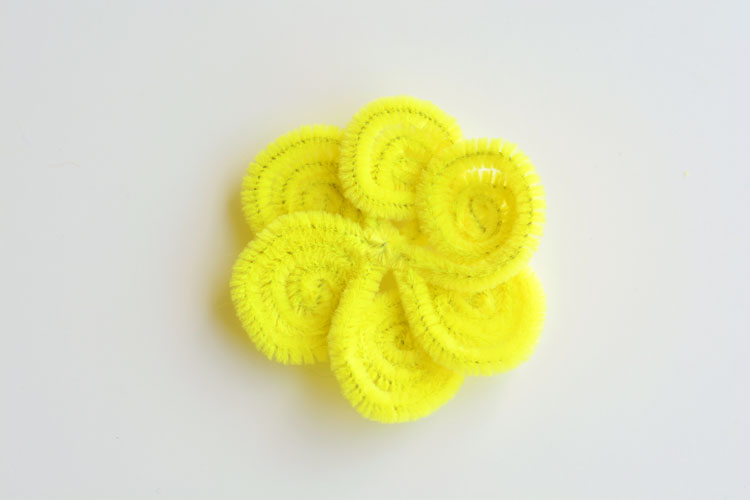
Repeat until all the “pedals” are rolled up and then arrange them evenly:
For the stem, bend about 1″ of the end of the green pipe cleaner into a “J” shape and loop it through the middle of the flower:
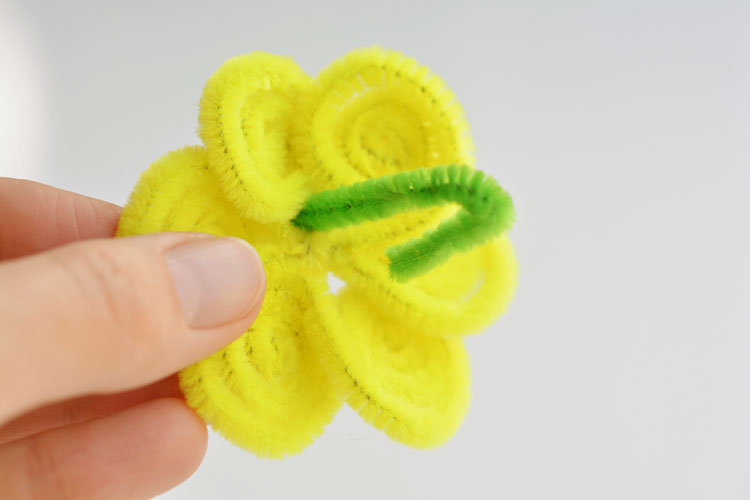
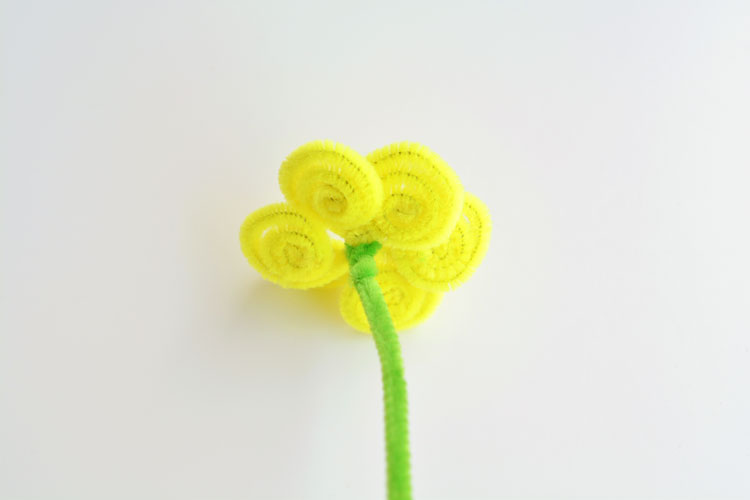
And then twist it on the bottom to keep it in place:
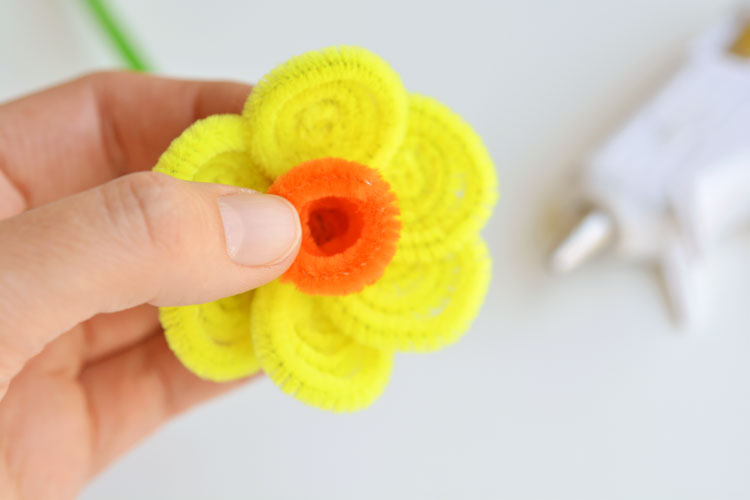
Take the orange pipe cleaner and start winding it tightly, again like a snail, but stop after a few rotations:
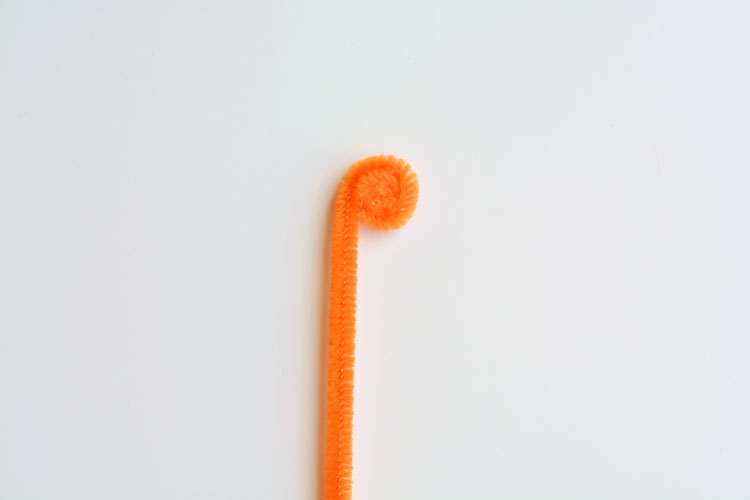
Then wrap it tightly around your baby finger:
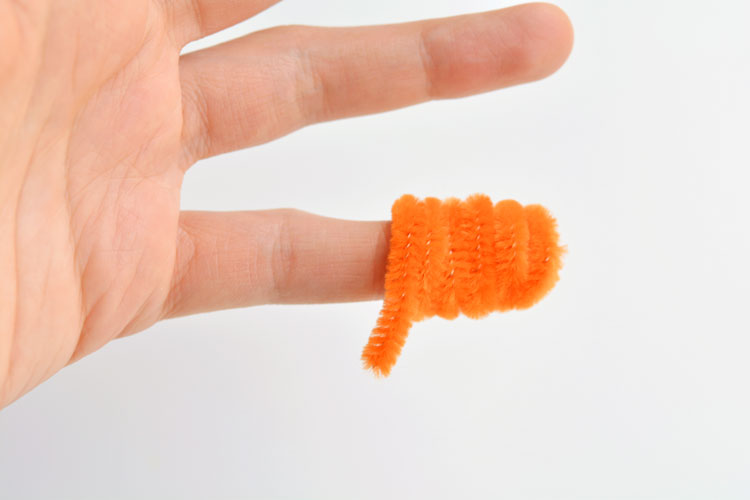
When it comes off your finger, pinch it tightly to compress the layers as much as possible:
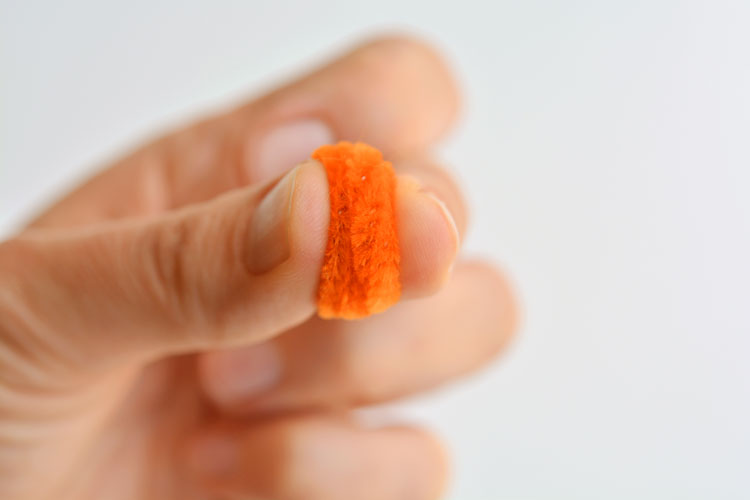
Then add a generous dab of hot glue to the bottom of the orange “cup”:
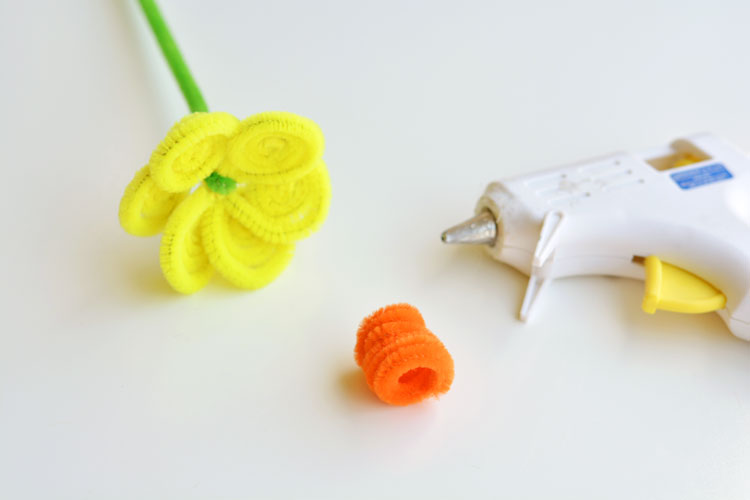
And press it firmly onto the center of the yellow “pedals”:
For the Clay Pots
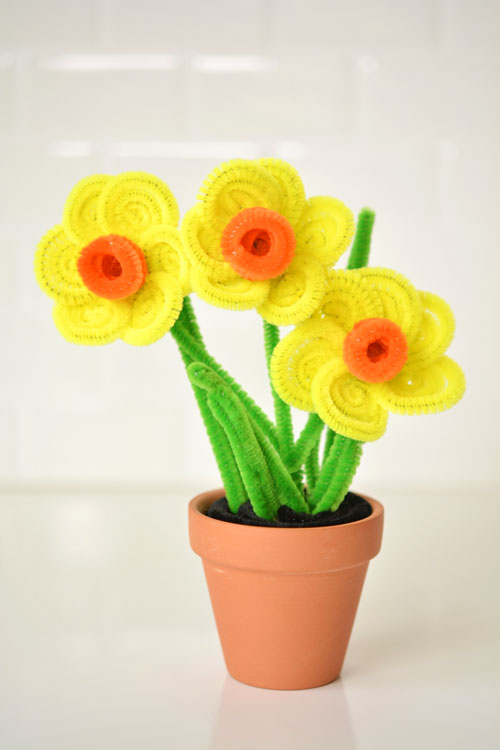
I got the tiny clay pots at the dollar store, and they were perfect for my little flower arrangements! I filled each one with sand, approximately 3/4 of the way full, and then I wound up two black pipe cleaners into a spiral to fit on top to cover the sand. Then I poked each flower and leaf through the black spiral and into the sand.
I’m not convinced this was the best way to keep everything in place (the sand was a bit messy…). So if you have a suggestion for a better way of getting them to stand up in the little clay pots, tell me about it in the comments! I’m sure there’s a better way?
I made a few simple leaves by folding the green pipe cleaners in half. Aren’t they gorgeous!? I love them!!
How to Make Pipe Cleaner Tulips
Here’s what you’ll need:
- 5 red pipe cleaners
- 1 green pipe cleaner
- Scissors
- A ruler
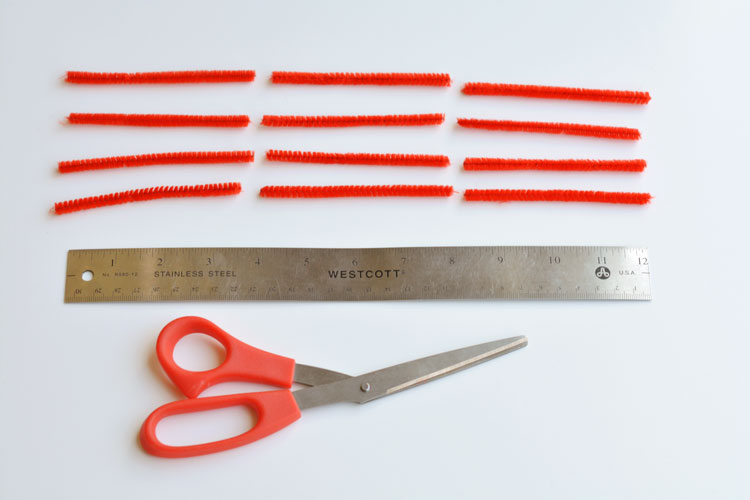
Take 4 of the red pipe cleaners and cut them into thirds. My pipe cleaners were 12″ long so I cut them into 4″ long pieces.
Take each of the 4″ pieces and fold them in half:
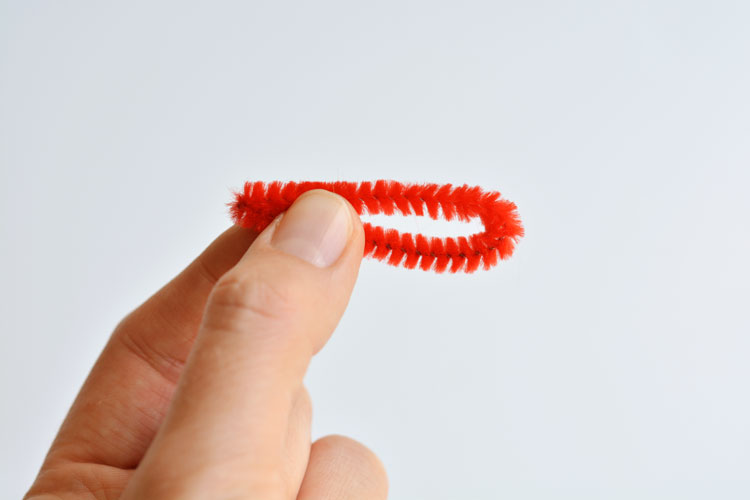
Then line them up side by side so that all the end pieces are at the top and all the folds are at the bottom:
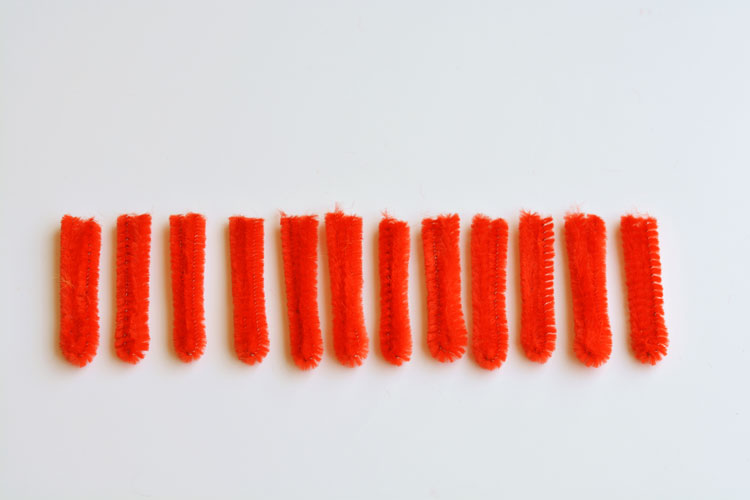
Place the green pipe cleaner somewhere in the middle, lining it up with the tops:
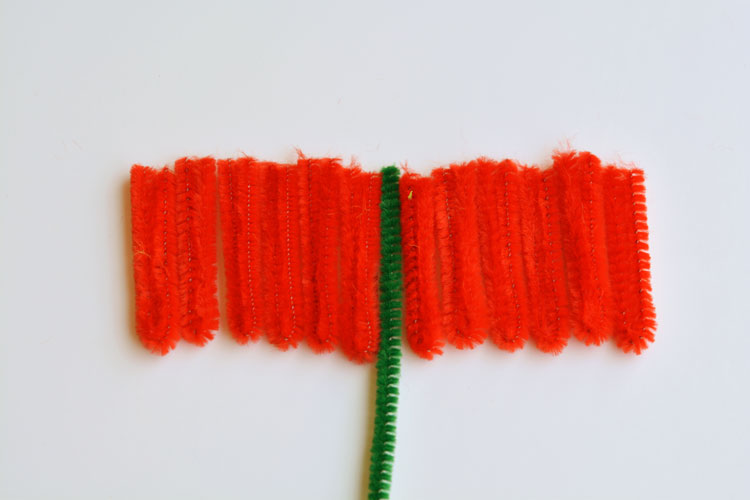
Then bunch them all together as best you can so that the green pipe cleaner is in the center:
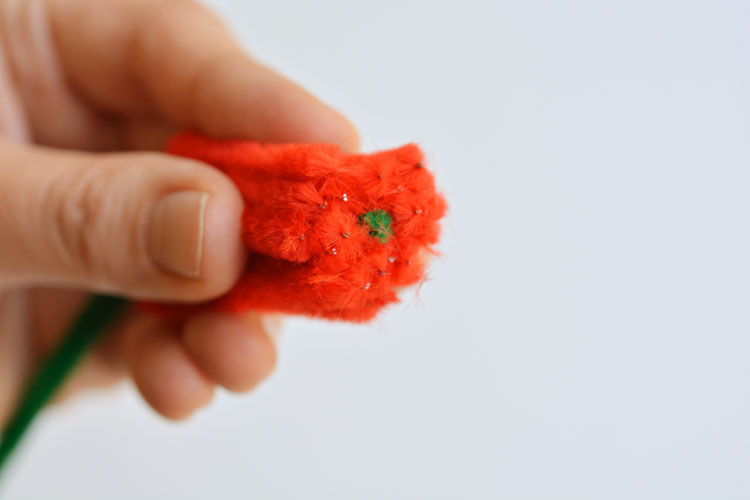
Take the remaining red pipe cleaner and starting about 3/4″ from the end, tightly wrap it around the bunch:
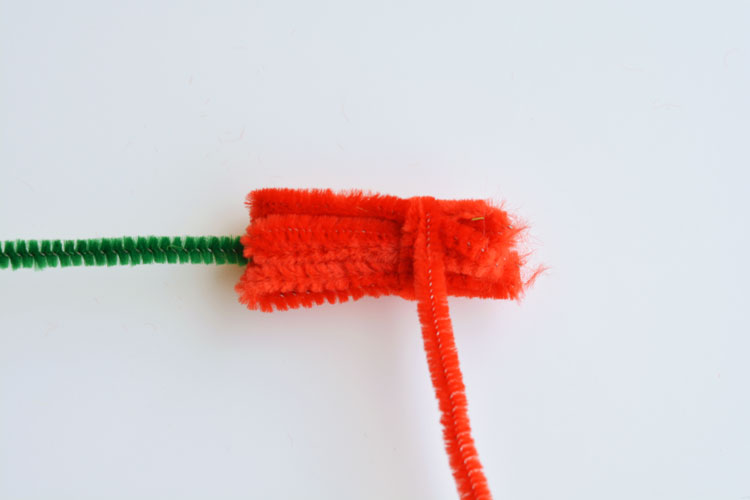
Continue wrapping the red pipe cleaner around the bunch so that it neatly covers the tips and holds them in place:
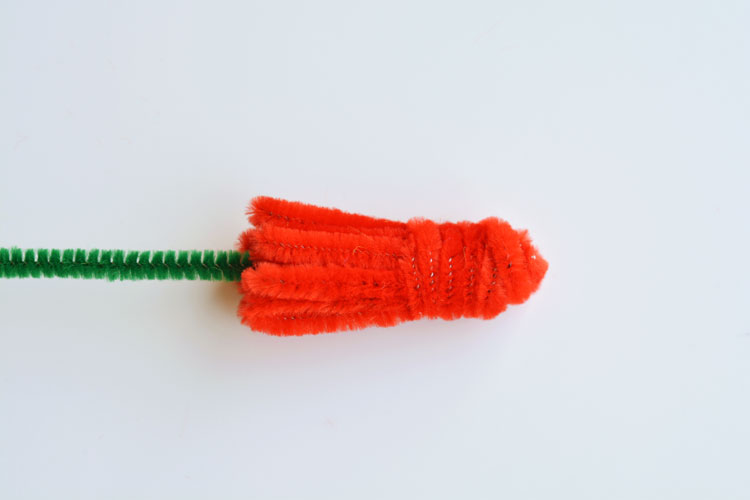
Take the pipe cleaner pieces and bend each of them upwards:
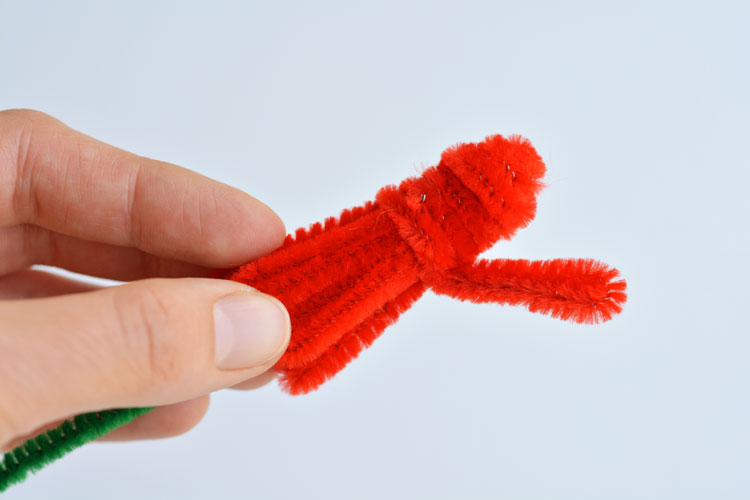
Continue bending all of the pieces upwards to create the pedals:
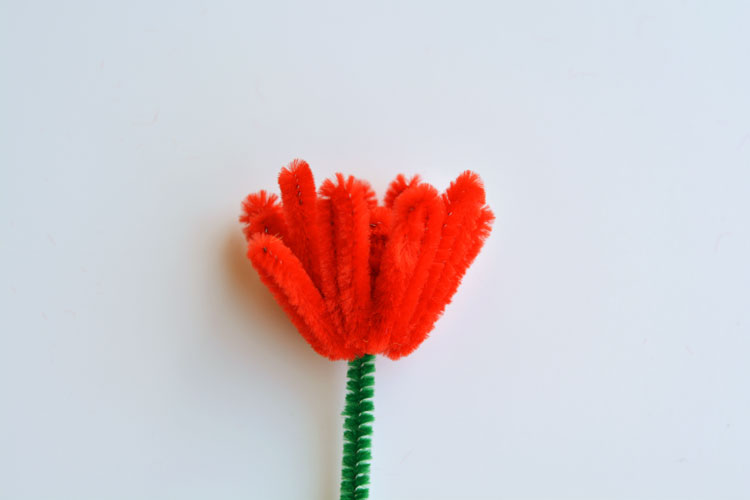
Pinch the pieces together tightly to shape the tulip bud:
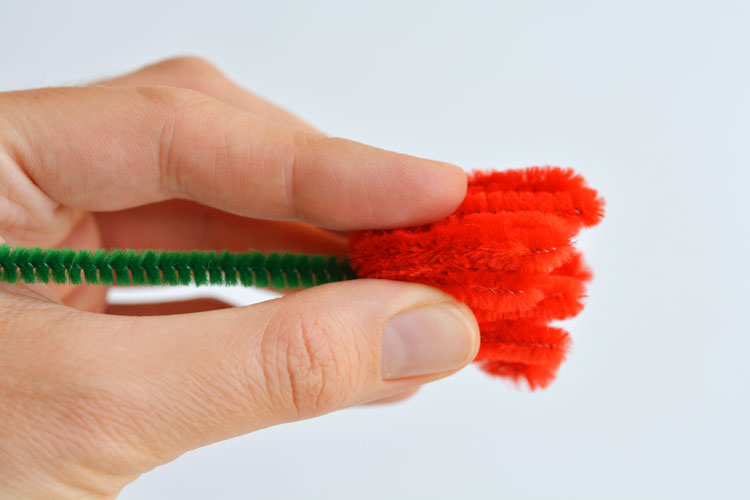
Then slightly bend each “pedal” towards the inside:
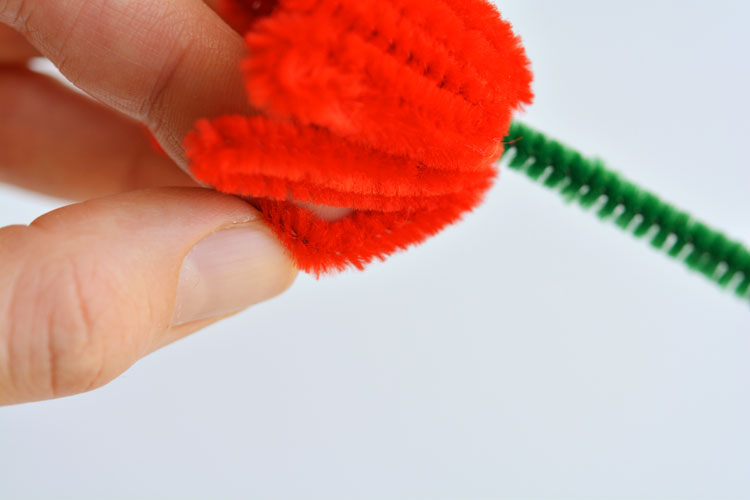
You can shape the pedals so that the tulip is a closed bud, or a more open tulip flower, depending on what you like best:
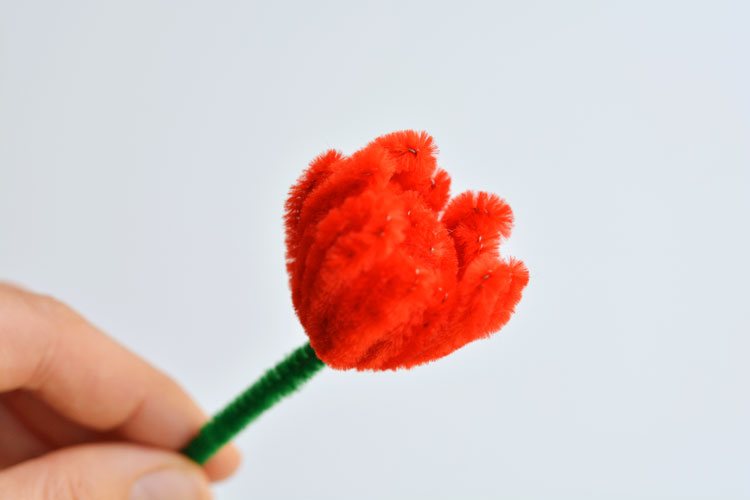
Again, aren’t they beautiful!? For the leaves, I followed a tutorial I found on YouTube here.
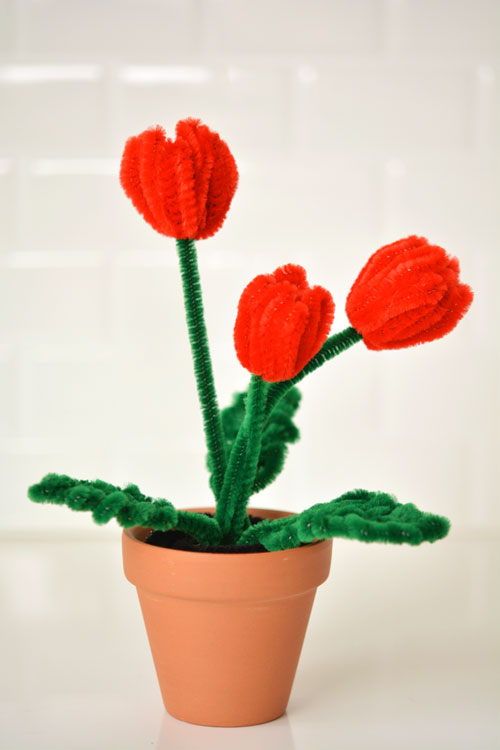
How to Make Grape Hyacinths
These ones are crazy simple, but they add a beautiful splash of purple! Here’s what you’ll need:
- 1 purple pipe cleaner
- 1 green pipe cleaner
- Knitting needle or pencil
Place the green pipe cleaner on the knitting needle or pencil so that the tips line up. Starting about 2″ from the end, tightly wind the purple pipe cleaner around the knitting needle and green pipe cleaner:
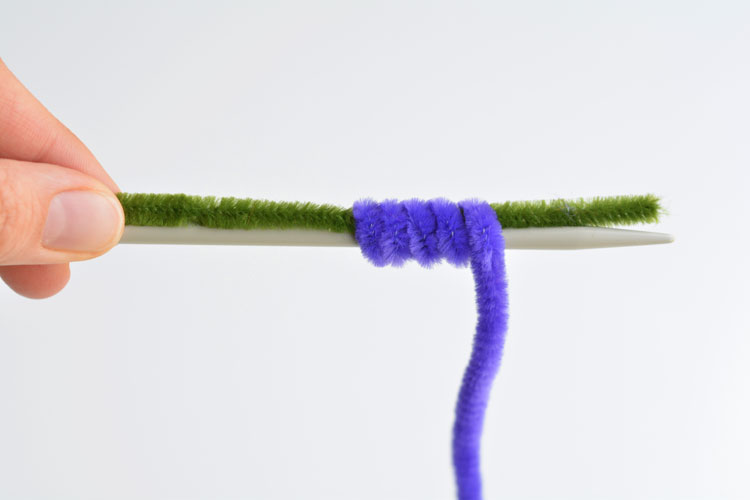
Keep winding until you get to the end, making sure the windings get more narrow as you get to the tip:
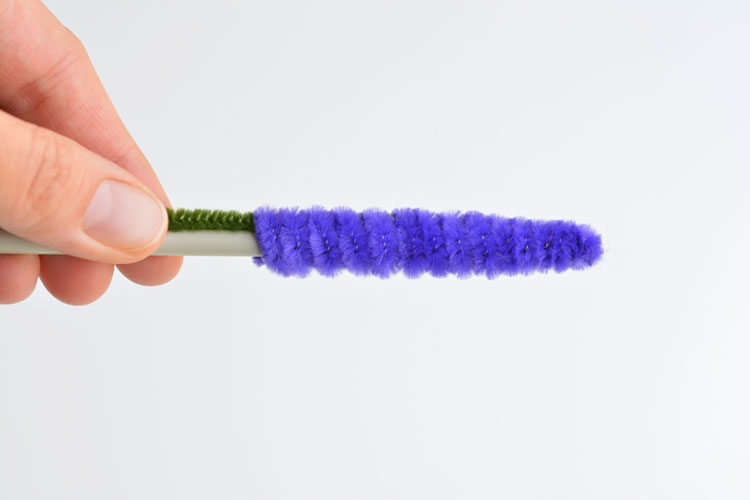
Carefully remove the knitting needle from the pipe cleaners. If the windings look too “perfect” bend the flower a little to give it more character.
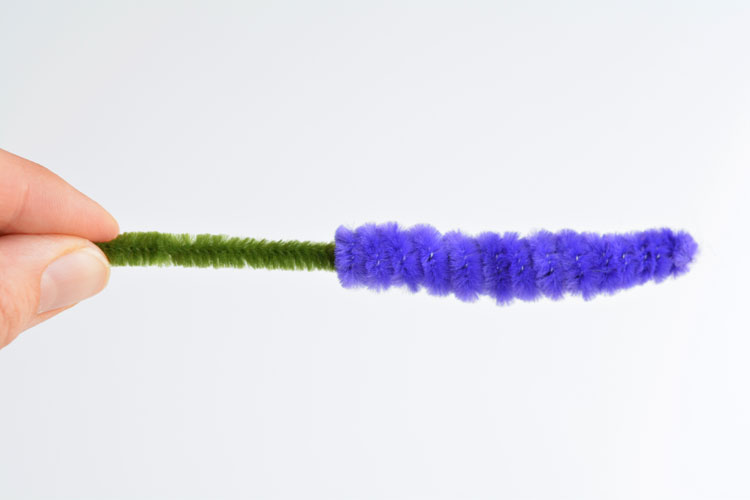
Make a bunch of them and stand them up in a pot with simple green spike leaves:
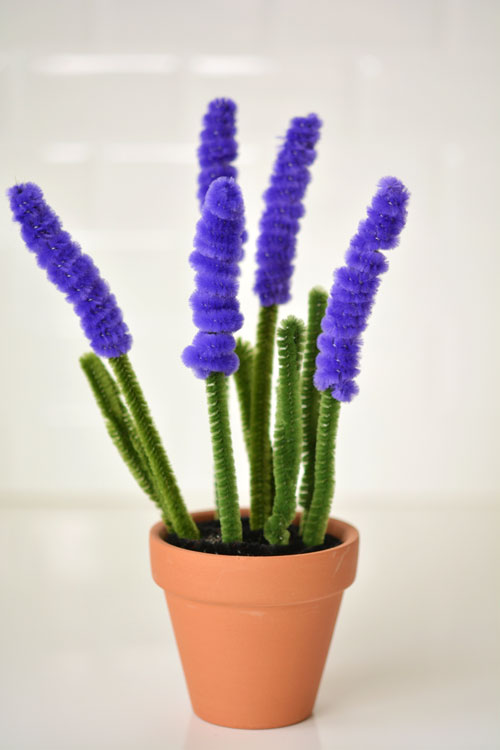
Here’s a better view of what they look like from the top. The black pipe cleaner spirals completely cover the sand:
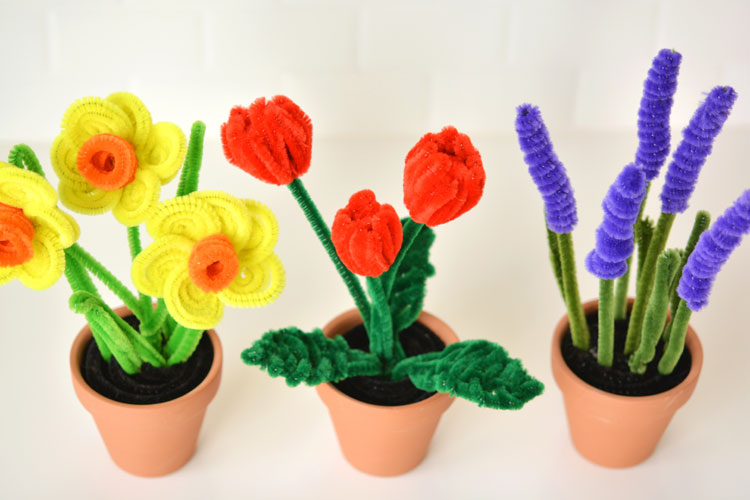
So pretty. They make me smile!
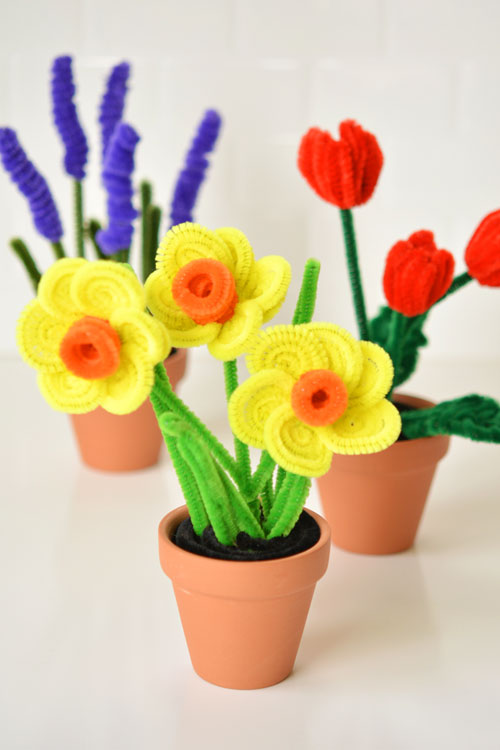
And they really are easy to make. You can make each one in just a few minutes.
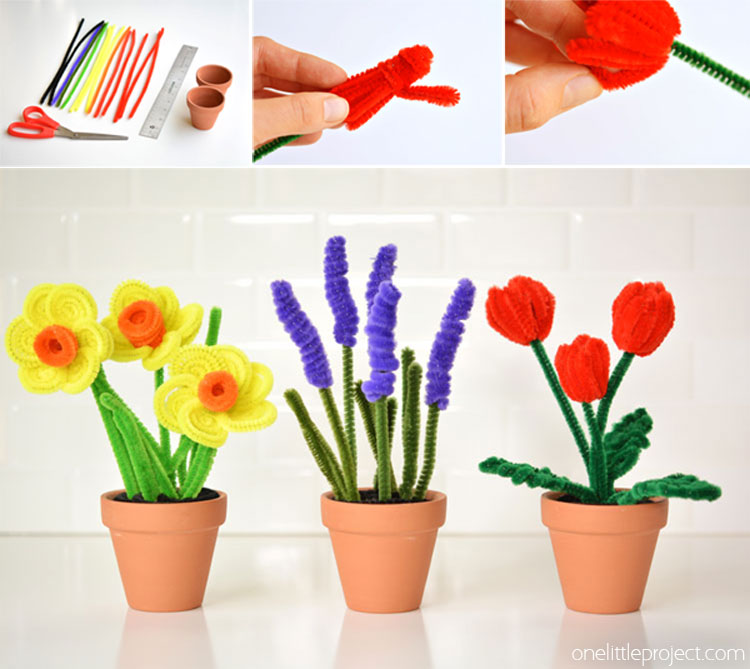
These pipe cleaner daffodils and tulips are SO PRETTY and they’re really easy to make! Pick and choose your colours for a gorgeous spring bouquet!
Source : onelittleproject.com
Read more...
Post a Comment
Post a Comment