These mason jar citronella candles were a really fun project. They didn’t quite turn out how I expected though. I had visions of a small beautiful flame, glowing on top of the patio table. The flames were actually quite a bit larger than I expected but they worked REALLY well to keep the bugs away!
Now, don’t get me wrong, these are fun, and they’re really easy to make – but – you’re playing with torch fuel here, so make sure you handle them with care. And if you do decide to make these for yourself, make sure you actually read this post – don’t just skim through the photos. Trust me. There are some things I did that I recommend NOT to do. Just wait until you see the flame pictures below! LOL
My four year old was having trouble sleeping last night, so we let her come onto the front porch to watch us light these lanterns so we could test them out. Don’t worry. We made her stand on the other side of the porch and we set out our fire extinguisher nearby, just in case. I’ve never worked with citronella oil, so I was a little paranoid. But they worked really well even with the big beautiful flames, so we had no issues.

We lit up the wicks and WHOOSH! We had 10″ flames. haha OOPS! A couple times my daughter said “Mommy, are you going to burn the house down?” and “Mommy, are the fire fighters going to come?” LOL But let me tell you, with those flames, there wasn’t a bug in sight!! And the flames lit up the porch with a beautiful candlelit (maybe torch is a better word?) glow.
Read on and I’ll let you know what you’ll need to do differently to avoid having those giant flames!
How to Make Mason Jar Citronella Candles
Here’s what you’ll need:
- Citronella Oil (We used Tiki Torch Fuel, which is infused with citronella)
- Mason Jars
- Wicks
Pretty simple, right?
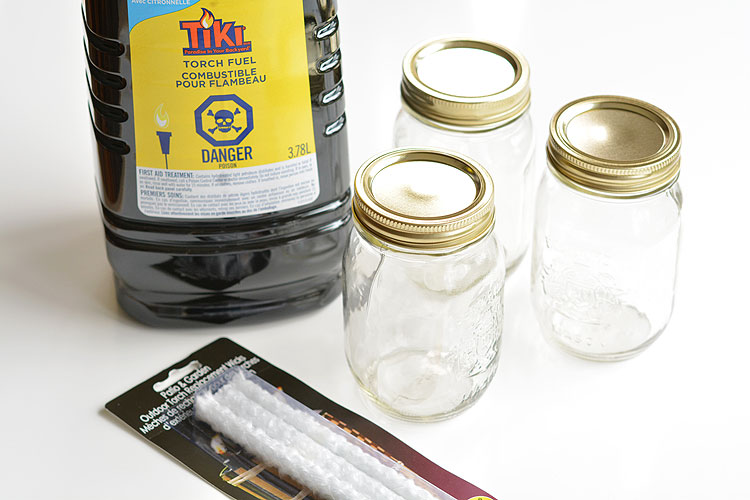
The wicks were my main problem. I only found two options for wicks in the stores. My first attempt at making these mason jar citronella candles I tried using candle wicks. They were the perfect size in my opinion, but they were covered with a waxy coating:
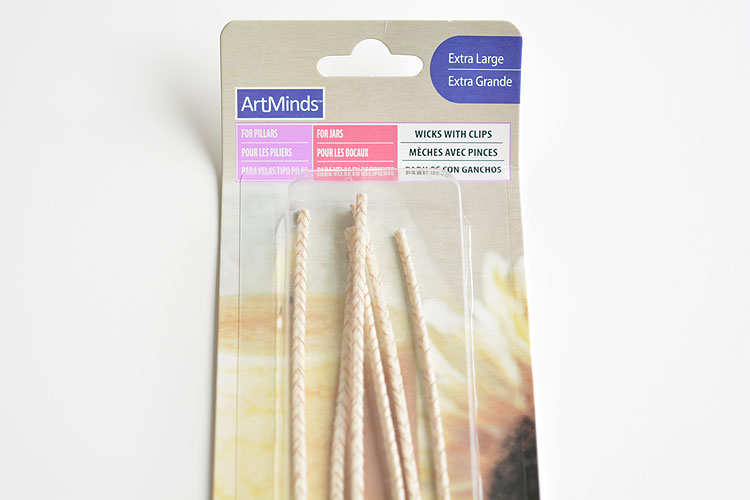
So when I used them to make the citronella lanterns, yes, they burned with a manageable flame size, but since they were covered in wax, the wick wasn’t able to soak up any of the citronella oil. So in less than a minute, the wicks burned up and went out. So obviously, that just wasn’t going to work. Here’s a quick photo we snapped during the 60 seconds that they burned:
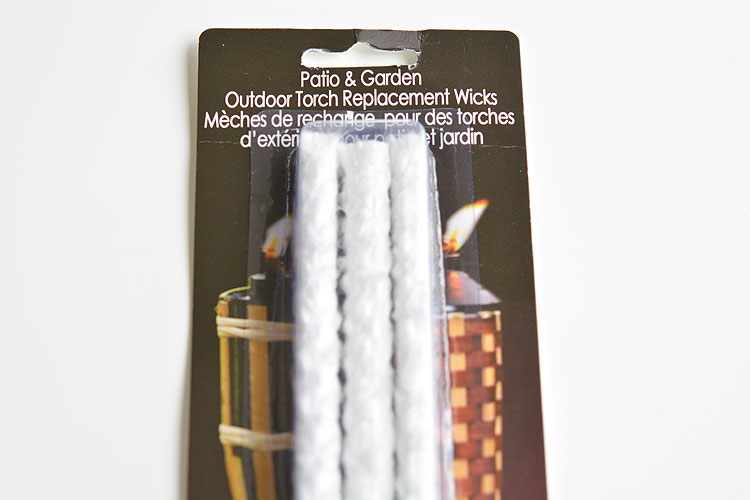
The only other wicks I could find are these patio torch wicks. They weren’t covered in wax, which was great, but they were really thick. If I could have found wicks like this, but only half the size, it would have been perfect!
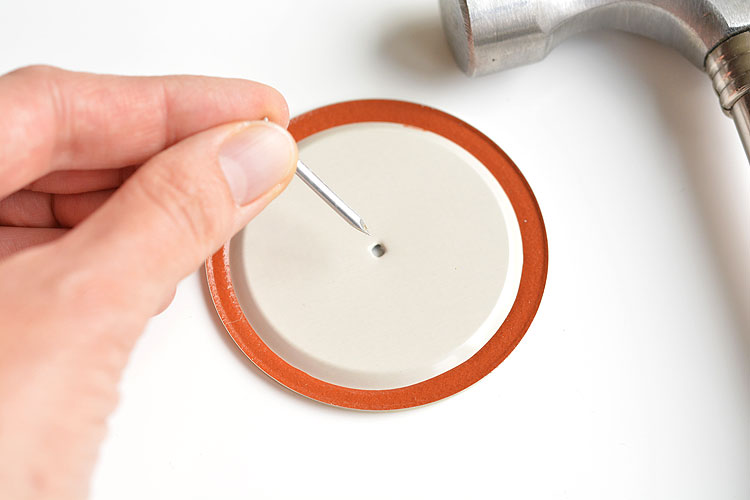
I started by poking a starter hole in the bottom of the mason jar lid with a hammer and a nail. This hole just made it easier to guide the drill bit.
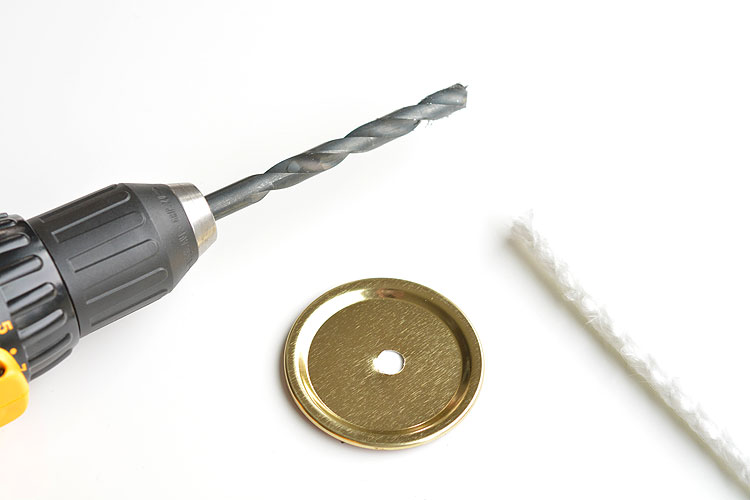
Then we used a drill bit that was about 3/4 the size of the wick and drilled a hole in the lid:
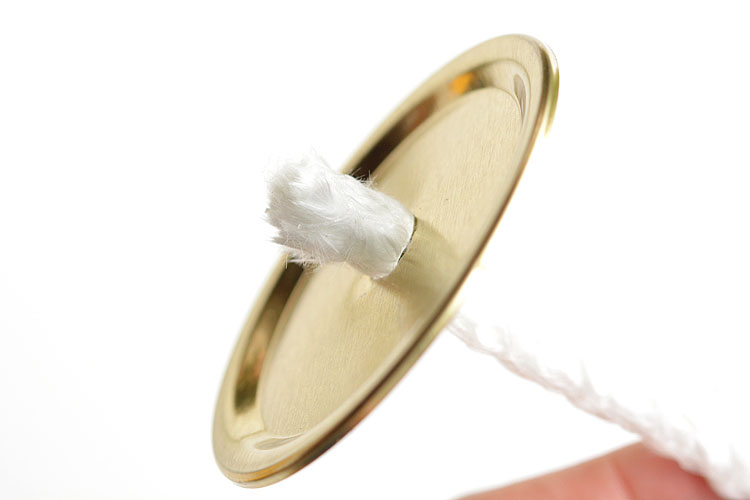
I pinched the wick together and squeezed it through the hole in the lid. You need to make sure it’s a snug fit.
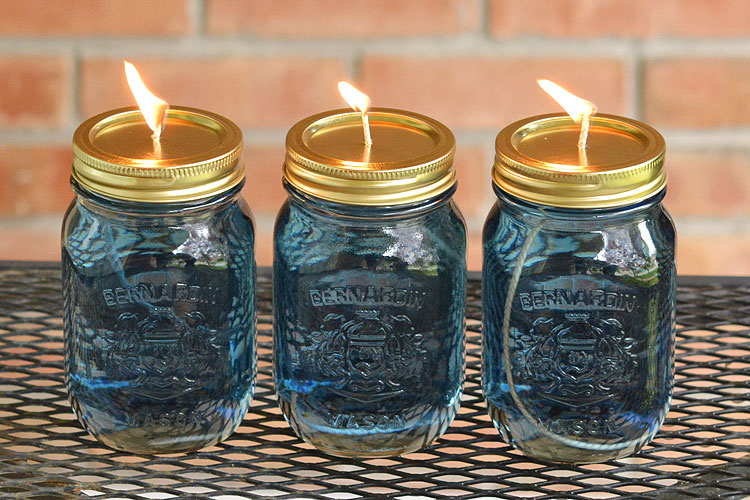
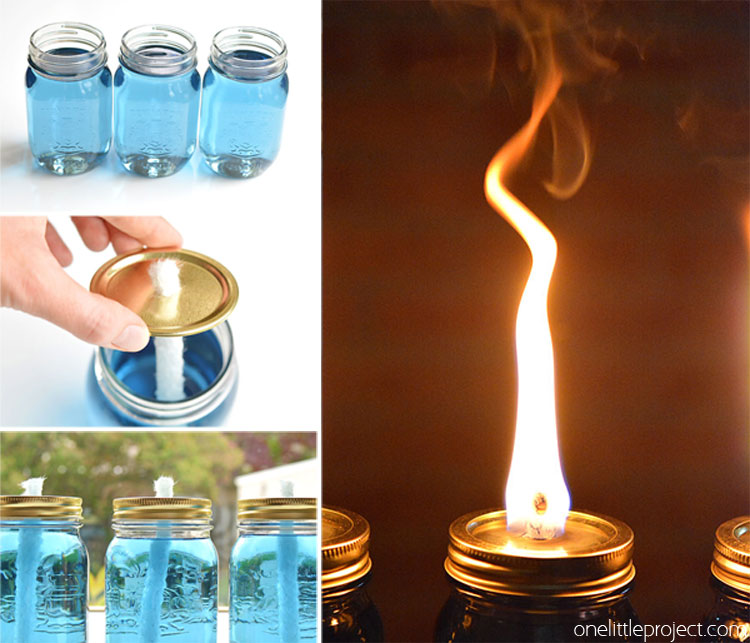
Then I filled the clear mason jars with the citronella oil. How wonderful that it has a beautiful blue tint to it! It looked beautiful in the glass jars!

I lowered the wick into the citronella oil:

And screwed on the mason jar lid and they were done! Easy peasy!
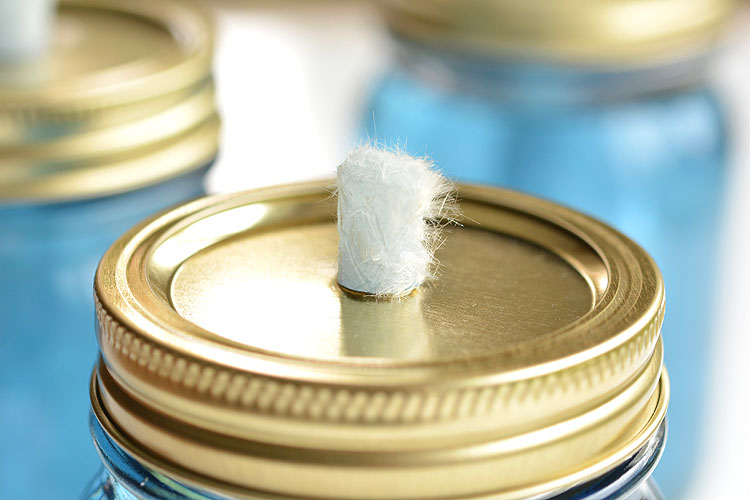
Besides having a smaller wick, I would recommend only pulling the wick about 1/4″ above the lid, or even less than that. You can always pull out more if you need to. I had about 1/2″ of wick above the top of the lid which gave it LOTS of fuel to burn.
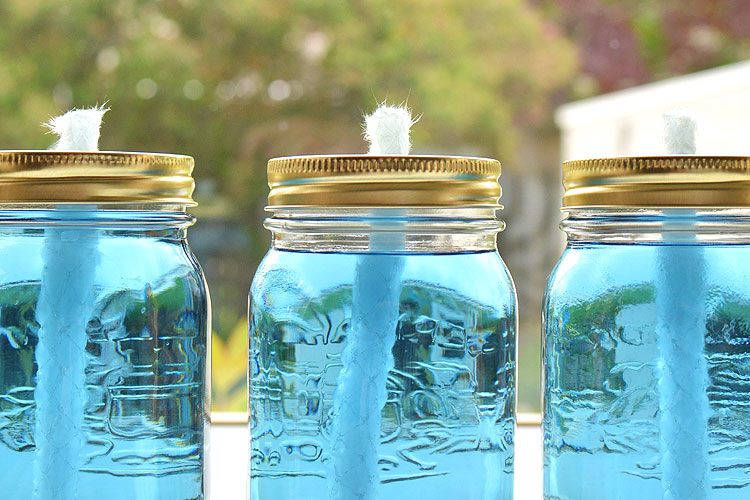
Pretty though, aren’t they?
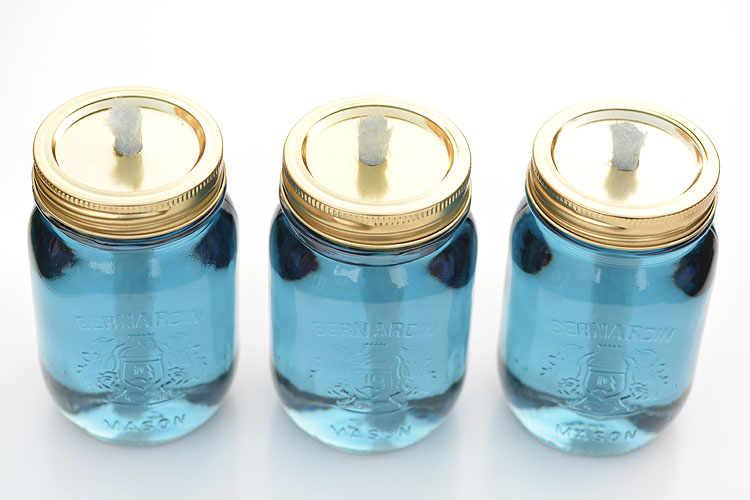
Now wait for it. Here’s the photo with the flame:
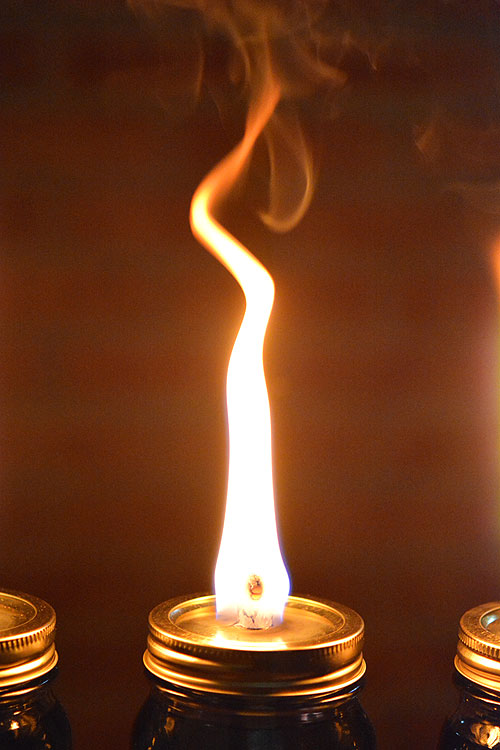
Not bad right? Beautiful flame, with lots of citronella smoke to keep away those pesky mosquitoes. We took these on the back patio two nights in a row, lounging around after the kids went to bed, and they were fantastic! They kept the bugs away and they lit up the patio with a beautiful glow.
This next photo shows a bit of a flaming rage of what happens when you make them exactly how I made them. 1. The wicks were too long. And 2. The wicks were too thick. On the bright side, by the end of the second night of burning these, the flames had gone down to a much more manageable 3″ height.
So seriously, be careful if you decide to make these, and make sure you don’t put them somewhere where they’ll get knocked over.
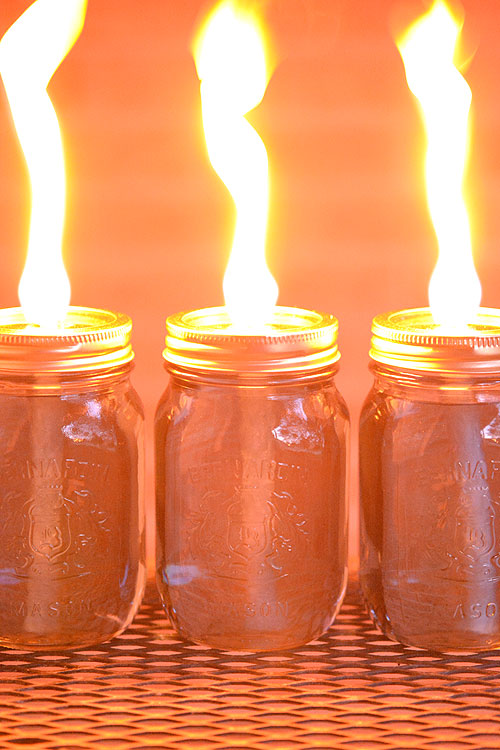
As they were burning, we realized we had no idea how we were going to put out the flames. At one point, my husband blew out one of the flames, but a minute or two later, it started burning again on it’s own. I’m not sure if it was the wind or the burning candle next to it, but we quickly realized we couldn’t just blow them out and leave them. After we put them out, we put small glass bowls over top, about the same size as the mason jar, so no oxygen could get in.
And again, because we’re slightly paranoid, we put them in the barbecue for safe keeping. Not sure if that was smart or not, but we didn’t want them in the house, and we couldn’t think of anywhere better where animals wouldn’t be able to accidentally knock them over.
After two nights of burning them for a total of about 2 hours, we had used up maybe 1″ of fuel from each lantern. So I would say they’ll probably burn for about 10 hours or so before you need to refill the mason jars with citronella oil.
I would be so grateful if you would share this on Facebook! Seriously, every little bit of exposure helps us! All you have to do is click here and press share.
These mason jar citronella candles are really easy to make and they really are beautiful! Just make sure you’re really careful if you make them at home. Don’t make the same mistakes I did and make sure you’ve thought through how you’re going to put them out at the end of the evening. We’ll definitely be using these lanterns on hot summer evenings to keep the mosquitoes away! Even though that giant flame wasn’t what I was expecting, this project was LOTS OF FUN and a perfect way to keep away mosquitoes.
Here’s another post with lots of other great craft ideas for the garden:
Source : onelittleproject.com
Read more...

Post a Comment
Post a Comment