Don’t you love growing vegetables in the summer? There is nothing better than a homegrown tomato! We don’t usually end up with the greatest crop at the end of the season though, so I’ve been going through the Craftsy vegetable gardening course to learn all about the best methods of planting a successful vegetable garden. I’m learning lots of tips and secrets that I never knew about before, so I’m really looking forward to this growing season!

Today, we put together our raised garden boxes. I’m going to show you exactly how to make a garden box in the tutorial below.

They are surprisingly easy to put together and I love how neat and tidy they look in the garden.

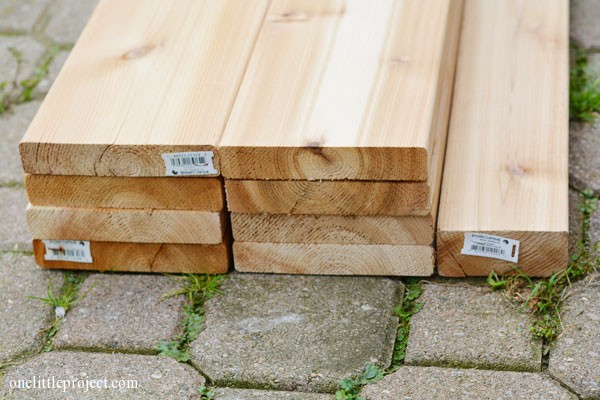
Materials for one raised garden box:
(Keep in mind as you see our photographs that we bought enough cedar for two boxes, then we decided to add a top lip so we went back to Home Depot to get more boards).
This list will make a 4ft x 4ft box, a 2ft x 6ft box or a 3ft x 5ft box. We went with 3ft x 5ft for ours mostly because I thought the shape and size would look best in our backyard. You’ll need:
- (x4) 5/4×6 8ft long cedar decking lumber (for walls of box)
- (x2) 5/4×6 10ft long cedar decking lumber (for top lip of box)
- (x1) 2×4 8ft long cedar decking lumber (for inside bracing of box)
- 50 wood decking screws
The total cost of each box was approximately $90, but this will obviously depend on how expensive cedar is where you live. It would have been substantially cheaper if we went with regular lumber, but cedar will hold up much better over time.
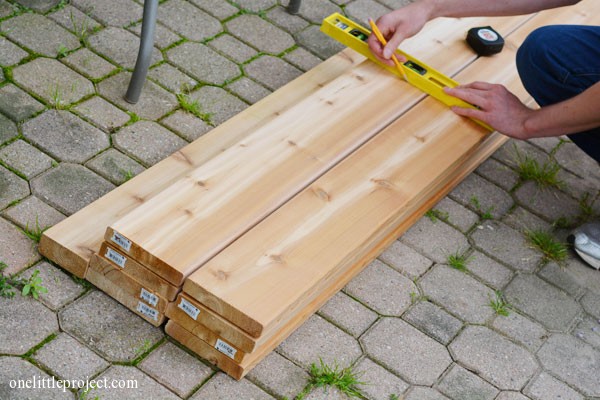
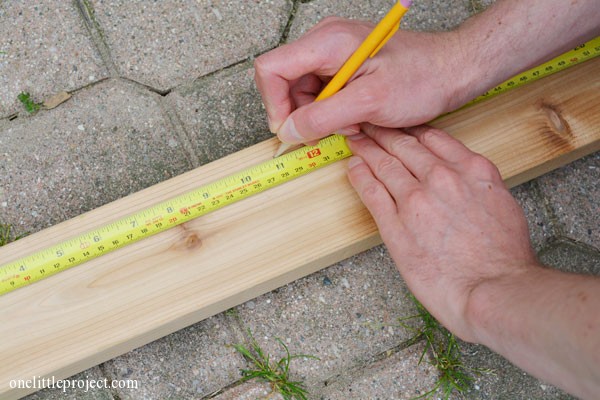
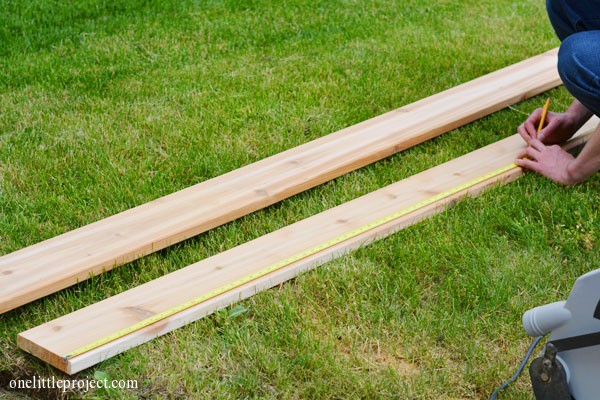
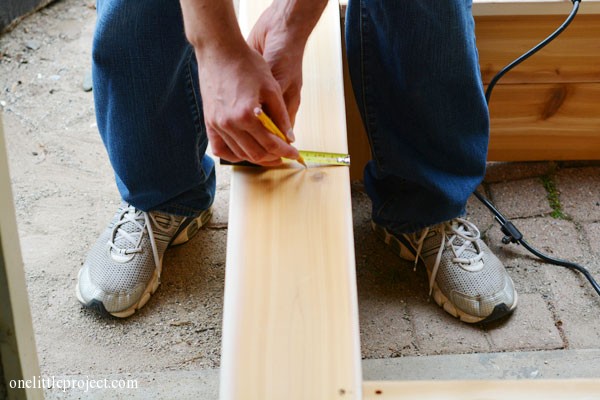
Since we made 5ft x 3ft boxes, we measured each 8ft long cedar board and marked the 3ft length from one side with a pencil:
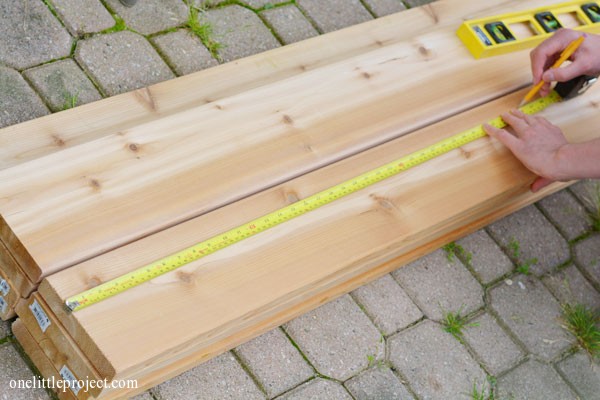
Use a straight edge to draw a line across the entire board:
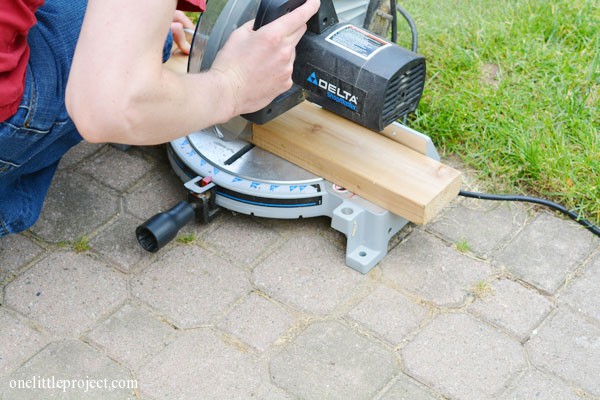
Use a miter saw to cut the board at the pencil marking:
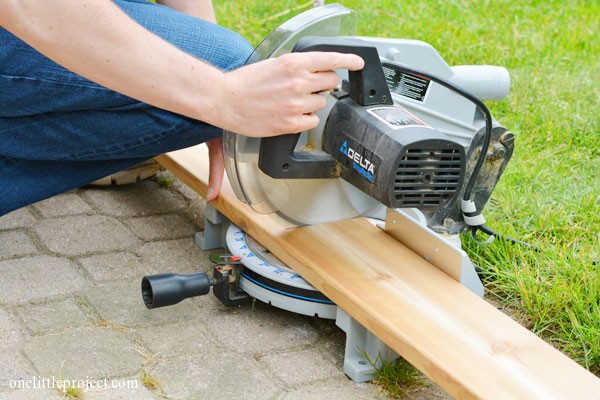
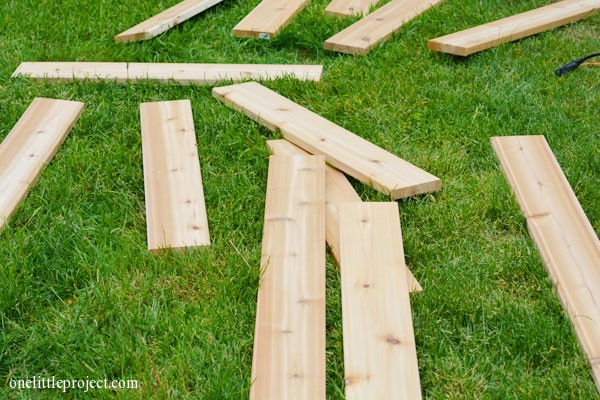
Cut all your boards so you have them ready. You’ll have 4 x 3ft boards and 4 x 5ft boards (remember, we made two boxes, so the photo shows more boards than that):
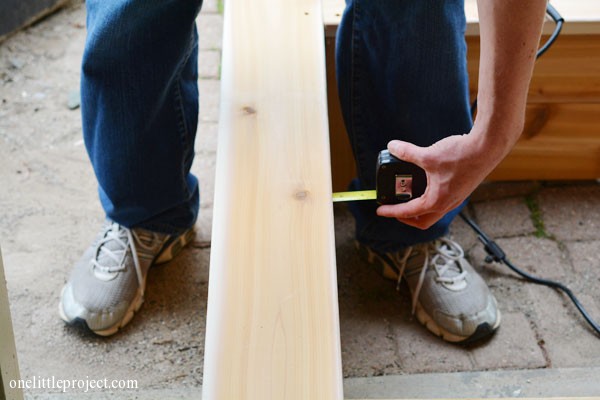
For the 2×4 bracing, measure out 11″ and mark it with a pencil. Each 5/4×6 board is actually only 5.5″ wide, so the brace only needs to be 11″:
Cut out all your bracing pieces using the miter saw:
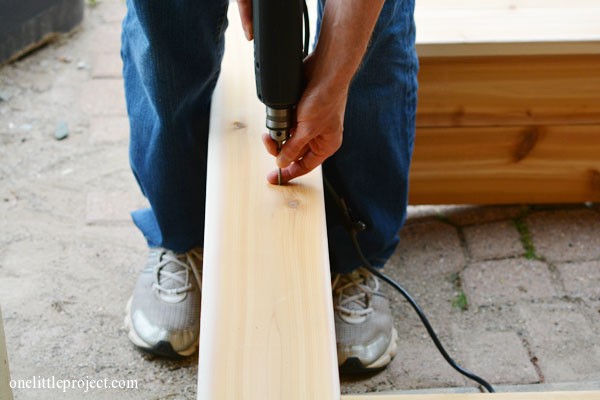
Set up on a flat surface, like in your garage if you can. Start to put it together by using a drill to screw a 3ft 5/4×6 to one of the 11″ long 2×4 bracing pieces:

Then drill in the screws of a 5ft 5/4×6 board onto the other side of the bracing piece:

Your first corner should look like this:

Then work your way around fastening the boards of the bottom layer to the bracing pieces:
Do the same thing for the top layer:

We purposely offset our boards to give it a staggered look. This probably doesn’t make a difference when the box is only 2 boards high, but if it was 3 boards high it would definitely give it a nice finished look:

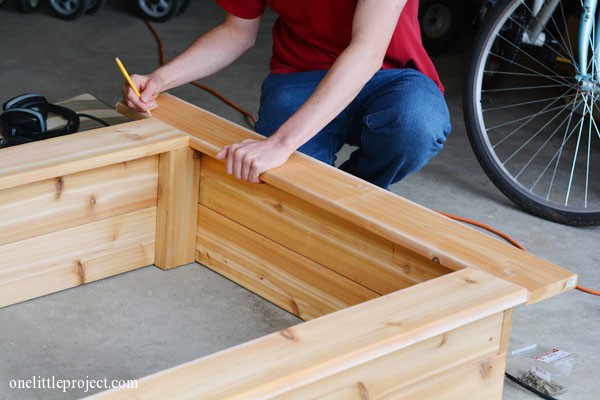
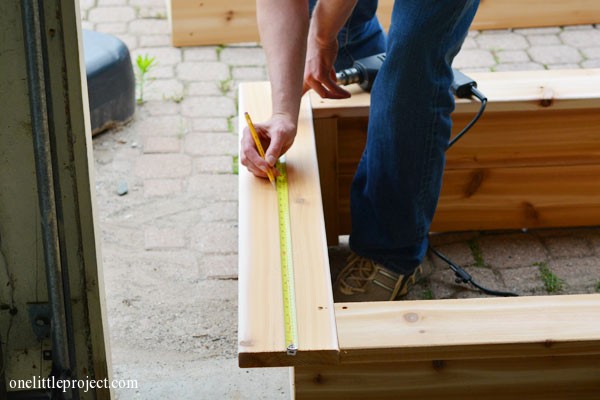
For the top lip, cut the 10ft 5/4×6 boards to two 43″ pieces and two 57″ pieces. We first attempted to cut the top lips at 45 degree angles, but with our minimal experience level, it was just not going to line up at all. So as nice as it would have looked, we scrapped that plan and just used right angle cuts to keep it simple:
Definitely double check the lengths I just listed above. As you can see in the photo below, we just lined the boards up as we went, marked them with a pencil and cut them to the right length:
At the ends, where the lip had to be drilled into the bracing piece, it was pretty easy to line it up:
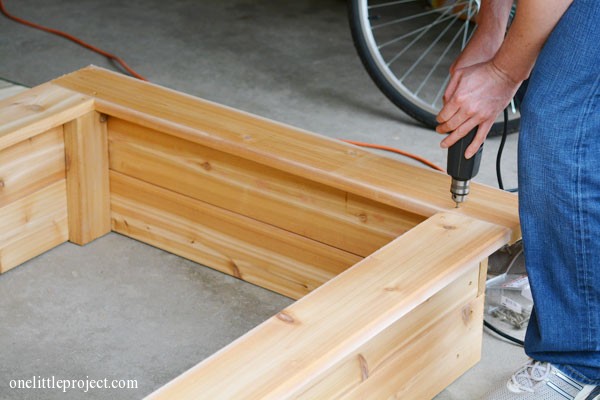
But when we were screwing in at the center, we had to measure, since we had to hit the 5/4″ board beneath the top lip. So we used a measuring tape to measure the distance of the wall beneath the board:
Then measured that length on top of the board, and added about 1/2″ to where the center of the board below would be:
Then measured to get the halfway point so that the screw didn’t look uneven:
And drilled in the screw at the mark:
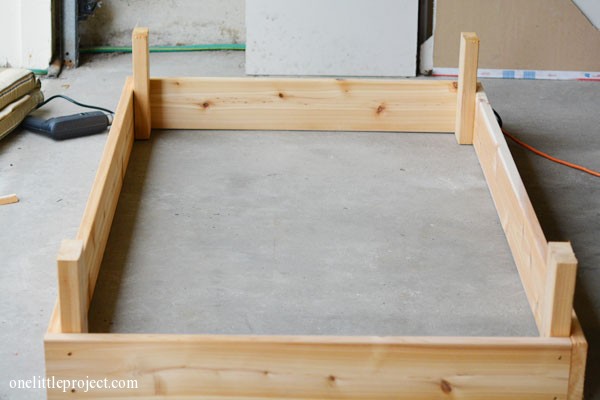
If you don’t want to go to the effort of adding the top lip, this is what the box will look like, which is still really nice:

But I definitely love the look of the top lip! It makes it so much more finished in my opinion:

And since we wanted two boxes, we repeated everything a second time:

These boxes go together really easily! And they look so much cleaner than a traditional in ground vegetable garden. We didn’t have time to get the soil ready today, so that is still on the to-do list. And we have to figure out what to do with the grass at the bottom. I’m guessing it’s not a great idea to just add soil directly on top of the grass…? I’ll keep you posted!
Source : onelittleproject.com
Read more...


Post a Comment
Post a Comment