Hello! It’s Megan from Homemade Ginger and I’m happy to share a fun winter craft with you today! I must confess, winter is my least favorite season, but these DIY popsicle stick snowflakes are just the thing to cheer a non-winter lover like me!
I live in the Midwest where we get a few good snowfalls each year, but not enough for most people to be comfortable with driving in it. A few years ago, I got stuck at a stop sign on the way to church after it had snowed the night before. (If you are looking for a good vehicle for the snow, a minivan is not one of them!) My 3 very small children were in the car and I couldn’t exactly leave them to go get help. Thankfully a sweet lady stopped her car and got out to help me push the van through the stop sign! My oldest daughter still remembers the incident and is nervous to ride with me anytime it snows now. I can’t blame her!
I love this snowflake craft because you can enjoy this snowy season without getting stuck in it! These snowflakes are super easy to make and couldn’t be cuter! Kids of all ages will love putting them together and painting them bright colors. They are sure to make a dreary winter day a little more cheerful!
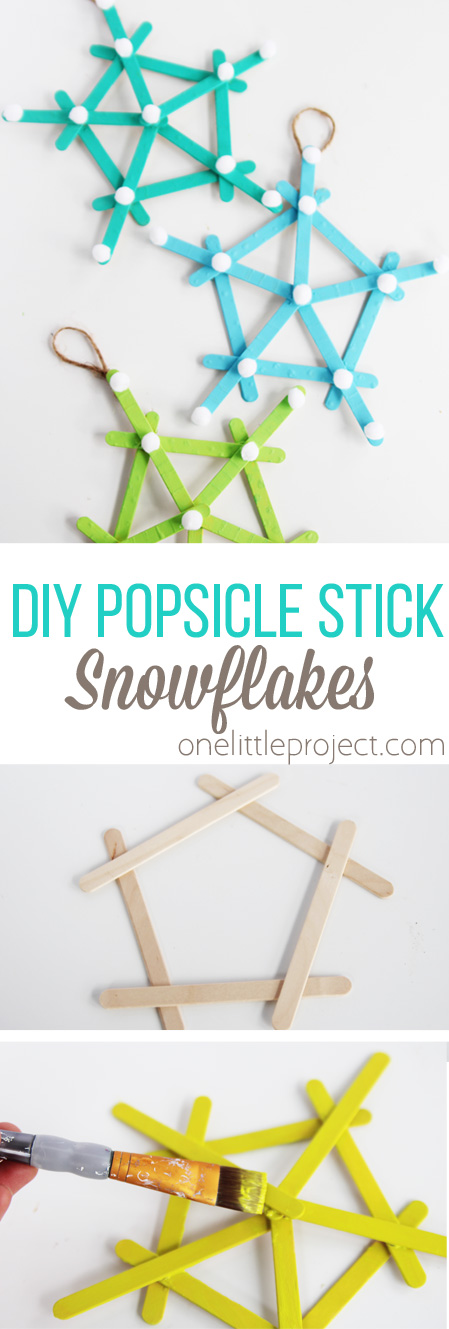 DIY Popsicle Stick Snowflakes
The full instructions are at the bottom of this post, but here is what you will need:
- Popsicle sticks
- Hot glue gun
- Acrylic paint
- Pom Poms
- Twine
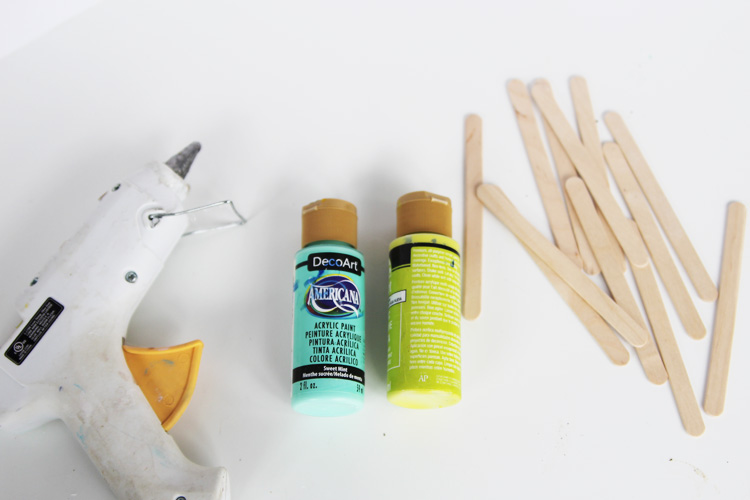
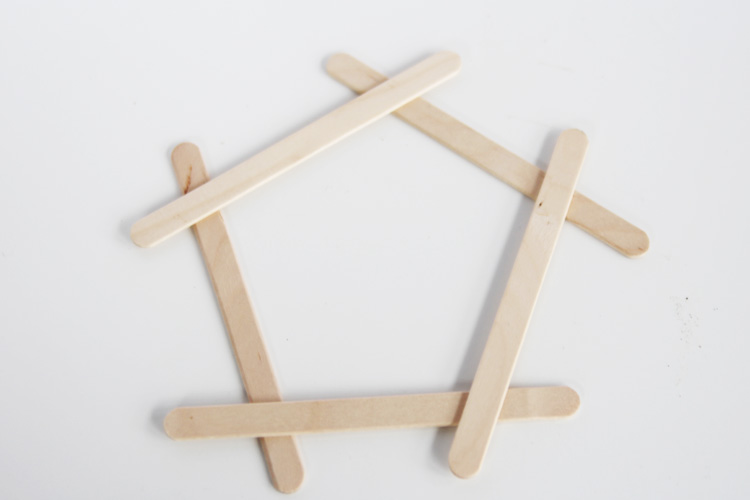
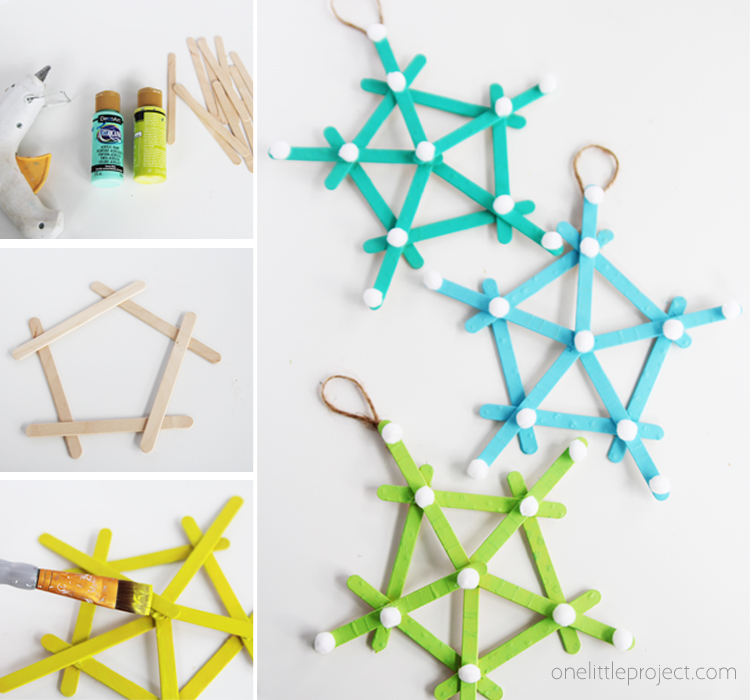
First, you will want to form a pentagon shape with five popsicle sticks and glue them together.
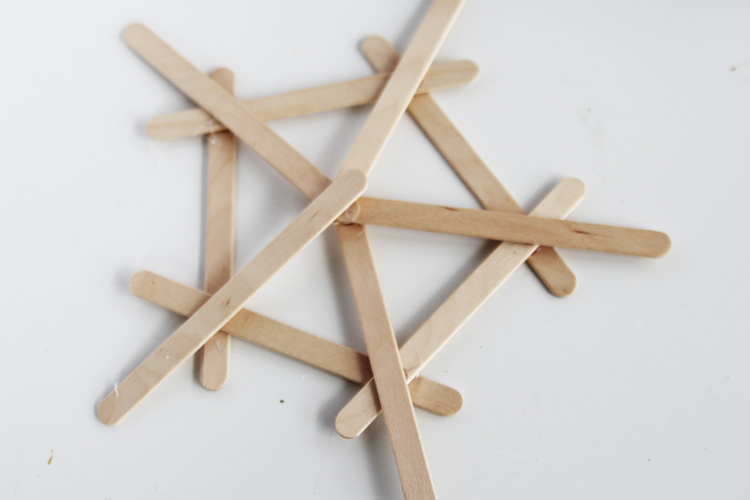
Next, glue five more popsicle sticks, making them meet in the center.
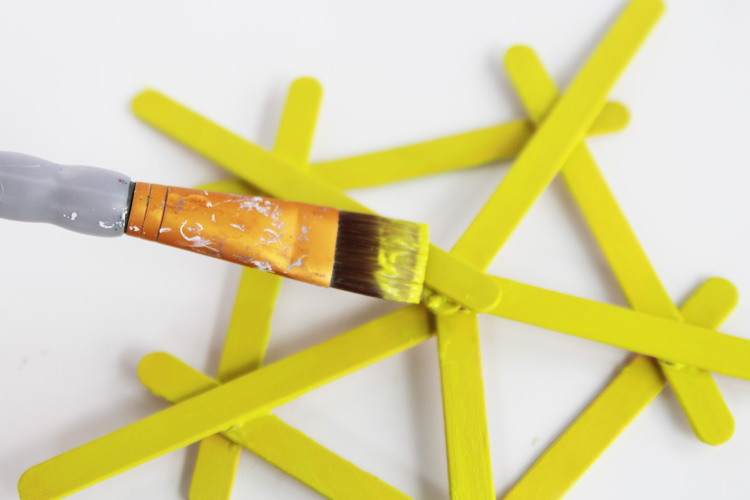
Pain the snowflake a bright color of your choice.
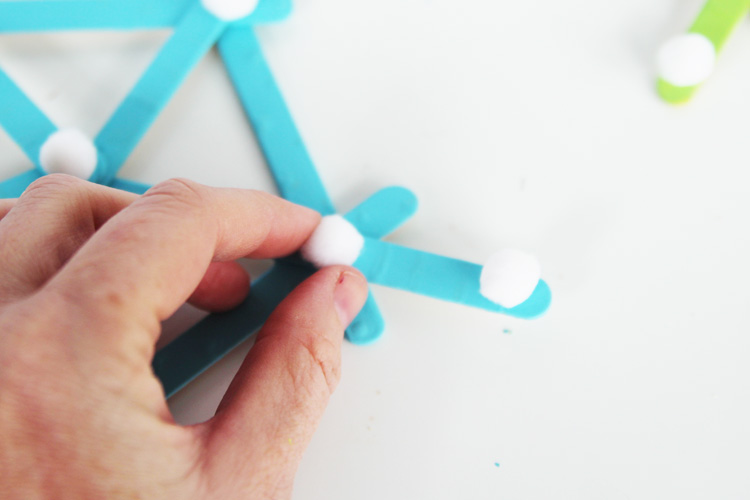
Add white pom poms with more hot glue.
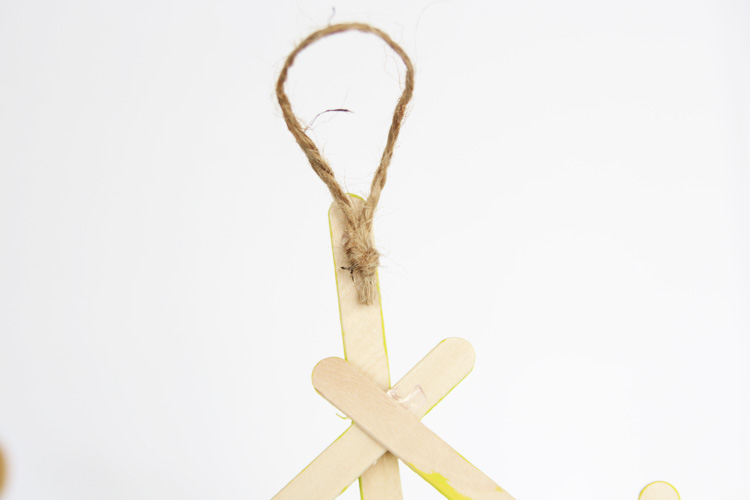
Add a loop of twine to the back for you to hang.
This such a fun craft to remember on a cold weekend day when the kids are bored!
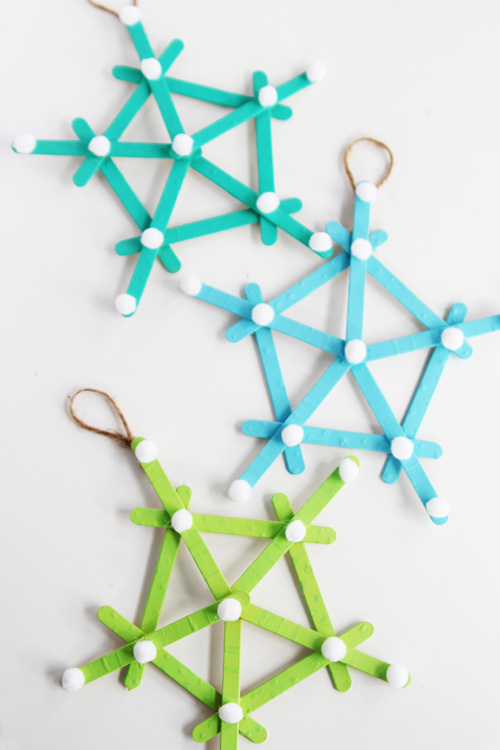
DIY Popsicle Stick Snowflakes
Materials
- Popsicle Sticks
- Hot Glue Gun
- Pom Poms
- Acrylic Paint
- Twine
Instructions
- First, glue 5 popsicle sticks together to form a pentagon shape.
- Glue 5 more sticks in the corners, making them meet in the center of the snowflake.
- Paint the snowflake with a bright color of paint.
- Add pom poms with hot glue.
- Add a loop of twine on the back.
Source : onelittleproject.com
Read more...


Post a Comment
Post a Comment