I was ready to pull my hair out with this project! It was one of those crafts where I was convinced I was going to have to give up. But when I finally figured out what I was doing wrong – oh my goodness – they ended up being beautiful!
Not to toot my own horn here, but it’s not very often that I make something, and just stare at it in amazement when I’m finished. These crayons were SO PRETTY – I keep looking at them thinking, “I can’t believe I made those!?”. Now that I’ve sorted out all the kinks, they should be fairly easy for you to make yourself. It just took me awhile to figure it out as I went along.

So you know how last week I posted about how to easily peel crayons? That was an odd thing to post about, I know, but this project was the whole reason why I did it.
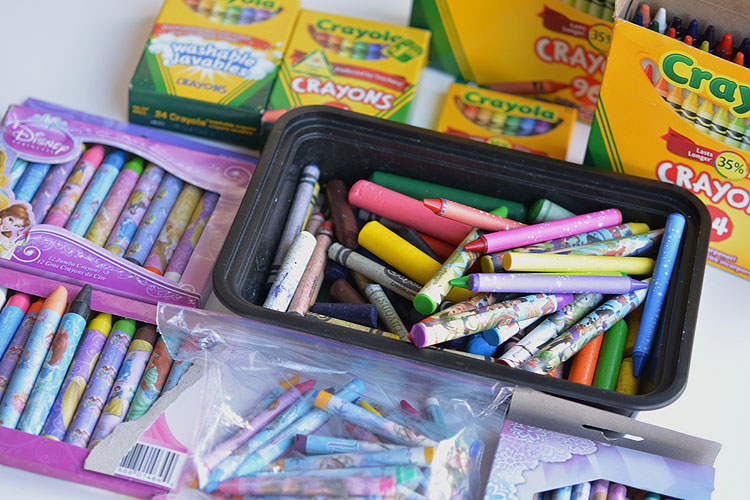
We have so many boxes of crayons at our house. The kids get crayons for Christmas, crayons in birthday gift bags, crayons at Thanksgiving to keep them occupied at the table, fresh crayons because all the pinks were broken, and before you know it, you end up with 10 or 12 packs of crayons. And my girls barely colour with crayons these days, so they just sit there on the shelf.
It was time to repurpose them into something else. I saw a tutorial for using cookie cutters to make crayons and I decided to give it a go. But here’s the kicker – The tutorial on that page did not work AT ALL. So you can go check it out to see the pretty crayons they made, but don’t follow their directions or you’ll be headed for a full day of frustration.
I’ve included a printable direction sheet with instructions that will actually work, down at the bottom of this post.
How to Make Cookie Cutter Crayons
Collect all of your crayon bits and pieces. To be honest, we had so many unused boxes of crayons that most of the crayons were brand new. But whatever you have will be perfect! I mixed together different brands, sparkly crayons, gel crayons, washable and regular crayons. It didn’t matter that they were all different.
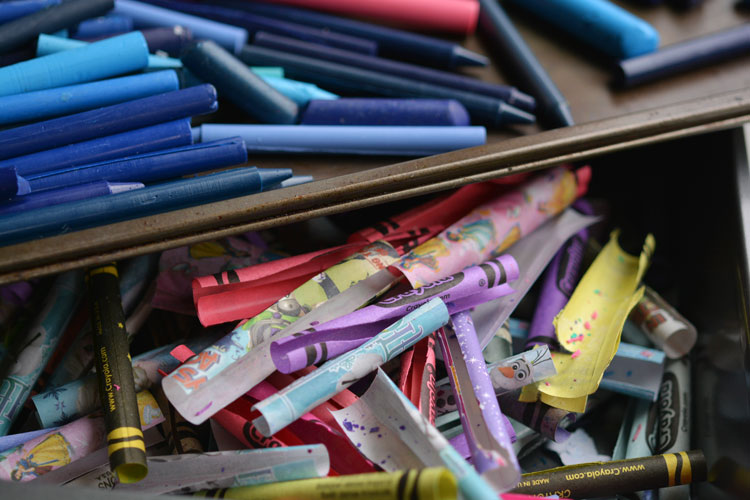
Peel all your crayons. If you need some tips for how to peel them quickly, check out last week’s post on how to easily peel crayons.
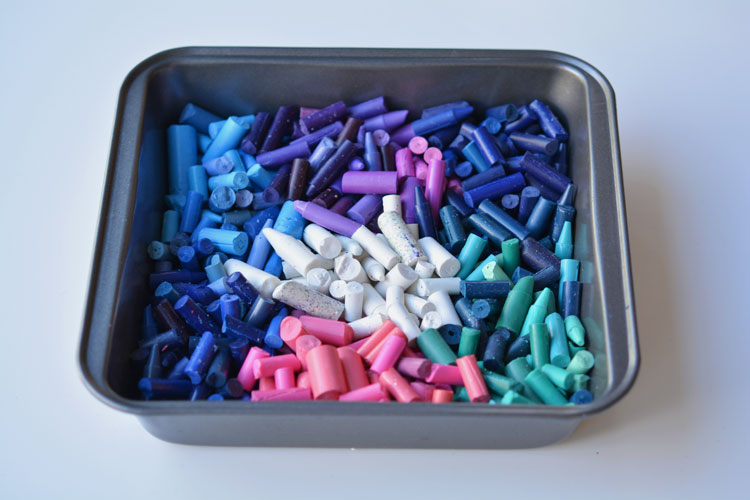
Make sure when you put the crayons in the pan that you keep the colours relatively organized into sections. If you throw the colours in randomly, they might mix together and give you a big pan of greyish brown, rather than a colourful swirl.
I’m not an expert when it comes to melting crayons. I had no idea how much the crayons were going to reduce in size. I had this 8″ x 8″ baking pan, and I had another 9″ x 13″ baking pan. I spent about 10 minutes staring at the pans, putting all the crayons into each pan, and then moving them over to the other pan. Ultimately, I decided to go with the 8″ x 8″ baking pan, but for the quantity of crayons I had, it was the wrong choice. Darn it!
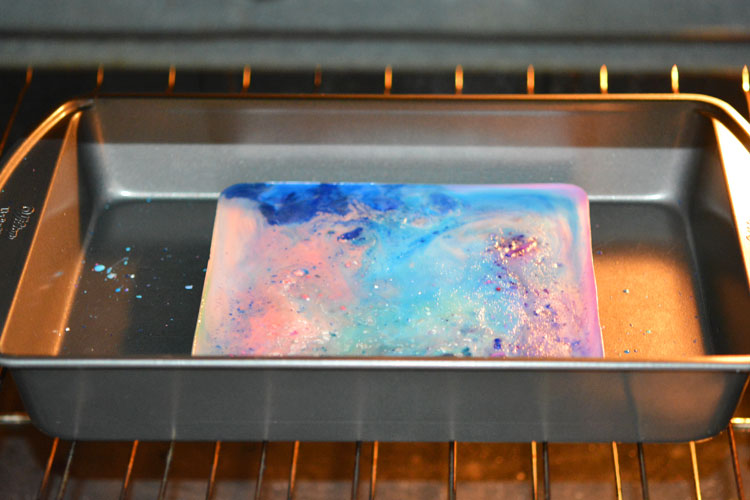
I baked the crayons at 350F for about 10 minutes (watch them closely so they don’t burn). When I cooled them off and took them out of the pan, I ended up with a sheet of crayon about 3/4″ thick.

LOL My cookie cutter was definitely not going to cut through that! I was kicking myself for using the wrong pan size! It certainly was gorgeous though!
So I took the thick sheet of melted crayon, put it into the 9″ x 13″ baking pan, and melted it again at 350F for about 10 minutes. The second time I melted it, I let it cool, put it in the freezer to speed up the process, and again, found that it was too hard to put the cookie cutter through.
So I melted it a third time. If you are wondering how I got those beautiful swirly patterns, it’s because it was melted 3 times. I was really careful not to swish it around when I took it out of the oven each time because I didn’t want the colours to mix too much. By the third time, the top was mostly a greyish purple colour, but luckily the bottom was still beautiful. You’ll see in a minute.
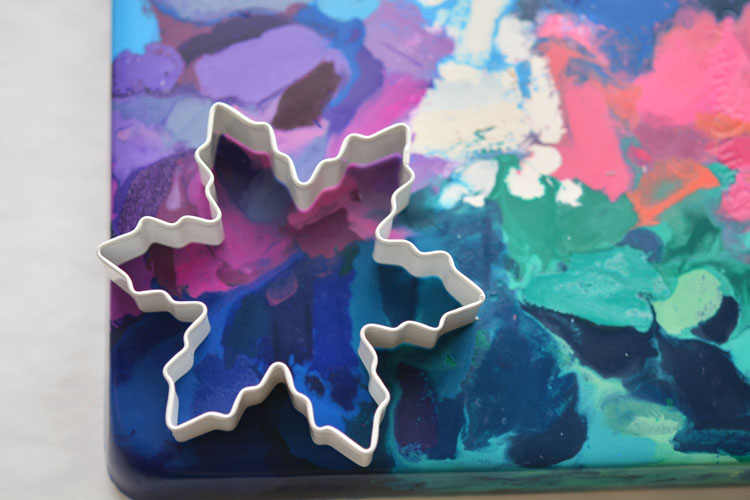
On a side note, I used these snowflake cookie cutters. It was a set of three snowflakes, but I only used the small and medium sizes. You can get the same ones I have from Amazon here. (affiliate link) You can use any cookie cutter shape you have, as long as it’s metal. I didn’t try plastic cookie cutters, so I can’t say whether or not they’ll work.

So here’s the really critical part that I kept screwing up. The melted crayons need to cool slightly – but not completely. It’s really tricky to find the sweet spot where the cookie cutter will go through easily without getting stuck.
Don’t put it in the fridge. Don’t put it in the freezer. Don’t take it out of the pan.
You need to wait until the melted crayon is roughly the same consistency as playdough – so it’s hard enough that it’s not a liquid anymore, but soft enough that you can easily push the cookie cutters through. It took about 10 to 20 minutes of cooling on the counter to reach that point. Don’t walk away for long – you’ll have to stay close by to keep an eye on it.
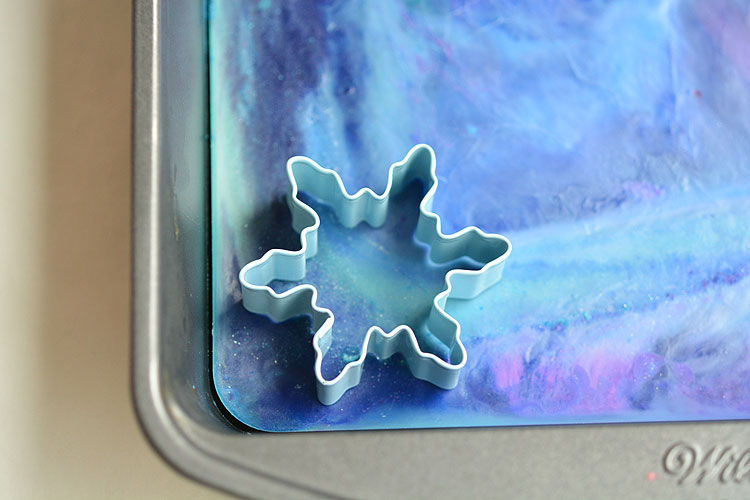
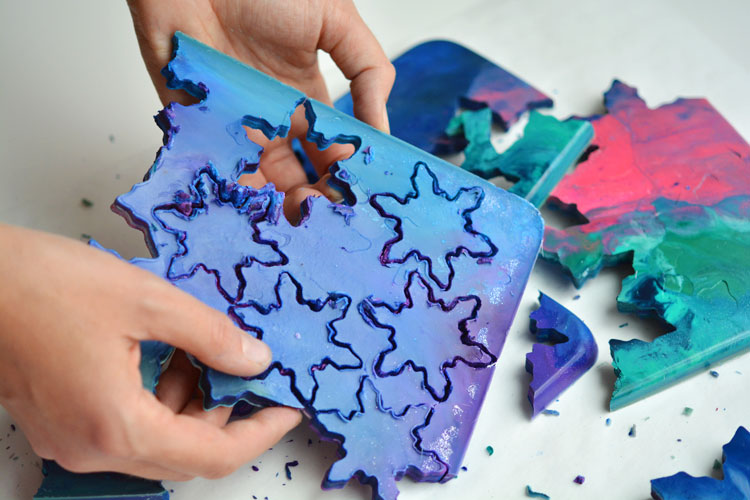
Push the cookie cutter all the way through to the bottom. The whole pan will still be fairly warm, the bottom might even be hot still.
It took me 3 tries to figure it out for myself and mine still turned out to be gorgeous. So don’t worry – even if you have to re-melt the crayons once or twice, it will be okay, as long as you don’t swish around the liquid crayons too much.
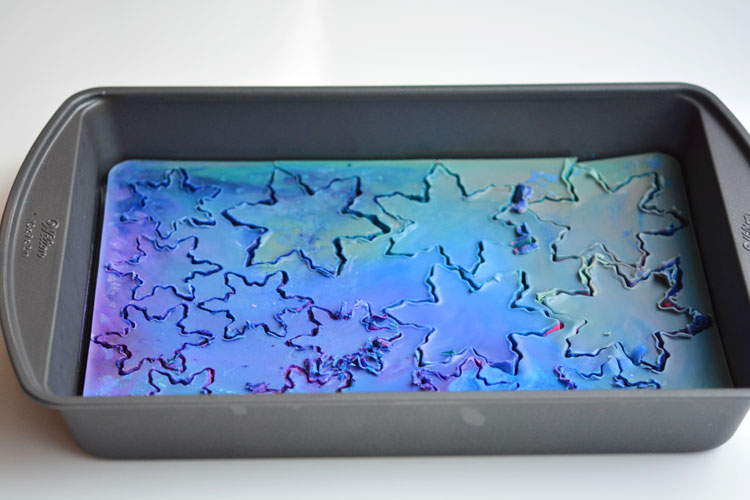
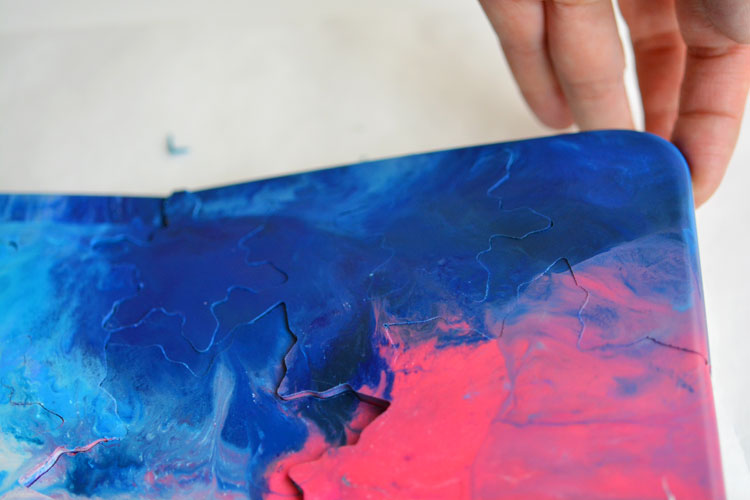
Once I got the cookie cutters pushed through, I breathed a HUGE sigh of relief. I put it in the freezer for about 20 minutes to fully cool off and harden. You can see in the photos below that the cookie cutter marks didn’t make it through the entire sheet. You want the crayon sheet to be brittle, so it breaks where you want it to break.
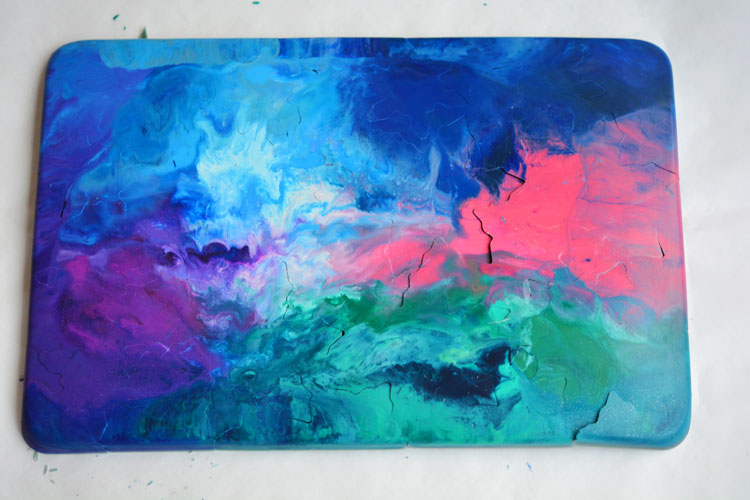
Isn’t it beautiful though!? When I pulled it out of the pan, it was SO PRETTY!
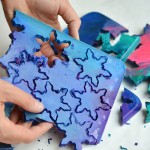
I started by slowly bending the sheet to see where it would break naturally from my cookie cutter marks. You can see the outline of the cookie cutter shapes in the photo below.
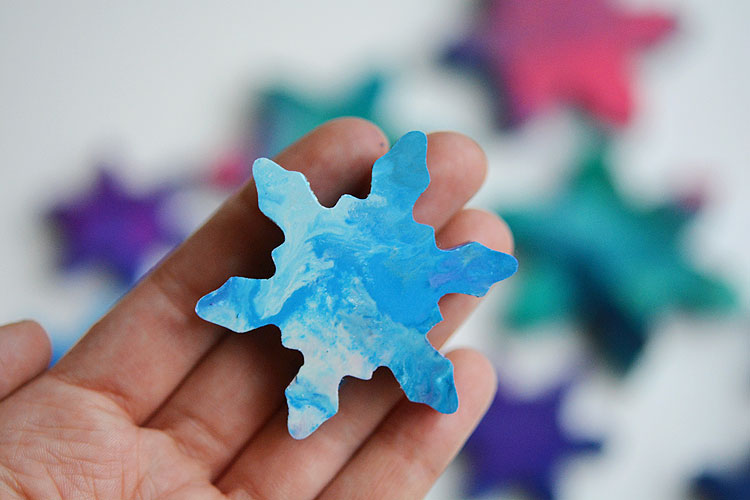
This was the fun part! Pop out all of the snowflake pieces! (Or whatever shape you chose to use.)
With the crayon sheet cold from the freezer, it was pretty easy to get the snowflakes out.
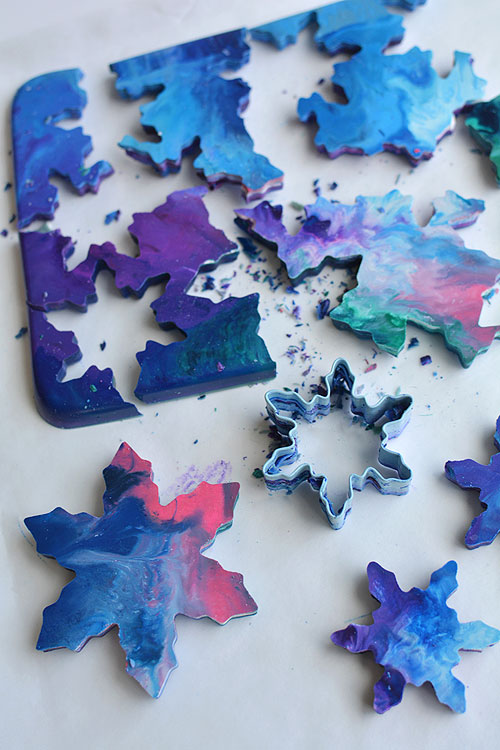
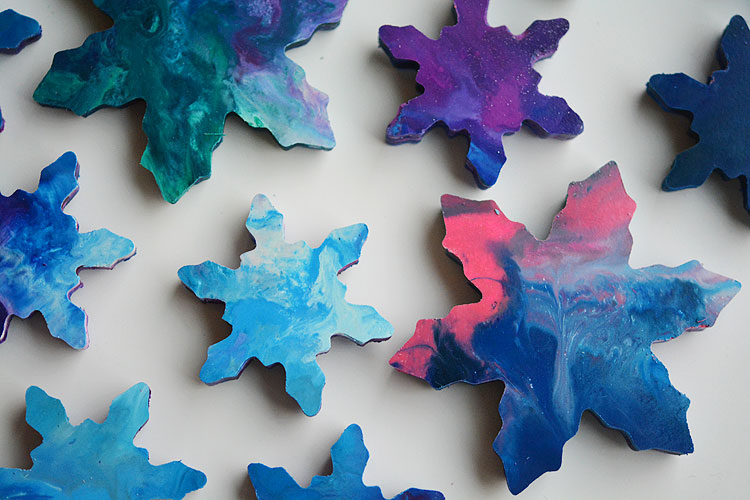
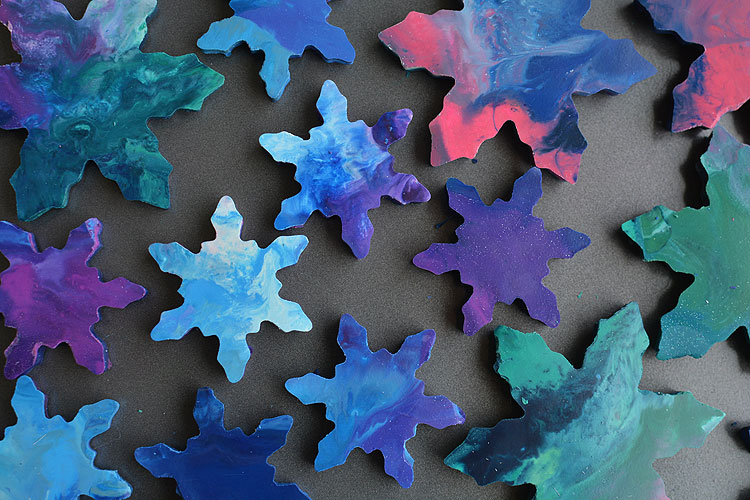
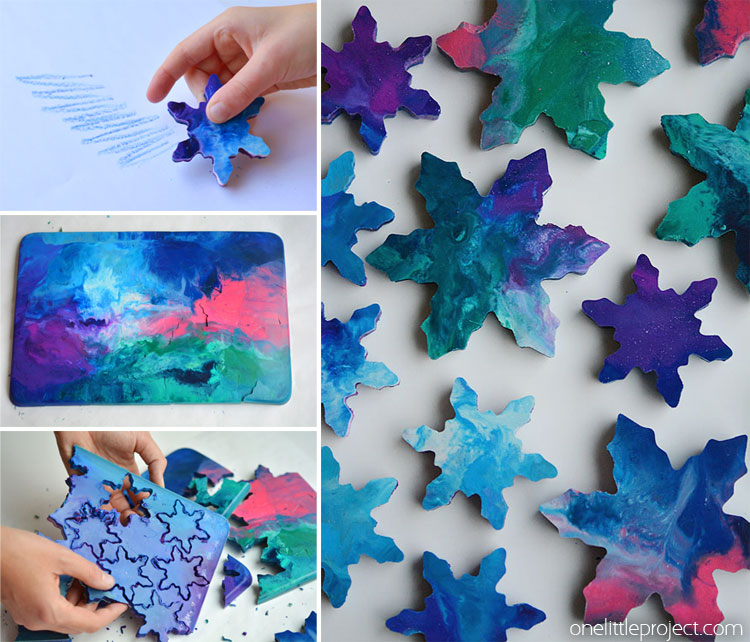
For crayons that were melted three times I was shocked how beautiful they were! All the colours swirled together, but didn’t mix. They were perfect!
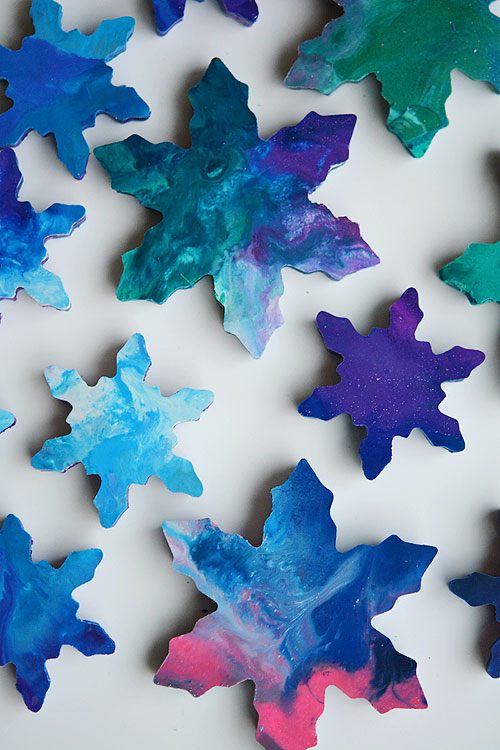
I was trying to go for Frozen themed crayons, so I used mostly blues and whites. I didn’t have enough blues and whites though, so I had to throw in a bunch of pinks, purples and turquoises too.
When it failed the first 2 times, I was starting to accept the possibility that I might have to completely scrap the entire project. So when they finally popped out and ended up looking like this, I was beyond excited!!
These would be amazing party favours for a little girl’s Frozen birthday party! Or you could make black and yellow ones for Batman. Or any number of awesome combinations!
The cleanup wasn’t nearly as bad as I was expecting. The baking pans only had a little bit of crayon residue left around the upper edge – the rest came out with the crayon sheet. I scraped out any of the bigger pieces and then soaked the pan in some really hot water. Then I poured the coffee grounds from my french press into it for some grit, and used a scrub brush. It came clean no problem. The cookie cutters were a little more difficult to clean, but I put them in the freezer for a bit, and most of the crayon residue cracked right off.
Since these directions were kind of convoluted, I’m going to include the step by step directions below. It’s using my recipe plugin, so it says “ingredients”, rather than “materials”, but hopefully you get the picture. : )
How to Make Cookie Cutter Crayons
Materials
- Leftover crayons or crayon bits
- Cookie cutter
- 9 " x 13" baking sheet or an 8" x 8" baking sheet
Instructions
- Remove the labels from the crayons.
- Sort them by their colours.
- Break them into 1/2" to 1" pieces and place them in the baking pan. (Unlined and ungreased)
- Try to fill the pan so it's about two crayon layers of thickness.
- Bake for 10 minutes at 350F or until completely melted.
- Remove from oven and cool at room temperature until the crayons have the consistency of play dough, approximately 10 to 20 minutes. (They'll still be quite warm)
- While still in the pan, press the cookie cutters through the crayon sheet to make all your shapes.
- Place the baking pan in the freezer for about 20 minutes or until completely cooled.
- Carefully remove the crayon sheet from the pan. (The whole sheet should pop right out)
- Gently break apart the cookie cutter shapes.
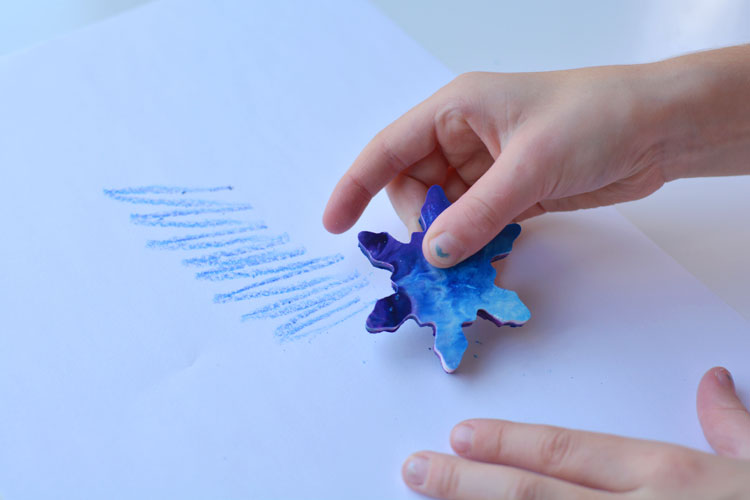
These cookie cutter crayons turned out beautifully! They aren’t the easiest little things to make, but when I finally figured out what consistency the crayons needed to be to push the cookie cutters through it was no problem. They’d be great for birthday party favours, or any other Frozen themed party. You can use any cookie cutter shape you want with any colour theme you want – I guarantee people will be impressed!
Source : onelittleproject.com
Read more...


Post a Comment
Post a Comment