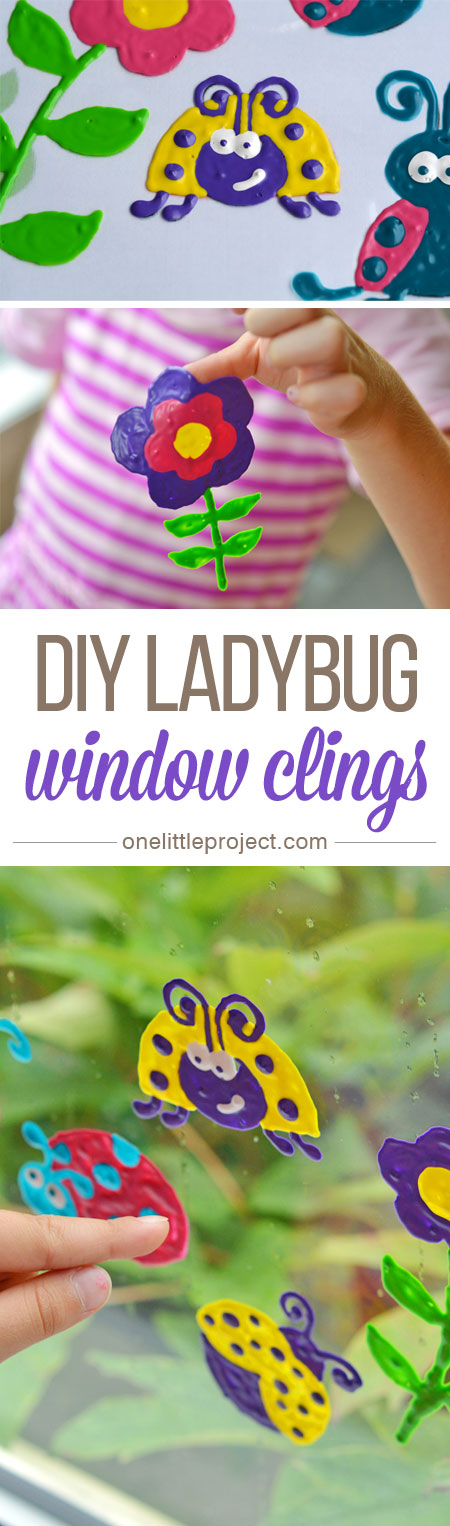
Sometimes when I put together crafts for the blog, I cross my fingers and think “I sure hope this works out!” I’ve never tried making window clings before, and I had no idea if it was going to work out, but man oh man, these ladybug window clings turned out to be absolutely ADORABLE! I think this might be one of my new favourite crafts!? They were easy to make, they peeled off the plastic really easily, they actually stick to the window and they can be peeled off the window and re-positioned if your kids want to create new scenes with them. So much fun!
My three year old and five year old have been loving this craft too and it’s great that they can actually do it themselves. I was a bit nervous watching them, and I laid down a larger than necessary plastic table cloth to protect our kitchen table, (and to keep myself from having a heart attack about the possibility of permanent puffy paint getting on the furniture), but they did an amazing job! They squeezed the paint out all by themselves and traced the shapes to make their own characters. Did their characters look like the ones on the template? Well, no, my three year old’s kind of looked more like Shrek than a ladybug, but she was SO PROUD of it! And I was proud of her for making it by herself. So isn’t that all that matters?
You can print out my Ladybug Window Cling Template here. I’m sorry, it’s not the best quality, but all you’re doing is tracing it, so it doesn’t matter that it’s a bit fuzzy. It’s just some free clip art I found online, and that was the largest resolution I could get, so please forgive me!
Download the template here and print on 8.5″ x 11″ paper: Ladybug Window Cling Template
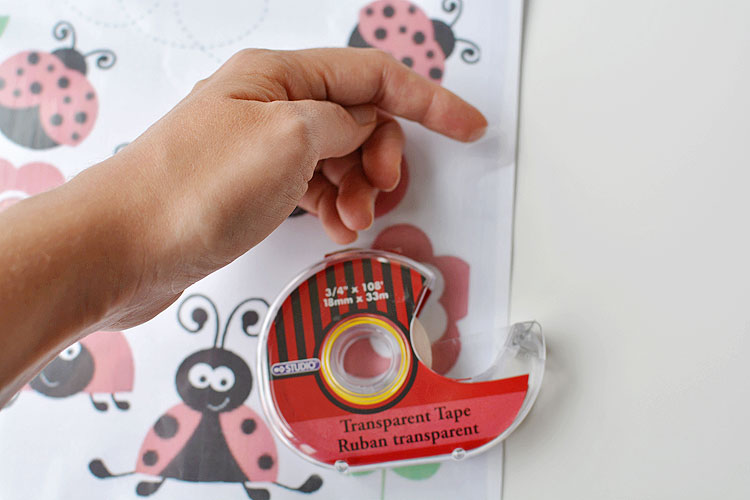
Use a pair of scissors to cut off the “zipper” part of a large freezer bag. I’ve read that you can also use wax paper or one of those plastic sheet protectors, but I haven’t tried it with either of those, so I can’t make any promises. The freezer bag was large enough to slip the paper inside, and flexible enough that the window clings easily unpeeled from it once they were dry.

Slide the paper all the way to the end of the freezer bag – you want it to wiggle as little as possible. If you look closely, you’ll see that the paper stuck out from the freezer bag by about 1/4″. I taped it to the freezer bag on the front and the back to keep it in place. I only used one piece of tape per side and it stayed in there perfectly without sliding around.
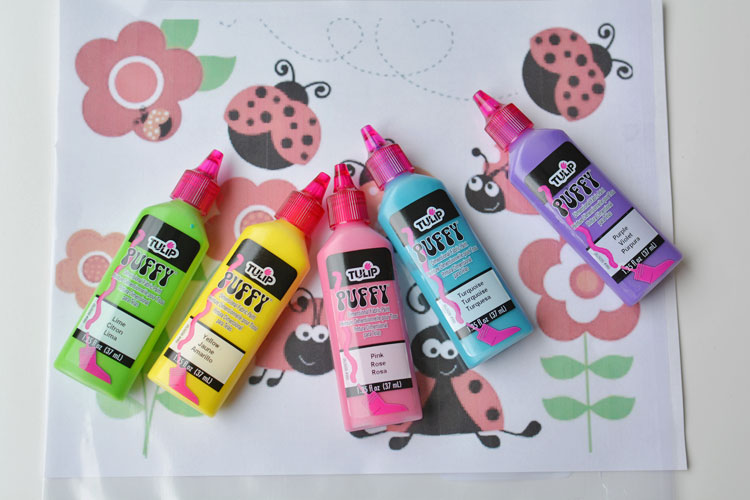
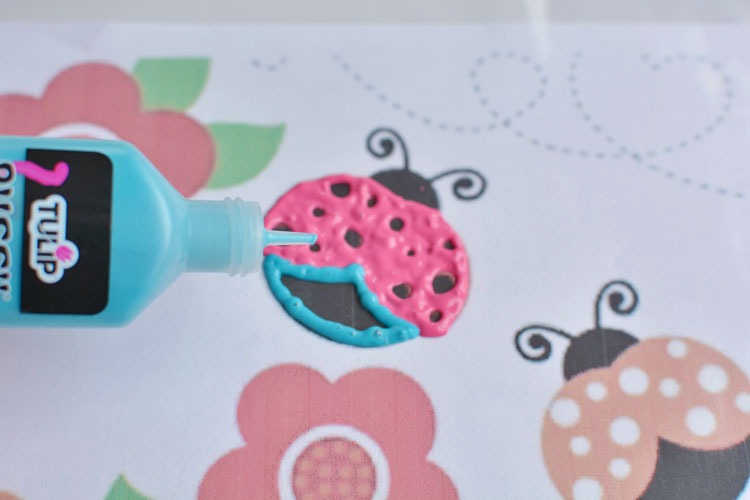
I read through a bunch of different tutorials online before I made these and the consensus was that Tulip brand puffy paint is the best type to use for window clings. I found mine at Walmart, but you can order it from Amazon if you have trouble finding it.
Start by tracing the outline of one of the colours. I drew little circles around all of the dots to make it easier to add them in afterwards.
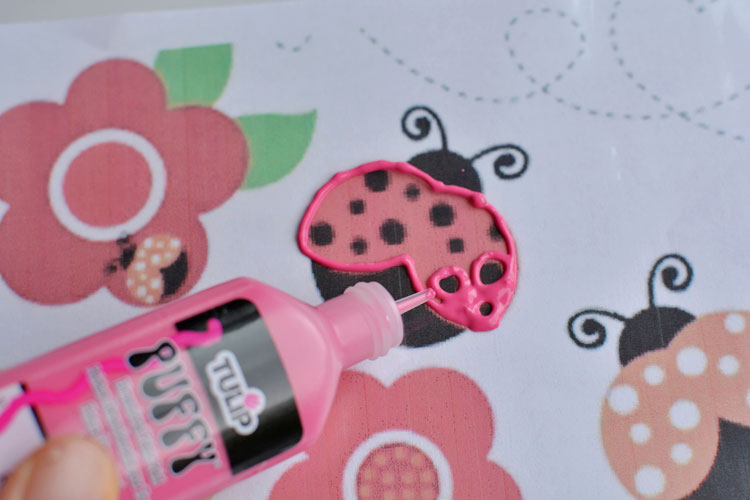
Then trace around with the other colours and fill it in. Make sure you use a relatively generous amount of puffy paint. It gets thinner as it dries and I found the thicker parts much easier to peel off the plastic.
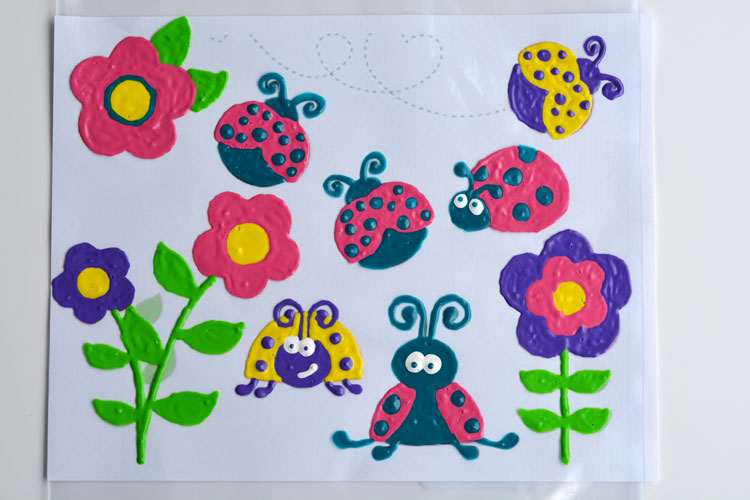
Trace out as many shapes as you’d like. It took about an hour to trace all the shapes on this sheet.
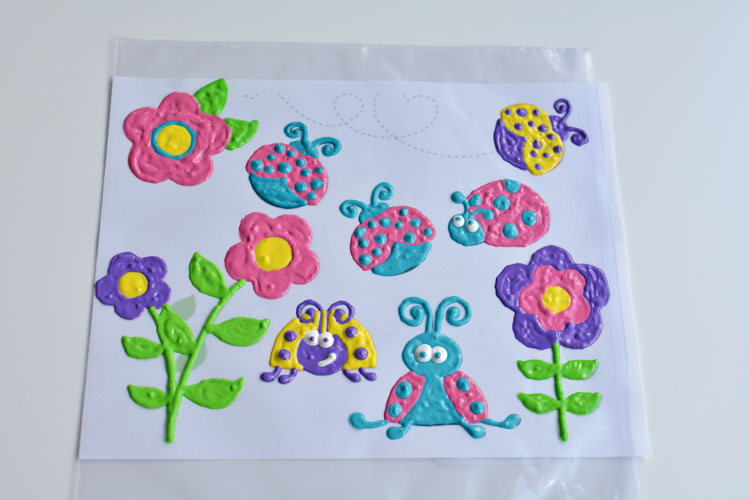
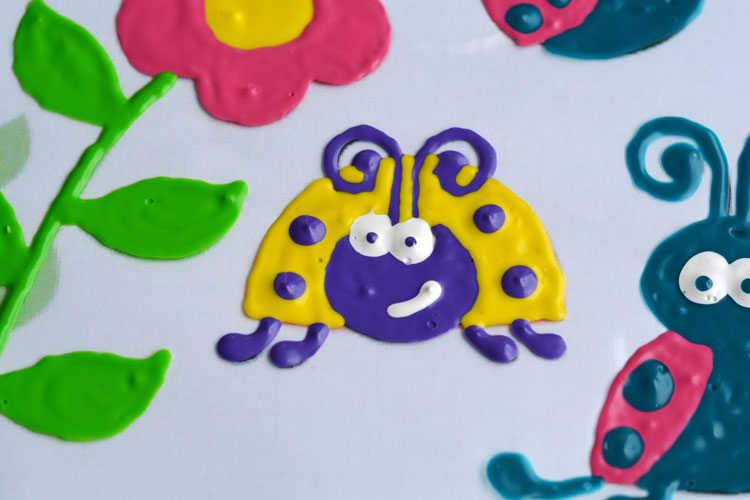
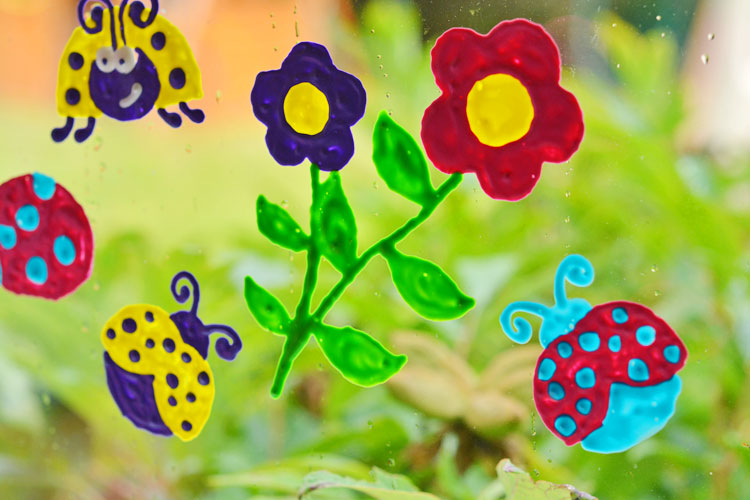
I love the colours! I made some ladybugs blue and pink and others yellow and purple. I loved mixing it all up!
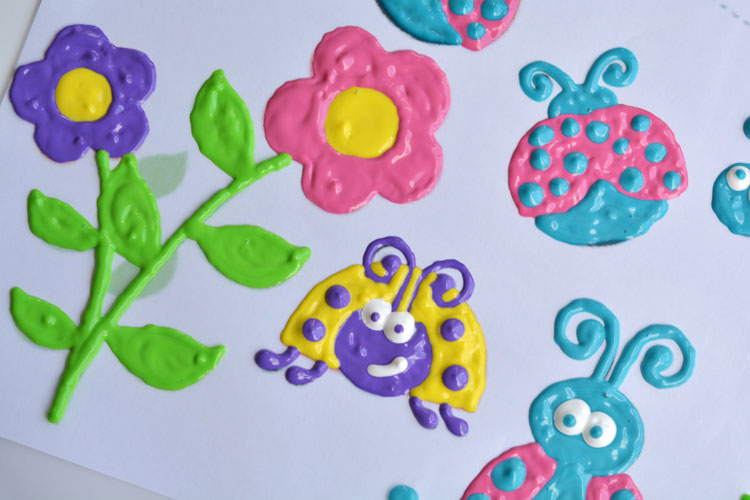
It’s impossible to get it perfectly smooth. Sorry to disappoint, but you are definitely going to have to accept that these will be bumpy. They smooth out a little after they dry, but they definitely don’t have a smooth finish. But that didn’t bother me – they were SO CUTE!
This was the hardest part – WAIT FOR IT TO DRY FOR AT LEAST 24 HOURS. I know. It’s torture. I put them on a piece of cardboard and slipped them onto an empty shelf in one of my cupboards so they wouldn’t be bumped or poked by curious fingers.
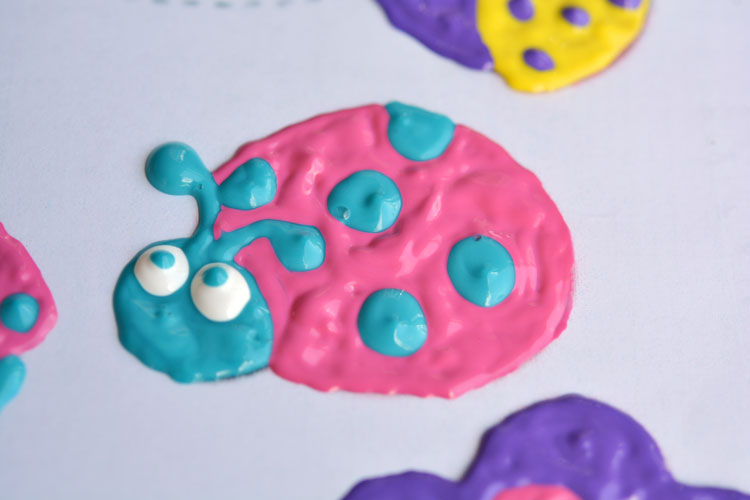
The colours got a little darker after they dried. The only colour that looked really different was the blue. It went from being a cute sky blue to a dark greeny blue. Not a colour I would have chosen, but we certainly didn’t let that ruin our fun!
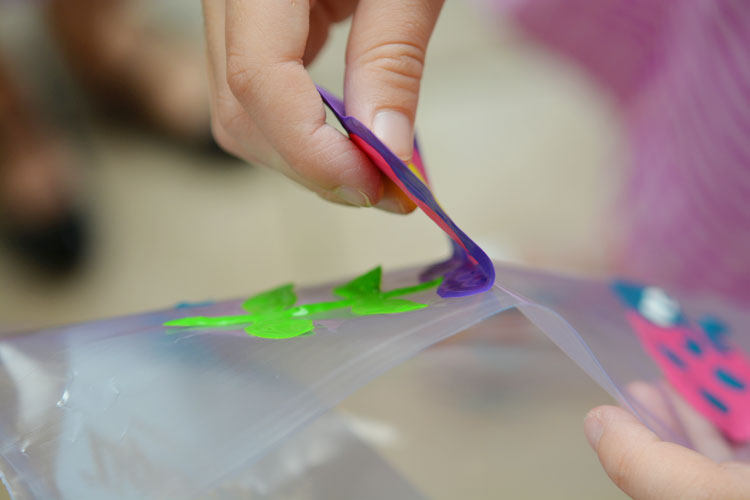
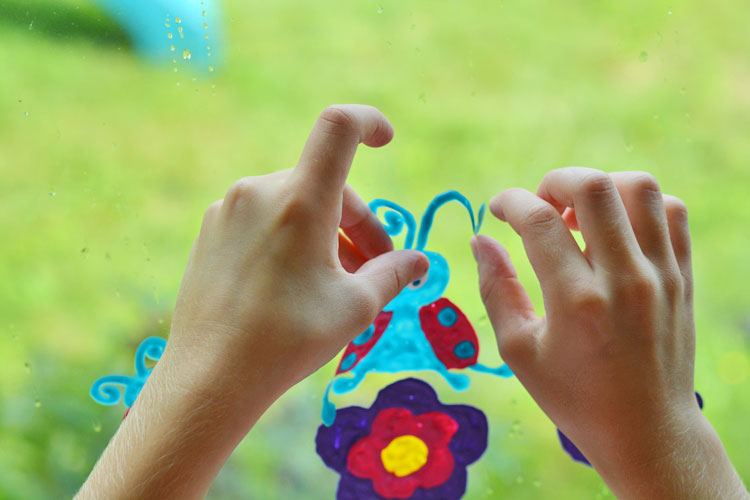
You have to be careful not to rip the thin and delicate flower stems and antennae as you peel them off. Go slowly, and help your kids if you need to. I had to slide my finger nail under the corner of the shapes to get most of them started, but once some of it was up, the whole shape came off pretty easily.
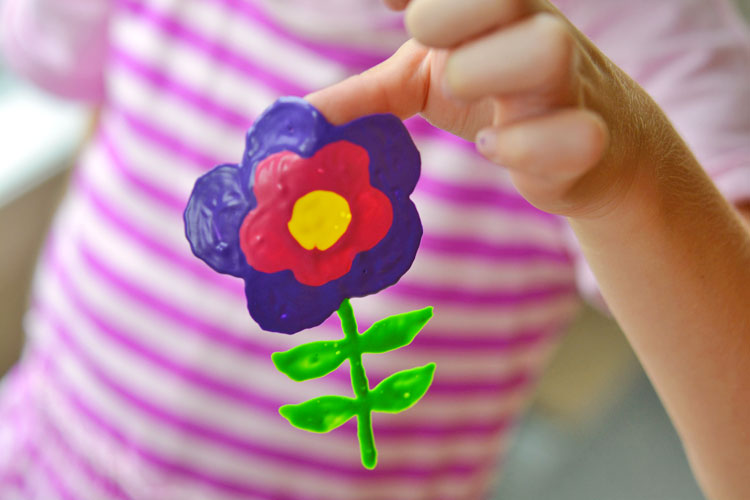
They are sticky enough to stick to my daughters finger, so be careful they don’t fold back against each other. We had one fold in half and it took some effort to get it unfolded again.
My girls LOVED putting these all over our windows.
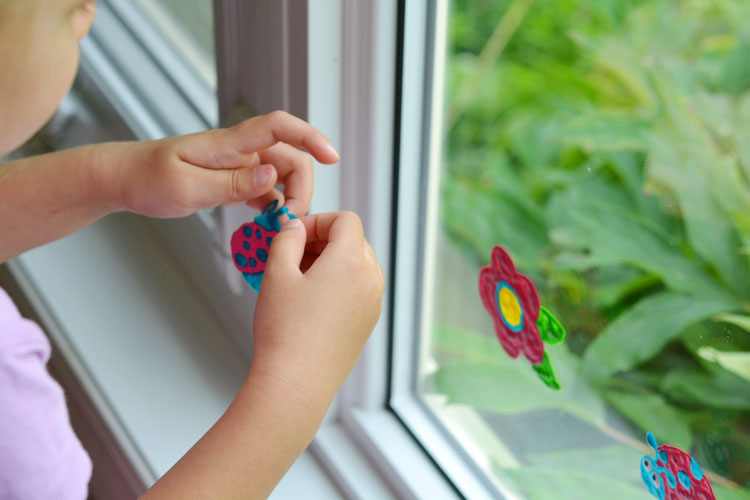
That’s my 5 year old in the photo below, carefully shaping the one ladybug’s antenna.
I tried to convince my kids that perhaps it was better for the ladybugs to have a party down in the corner, rather than smack in the middle of the window.
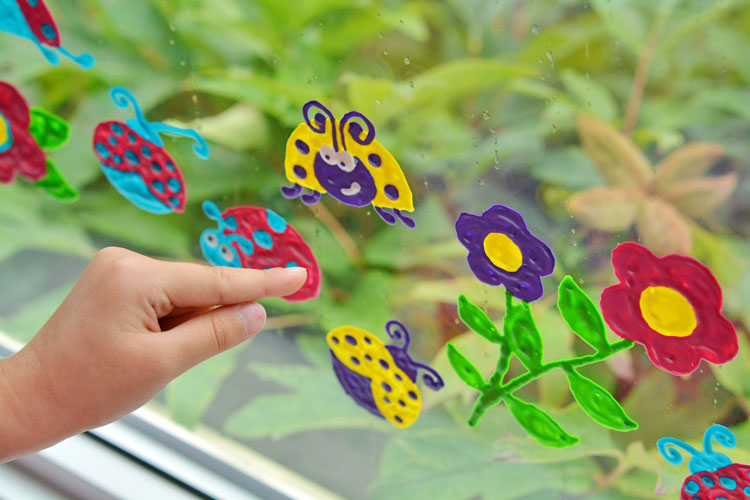
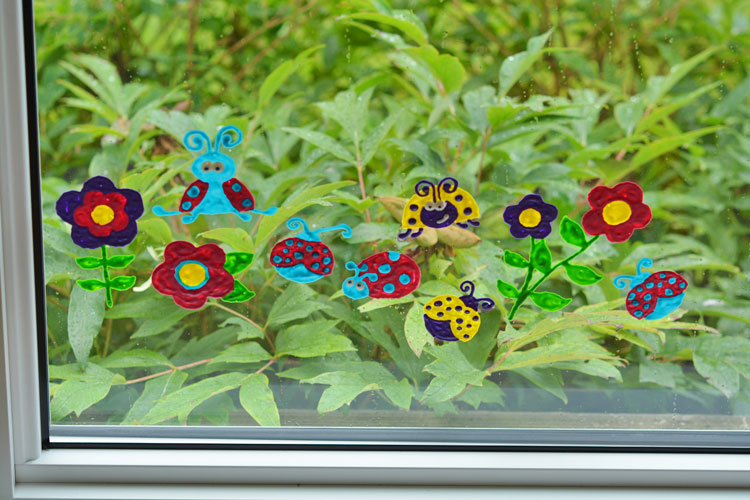
So we peeled them off and lined them up across the bottom.
It was actually easier to peel them off the window than from the plastic bag. Since the glass is solid, it’s much easier to get your fingernail underneath to get them started.
I’m guessing these will be moving around our windows quite a bit!

These ladybug window clings were so much fun! They take a day to dry, so you have to make sure you plan in advance, but they turned out wonderfully! It’s fun to trace out all of the shapes on the plastic, and it’s fun to peel them off and arrange a ladybug party on your windows! I can’t wait to try making more!
Source : onelittleproject.com
Read more...


Post a Comment
Post a Comment