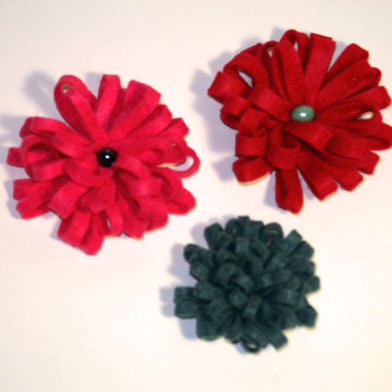
Don’t you love felt flower? There are so many possibilities! I saw these little guys on Pinterest and I had to try them. I thought they were fantastic and way easier than they look! So here is my simple felt flower tutorial.

Each one took less than 10 minutes to make. Tomorrow I’ll post about how to turn them into hairbands, barrettes and elastics, so be sure to check back!
Materials:
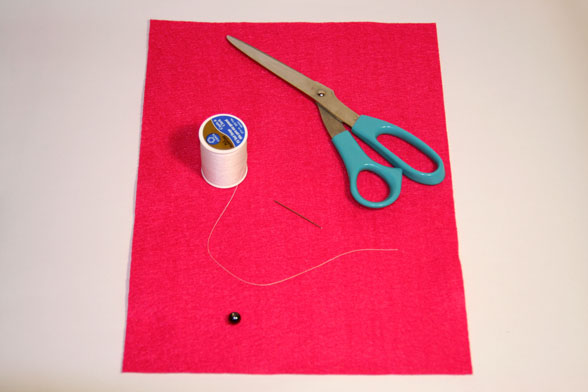
All you’ll need is a standard sheet of felt, a needle, thread and scissors and an optional bead to put in the middle.
Simple Felt Flower Tutorial Instructions:
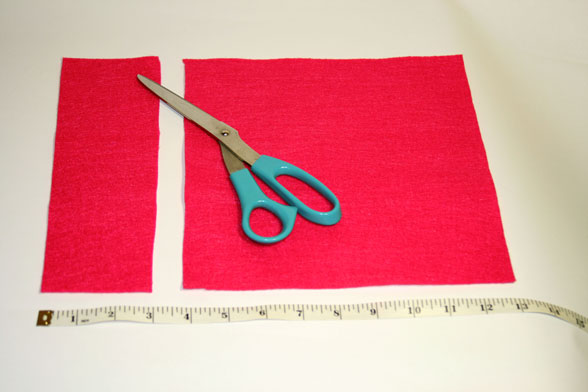
Step 1: Cut out a 3″ strip of felt. I tried various widths and it didn’t seem to matter, so don’t worry too much about measuring. They all worked just fine.
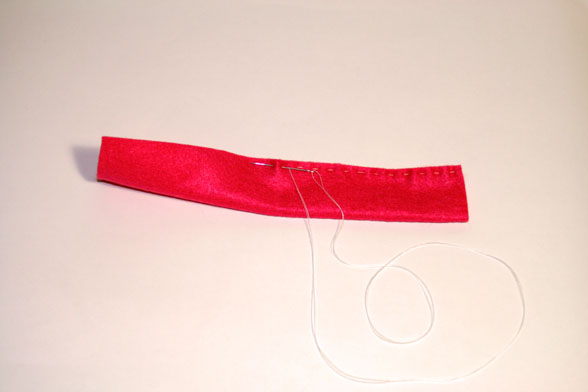
Step 2: Fold the felt in half and sew a wide stitch across. Don’t cut the thread yet.
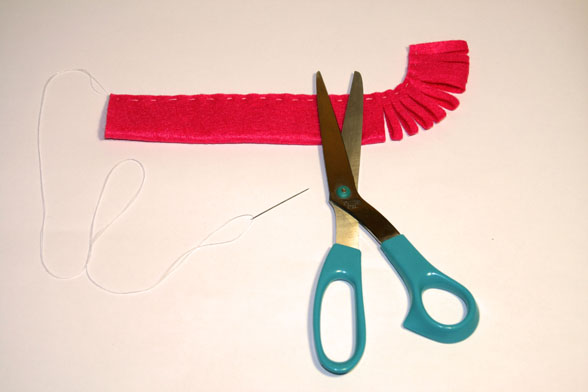
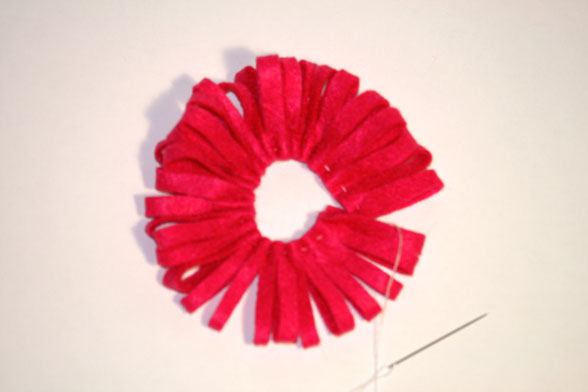
Step 3: Cut slits in the felt across the entire length, being careful not to cut through your stitches. I found it makes nicer flowers when your slits are closer together.
Step 4: Pull the thread tight to gather.
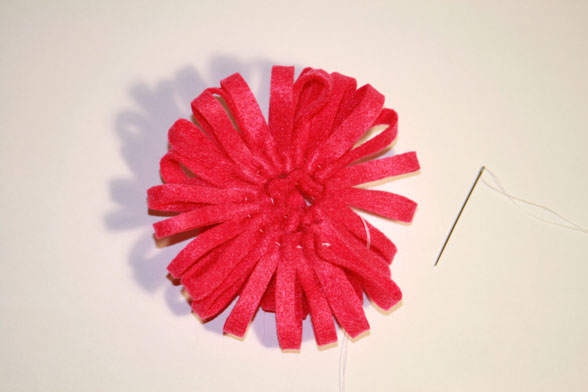
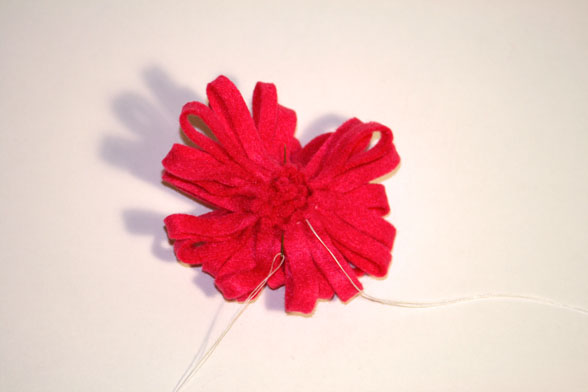
Step 5: Wind the felt around itself in a spiral.
Step 6: Sew a few stitches through the bottom to hold the shape in place.
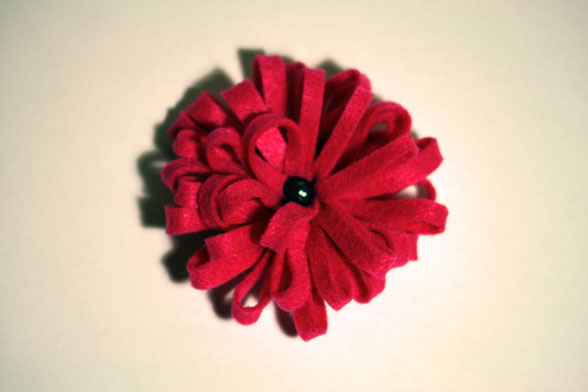
Step 7: Optional – Sew a bead in the center. (After making a few of these, I think I prefer the ones without the beads.)
Stay tuned tomorrow for how to use flowers from this simple felt flower tutorial and attach them to hairbands, barrettes and elastics!
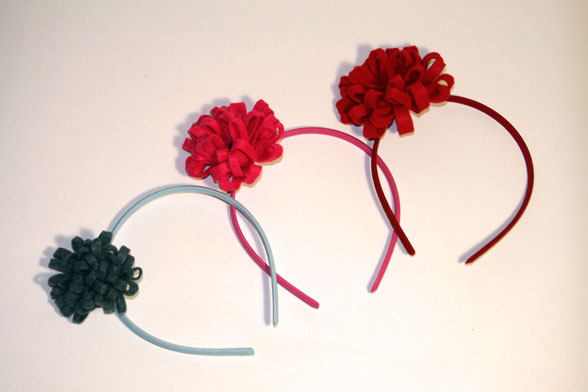
Okay, so the photo of the flowers on the headbands above isn’t real yet. I cheated and just put the flowers on top of the headbands because at the time, I was trying to convince myself that felt flowers have a legitimate, useful purpose – but I didn’t actually know how to attach them. So tomorrow, I’m going to see if I can figure it out, because I really want the flowers from this simple felt flower tutorial to be useable! Be sure to visit How to attach felt flowers to an elastic, a barrette or a hair band or Simple Felt Flower Tutorial #2.
Source : onelittleproject.com
Read more...
Post a Comment
Post a Comment