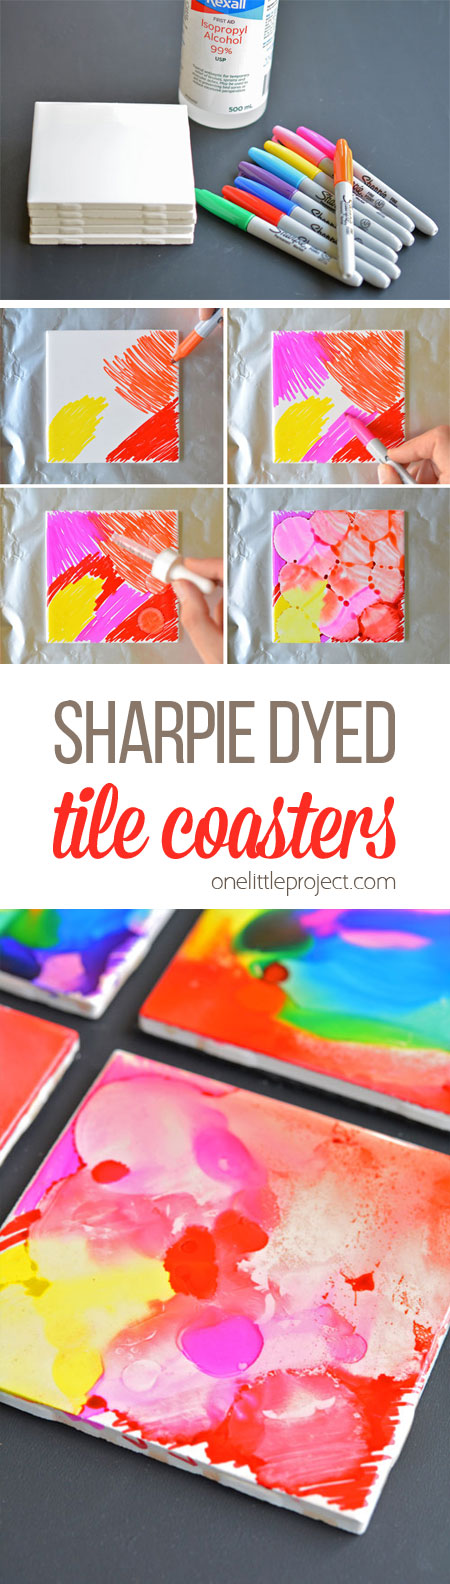
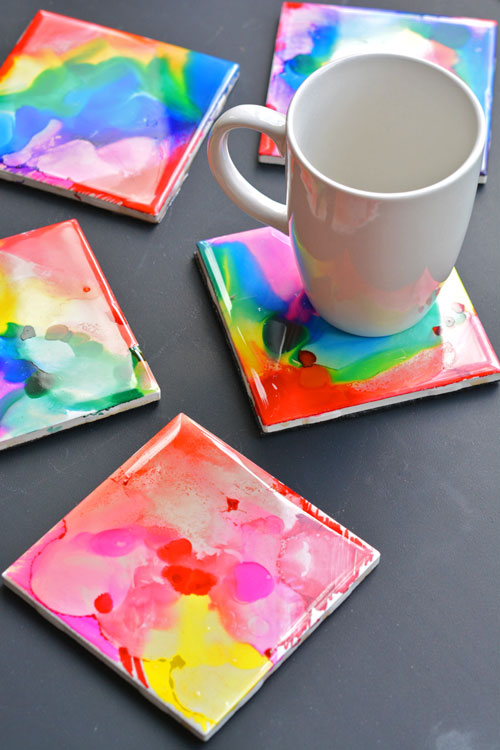
These Sharpie dyed tile coasters are so beautiful! And they’re so easy to make! Each one turns into a unique piece of artwork that looks shockingly good on the coffee table! The tiles were only 28 cents each so they’re also super cheap! Wouldn’t they make a thoughtful homemade gift idea? No one would ever guess how simple they are to make!
Does anyone still use rubbing alcohol for first aid? I remember my mom used to use it on us sometimes when we were little and holy cow that stuff burned! I can’t even imagine trying to clean my kids wounds with it. I’m pretty sure they’d freak out!
I found an old bottle of rubbing alcohol in my cupboard that was 70% isopropyl alcohol and I tried using it for this project – but it didn’t work. But then I looked on the bottom of the bottle and it expired in 2002! LOL And since it has about a 5 year shelf life, I’m estimating that I bought that bottle in 1997. Wow. Holy make me feel old already! Geez!
So I’m not sure if it didn’t work with the 70% alcohol because my rubbing alcohol was nearly 20 years old and maybe it had lost its potency? Or if it didn’t work because it just wasn’t a high enough percentage. But either way, when you try this at home, just use the highest percentage of isopropyl alcohol that you can find. I bought a brand new bottle of 99% rubbing alcohol yesterday and it worked amazingly well!
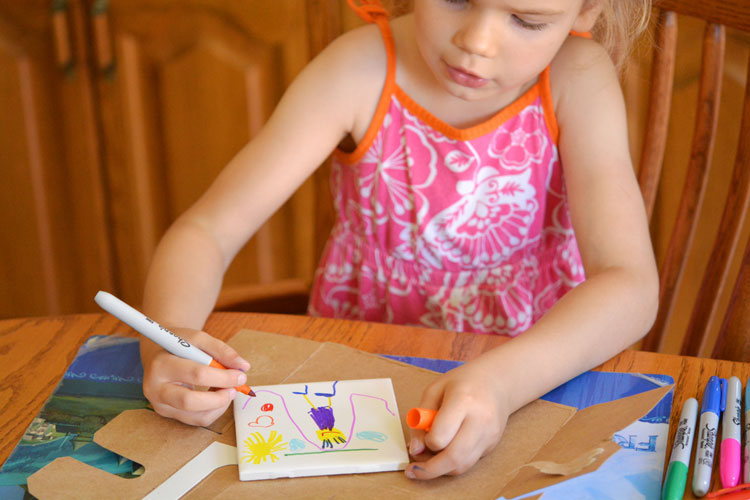
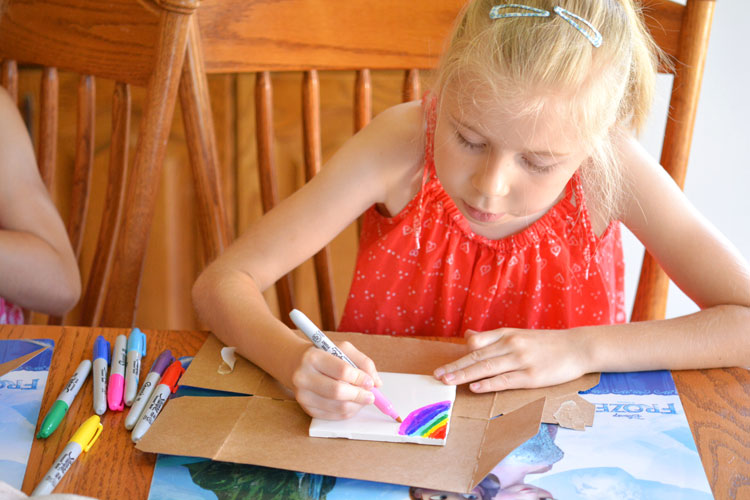
This is a great project for all ages! Even the kids can do this one! Since the rubbing alcohol blurs everything together, it really doesn’t matter how precise or tidy the kids colouring job is.
We ended up making at least a dozen of these Sharpie dyed tile coasters and every single one ended up being beautiful – even the ones where my kids had drawn tiny little trees and princesses on them or where they had coloured half the tile with pink and the other half of the tile with baby blue. All beautiful!
Sharpie Dyed Tile Coasters Using Rubbing Alcohol
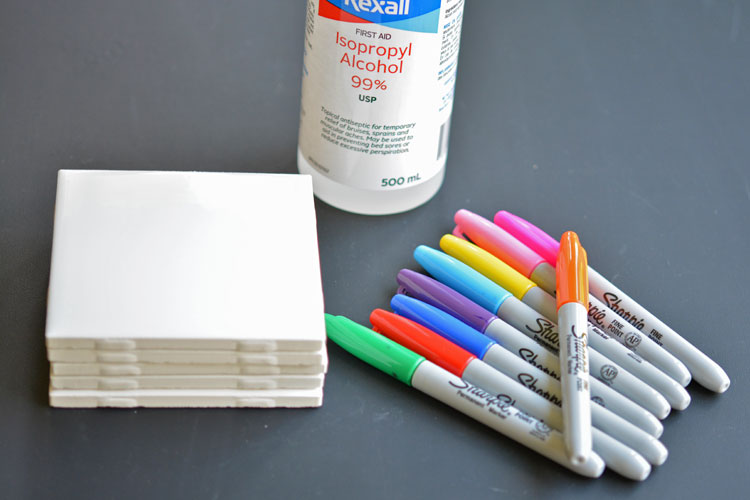
The full printable instructions are at the bottom of this post, but here’s what you’ll need:
- Sharpie Fine Tip Markers (in bold colours)
- 4″x4″ White Ceramic Tiles (I can’t find them on Amazon, but these are the ones I used)
- Isopropyl Alcohol (91% or 99% from the drug store)
- Eye Dropper (or small spoon)
- Polyurethane top coat
- Peel and Stick Black Felt (it’s way cheaper at the craft store, but that’s a link to what I used)
This was such a fun art project and the kids had a blast! I got the idea from the Sharpie website. Who knew this was even possible?!
I got the tiles from Home Depot for 28 cents each, which I thought was a bargain! They sold them on their own, so I could buy as many (or as few) as I wanted without worrying about buying a huge box of them.
I lined a cookie sheet with tin foil and coloured the tiles in there to contain the mess. The rubbing alcohol might drip off the sides of the tile, and you definitely don’t want that leeching onto your table or counter). The clean up was super easy using the tin foil.
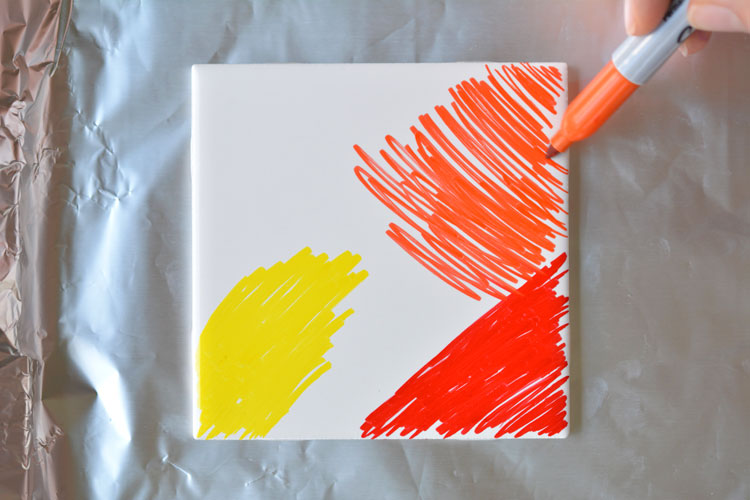
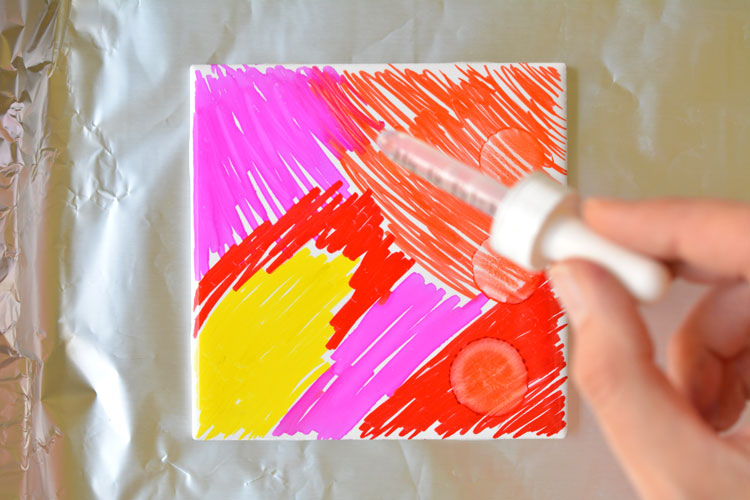
Clean off the tiles a bit before you get started. I just rubbed them on my jeans to wipe off all the dust and dirt. (I’m classy that way…). Then colour them with your Sharpies!
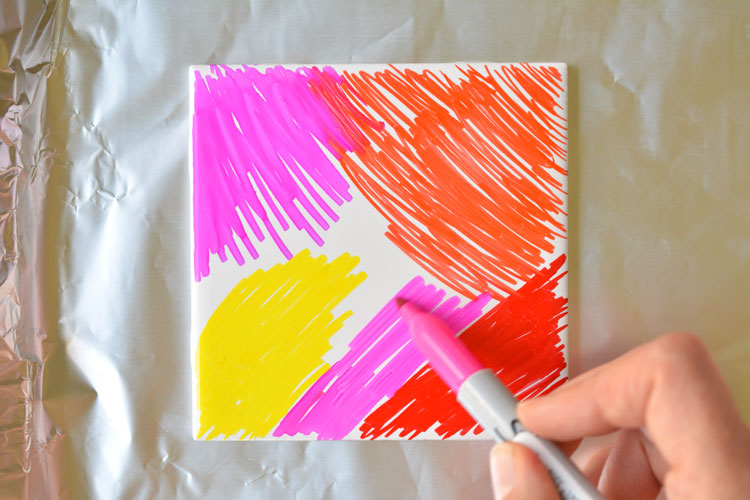
Cover the whole tile with marker, but don’t worry if there’s white showing. And definitely don’t worry if it’s messy or if the colours overlap – it won’t make any difference in the end!
Next, take the 99% rubbing alcohol and slowly drip it over the tile. It spreads out A LOT so don’t go crazy with it or you’ll have one big blurry mess.
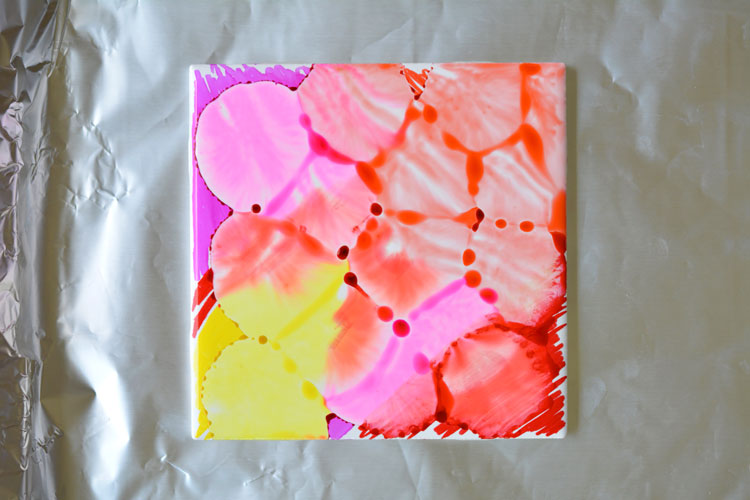
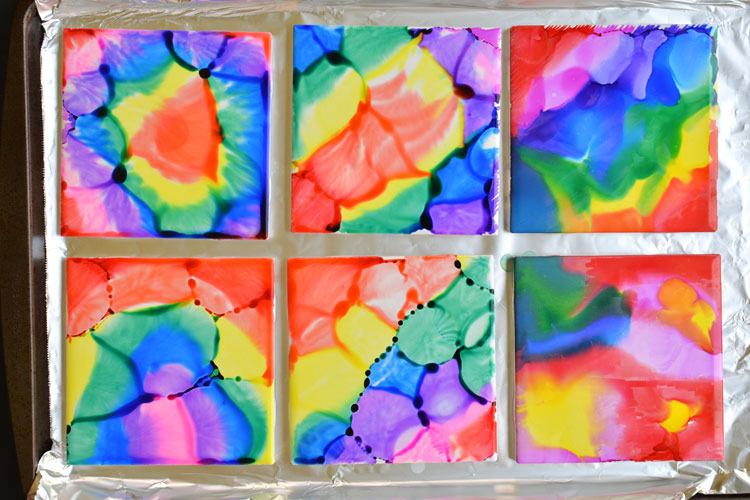
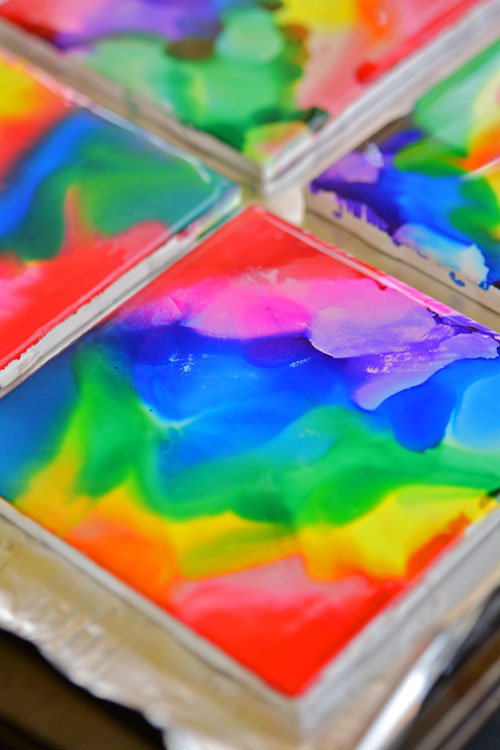
This is what it looked like right after I finished dripping on the rubbing alcohol:
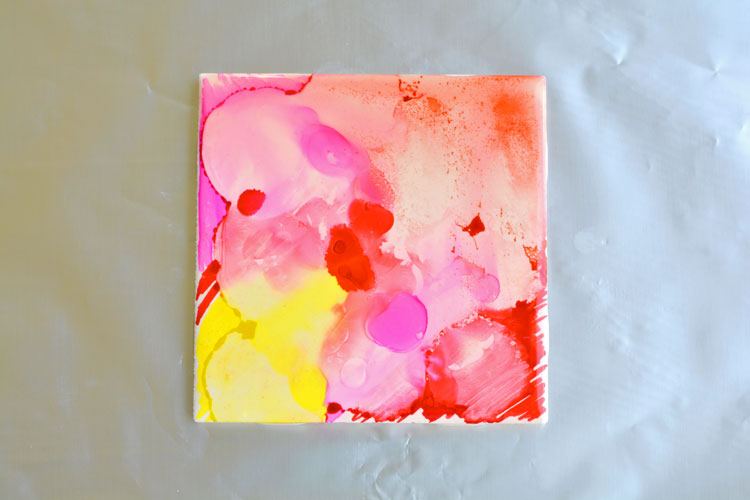
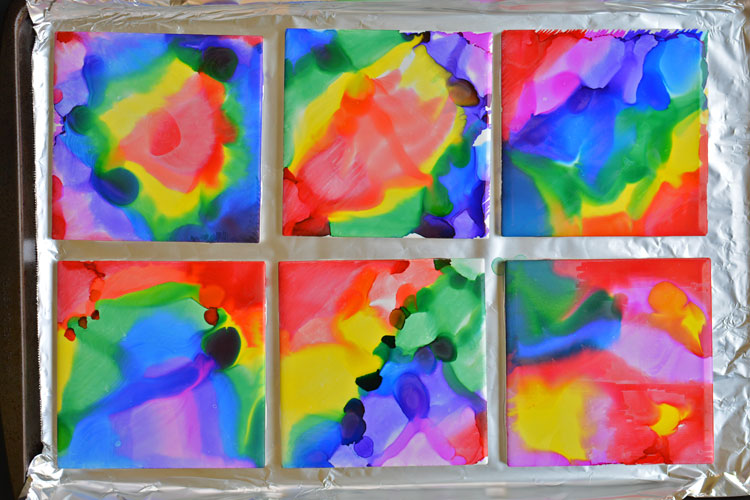
And this is what it looked like about 40 minutes later, after it had dried. Isn’t the pattern beautiful!?
Here’s another example of the process:

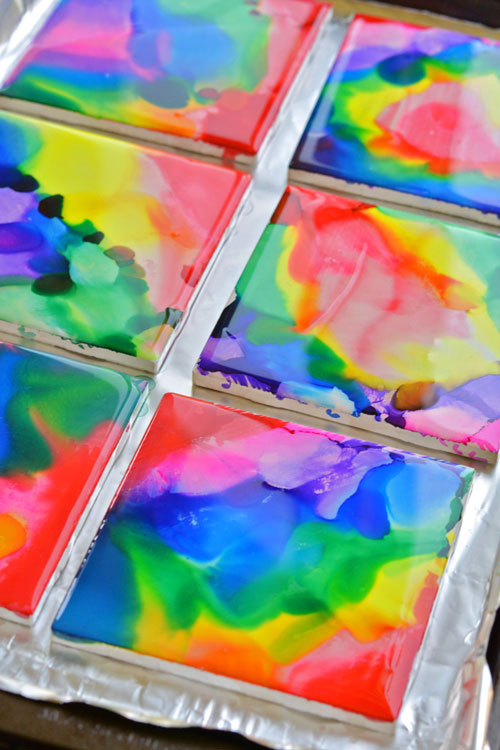
You know me and rainbow colours (I LOVE THEM!) so I decided to try out a set of 6 different patterns on the tiles using the same colours. Now I’ll have a set of 6 coasters that go together as a set.
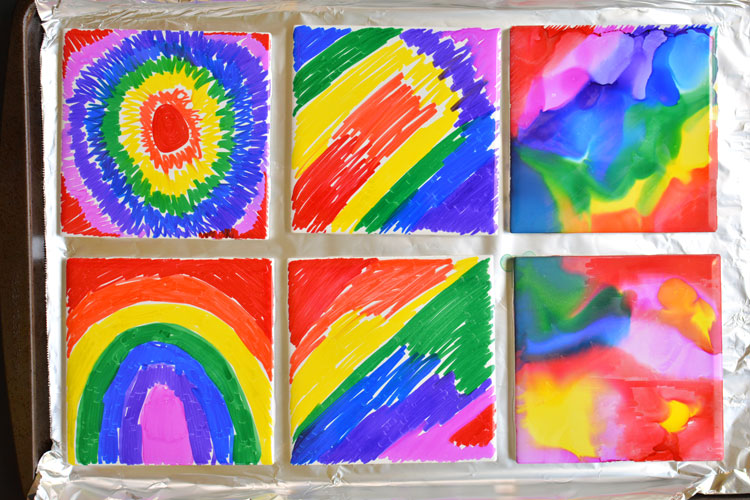
So here’s what it looked like right after I finished with the alcohol while it was still wet:
And here’s what it looked like after I let them dry for 40 minutes. Be patient. It takes a bit of time and you want to make sure they’re completely dry.
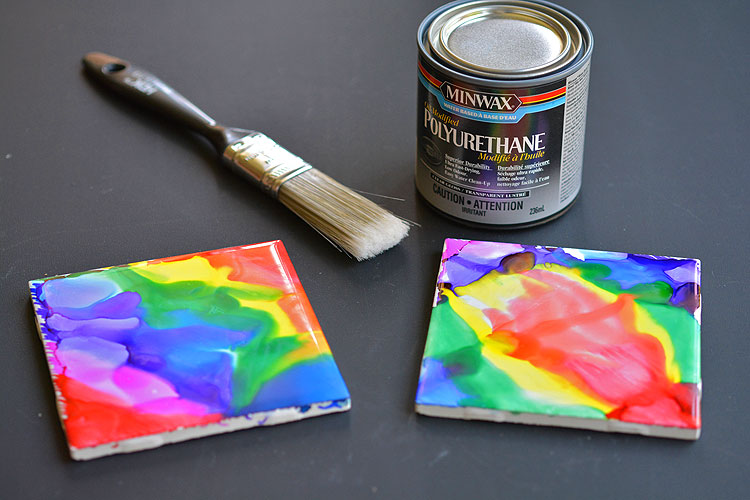
So yes, they’re “dry” at this point, but if you go to touch them, the marker will wipe off on your fingers, which kind of sucks. As much as I hate extra steps, this polyurethane top coat worked amazingly well to seal in the sharpie and give the tiles an awesome, glossy finish. This is the polyurethane I used.
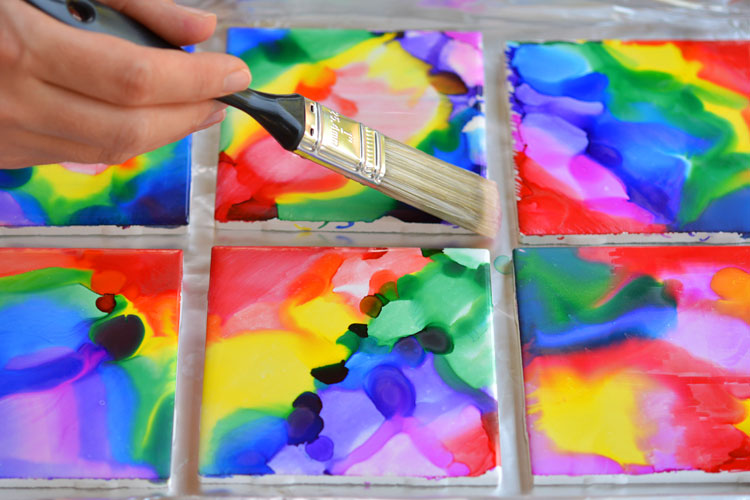
I used a 1″ paint brush and VERY GENTLY spread the polyurethane over the tiles. Be careful, because if you press too hard the brush will wipe off the Sharpie… especially the red Sharpie. For some reason the red was the most sensitive.
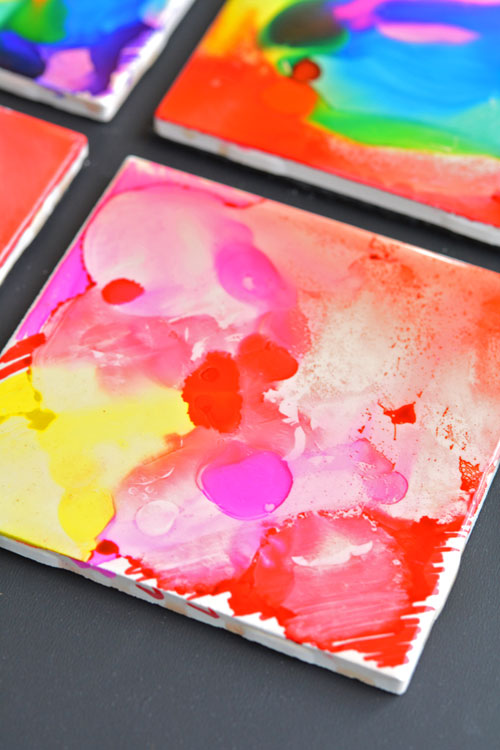
I let the tiles set for 24 hours, and they looked FANTASTIC when they were done! Glossy and shiny with bold and beautiful colours! So pretty!
If you want, you can touch them up with more Sharpie and add another layer of drops over top to give it even more texture!
I let my 4 year old and 6 year old keep one of their artwork tiles just as they drew it as well. They had kind of fallen in love with them before they understood that the alcohol was going to completely blur out their drawing, so it made them reeeeeeeally happy that we left them as is. So we just added the polyurethane top coat right over their drawings to preserve it.
Even the kids’ artwork tiles on their own would make a great mother’s day gift or Christmas gift!
The tiles are kind of rough on the bottom, so you will probably want to cover the bottom with something. I found this peel and stick felt at the craft store and it was perfect! So much easier than gluing the felt to the coaster! You just cut the felt to size with scissors, peel off the backing, and press it onto the bottom of the coaster.
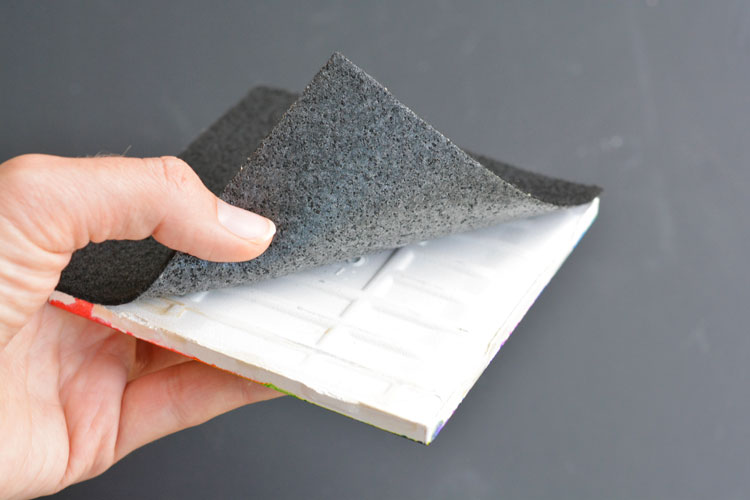
Now they have a perfectly finished look and they won’t scratch the table!
Sharpie Dyed Tile Coasters Using Rubbing Alcohol
Materials
- 4 " x 4" Ceramic White Tiles
- Coloured Sharpie Markers
- 99 % Isopropyl Alcohol rubbing alcohol
- Eye Dropper
- Polyurethane Top Coat
- Peel and Stick Black Felt
Instructions
- Wipe the tile clean with a damp cloth.
- Colour the tile with the Sharpies with bold and contrasting colours. Don't worry if it's messy, if the colours overlap or if there's white space showing.
- Using an eye dropper, carefully drop the rubbing alcohol onto the coloured tile.
- Allow the tile to dry for at least 40 minutes.
- Using a small paintbrush, gently cover the top of the tile with a polyurethane top coat to seal in the colour. Allow to set for 24 hours.
- Cut the felt to the size of the tile, peel off the backing, and stick it to the bottom of the tile.

These Sharpie dyed tile coasters are so beautiful and they’re really easy to make! It doesn’t matter how precise you are with your colouring and they still turn into little works of art when you’re finished! Such a great project for all ages!
Source : onelittleproject.com
Read more...


Post a Comment
Post a Comment