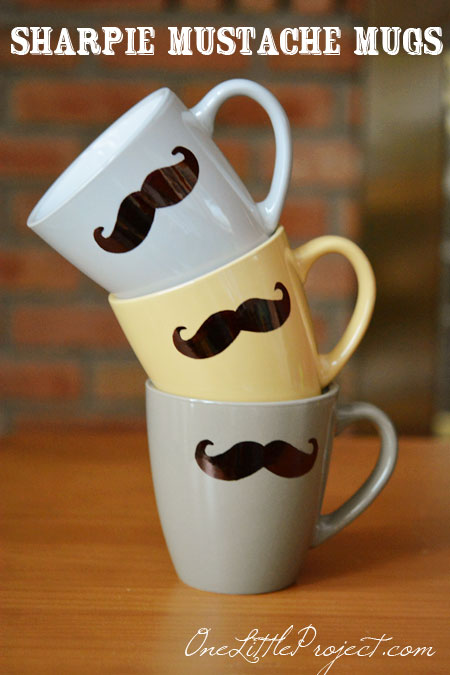
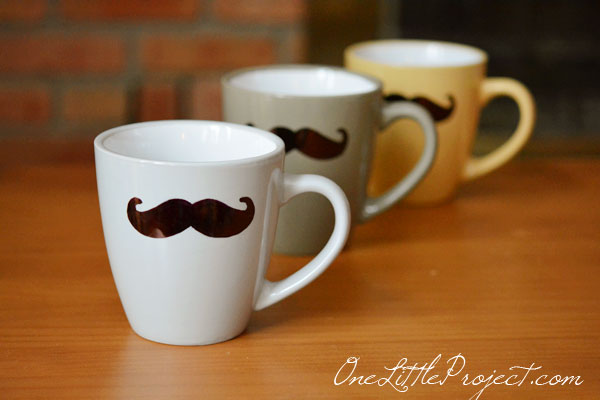
I have wanted to try DIY Sharpie mugs for awhile now, and with Christmas coming, this was a great opportunity! These Sharpie mustache mugs make such a cute gift idea for a dad, husband or even a grandpa! And they are so inexpensive to make. He can take his mustache mug to work and be reminded of you every time he takes a sip of his coffee!
I bought a new Sharpie and that was the most expensive part of this project. I wanted a Sharpie with a brush tip end, so that it was easier to be precise. I went with three different coloured mugs from the dollar store, but you could just as well go with white.
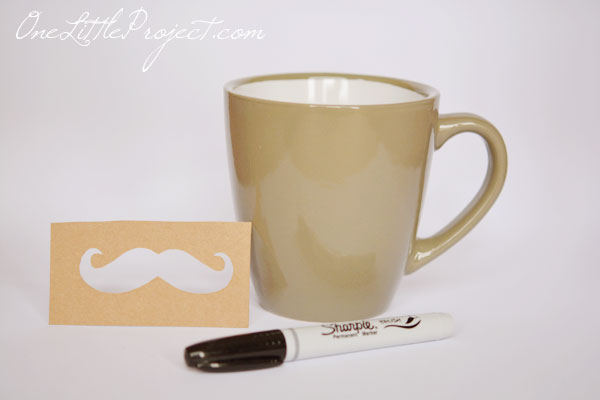
You don’t need any fancy equipment to do this. I thought I might need a cutting machine, but it was surprisingly easy to make my own stencil out of cardboard! I started by Google image searching “mustache templates” (I went with this one). Then I printed it out and used scissors to cut out the mustache from the paper – you can see my white mustache cut out and traced on the cardboard below.
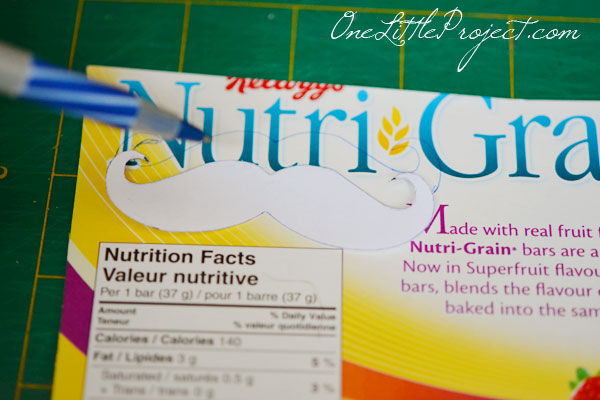
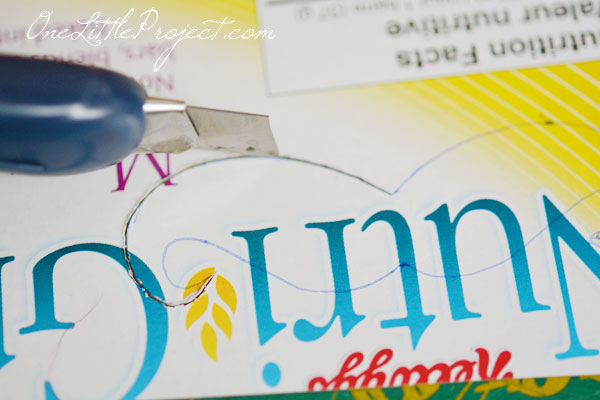
Paper just wasn’t going to stand up to magic marker, so I used an empty cereal box to make my stencil. After I traced the mustache I used an exacto knife to cut out the shape.
Choose where to put the mustache and then tape it onto the mug as securely as you can.
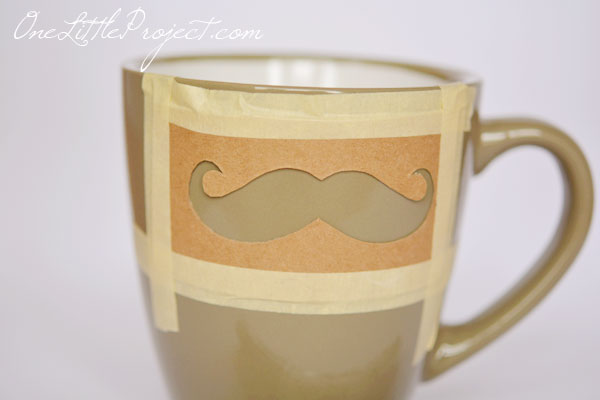
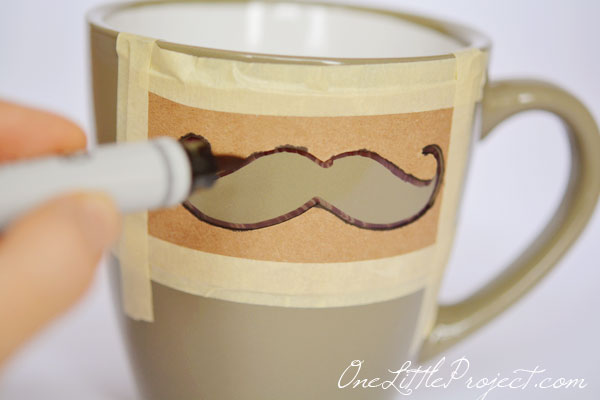
Start by outlining the shape first:
And then fill it all in:
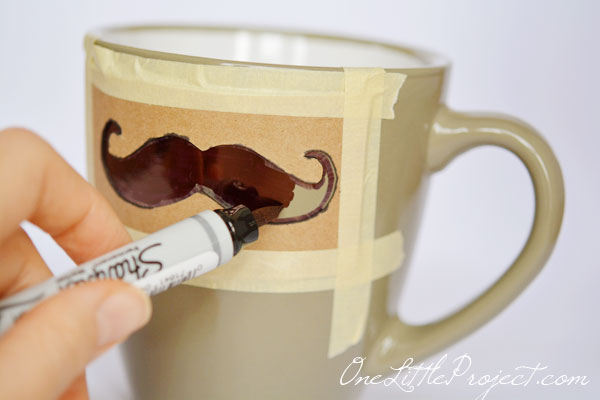
You’ll have to go over the marker a few times until it looks black, otherwise you’ll be able to see the lines where you coloured. It ended up being about 2 heavy coats of marker:
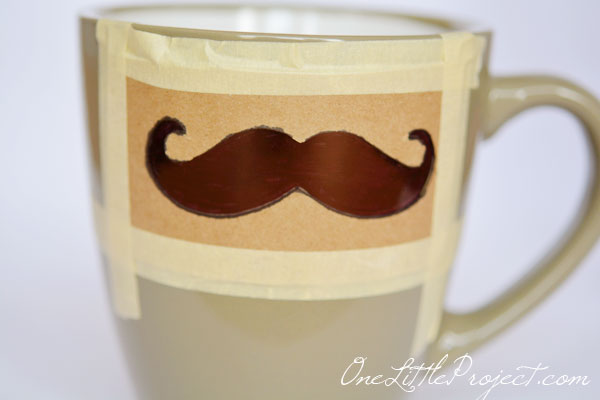
When I pulled off the stencil the whole thing had bled! It looked terrible, and the photo below is even after I cleaned it up a little. I almost lost hope in this project…
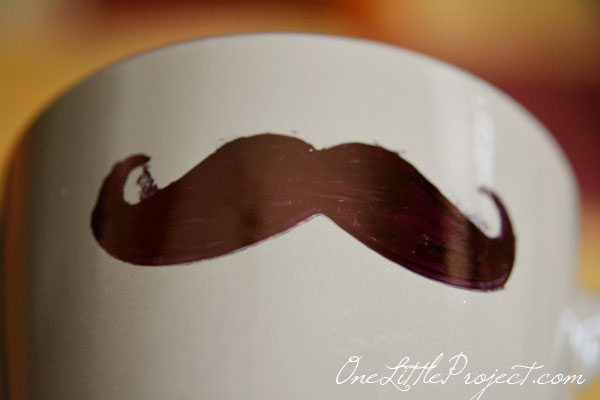
I was so afraid I was going to have to scrap the entire thing! I decided to try nail polish remover on a q-tip to see if I could get rid of those awful marks where it bled. Thankfully, the nail polish remover did a great job! I had to go over the shape one more time with the Sharpie free handed to get clean edges and to make it more consistently black.
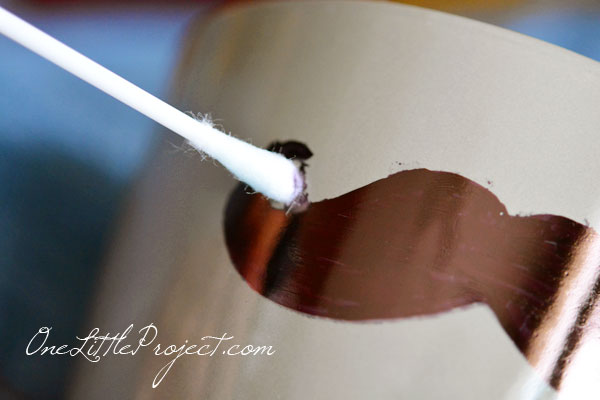
Once you are satisfied with your mustaches, put the mugs in the oven at 350F for 30 minutes, then let them cool off in the oven before taking them out. Just a quick note, I used a wet Kleenex to gently wipe off the excess nail polish remover before I baked the mugs. It says to keep it away from heat right on the bottle, so I didn’t want to be starting any fires, or whatever happens when you put nail polish remover in the oven!
If you are worried about cracking, you can put the mugs into the oven while it preheats and then keep them in for half an hour once it’s up to temperature, turn off the oven and then let them cool down. It didn’t even cross my mind that the mugs could break, so I feel lucky that mine didn’t crack… or start any fires…
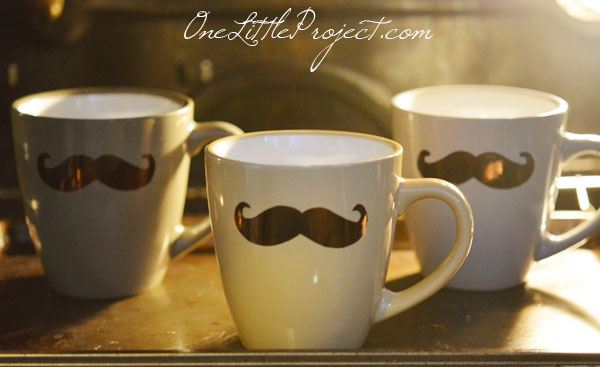
How cute are these? They would make such a cute gift idea, for Christmas, birthdays or Father’s Day!

Jason was a good sport about posing with the mug. It looks like he has a mustache when he drinks from it! (Yes, he is lying on the couch, looking at his laptop. He wasn’t exactly enthusiastic about this photo shoot, but at least he was cooperative!).
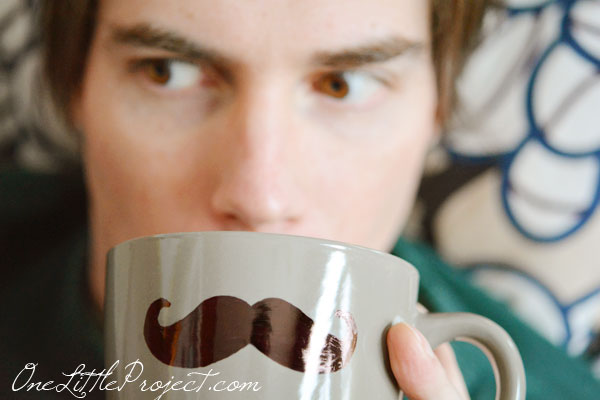
Considering how terrible these looked mid way through the process, they ended up turning out really well in the end!
This method of baking Sharpie patterns onto mugs is pretty cool. I’ve seen these with coloured sharpies, or with metallic Sharpies
. Or even some simple ones with just a handwritten note on the mugs. There are lots of options, don’t you think?
Source : onelittleproject.com
Read more...
Post a Comment
Post a Comment