Seriously, isn’t this rainbow jello dessert eye candy? The best part is that it pretty much IS candy since it tastes as good as it looks! This rainbow jello recipe was one of the things I was looking forward to the most for Kate’s rainbow birthday party. My amazing and patient mom made it for us. So thank you, thank you, thank you Mom!

And then my dad was kind enough to take process pictures of my mom making this rainbow jello dessert so I can actually show you guys how to make it. Isn’t that sweet?!

These were beautiful AND delicious. It’s a recipe my mom has had in her cookbook for years, but she hasn’t made it pretty much as long as I can remember. Originally, I think it was meant to be made in one dish, rather than in glass cups, but it’s so much more beautiful this way!
Rainbow jello recipe
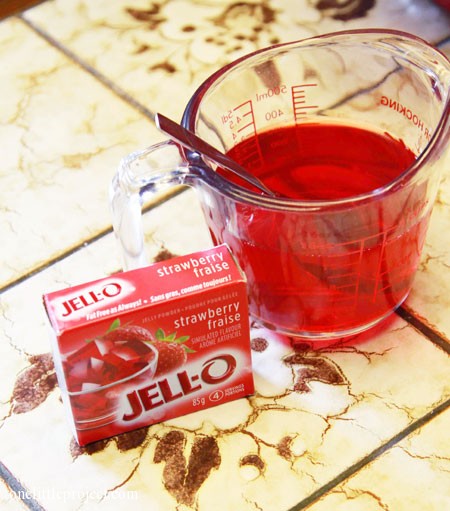
- Use one small box each of blue, green, yellow, orange and red jello. (you can do any colour combination you want, depending on your party theme)
- 2 cups of milk
- 1 cup of sugar
- 2 packages of unflavoured gelatin
- 1 pint of sour cream
- 2 tsp of vanilla extract
For the white filling:
Bring 2 cups of milk to a boil, add the sugar. Dissolve the unflavoured gelatin with 1/2 cup of cold water. Then add the gelatin mixture to the milk mixture and let it cool. When it’s cool, put the sour cream in another bowl and add the cooled milk mixture gradually while whisking it together. Add the vanilla at this point too. Tip: If the mixture begins to thicken while you are making the layers, set your bowl into another bowl of hot water to keep it warm.
Jello layers:
Only make 1 or 2 packages of jello at a time so that they don’t set before you are ready. Put the jello into a small bowl and add 1 cup of boiling water. Stir until it’s dissolved and then add 1/3 of a cup of cold water. (It will be thicker than normal jello once it’s set.)
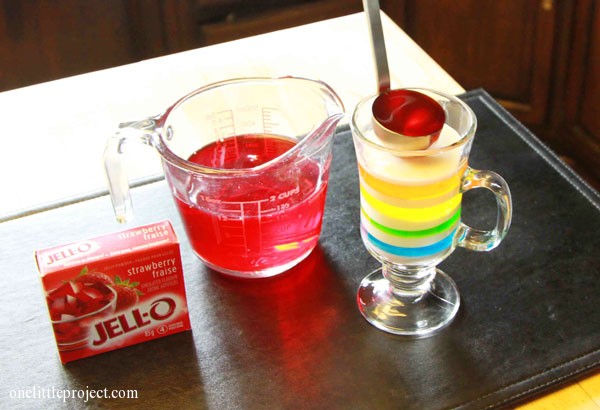
Add a layer of the white filling to the cup, and chill in the refrigerator for 20 minutes. Then add a layer of jello to the cup and chill for 20 minutes. Continue until you have added all of your layers.
The whole process will take about 4 hours.
My mom used a 2oz ladle to get the jello into the cups. It went in relatively easily without much mess. She had measured it all out before she started, so using the ladle helped her make sure each layer would have the right amount.
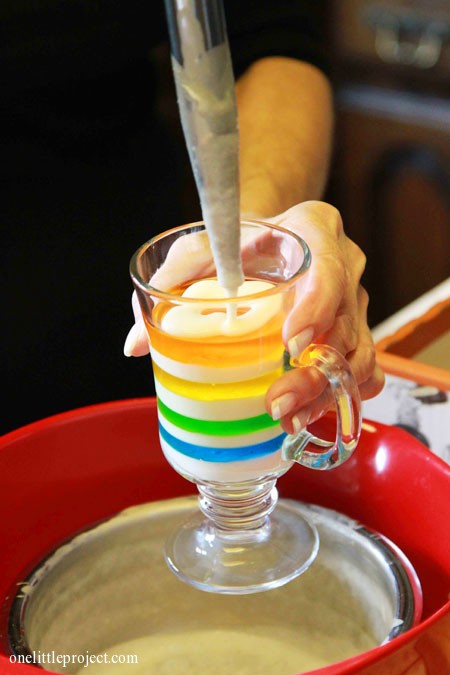
The white filling on the other hand kept making a mess on the side of the cup when she tried it with the ladle. So my mom figured out that using a turkey baster for the white filling made it MUCH easier to add the filling without getting the glass dirty! Pretty clever, I think!
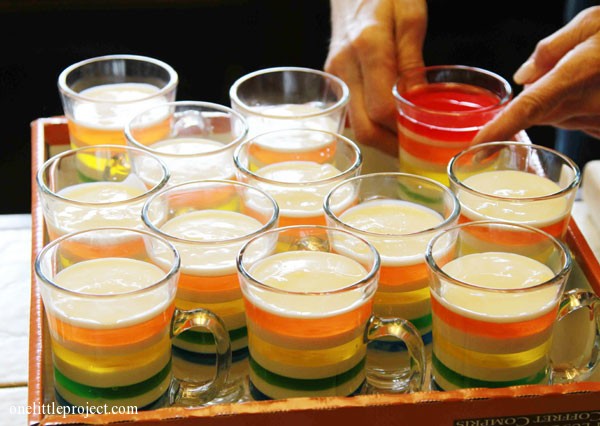
My mom put all the cups into a box so that they’d transfer easily to the refrigerator while they set:
Don’t be fooled, this rainbow jello recipe goes a lot further than you think! I’m not sure anyone was able to finish their entire jello dessert cup on their own! Although, we did have Kate’s Rainbow M&M’s first birthday cake too.
 Check out the gorgeous colour of the light coming through the glass! Such a beautiful and delicious dessert!
Source : onelittleproject.com
Read more...


Post a Comment
Post a Comment