In my last post, I shared the tutorial for how to make blackout curtains. As promised, this post will show how they turned out. So, are you ready to see some before and after progress photos of Kate’s bedroom? Her nursery is no where near finished (I really hope she still NEEDS a nursery by the time I get it finished!), but it is definitely making some progress!
Let’s walk through a little bit of her bedroom’s history. Want a little blast from the past? Here is her bedroom after we moved into our house almost 6 months ago. Notice the lace curtains that came with the house. And our method of light control back then was a plastic garbage bag taped to the window. Ugly, but out of everything we have tried, it has to have been the best method of keeping the room dark. Classy, I know! Ha!
And then we had the bedroom painted, (Benjamin Moore’s Gray Owl) and we rearranged the furniture a little bit. Here’s how the room looked before it had curtains. Just a little bit cold and sterile: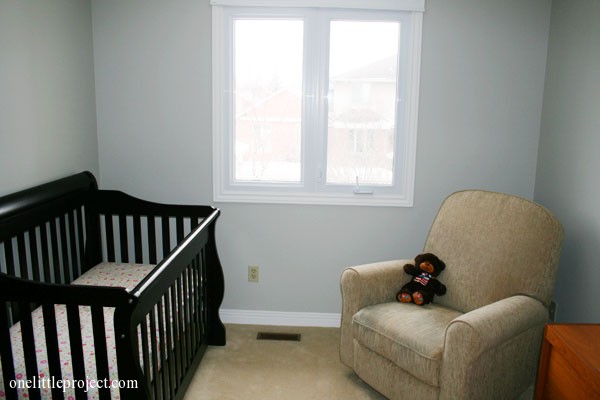
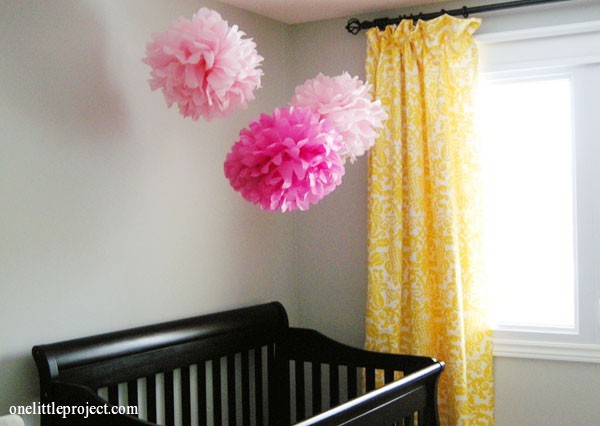
And then for 2 months, we had one curtain panel hung from the curtain rod making for a very unbalanced room! There was even a brief time that I experimented with tissue paper pom poms, but that didn’t really work out. (Again, this was with the fabric clipped to the rod before the curtains were sewn):
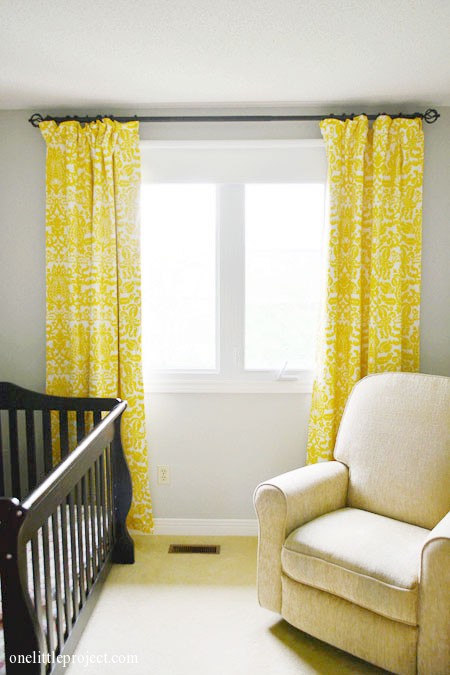
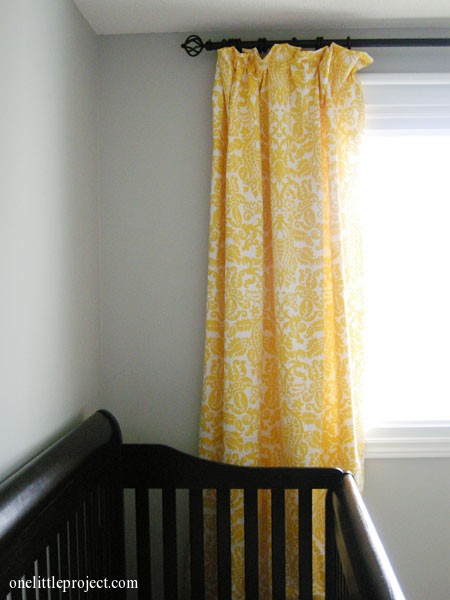
So how do the curtains look now? Here are the photos! They are bright and cheerful and they add life to the room! Clearly there is still lots of decorating work to be done, but I love the character these curtains add!
The curtains are definitely bright and cheerful and I love the way the gray walls make the yellow pop:
I definitely love the premier prints fabric that we used (more details on that here), but I’m not sure I like the effect of making them with the blackout lining. It really makes them look heavy.
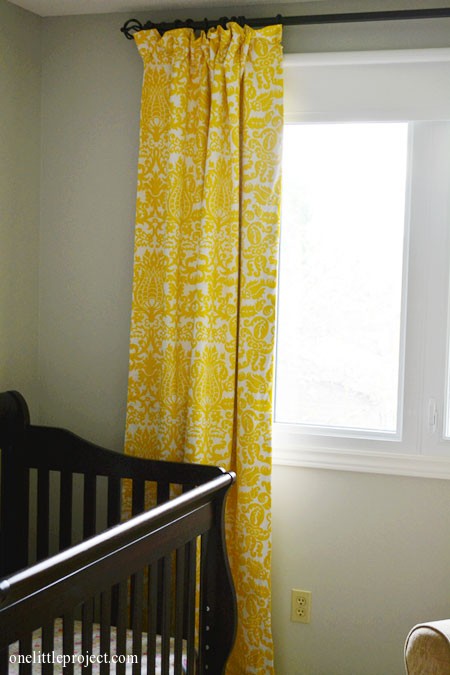
This next photo below is of the fabric clipped to the curtain rod without blackout lining. You can see that the sun shines through them, and the curtains look bright, light and airy:
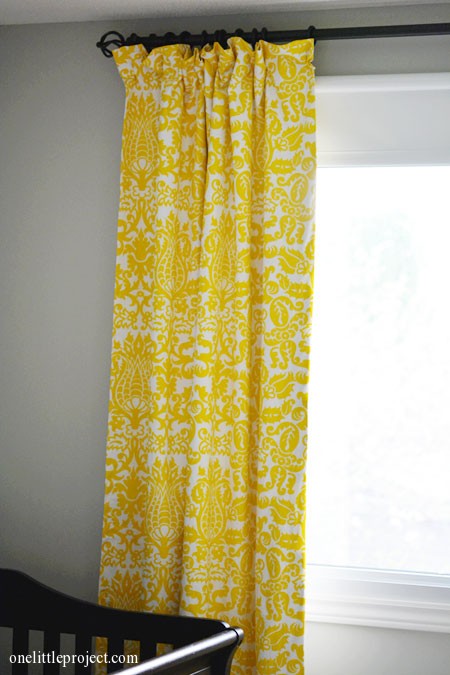
Once they were turned into blackout panels, they obviously didn’t allow any light through and somehow it really made the pattern stand out. The yellow pattern is now very obvious on the white background:
And I would say we still need to use the roll down blinds behind the the curtains anyway. The curtains don’t allow any light through them, but the light comes through at the ceiling, at the floor, on the sides, and in the middle where the curtains meet. So it’s still not completely dark in her room.
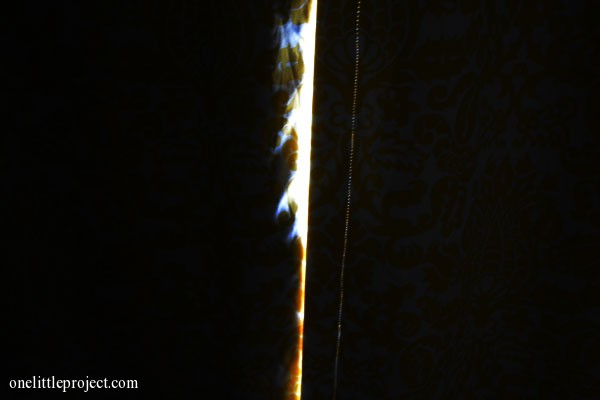
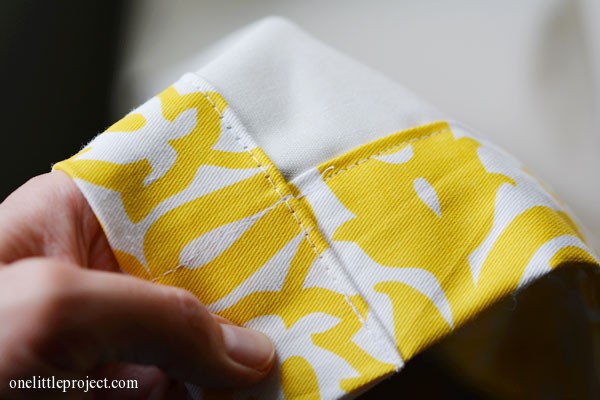
The panels themselves are definitely light proof though. It’s crazy that when the light shines through them, you can actually see the pin holes where it was sewn!
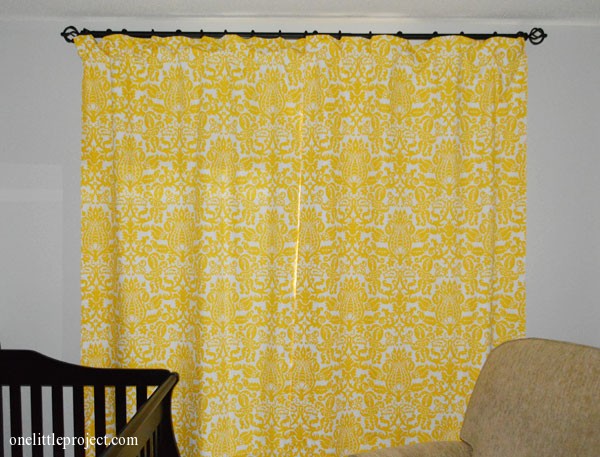
And you know how yesterday I was mentioning that when you make your curtains, you need to make sure to plan so that the pattern lines up? Here’s how our curtains look closed. It is just by pure luck that the patterns actually match up!
I love the fabric, and I love how it adds life to Kate’s room, but I think my final verdict is that next time I will stick with a regular curtain lining, and steer clear of the blackout lining. These curtains almost seem plastic looking – like they belong in a hotel.
I do like the faked pinch pleat look though, so I definitely recommend that part. It is crazy easy to do and saves tons of time while you are making your curtains!

Still on the agenda, wall art and some kind of mobile to hang from the ceiling… if she even needs one by the time I finish! Things definitely aren’t moving fast now that I’m back at work!

All in all, I love the fabric, I love the paint colour and I love the way it compliments the dark furniture. Not crazy about the blackout lining, but what are you going to do? I also think I need to relocate the big nursing chair. As comfy as it has been, I’m pretty sure we can find something that works better.
If you want to check out all the posts about decorating her room, you can check out the links for Kate’s Nursery here.
Source : onelittleproject.com
Read more...


Post a Comment
Post a Comment