I am not an expert at painting furniture. In fact, this is the first time I have ever attempted to paint furniture, so I’ve really been winging it, hoping that it works out in the end! I’ve painted walls before, and I think I did an okay job, but furniture is another story. So far, I’m not sure how I’m supposed to get a smooth finish, but we’ll see how it finishes up. This is a bit of a quick post tonight because I’m right in the middle of painting. Right now, I’ve completed three coats, and I’m just waiting for them to dry so I can do another one (or another six… I’m still not sure!)
This is by no means a tutorial, because I don’t really know what I’m doing! But I’m going to share with you what I’m doing anyway so you can see how it’s going.
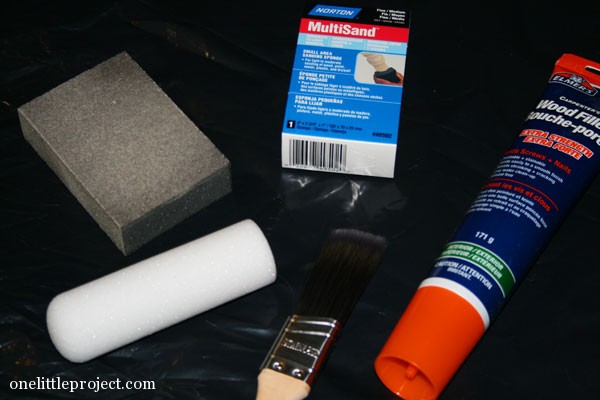
Basically, these are the materials that I’m using. A sanding block, wood filler, a foam roller, and a small paint brush… although, I haven’t actually used the small paint brush yet. I didn’t take a photo of the paint today, but you can check out the photo of the can back in my IKEA paint colour matching post. It’s paint and primer in one, so there’s no priming coat.
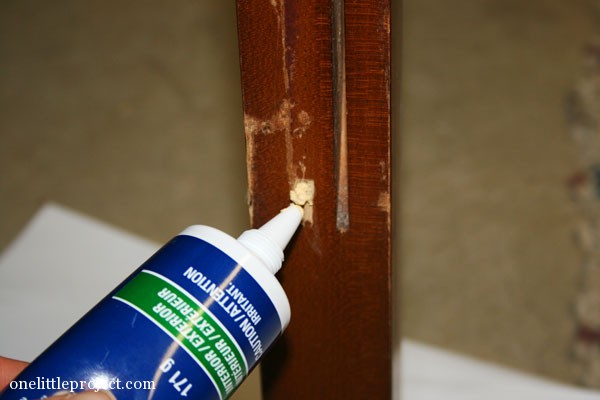
I spent the time during the kids naps today getting the headboard ready to paint. I cleaned it with TSP, which surprisingly took off way more of the finish than I expected. Then I pulled out the wood filler and filled in some of the bigger imperfections. Since I’m not an experienced painter (or wood filler for that matter) this job was not perfect, but it did the trick!
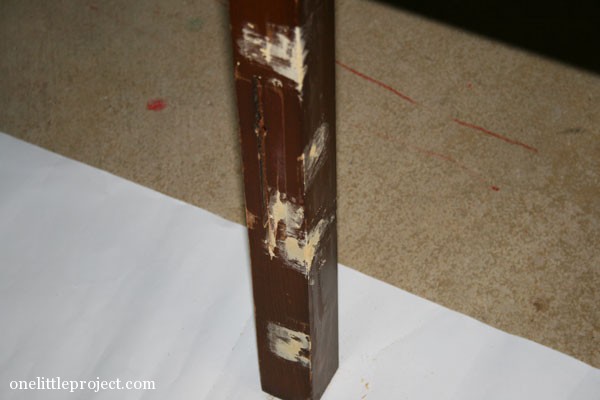
After the wood filler dried, I used the sanding block to sand everything down. I didn’t go crazy with sanding, just enough to rough up the surface a bit and smooth out the wood filler. This photo kind of makes it look like I sanded a lot, but most of the roughing up was actually from the TSP cleaner!

So, here I am, taking a deep breath, getting ready to go (I was really nervous):
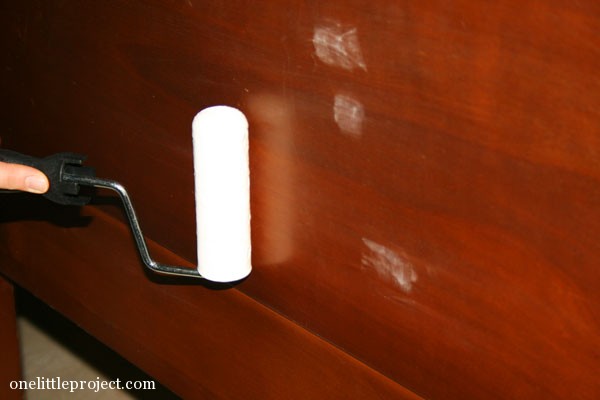
And here are a few paint roller strokes in:
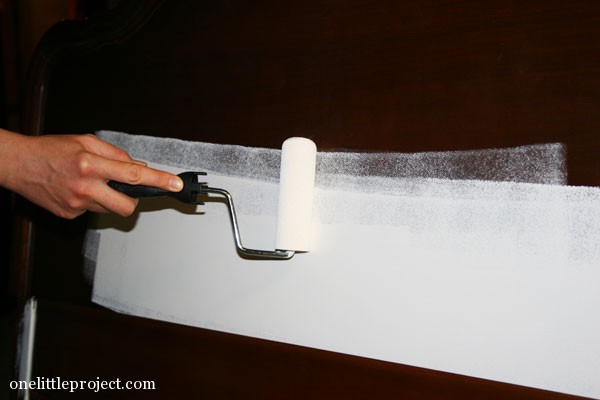
And a few more paint roller strokes in:
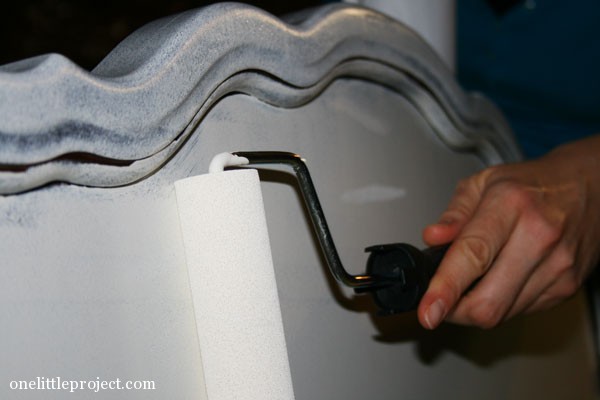
The curves have been a little difficult to get properly with the paint roller, but this was just the first coat.
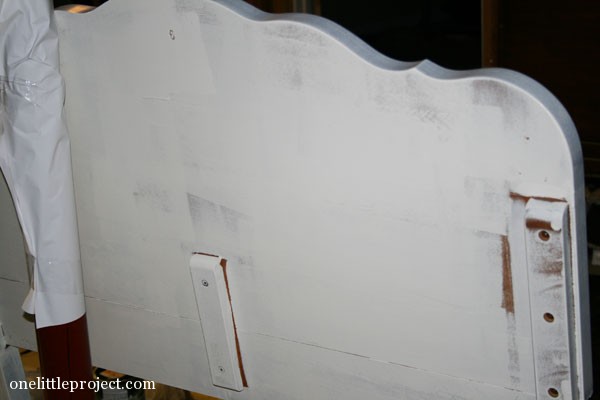
I painted the back too… pretty, I know! Just so we’re clear, I covered the post in our basement with paper. I did not paint that entire patch white, even though it looks like it in some of the photos.
And here is what it looked like after the first coat. A little bit scary! But it’s just the first coat, and it should start looking better the more coats that go on it:
The second coat was pretty much Jason going around with the paint brush saying “You should feather it in like this” for all the grooves and curves. Except he got so into it that he pretty much “feathered in” this whole coat by himself:
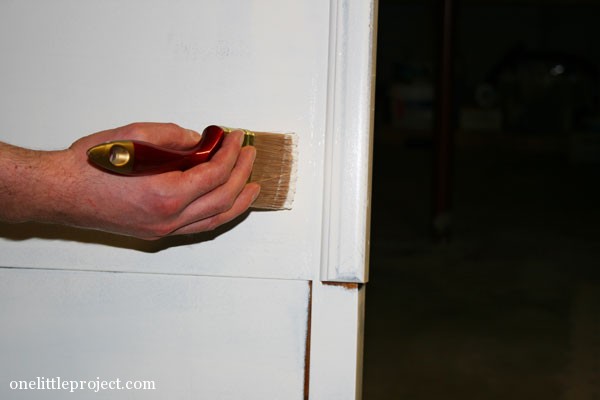
I’ve been waiting 20 minutes between each coat for it to dry. It really eats up my evening when I only have 2-3 hours after the girls go to bed. After that second brush only coat, I went back for the third coat with the roller again.
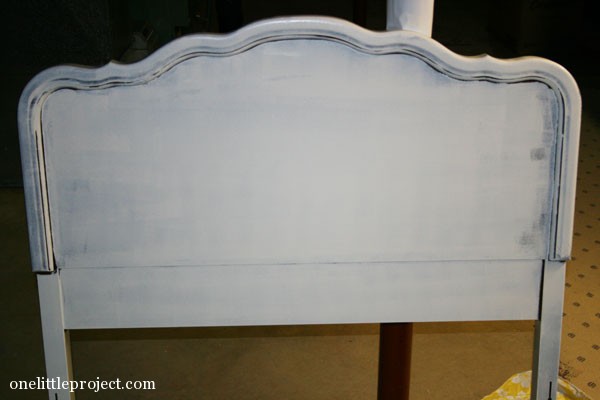
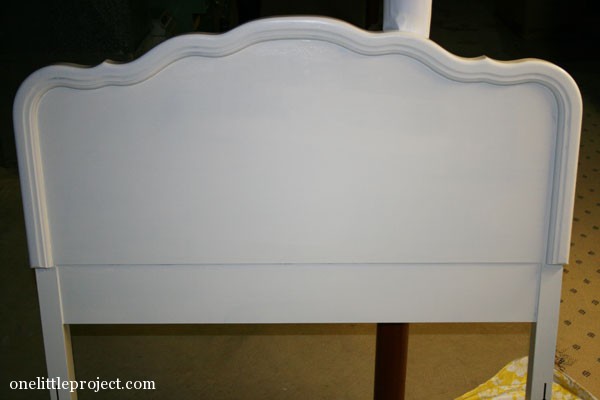
Here is what it looked like after the third coat:
The fourth coat will probably be with the brush again, but I haven’t gotten that far yet.
This whole thing where I’m posting while I’m working on it, is not an easy task! But at least it gives me something to do while I’m waiting for the coats to dry.
It’s time to do another coat and then time for bed, so it’s not looking like it will be finished tonight. Here is a link to Painting Leah’s Headboard, Part 2. Oh these projects taking longer than I want them to! I’ll let you know how it looks tomorrow…
Source : onelittleproject.com
Read more...


Post a Comment
Post a Comment