Do your little ones love play dough as much as mine does? Store bought play dough certainly doesn’t break the bank, but I never feel like I’m getting much value with it. It dries out super fast, the quantities are really small, and I never buy more than a couple colours at once because it feels like a waste. The best part about homemade play dough is that it’s cheap, it’s really easy, there are no chemicals in it, and you can make any colours that you want!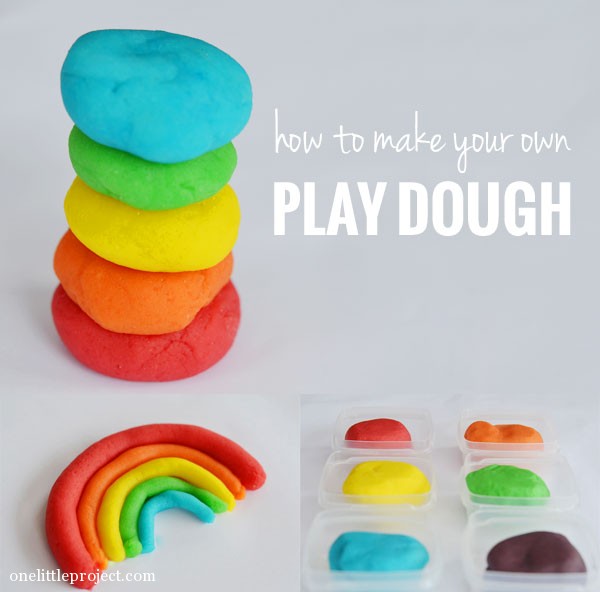
Make Your Own Play Dough Recipe
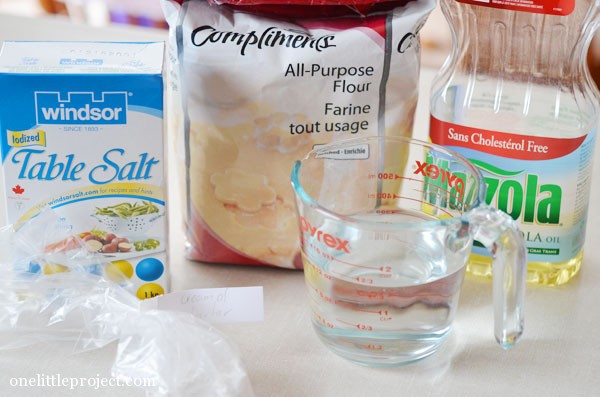
This recipe is based on the one at An Art Nest:
- 1 1/2 cups of flour
- 3/4 cups of salt
- 1 1/2 cups water
- 1 Tbsp vegetable oil
- 1/2 Tbsp cream of tarter
- liquid food colouring
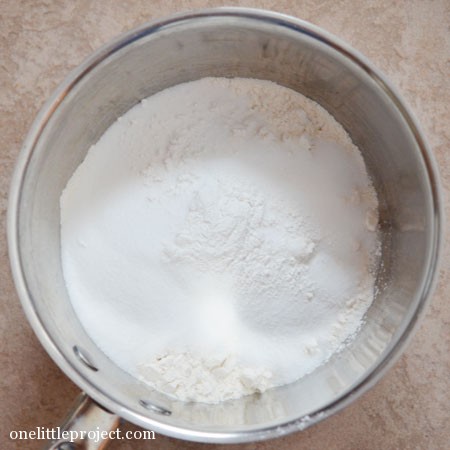
Combine all ingredients in a pot until they form a “batter”. Cook on the stove over medium to low heat until it all sticks together and forms a ball (about 6 to 8 minutes).
Pull it out of the pot and put it on waxed paper and let it cool until you can handle it. At this point, I separated it into 6 little balls, added the food colouring and kneeded it in.
So how much food colouring do you need to add to playdough to get vibrant colours? Here’s what I did, and I was happy with all of the colours except the purple. I have no idea how to make a good purple!? For portions of a little less than half a cup each:
Blue = 11 drops of blue food colouring
Green = 20 drops of green food colouring
Red = 30 drops of red food colouring
Yellow = 25 drops of yellow food colouring
Orange = 6 drops of red, and 28 drops of yellow food colouring
Purple = 21 drops of red, and 7 drops of blue food colouring (my purple wasn’t great… I recommend trying different amounts!)
I still have no idea what cream of tartar is meant for. It was too expensive at the grocery store so I picked some up at the bulk food store.
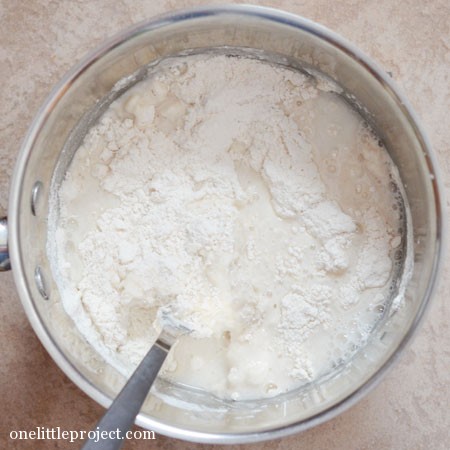

The mixture starts a little bit like a thick batter. 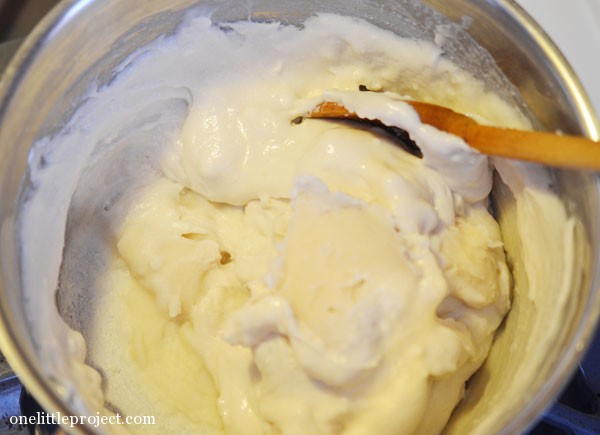
And then slowly it starts to thicken over the heat: 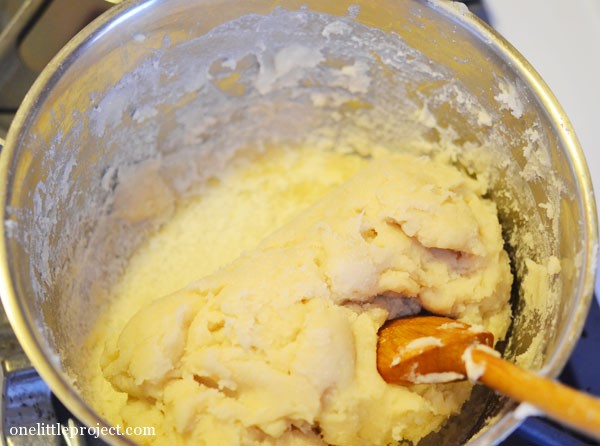
It made a huge mess in my pot which I was a little worried about! No one likes a difficult clean up! But luckily after soaking it for about an hour the muck came off really easily, so no worries there. 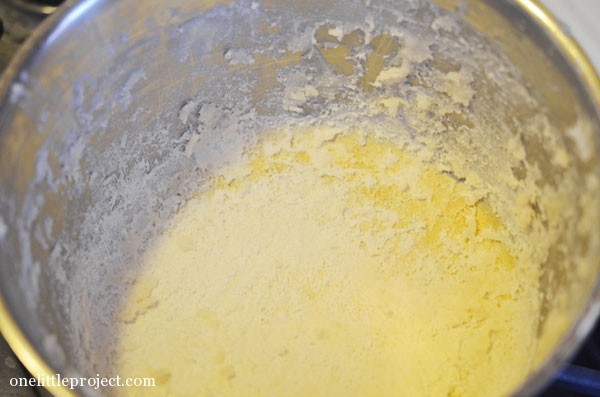
I used my silpat for the kneeding, but waxed paper or a cookie sheet would work too. 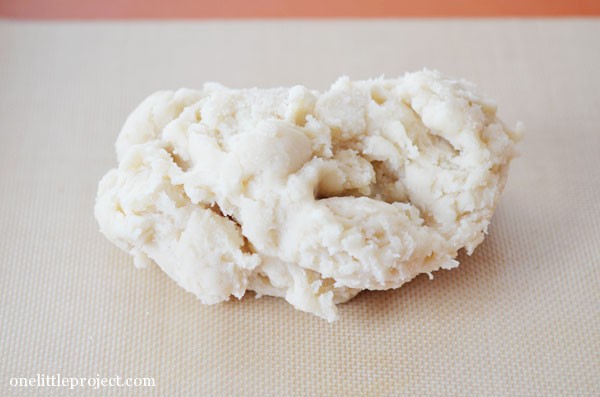
I used an insane amount of liquid food colouring to get the vibrant colours I wanted (see above for the amounts). If you aren’t picky you could get away with less, but I wanted nice bright colours. 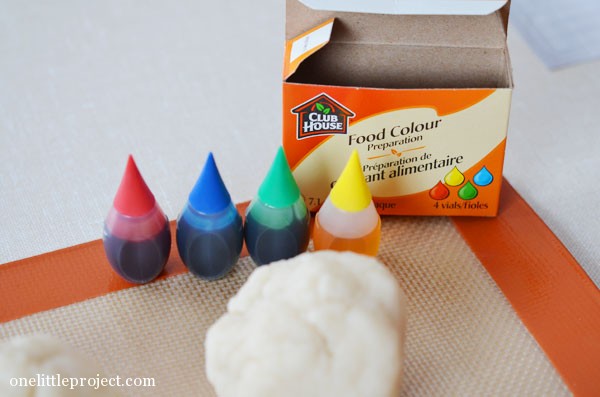
Kneeding the colours into the play dough was a lot of work. If you add the food colouring before you cook it, it would be waaaaaaay easier, but then you don’t get to have so many different colours. So it was an effort I was willing to make. 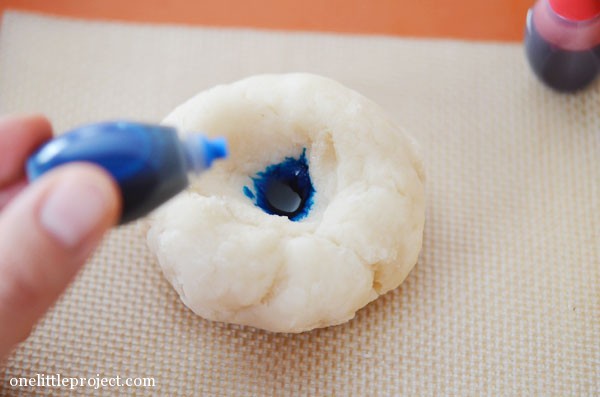
Add the food colouring a few drops at a time. I managed to max out at 5 or 6 drops at a time before it dripped through the cracks of the playdough and onto my hands. 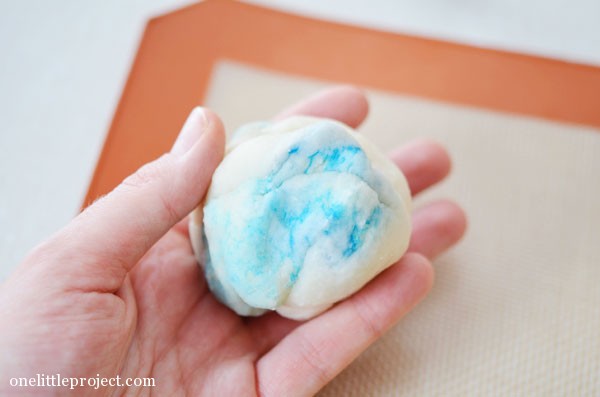
One down, five to go! My arm is really sore tonight, and now looking back at the photos, I remember why! That was a lot of kneeding! 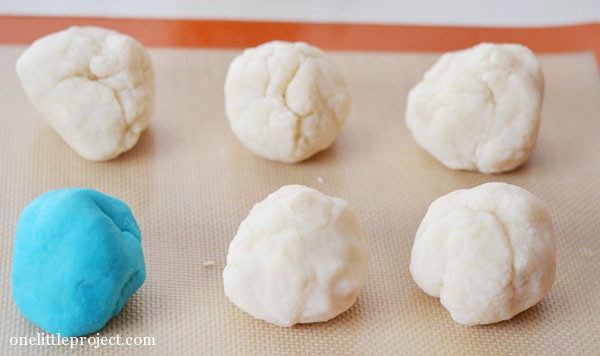
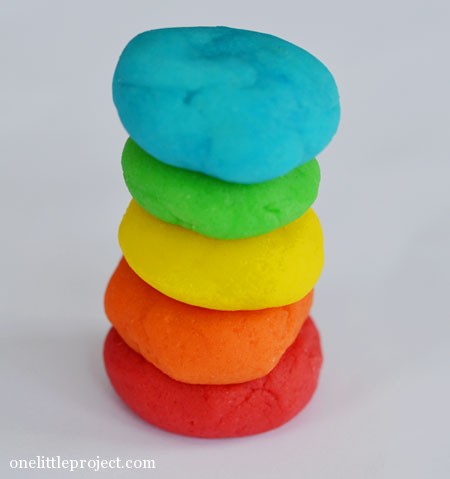
But look how pretty all the colours are (ignore the purple…): 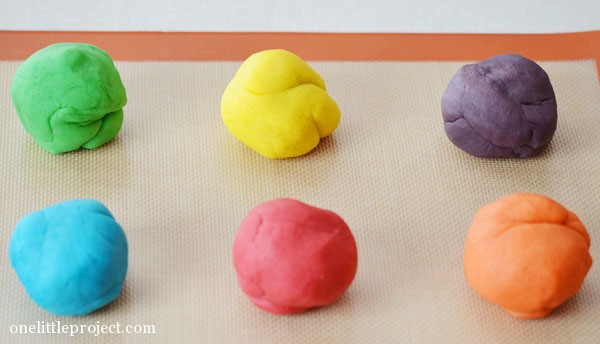
As far as play dough goes, it was a really good consistency. I’m not sure if the other blogs that claim to have recipes that are “super soft” and “never dries out” are just roping me in, but I wouldn’t say this play dough is either of those things. It’s a great consistency to work with but I had to cover up the balls while I was kneeding because they were already starting to dry out a little. 
I picked up these little containers at the dollar store the last time I was there. They are perfect for storing homemade play dough! 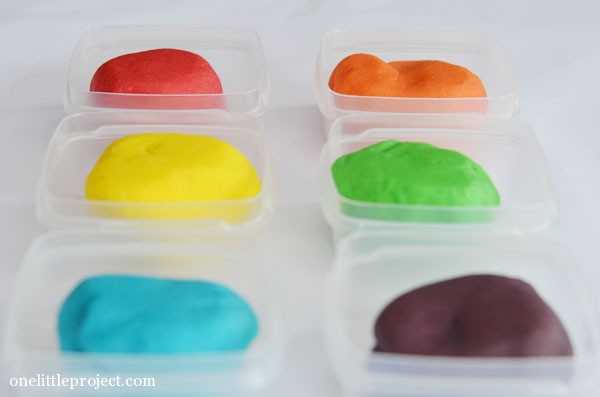
Just snap on the lids, and we’ll be ready to go next time! Zip lock bags would work well too – these just seemed sturdier and will fit well in my cupboards.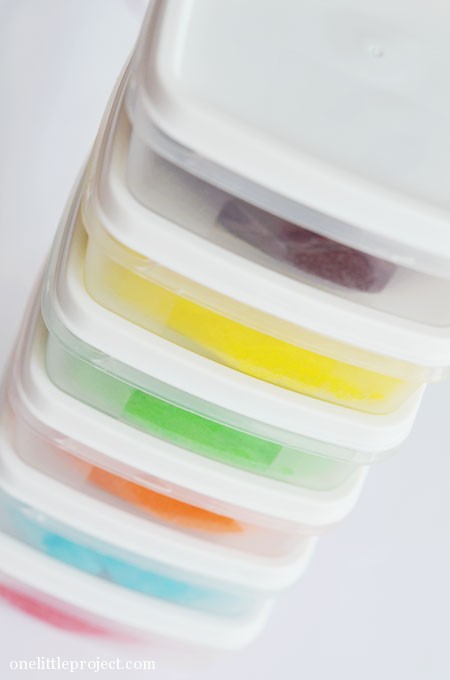
Leah seemed to really enjoy this play dough, maybe because it was more colours than we have of regular play-doh. And since we used this play dough on it’s own, and not with her Rapunzel hair growing set, it was encouraging her to actually make things, like happy faces and animals, which I think is fantastic!
I was pretty happy with this play dough recipe. Some day I’d like to try some other recipes to see how they compare.
Source : onelittleproject.com
Read more...


Post a Comment
Post a Comment