As promised in this how to make bedlinens for an IKEA Duktig doll’s bed series, here is a quick tutorial for how to make a reversible blanket.

How to make a reversible blanket for an IKEA doll bed
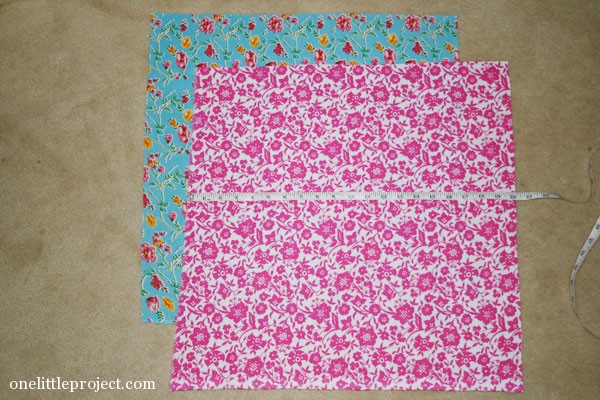
Cut out two pieces of fabric, both 20″ x 20″. Fabric choice isn’t overly important, one of mine was cotton and one of them was flannel:
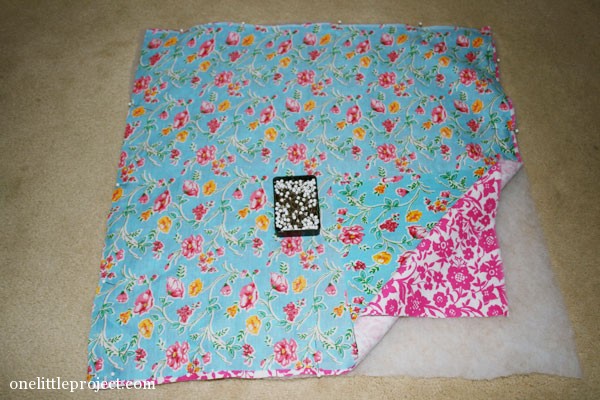
Cut out a piece of 20″ x 20″ quilt batting. Put the two pieces of fabric together with right sides together and place them on top of the quilt batting. Pin everything in place:
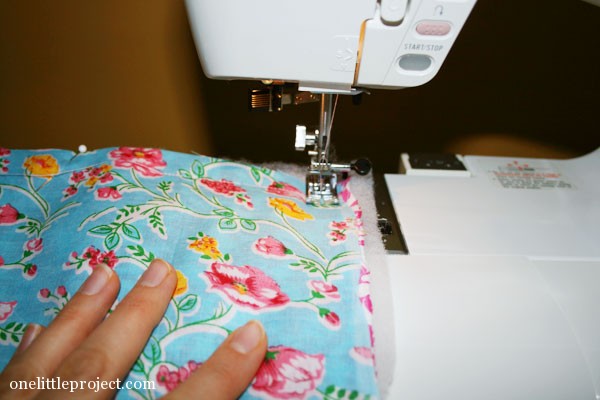
Sew around the perimeter of the blanket, leaving about 2″ open somewhere to turn it right side out:
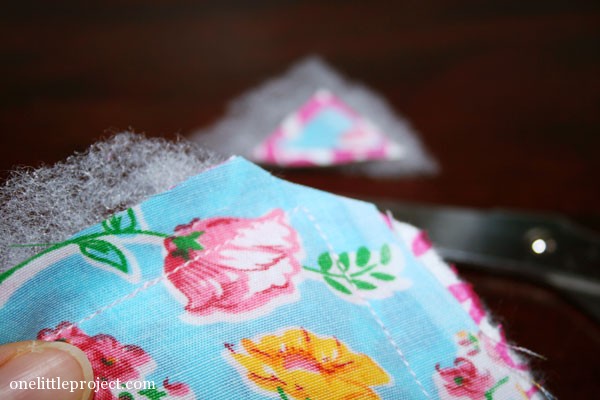
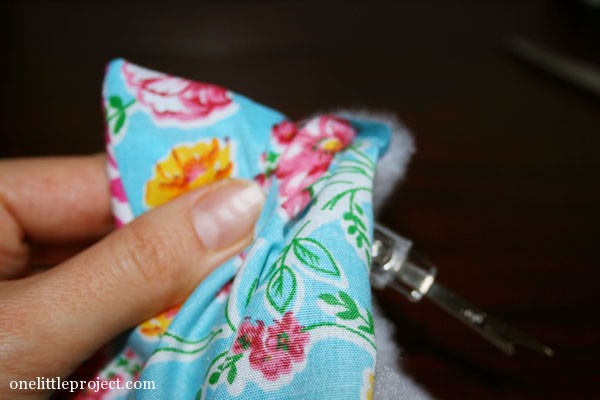
Snip the corners:
Turn it right side out and use the back of the seam ripper to push out the corners and make them sharp:
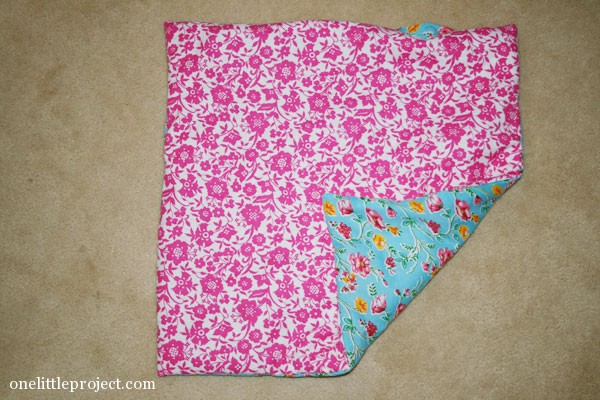
The blanket will look something like this. You can see at the top of the photo below where I left it open:
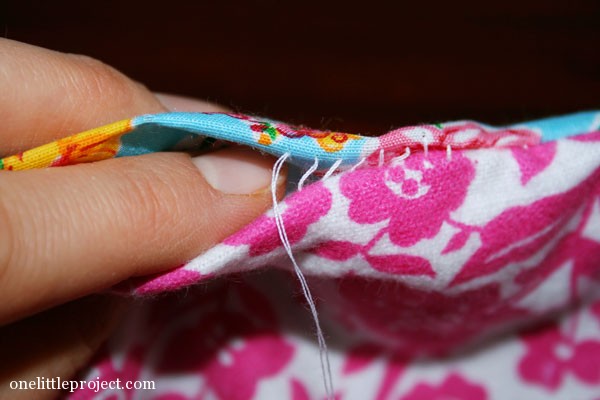
I wanted a nice edge to this than just running the edge through the sewing machine, so I used an invisible stitch (not sure the technical name for it!) to close it. If you don’t know how to do an invisible stitch, just follow the pictures below. Stitch through one side of the fabric:
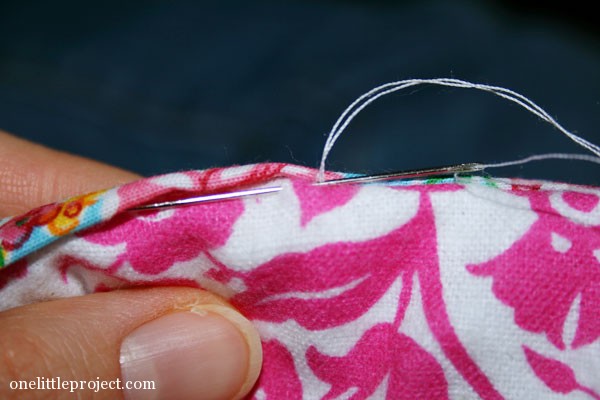
Stitch through the other side of the fabric:
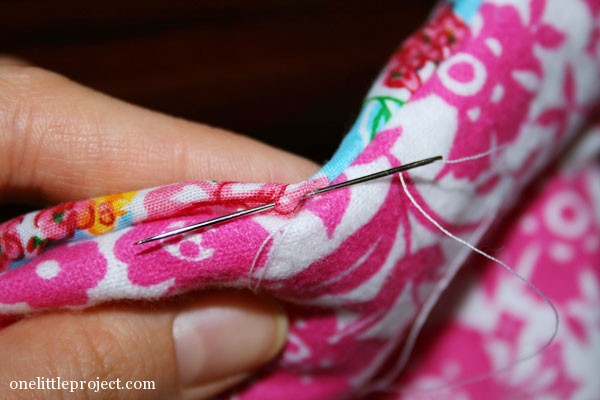
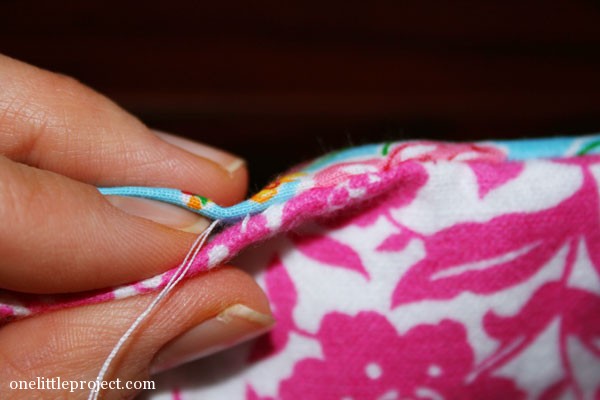
When it’s loose it will look like this:
And when you tighten it the stitches will disappear:
This is where I ran into sewing machine troubles. I wanted to at least sew around the edges of the blanket to give it some texture, but my sewing machine was acting up. So, I guess we’ll just say it’s an easy blanket for an IKEA Duktig doll bed and leave it at that!


Everything for this IKEA doll bed is really coming together. I feel a little lost with my sewing machine on the fritz though! I’m not sure when I’ll be able to make the mattress for this little bed. Baby Alive might have to enjoy it just like this for a little while…

Source : onelittleproject.com
Read more...


Post a Comment
Post a Comment