These coffee filter snowflakes are such a fun craft to make on a snowy winter day! They’re really easy to make, they look gorgeous hanging in the window (or anywhere!) and it’s a great opportunity for kids to experiment with colour blending. It’s a craft and science experiment mixed together in one – and it ends up looking beautiful!
Today was one of those mornings where I woke up in the darkness and made my first cup of coffee – because let’s be honest, I’m not doing anything until I have that steaming cup of coffee in my hands.
Then I walked over to the front door and looked out the window to assess how much snow had come down last night (about 6 inches!). I smiled at the beautiful blanket of snow that had fallen over the neighbourhood. And I felt grateful for the warm and cozy plaid slippers that were keeping my toes warm on the cold tile.

There’s nothing more beautiful than perfect and untouched sparkling snow. Of course, the untouched snow doesn’t last very long with the kids around!
They were out there in no time making tracks all over the front lawn as we were getting ready to walk to school. But of course, when I look out the window now and see all their tracks, I still smile knowing how excited they are to finally have snow out there!
Check out our video for how to make Coffee Filter Snowflakes:
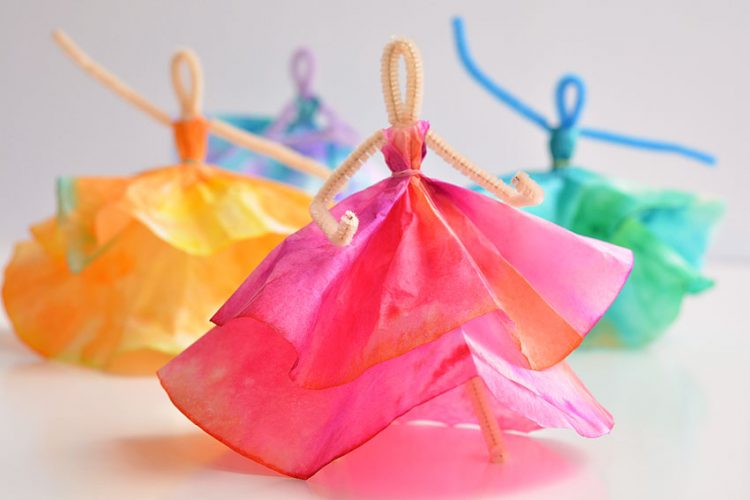
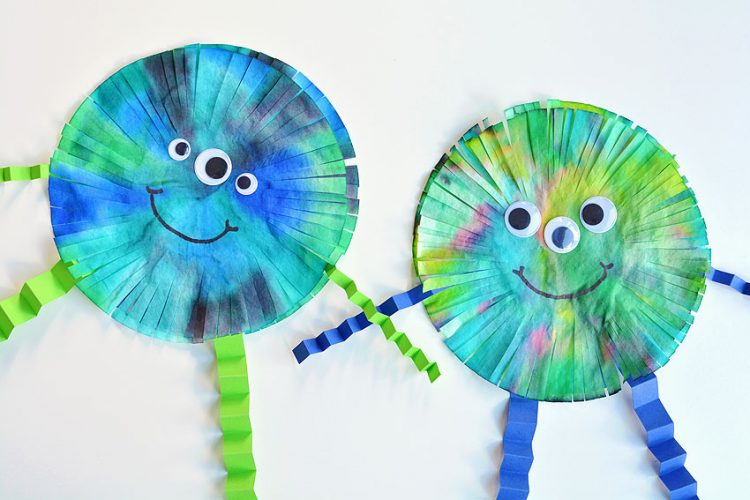
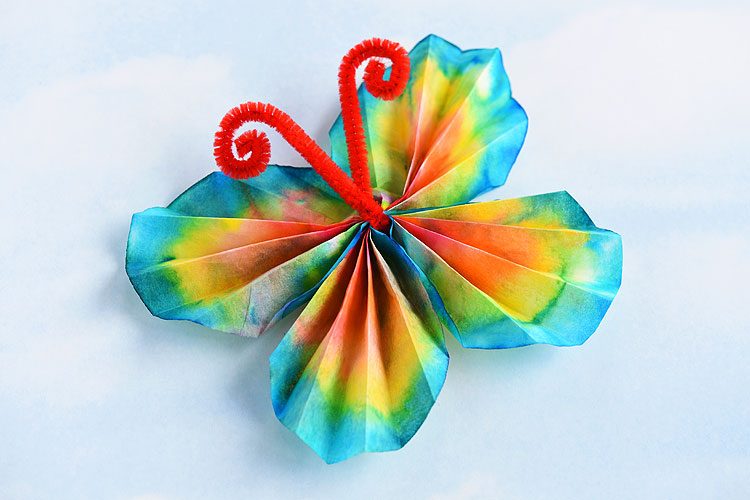
If you’re loving coffee filter crafts, here’s a few more of our favourites:
How to Make Coffee Filter Snowflakes
This craft is so perfect for a cold winter day! Here’s a list of affiliate links similar to the supplies I used:
- 1 coffee filter
- Washable markers
- Water
- An eye dropper or small measuring spoon
I bought the coffee filters at the dollar store. The coffee filter size doesn’t really matter, but we used the smaller size meant for 4 to 6 cup coffee makers. (The larger size might look too big hanging in the window?)
I recommend giving each child a cookie sheet to colour their coffee filter on. It really helps contain the mess!
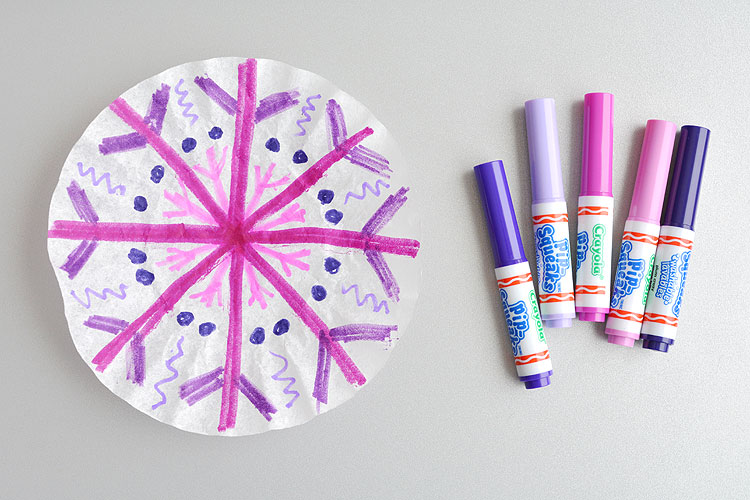
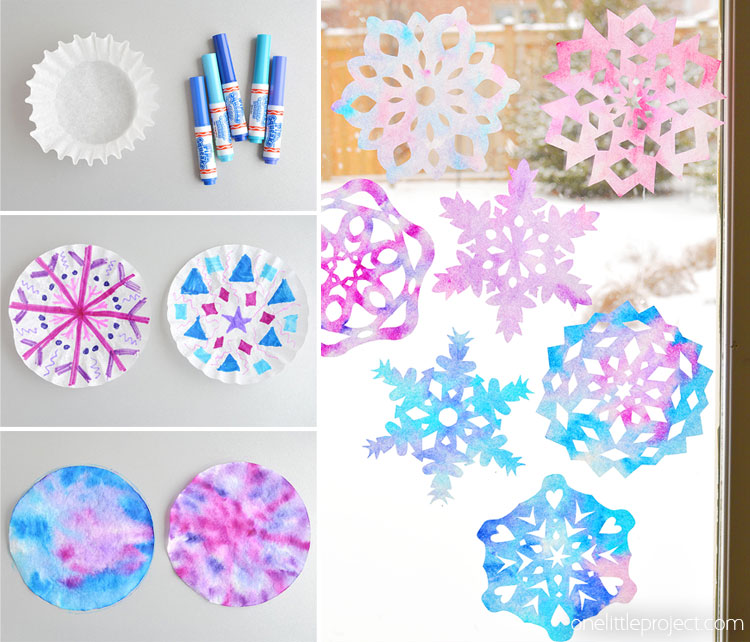
We chose wintery colours for our snowflakes – blues, purples and pinks and they ended up looking SO PRETTY! You can of course use whatever colours you like, but the winter colours really do make them look beautiful.
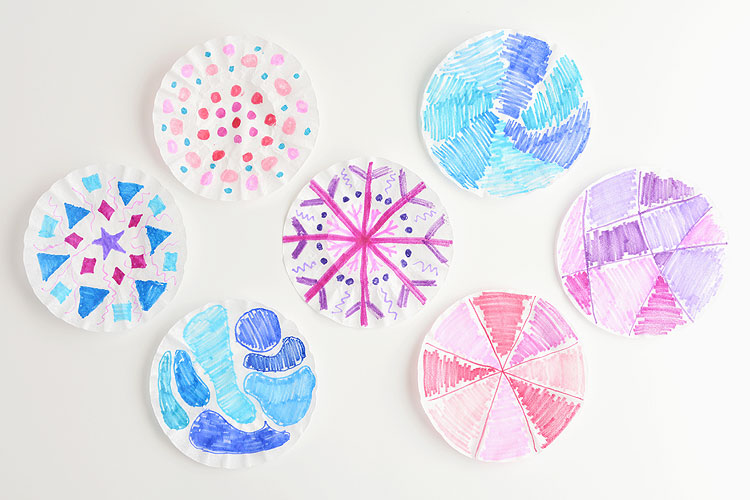
Since the colours are going to blend, it really doesn’t matter what you draw onto the coffee filters. Just keep in mind that the more marker you use to cover the coffee filter (less white space is better), the brighter the colour will be when you’re done. And if you want to see what happens when you use dark colours, check out our coffee filter bats.
You can see how the patterns changed before and after adding water/drying in the photos below:
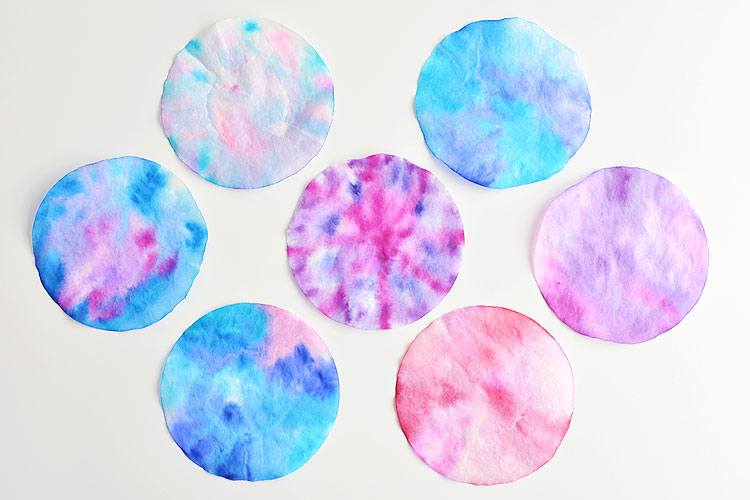
Use an eye dropper (a small measuring spoon will also work) to drip water onto the coffee filters.
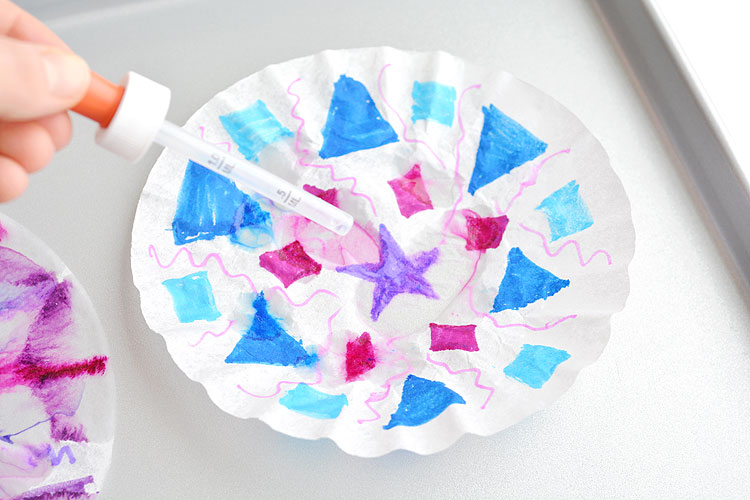
You want the entire coffee filter to be wet. Just make sure it’s not “swimming” in a giant pool of water or it will take forever to dry!
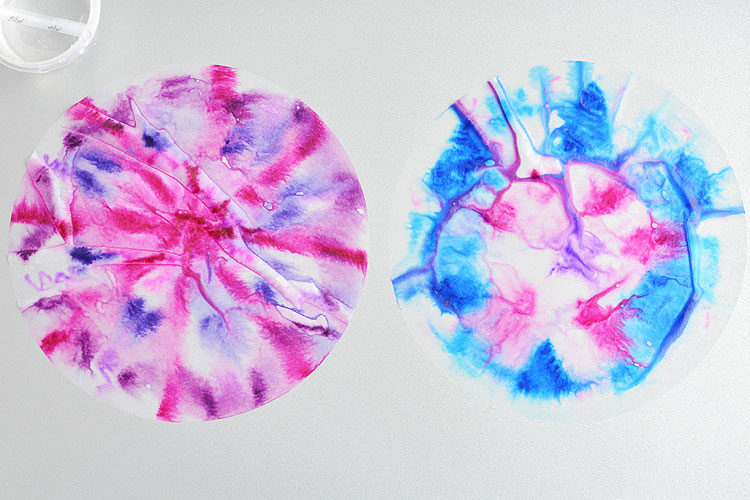
I normally like to take my wet coffee filters into the sunshine to dry. But seeing as there’s 6 inches of snow out there, it wasn’t exactly an option.
How to Dry the Coffee Filters
You have two choices:
1. You can leave them overnight to dry (or longer if they are really wet).
OR
2. I figured out that you can put them in the oven to dry! (I’m excited about this discovery because it saves sooooooooo much waiting time!). But it will only work if your oven will heat to a super low temperature. I dried mine in the oven at 115F (yes, Fahrenheit) and it only took about half an hour (I tried a second time at 120F and it only took 20 minutes). DO NOT dry them at an oven temperature much higher than mother nature would give you outdoors. Keep an eye on them and take them out of the oven as soon as they’re dry so the edges don’t curl up too much.
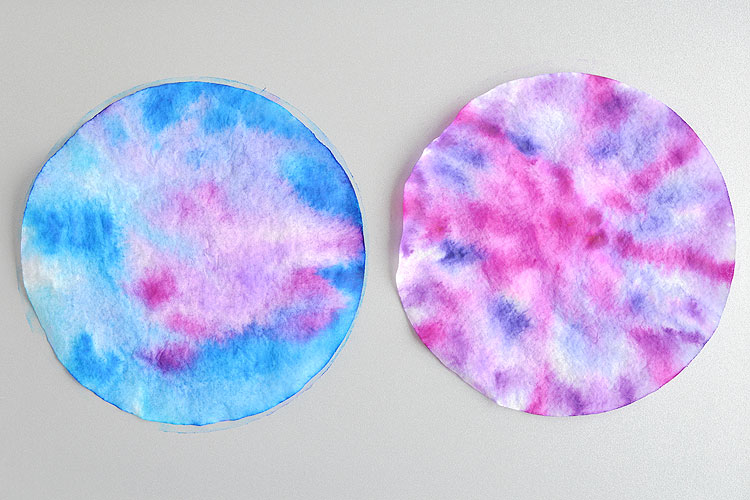
Once they are completely dry – and it’s important that they are completely dry or your fingers will get really messy – You can fold them into a triangle to make the snowflake pattern.
How to Fold the Coffee Filters
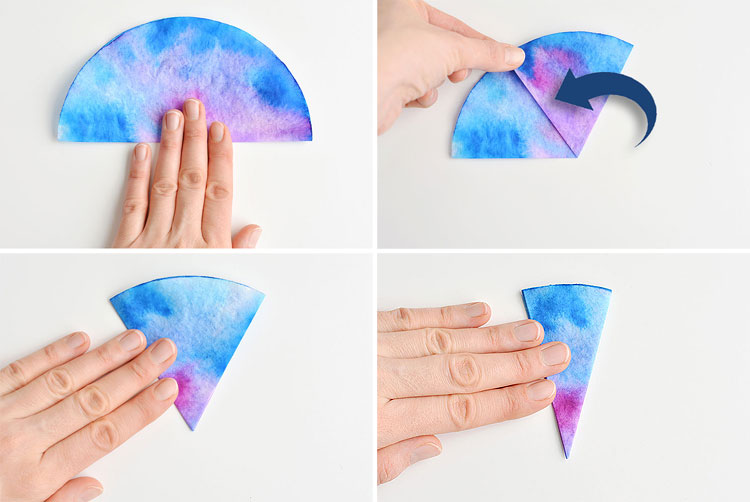
See the photo below:
- Fold the coffee filter in half.
- Fold the right corner of the coffee filter to the left so that it is 1/3 of the way over.
- Fold the left corner of the coffee filter so that the edges line up on the right. (If you open it up to check, you should have perfect thirds.)
- Fold the coffee filter in half one last time.
This method of folding will give you a snowflake with 6 points – Did you know that all snowflakes have 6 points!?
If it’s too tricky for your little ones to get the edges to line up, you can follow a similar method, but simply fold the coffee filter in half 4 times. This will give you a snowflake with 8 edges. Perhaps not as scientifically accurate, but easier for kids to fold and still beautiful.
Next cut out the pieces from your folded coffee filters to make your snowflakes! It’s always a surprise when you open them up to see the beautiful patterns you’ve made!!
On a side note, after I opened up my snowflakes, I ironed them between two sheets of parchment paper using the lowest iron setting, just so they’d lie flat.
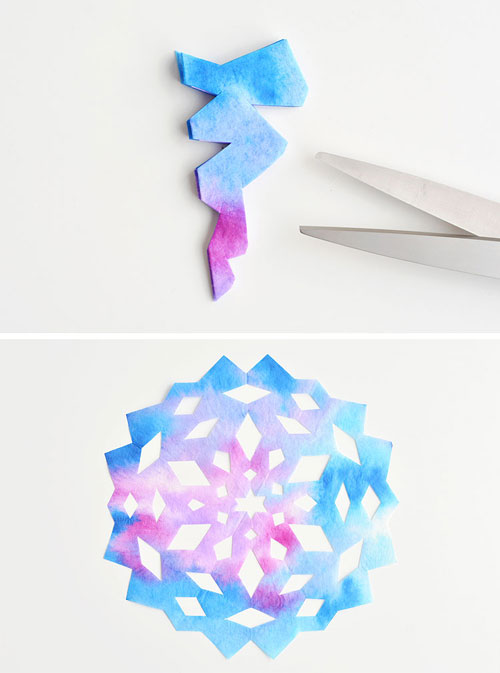
Be creative with the patterns you choose! You can cut half circles, half hearts, half diamonds, half tear drops, and all sorts of other shapes to make a beautiful snowflake! When you cut the tip off, it will give you a hole in the center.
Below are photos of what my snowflakes looked like before and after opening them up. So pretty!

How beautiful are these coffee filter snowflakes!? They make me smile just looking at them!
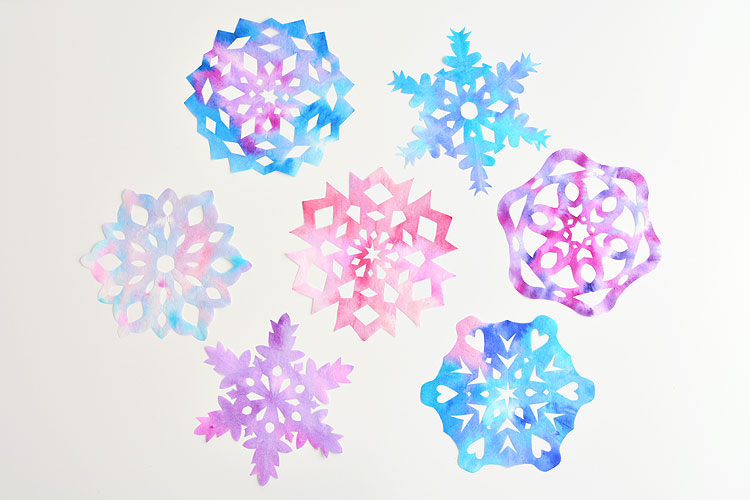
I love how the blues and pinks and purples look just like the sparkle you see on real snowflakes in the sunshine!
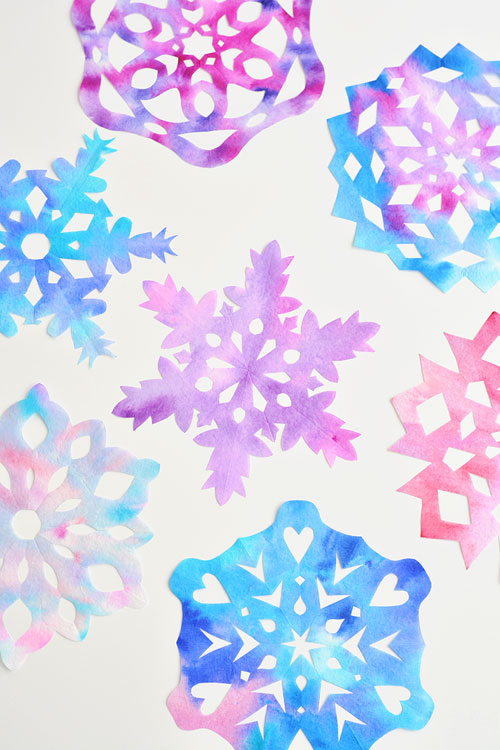
The blended colours look so pretty!
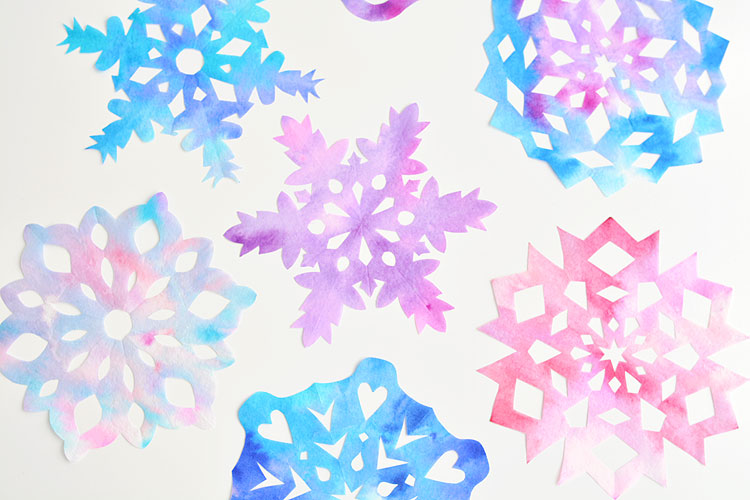
When you’re done making them, you can use a little bit of transparent tape to hang them in the window.
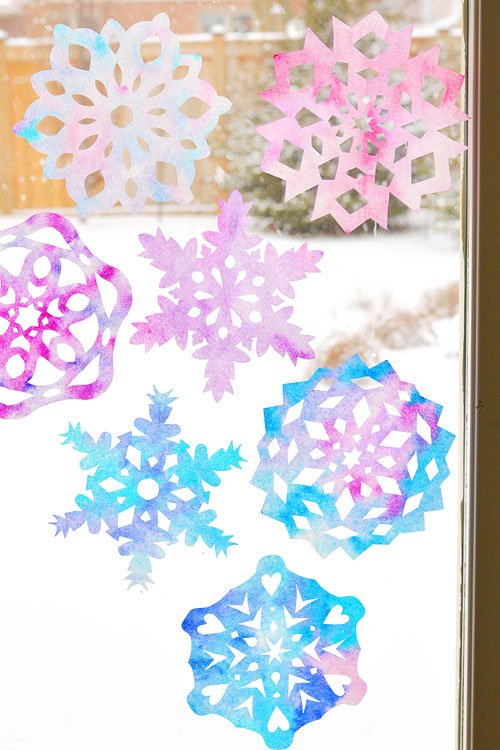
They make beautiful sun-catchers and are a festive little winter decoration.
These coffee filter snowflakes are so easy to make and they are SO PRETTY! This is such a fun winter craft idea! A great activity for a snow day but simple enough to do in the classroom at school. These snowflakes make beautiful sun catchers and are a great Christmas decoration that can stay up all winter long!
Here’s some more coffee filter craft inspiration:
For more fun craft ideas, check out our new book Low-Mess Crafts for Kids for 72 fun and simple craft ideas for kids! The projects are fun, easy and most importantly low-mess, so the clean up is simple!
Source : onelittleproject.com
Read more...

Post a Comment
Post a Comment