You know that Christmas baking smell? The one where if you close your eyes you can pretty much feel the excitement (and deliciousness… is that a word?) of the holidays? That is how these cinnamon ornaments smell! The house was absolutely filled with the sweet scent of cinnamon!
The smell is sooooo good. Like over the top amazing. The only drawback is that you can’t actually eat these ornaments (the smell is going to make you want to…). My kids came home from school yesterday, smelled the amazing smell and were a little annoyed that they couldn’t snack on these ornaments. I think I might have to learn how to make actual gingerbread cookies now!?
Last night when my little guy got up for his usual middle of the night let’s-go-wake-up-mommy break, the scent of cinnamon was still lingering in the hallway at the top of the stairs. No one likes to be woken up in the middle of the night, but hey, if you have to get out of bed, you might as well enjoy the magical smell of the holidays, when you’re up anyway! It put a smile on my face as I groggily held his little hand and walked across the dark hallway to tuck him back into bed.

This was my second attempt at making cinnamon ornaments. The first time, I was feeling extra cheap, and I didn’t want to waste a full cup of my new ground cinnamon. So I tried making cinnamon salt dough which only uses 1/4 cup of cinnamon. The cinnamon salt dough recipe is a bit easier to work with – especially if you’re making these with kids – but they don’t smell nearly as good as this batch! (That post is coming soon!)
Just buy the cheapest ground cinnamon you can find. Check Walmart. Check the dollar store. You won’t be eating them, so it’s not like you need super high quality. You need 1 full cup of ground cinnamon, so shop around to find a good price.
How to Make Cinnamon Ornaments
You only need three things to make these! Here’s a list of affiliate links to products on Amazon that are similar to what I used:
- 3/4 cup apple sauce
- 1 cup ground cinnamon
- 2 tablespoons white glue
When I first saw that this recipe used apple sauce I was thinking, “What?! That’s crazy talk!” But it works. It’s a bizarre recipe, but it totally works.
I found dollar store apple sauce and dollar store glue. Win!
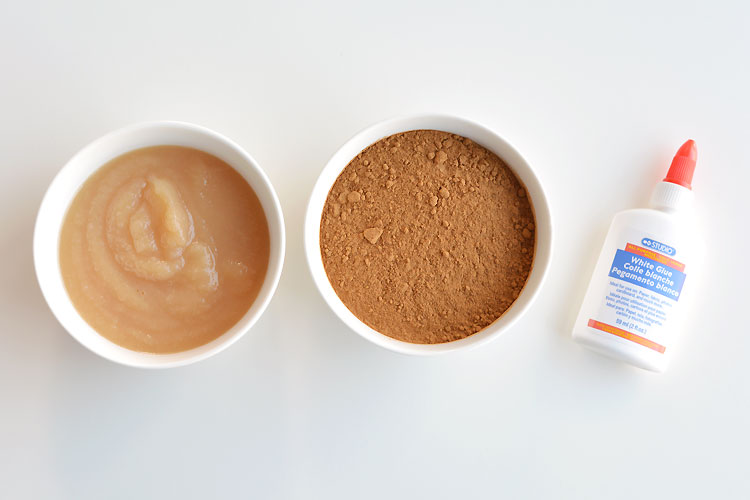
Mix the ingredients together until they form a ball of dough. If the dough is too dry, add more apple sauce. If it’s too wet, add more cinnamon.
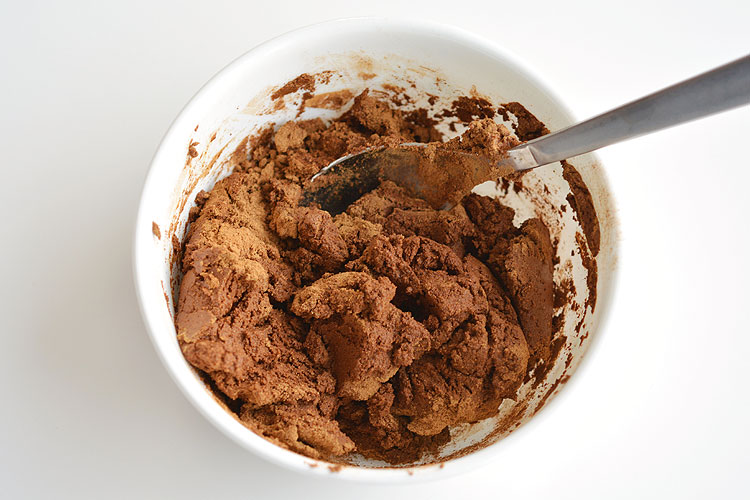
When it gets too difficult to stir with a spoon, use your hands to kneed it into a dough ball.
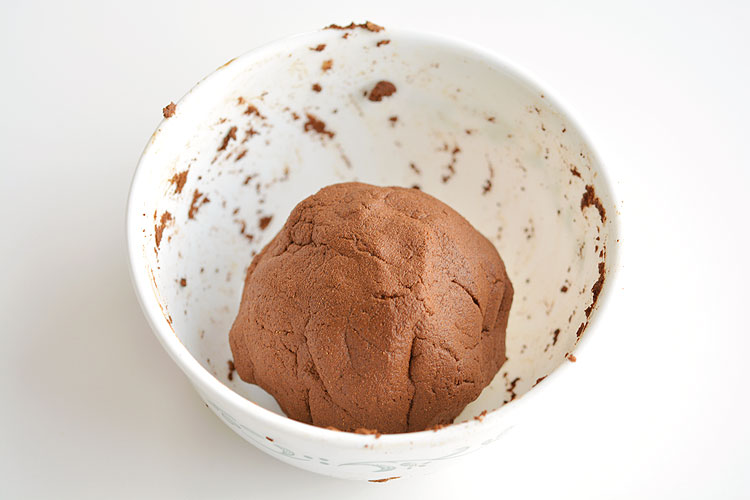
The dough is soft, slightly wet and slightly crumbly, but it should be reasonably easy to work with.
You’re going to need to use your hands AND a rolling pin to roll it out. Push it flat with your hands, reshape the crumbly sides with your hands, then use a rolling pin to flatten it out. Repeat.
The rolling pin on it’s own won’t work, you need to use your hands too, otherwise it will crumble.
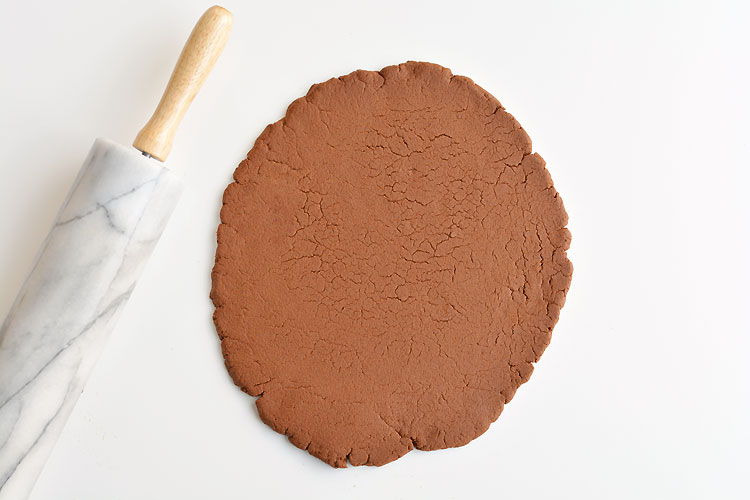
Keep in mind that whatever cracks are in your dough will stay in your dough when it bakes. So use the palm of your hand to squish the cracks together as best you can.
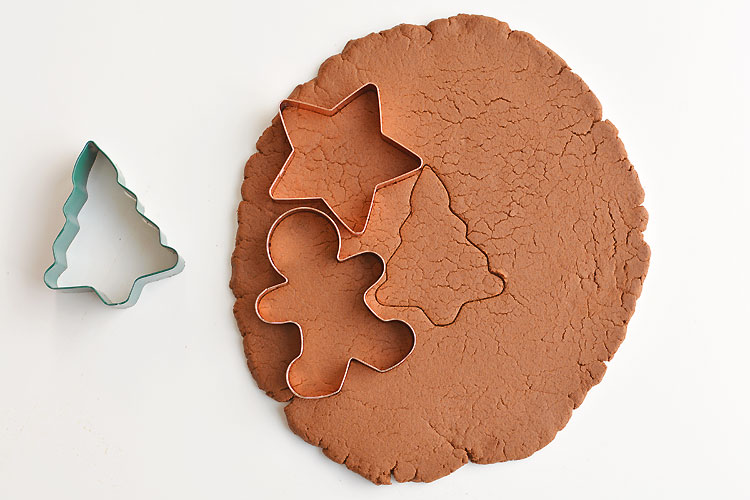
Then use your favourite cookie cutters to cut out the shapes.
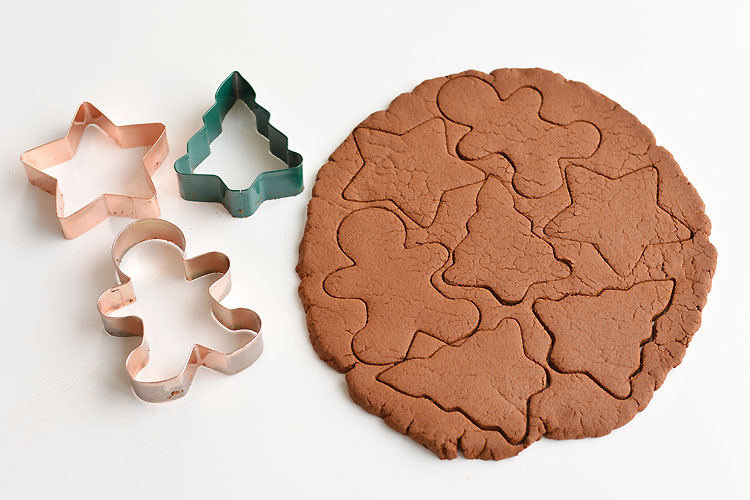
I rolled my dough to be somewhere between 1/4″ and 1/2″ thick and I ended up making 11 shapes from this recipe.
Carefully set the shapes onto a parchment lined baking sheet.
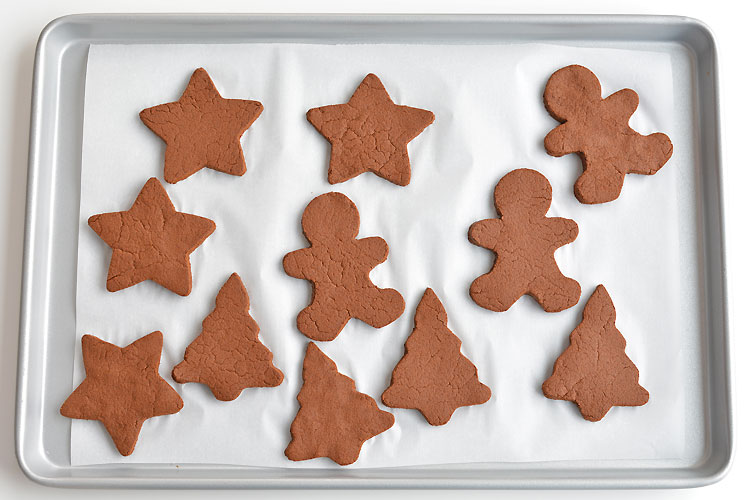
If your shapes are looking messy when they come out of the cookie cutters, you can clean up the edges. Use a butter knife to tuck in any messy crumbs and press along all the edges until you’re happy with how they look. If they look messy before they go in the oven, they’re going to look just as messy when they come out of the oven.
Use a drinking straw to cut a hole in each of the shapes so you can thread some string through them later.

Bake them at 225F for 2 to 3 hours – flipping them twice – until they are completely solid and dried out.
I flipped mine after an hour. Then an hour later when I went back to check on them, the edges had curled up slightly. So I flipped them a second time, left them in the oven for another half hour and they more or less flattened out again.
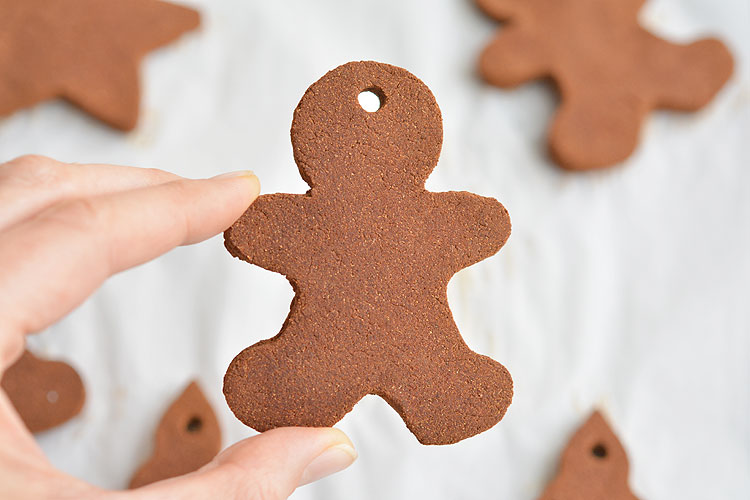
Thread some string through the holes and you’re done!

If you want to have even more fun, try painting the shapes with puffy paint! You can add a face to the gingerbread man, or decorate the Christmas tree shape.

How to Make Cinnamon Ornaments - Only 3 Ingredients!
Ingredients
- 1 cup ground cinnamon
- 3/4 cup apple sauce
- 2 tablespoons white glue
Instructions
- Combine all the ingredients in a bowl. Stir together with a spoon. If the dough is too dry, add more apple sauce. If it's too wet, add more cinnamon.
- When it's too hard to stir, use your hands to kneed the dough into a ball.
- Press the dough onto the counter using your hands to flatten it. Use a rolling pin to smooth out the surface. Use your hands to press in the edges and reshape the dough.
- Continue flattening/rolling the dough until it's about 1/4" to 1/2" thick.
- Use cookie cutters to cut out shapes, then place them on a parchment lined baking sheet.
- Use a drinking straw to cut a hole in each shape.
- Bake at 225F for 2 to 3 hours until they are solid and dry, flipping half way through. If the edges are curling up, flip the shapes a second time and continue baking another 20 to 30 minutes (so they end up right side up when you're done) and they should flatten out.
Notes
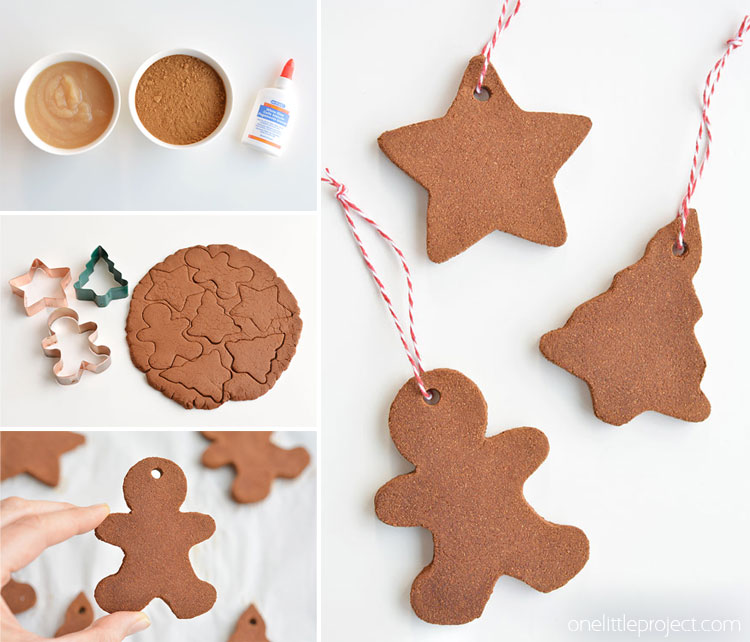
These cinnamon ornaments smell SO GOOD and they’re really simple to make! Only 3 ingredients and they give you that amazing Christmas baking smell! You can hang them on the tree as is, or decorate them with puffy paint. Either way, the smell is amazing!
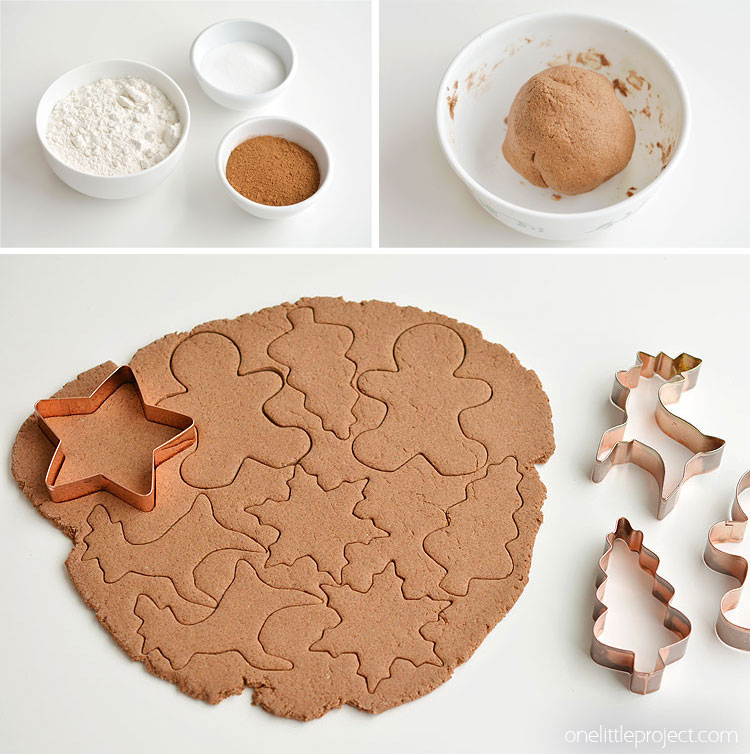
If you want a more frugal recipe that uses less cinnamon, be sure to check out our recipe for cinnamon salt dough! It uses 1/4 the cinnamon and makes a great, kid-friendly dough that’s really easy to work with! (I haven’t posted it yet, but I’ll update this link when I do! Here’s a sneak peak…)
For more fun craft ideas, check out our new book Low-Mess Crafts for Kids for 72 fun and simple craft ideas for kids! The projects are fun, easy and most importantly low-mess, so the clean up is simple! It makes a great holiday gift for the little crafters in your life!
Source : onelittleproject.com
Read more...


Post a Comment
Post a Comment