Now that we are on the topic of Halloween ideas, what’s your favourite way of carving a pumpkin? I don’t know about you, but I’ve always been pretty uncreative when it comes to jack-o-lanterns. I normally do triangle eyes, a triangle mouth and a smile with some big crooked teeth. Not this year though! My husband came across a photo on Facebook of a drilled pumpkin and I KNEW we had to try it!

We had two pumpkins sitting on our porch that were just calling out to be cleaned up and drilled with hundreds of tiny holes, so last weekend we did our pumpkin drilling experiment. And I’m so happy that we did, because it turns out that drilled pumpkins are gorgeous! This has to be the easiest way I’ve seen to create a fabulous pumpkin for Halloween.
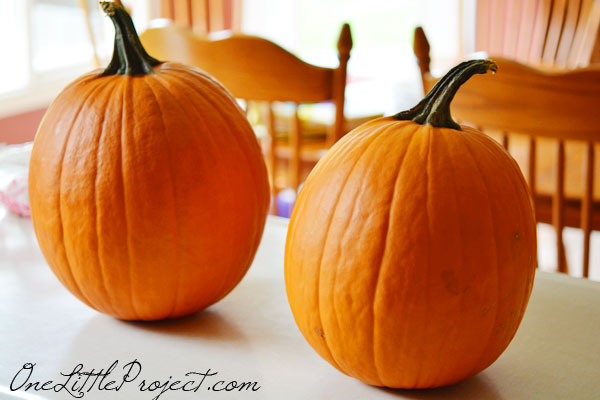
To start off with, it’s the usual routine of cutting open the pumpkin. This is my husband’s hand, by the way. He was convinced that a small knife was the best way to go (it wasn’t for the record… but he says that’s just my opinion…).

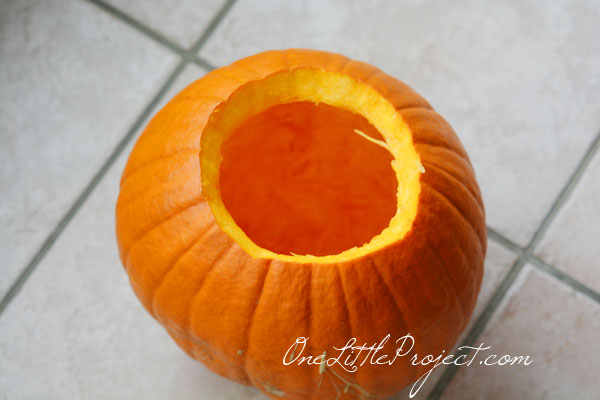
Clear out all the pumpkin guts just like you normally would. You have no idea how excited I am that Leah is 3.5 years old and can finally “help” me with the pumpkins. She thought the pumpkin guts were the coolest thing ever. Lucky we have tile floors, because it was EVERYWHERE when she was done!
And since I have two toddlers in the house, I got creative with their art supplies to help plan out my drilled pumpkin patterns. I used tiny stickers from the dollar store to mark out where I would want each design and make sure they were all even. It might not be the way the pro’s do it (are there professional pumpkin carvers?), but it worked, and everything ended up exactly where I wanted it.
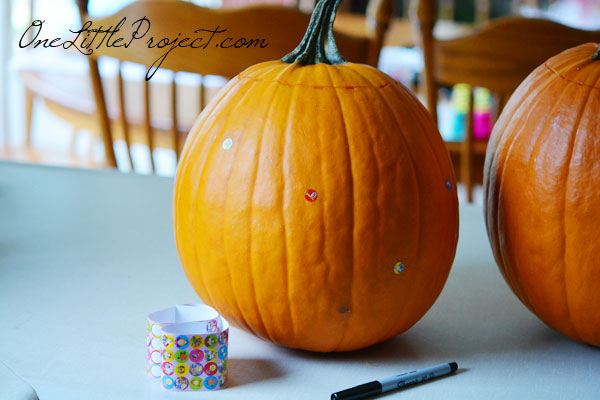
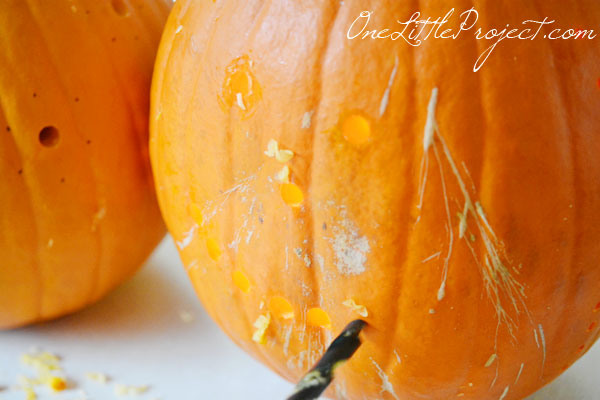
You might also notice in the photo above that I was marking my holes with a Sharpie. I do NOT recommend using a Sharpie. Permanent marker is apparently permanent even on pumpkins, so if you mess up, you can’t wipe it off. I quickly switched to a ballpoint pen when I realized the Sharpie wasn’t going to wipe off. Luckily, I only made a few permanent marks on the back of one of the pumpkins as I was planning it out, so no harm done.
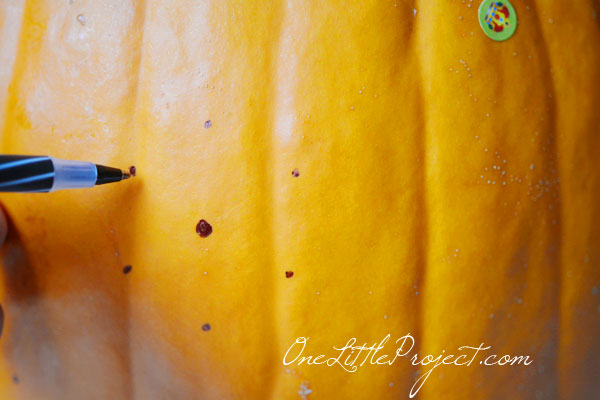
I only had two pumpkins, so I could only do two designs. The design above was for a small flower like grouping. And then the design below, I just made dots in a straight line down the pumpkin for more of a geometric look.
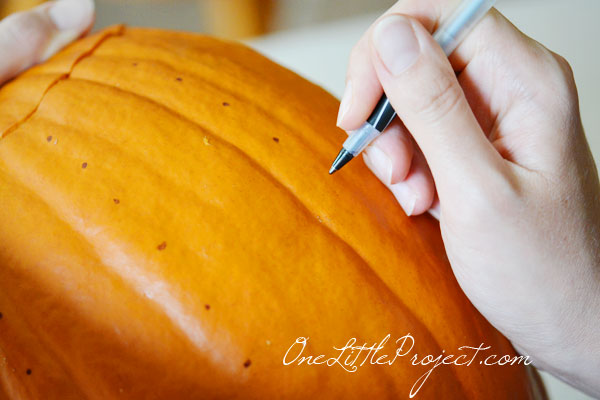
Some people might be able to eyeball the drilling holes, but I am not one of those people. I was much happier having the pumpkins all marked up and ready to go.
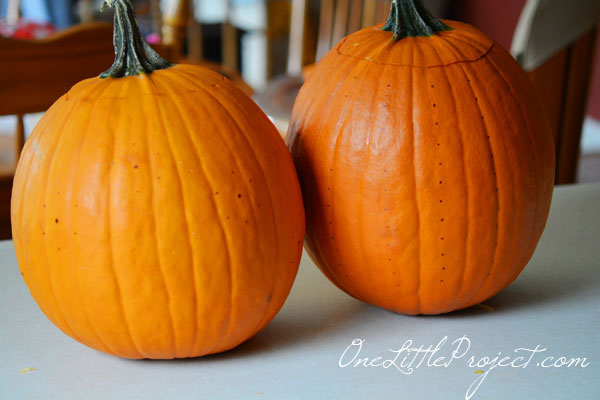
Plus it meant my husband could help with the drilling. Neither one of us have ever drilled a pumpkin before, so we were both pretty excited to see how all of this would turn out.
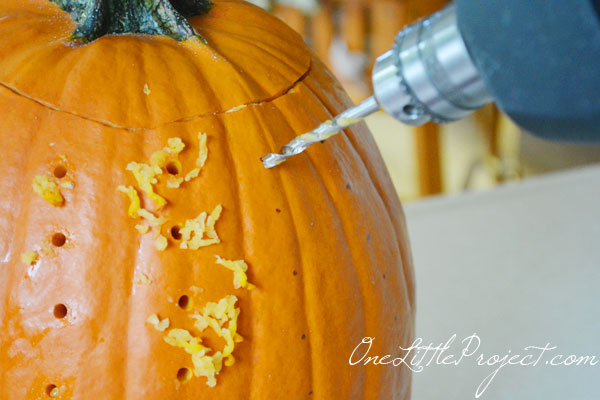
Other than teeny tiny drill bits, we only had two drill bit options – small and medium. A large drill bit would have been awesome if we had one, but it just wasn’t in our cards for these pumpkins. Maybe next year.
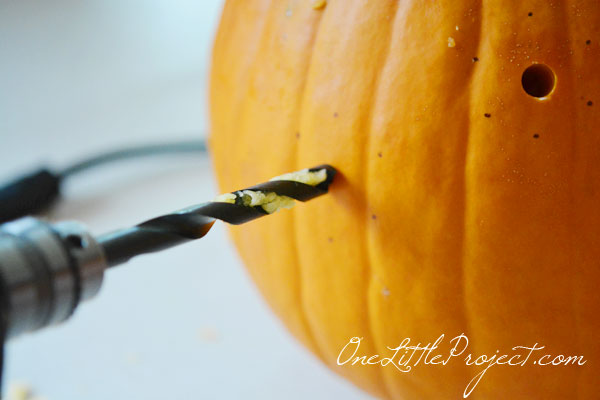
As far as fancy pumpkins go, this was super fast. All the dots were there, so all we had to do was drill them. It probably took about half an hour. So if you normally do a plain jane pumpkin with triangle eyes, like I normally do, this takes about the same amount of time. But if you were planning on carving an elaborate gargoyle into the pumpkin, then this is waaaaaaaaaaaaaay faster. Plus you are way less likely to screw it up. Haven’t we all been there when an important piece of the pumpkin breaks off and you have to resort to using a toothpick to put it back in?
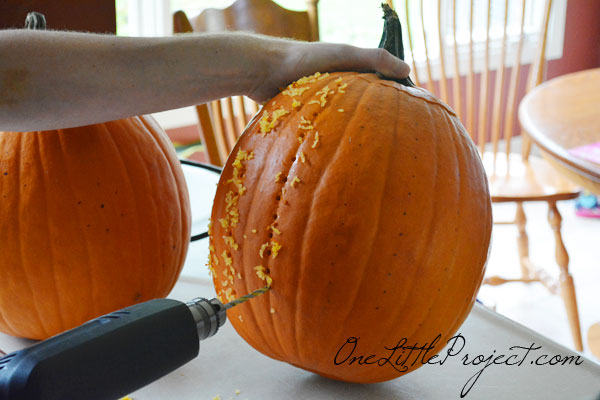
I didn’t expect the drill to pull out so much pumpkin goop. It wasn’t a splattering mess of craziness or anything, but cleanup would be a whole lot faster if you put a newspaper underneath your pumpkin before you drill.
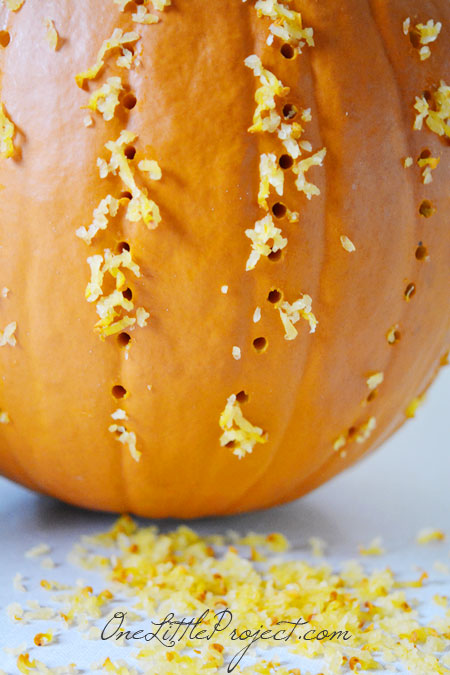
We did seem to have some air flow problems with our drilled pumpkins. I guess with the holes being so little the candle would stay lit for a short while, eat up all the oxygen and burn out within a minute or so. We had some more fun with the drill and added some extra holes to the back. Even then, it probably could have used more holes for more air flow.
When night time finally rolled around we couldn’t wait to see how they would look all lit up in the dark (okay, we might have had them lit up in our windowless bathroom for a few hours before this too…). They looked amazing! The drilled holes were so neat and tidy and perfect – so much cleaner than I could ever do by hand!

These might be a little light on the spooky factor for Halloween, but they are so beautiful that I really don’t care. If I had the patience to do more pumpkins, a group of 5 or 6 pumpkins would look awesome! Maybe some day when the kids are actually helpful with pumpkin carving. What are your pumpkin carving plans this year?
Source : onelittleproject.com
Read more...
Post a Comment
Post a Comment