I’m a little nervous to admit this, but I took the photos for this project over a year and a half ago. It was last April and I had just found out I was pregnant with baby #3 (our baby boy who is now almost a year old!).
I was still in the honeymoon phase of pregnancy around 5 weeks or so, and I had lots of energy and felt great! So I took a week off from my day job to work on the blog and I stock piled the photos for a bunch of projects. I had an amazingly productive week and made all sorts of wonderful crafts and recipes.
I was feeling fantastic, but uneasy, because I knew that energy was going to fade away. And then sure enough, one morning at about 11am, BAM morning sickness hit me like a ton of bricks. I ordered Chinese food for lunch because nothing else sounded good (I still haven’t eaten Chinese food since that day…) and then I tried to do a few more projects, but I was toast. So I sat on the couch for the next three days and watched three seasons of Gossip Girl on Netflix.
And this poor little glow in the dark duct tape flower ring tutorial was forgotten. I came across the photos in a lonely folder on my desktop the other day and decided it was just too fun not to share!
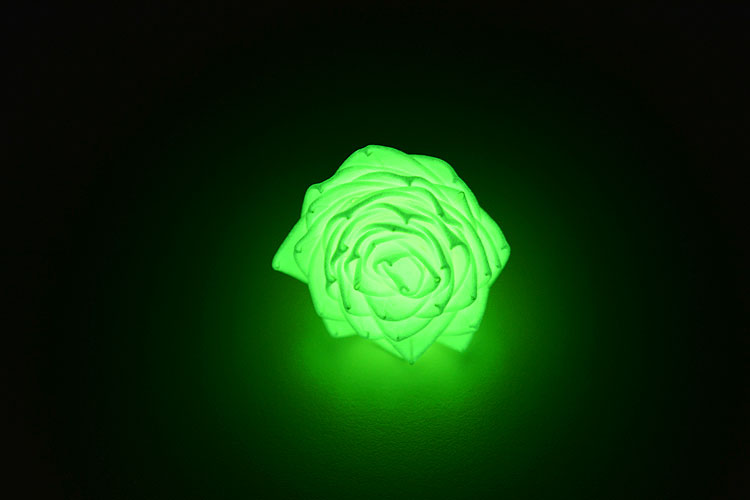
You can make this ring out of any colour of duct tape that you like, but seriously, isn’t everything better when it glows in the dark!?
Did you know you can buy glow in the dark duct tape? Because I had no idea it even existed! But sure enough, I found it at Walmart with all the other crazy colours of duct tape and I fell in love!
How to Make a Glow in the Dark Duct Tape Flower Ring
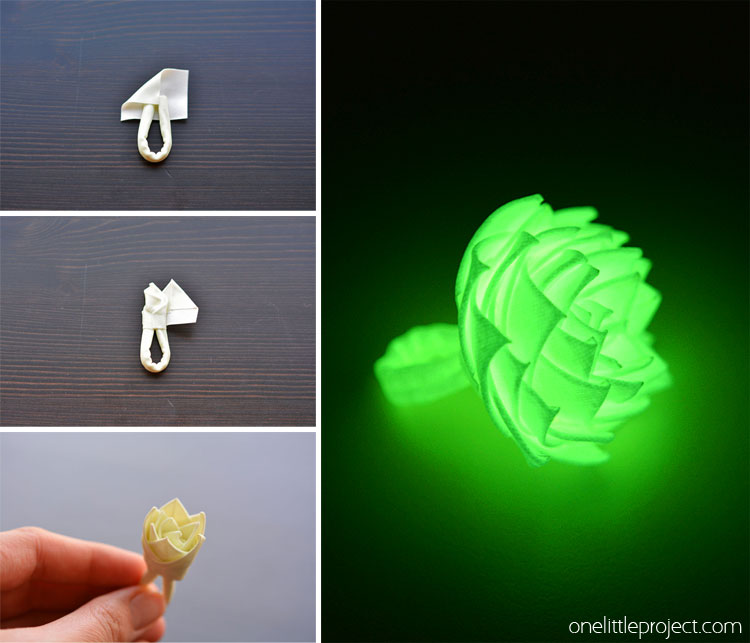
Start by making the band that goes around your finger. If you’re wondering why it’s so narrow, it’s because I made it waaaaay too small. The ring barely fit my kids fingers let alone mine.
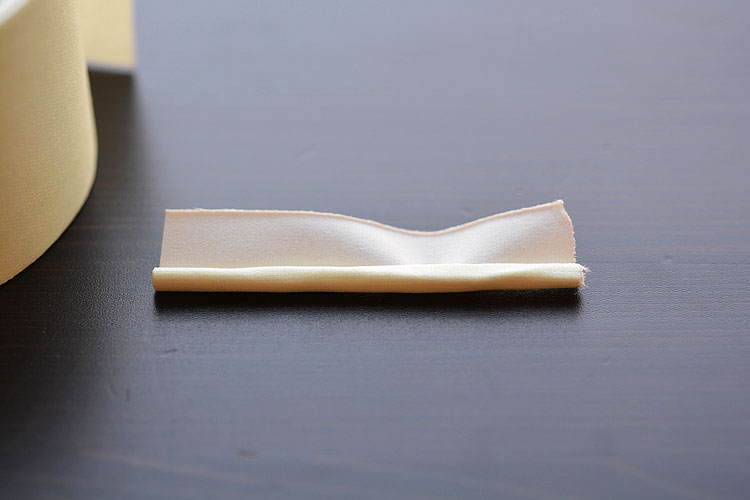
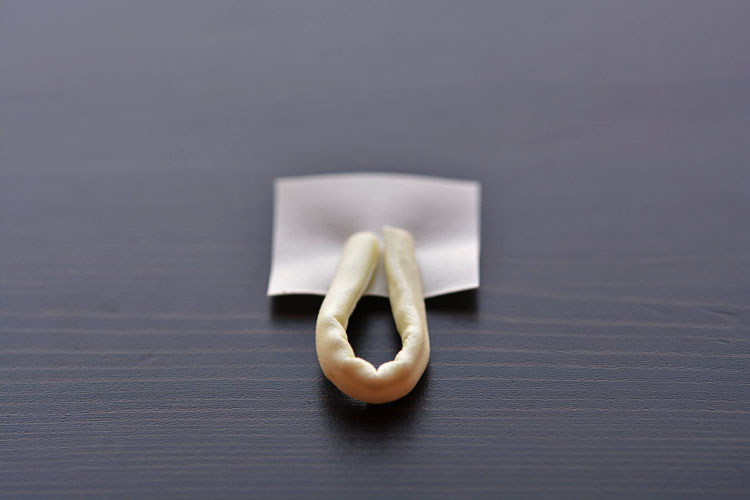
I would suggest taking a piece of string (or even dental floss), wrapping it around your finger, and making the band about 3/4″ to 1″ longer than what your finger measures (you can trim it later if you need to). Once you’ve cut the tape to the correct length, fold up the bottom of the tape by about 1/4″:
Roll the duct tape around itself until it’s all rolled up and ready to wrap around your finger. Make sure you test the length before you go any further. This step isn’t hard, so if you need to make another loop, it’s better to do it now. I’m going to blame it on the morning sickness that I didn’t test the size of the ring band when I made these last year.
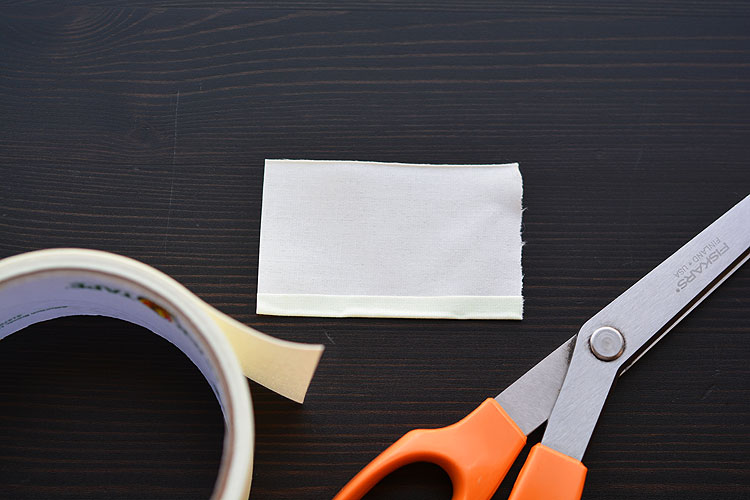
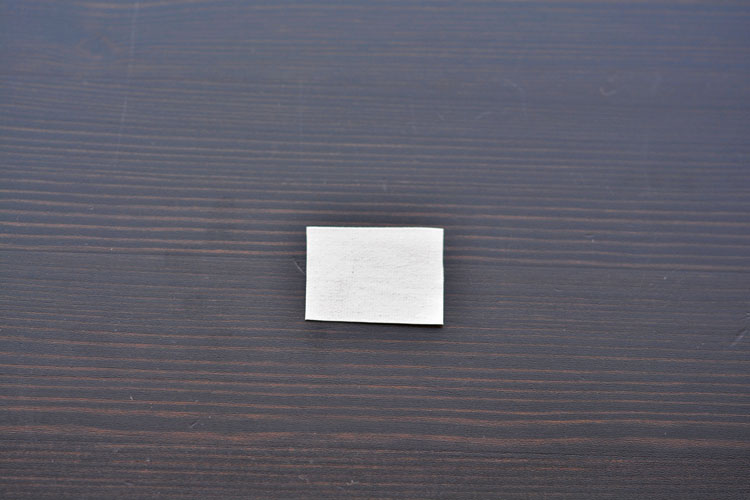
Cut a bunch of strips of the duct tape to be about 1-1/2″ wide, and then cut them in half again. You’ll end up with lots of little sticky rectangles. I recommend cutting out 20 and then you can cut more if you need them.
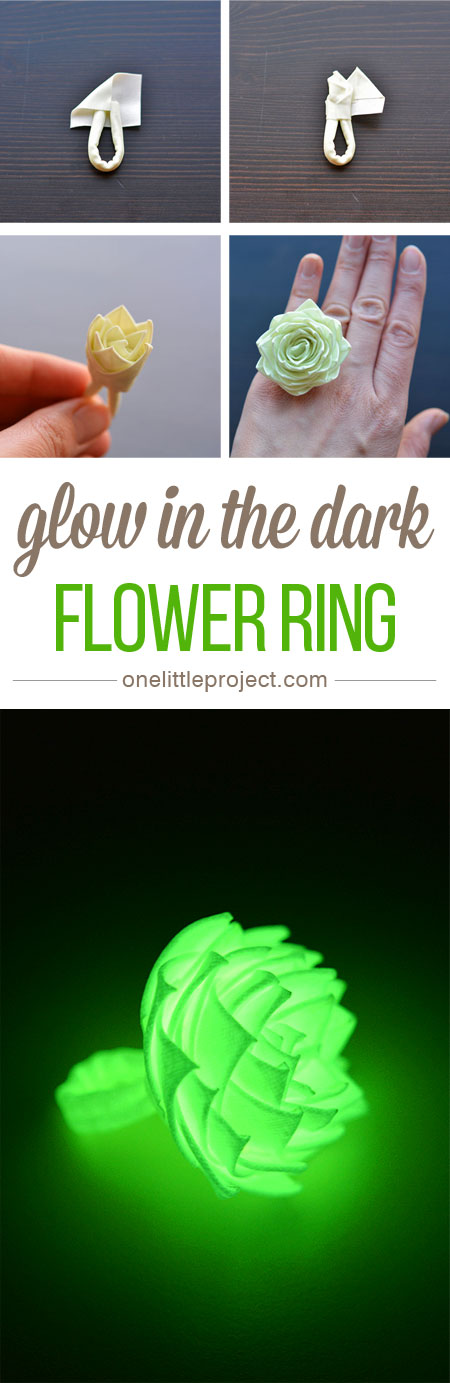
Bring the two ends of the band together so it forms a loop, and then take one of the rectangle pieces and place it so the ends of the loop are in the approximately in the center. It needs to overlap enough to hold the two ends of the loop together, like this:
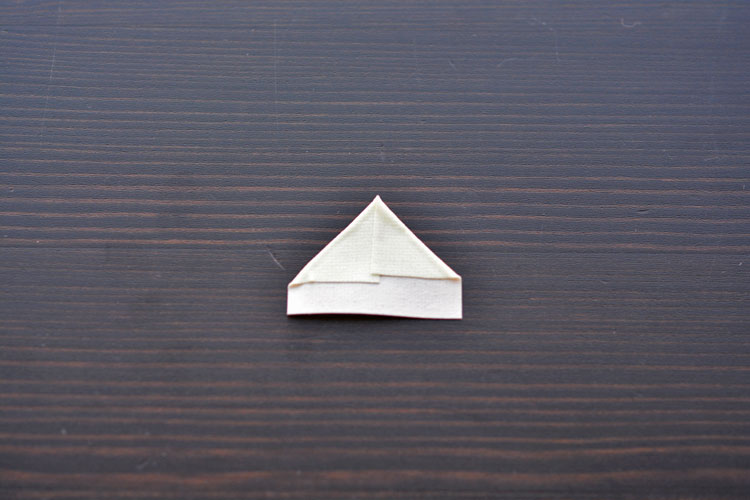
Fold down the left corner like this:
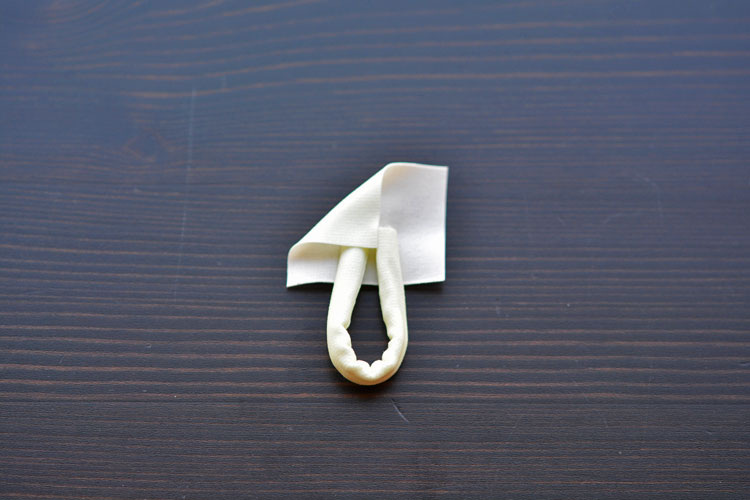
Then fold down the right corner to meet it:
Wrap around the left edge:
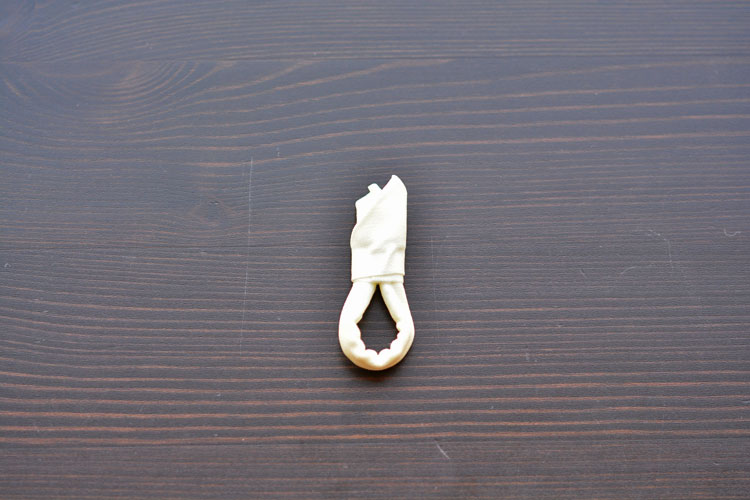
And then wrap around the right edge so all the sticky parts are holding the loop closed. The tip of this triangle point you just folded will be the center petal of the flower.
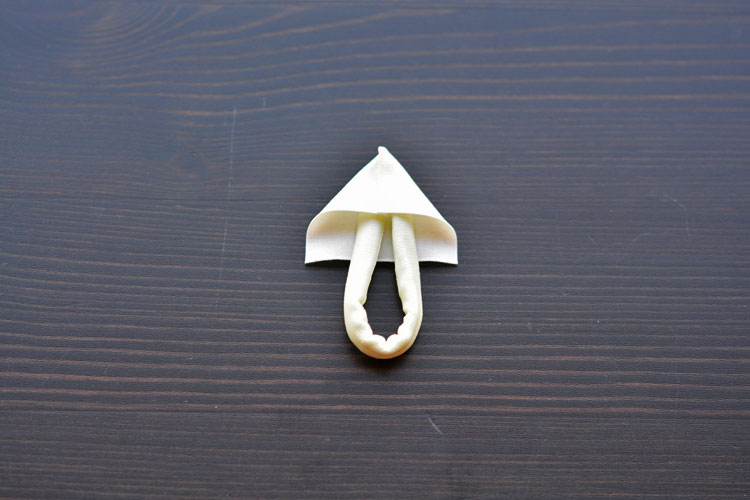
Now you’ll be using the rest of those rectangle tape pieces you cut out earlier:
Fold down the left edge:

Then fold down the right edge:
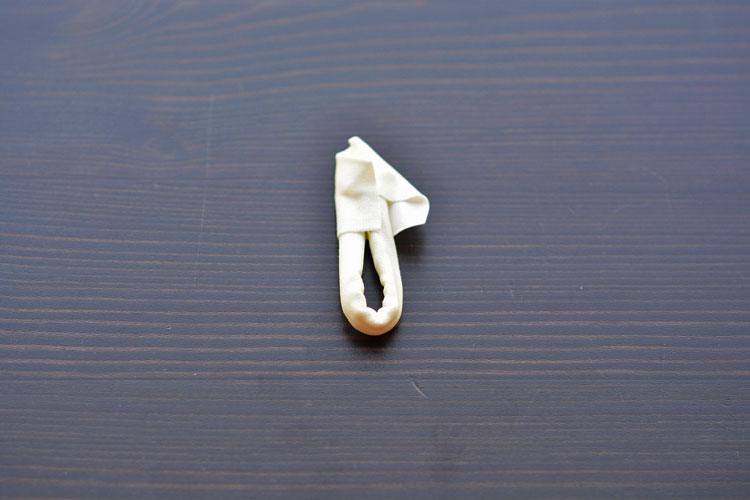
Wrap the sticky part of this triangle piece around the first petal you just made, but offest it slightly:
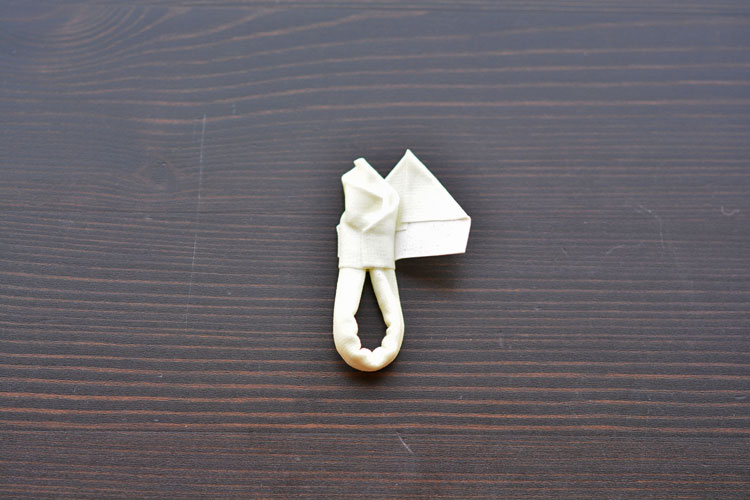
Press the sticky part onto the first petal so it’s held securely in place. It’s hard to see in the photo below, but you’ll now have two petals:
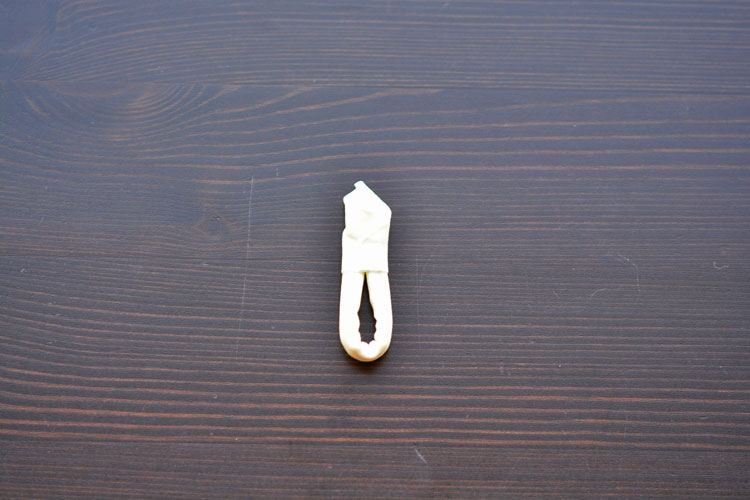
Continue folding little triangles from the rectangle pieces and attaching them to the flower, slightly offsetting them in a spiral as you go around. This is what mine looked like after I had added about 10 petals. You can see it really starting to come together!

Keep cutting more rectangle pieces if you need to, and continue folding them into little triangles and attaching them to the flower until you’re happy with the shape:
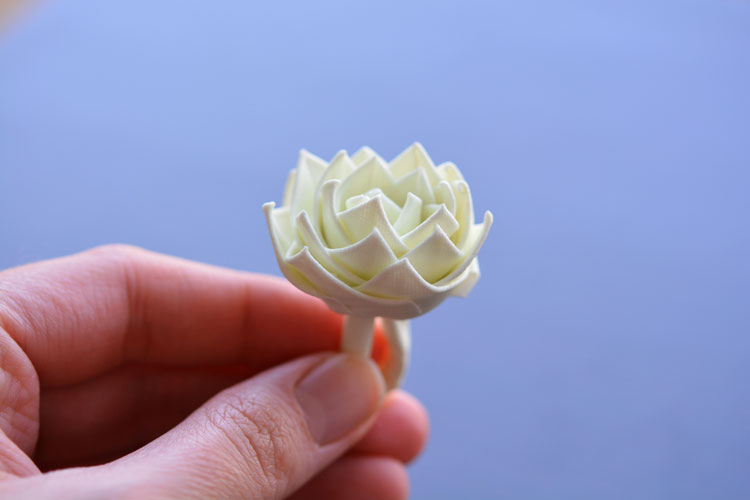
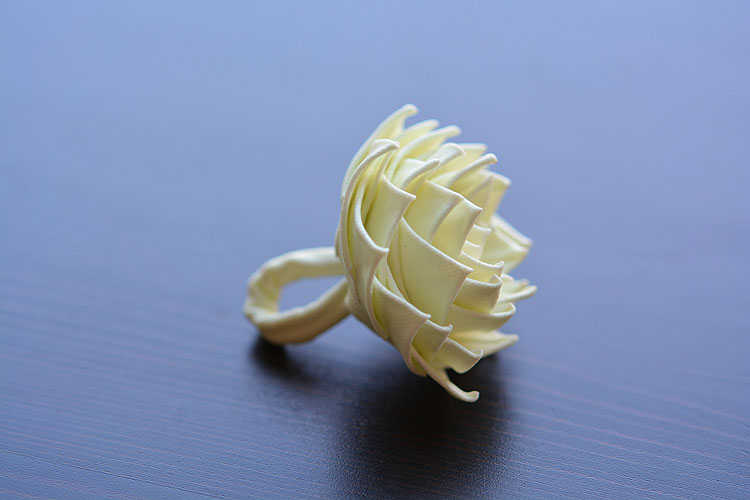
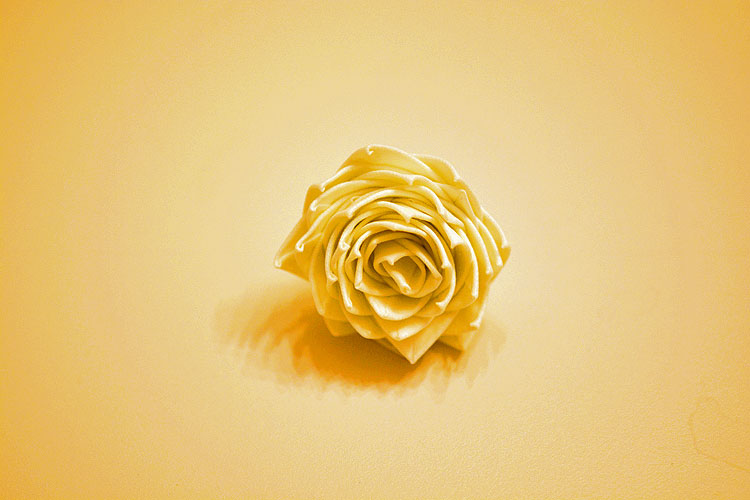
It almost looks like a lotus flower. I was amazed by how pretty it was!
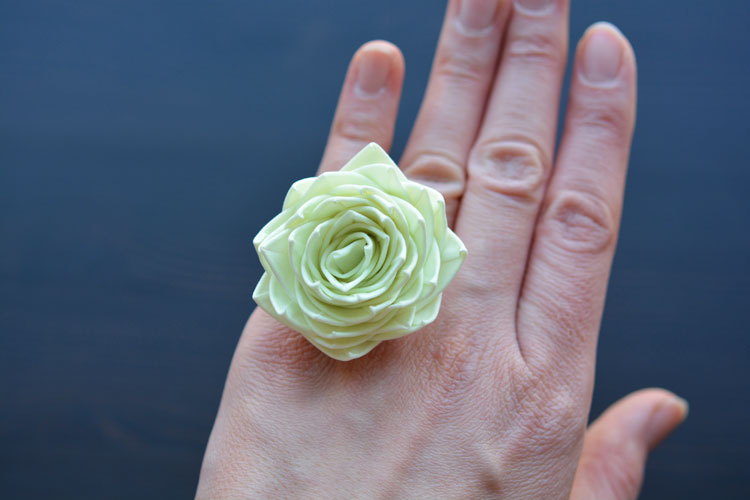
Here’s a photo of me pretending that this ring fits on my finger… Oops! It looks pretty though, doesn’t it? It’s really too bad I didn’t make the loop big enough to fit me!
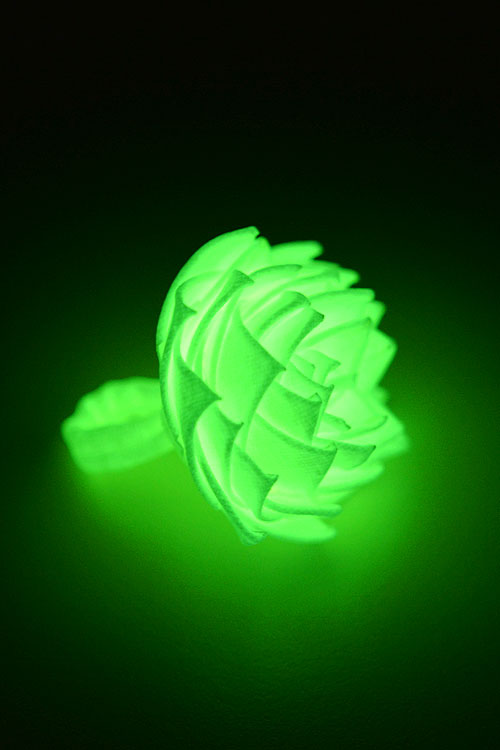
My girls loved it though. They still get excited to charge it up under a light bulb and see how much it glows when we turn the lights off at bedtime.
I’m always a bit skeptical of glow in the dark products, but this tape GLOWS. Charge it up a bit with some light, and it’s seriously amazing how much it lights up!
I have to work on my in-the-dark photography skills, so I’m sorry these are a bit grainy. But you totally get the picture, don’t you!?
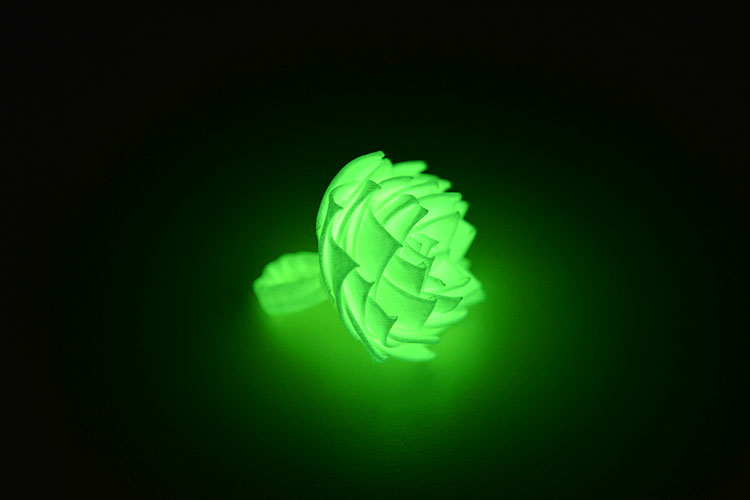
So, here’s the lights-on vs lights-off comparison (… on my 1988 ivory laminate bathroom countertop.). Pretty cool, don’t you think?
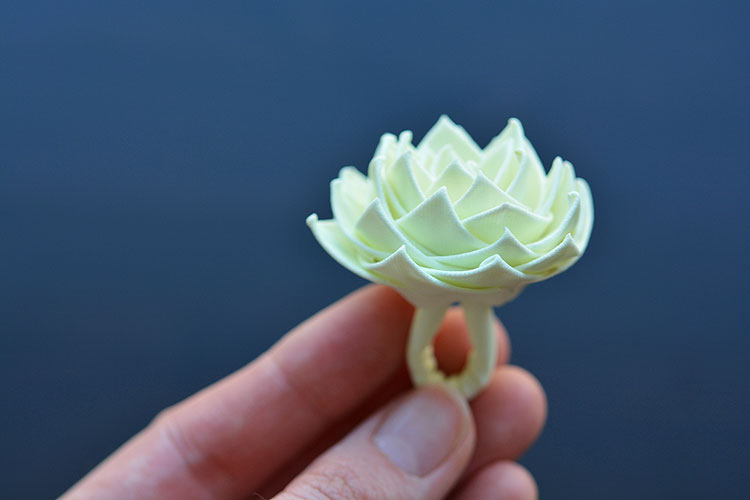
The more petals you add to your flower, the prettier and fuller it will look. And if you want fewer petals, that’s okay too!
Oh, and since it’s been over a year and a half since I made this ring, I can also tell you that it is STRONG! It’s lasted months of abuse by my 3 year old and 5 year old, and all the pieces are still firmly holding together and it still glows!
I was surprised by how easy it was to make a duct tape flower ring. It’s a bit fiddly with all the small pieces, but it’s really easy, and it comes together in about 20 minutes. Of course, you don’t have to use glow in the dark duct tape either, you could use whatever colour you want. If you do a quick search on Pinterest you’ll see how beautiful all the different rainbow coloured duct tape flowers look. But of course, those rings won’t look nearly as cool when you turn out the lights… just saying.
Source : onelittleproject.com
Read more...


")


Post a Comment
Post a Comment