Do you remember when you were a kid, and you learned how to cut hearts out from construction paper? It seemed like the most clever thing ever that you could fold a piece of paper in half, cut out a rough tear drop shape on the fold, and then almost like magic, you ended up with this perfect heart shape. (I was the youngest child, so simple things like that were always cool to me.)
My five year old loves hearts. They’re one of the first things she learned how to draw. She used to sit at her little, wooden craft table and write the word “MOMMY” on pieces of paper (it was one of the only words she knew how to spell), and surround it with little pink hearts. Except she calls them “love hearts”, instead of just plain “hearts”. Talk about melting my heart!
Call me sentimental, but these heart envelopes seem just as magical to me. Did you know you can fold an envelope from a heart shape in only four folds? Because I had no idea!? I saw it over on Forty Weeks and Then Some and I think it might border somewhere along the lines of BRILLIANT. It’s so easy to do!

I definitely recommend practicing on a scrap piece of paper before you dive into your fancy patterned paper. It took me a few tries to figure out where the folds were supposed to go, but once I did it was smooth sailing!
I also recommend using thin paper instead of card stock. It will be really hard to get the folds crisp and even if you make it out of card stock. You could even try wrapping paper if you have any scraps of pretty patterns laying around!
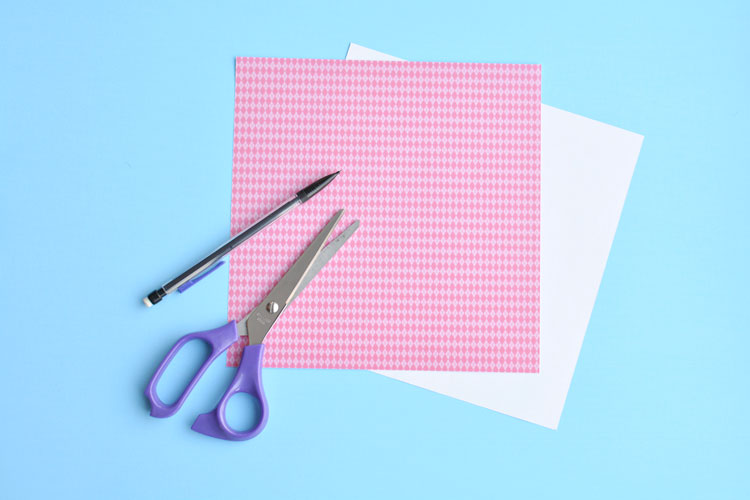
I started by folding a piece of construction paper in half and cutting out a traditional heart shape from it to use as a template. Then I used my practice heart as a template, traced around it with a pencil, and then cut it out from my fancy paper.

Once you have your heart cut out, start by folding in the outer two edges, about 1/3 of the way in. Make sure the folds are parallel with each other and with the imaginary center line. (You know, the one that would have been there if you had cut out the heart from a fold.) The straighter and more parallel you can get the folds, the more neat and tidy it will look in the end.
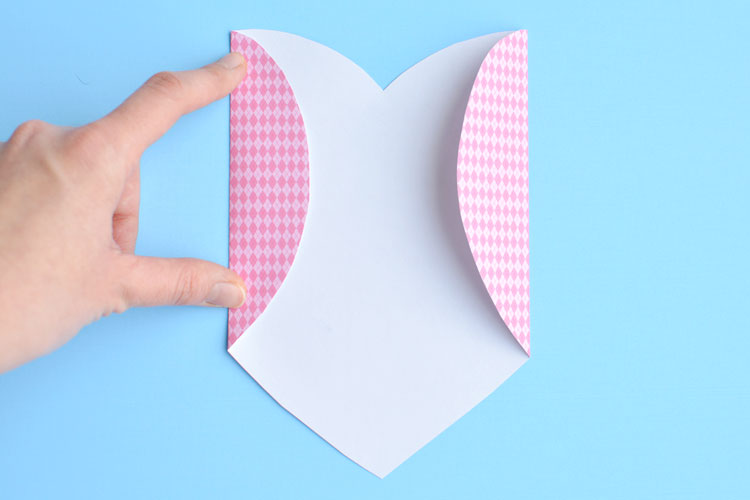
Rotate the heart so the point is at the top, then fold up the bottom like in the picture below:
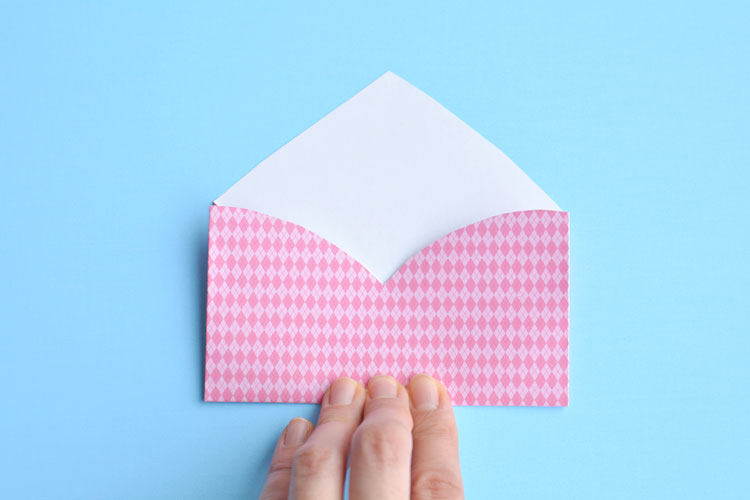
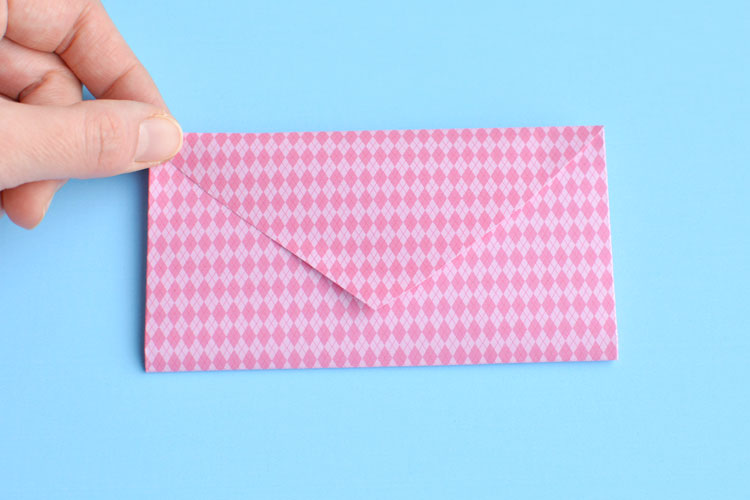
Then fold the point down to complete your envelope:
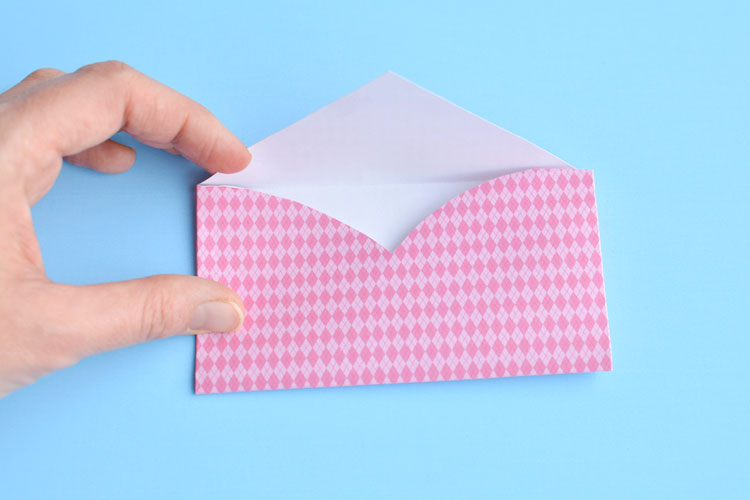
See!? How cool is this?!
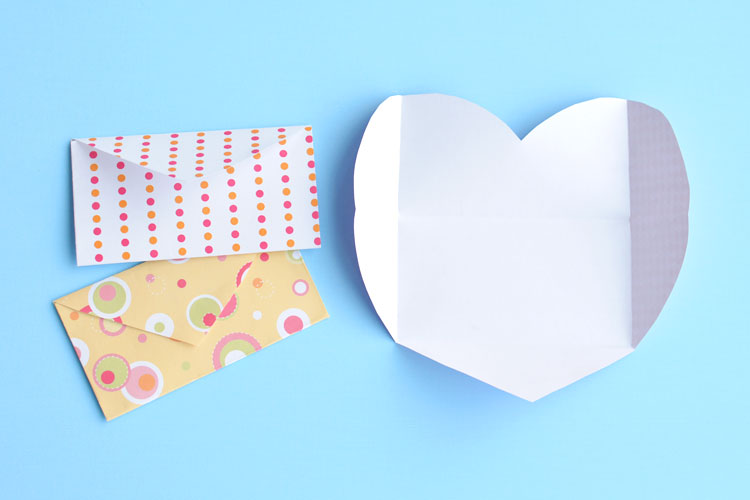
So when you unfold the heart, the folds will look something like this:
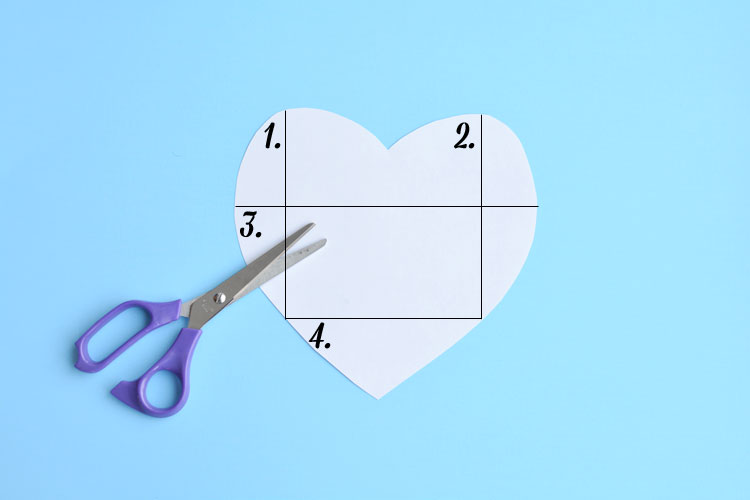
And here’s a diagram of the process. Ugh, I wish I was better at creating printable templates for you all, but this is the best I can do to show you where to fold:
You can either write your message on the inside of the envelope itself, or stuff a small message inside!
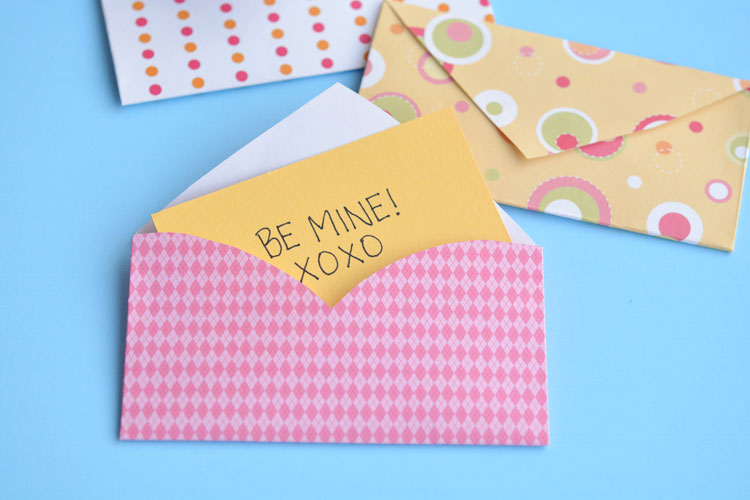
I’m seriously baffled that you can do this with a heart shape! Doesn’t it look exactly like an envelope!?
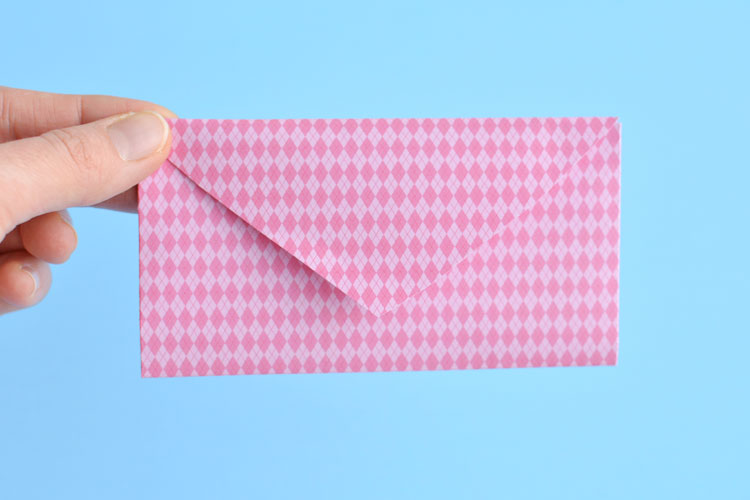
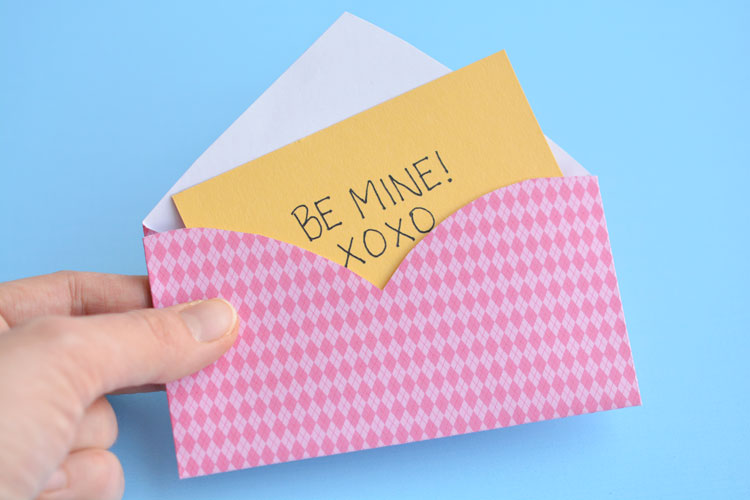
You can use a small sticker to hold the envelope closed, or you can cut a small slit into the paper, and tuck the envelope tip into the slit to keep it closed. It’s totally up to you!
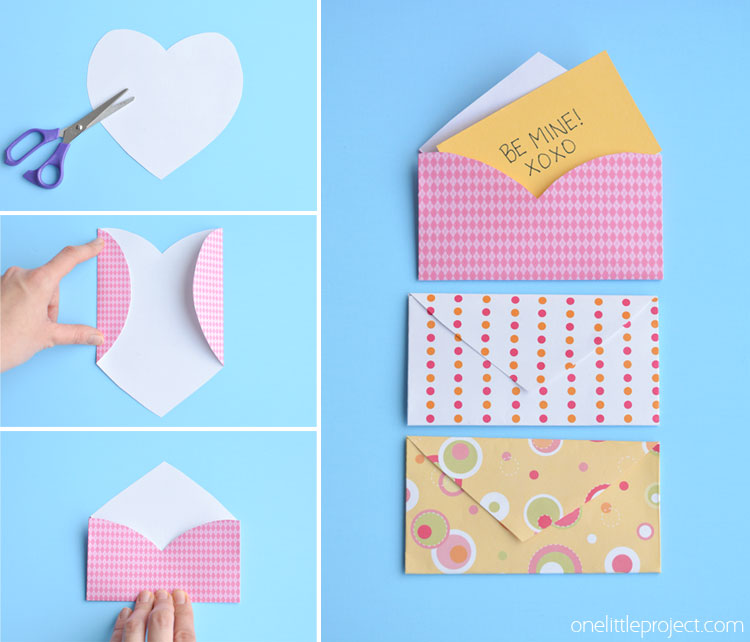
These heart envelopes are perfect for a Valentine’s Day message, but simple (and cute) enough that you can use them for any occasion if you want to. Write your message on the heart itself, or tuck a sweet little note inside. All it takes is four folds!
Source : onelittleproject.com
Read more...
Post a Comment
Post a Comment