These folded paper sunflowers are so easy to make! It’s crazy what you can make with just a few folds of paper! They’re the perfect craft for late summer or fall! These flowers are bright, beautiful and lots of fun to make!
I was overwhelmed last year before I started writing my book, Low-Mess Crafts for Kids. My publisher said I had to create at least 70 crafts that had never been published on the blog. And at the point when I made these folded paper sunflowers I had made zero crafts for my book. ZERO. Yikes. I was sitting on my office floor (where I do all my best craft projects!), surrounded by craft supplies, trying to work up the nerve to get started. It was a scary amount of pressure! I made 2 or 3 different paper flowers that day, just experimenting with techniques, trying to come up with the best projects to include in my book.
It was a dark, rainy day in early May, the kids were at school, and I was sitting on the floor, freaking out about paper flowers! Eventually I made 5 crafts (out of 72!) for the book, then 12 crafts, then 42 crafts, then 60 crafts (I tried to convince my publisher to let me stop at that point, but they insisted I needed at least 70 crafts), then 68 and FINALLY 72 crafts. It took months and I still don’t know how I did it!? Once I got started, I found a groove, but getting over that mental hurdle of creating the first few crafts for the book was really tough!

These folded paper sunflowers were one of the very first crafts I made on the floor of my office that day. I really love them, but I decided that they weren’t quite right for the theme of my book, so I scrapped them and have been letting the photos gather cyber dust on my photo archives hard drive.
I found them the other day when I was searching through the drive for something else and I decided to create a blog post. You know I love paper flowers! We’ll just add these folded paper sunflowers to the list of paper flowers that I’ve made and fallen in love with!
How to Make Folded Paper Sunflowers
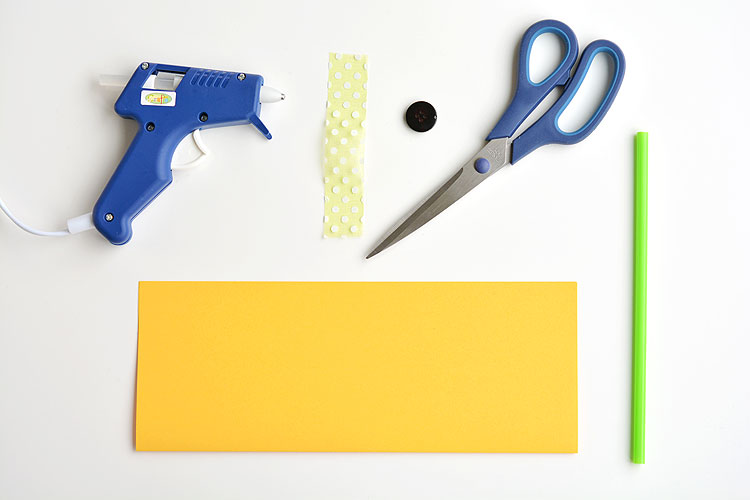
Here’s what you’ll need. The affiliate links below will take you to products on Amazon that are similar to the ones I used for this craft:
- Orange Printer Paper
- 7/8″ dark brown or black button
- 4″ piece of green ribbon (1″ wide)
- Green Drinking Straw
- Glue Gun
- Scissors
I think the paper colour is officially called “gold” actually. It’s from the standard package of pastel printer paper that has pink, blue, yellow, green and orange. I bought mine from Staples but you can also get it on Amazon at the link above.
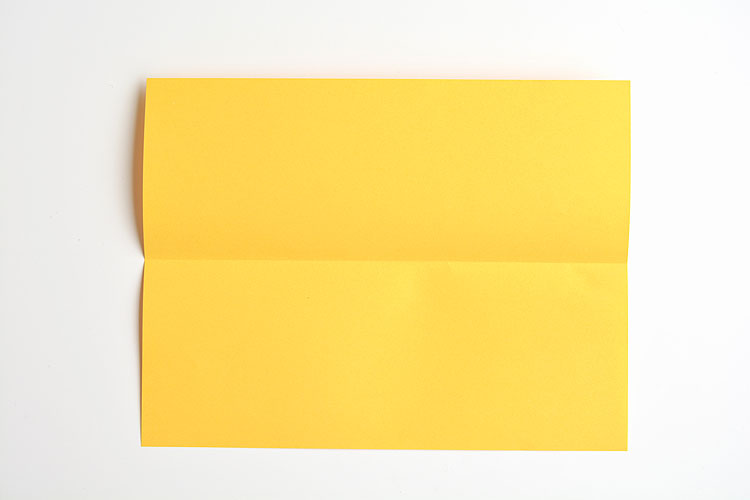
You only need half a sheet of paper. So start by folding the paper in half to make a long rectangle.
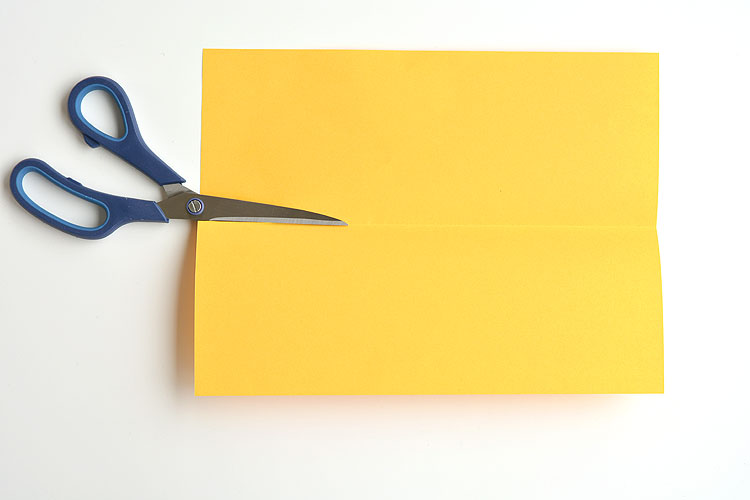
Open the paper back up and cut along the fold so you have a piece of paper that is 4.25″ x 11″.
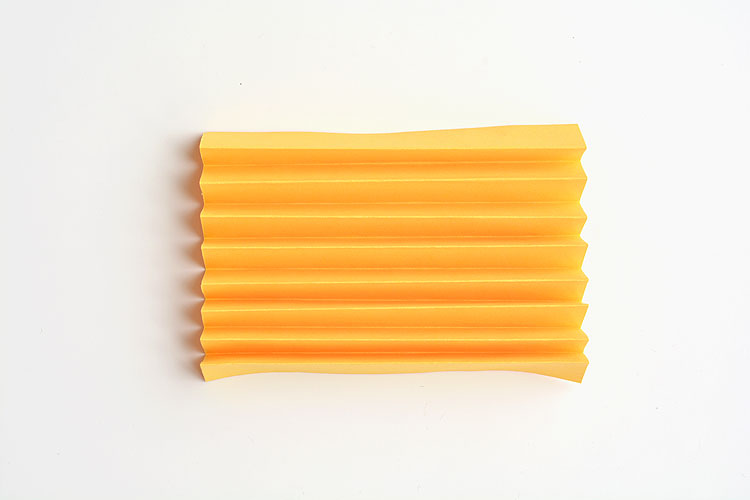
Fold the paper back and forth accordion style in 1/2″ to 3/4″ folds until you reach the end of the paper.
With the paper all folded up, use scissors to cut the end into a rounded shape.
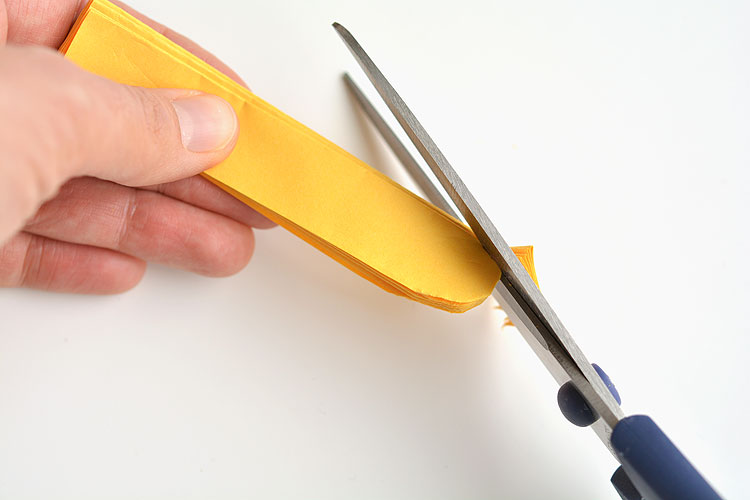
Repeat for the other side so that both ends of the paper are rounded.
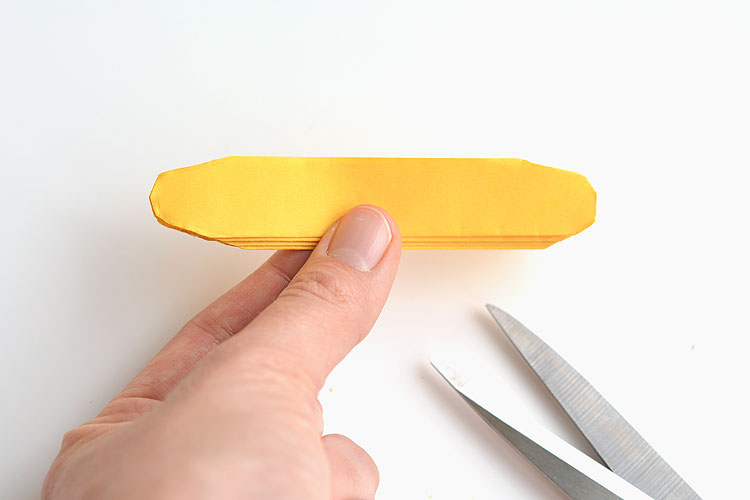
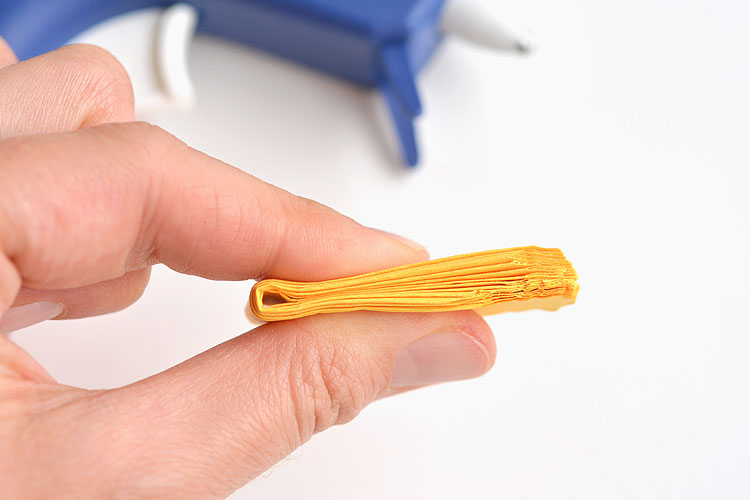
Fold the folded paper in half as shown in the photo below.
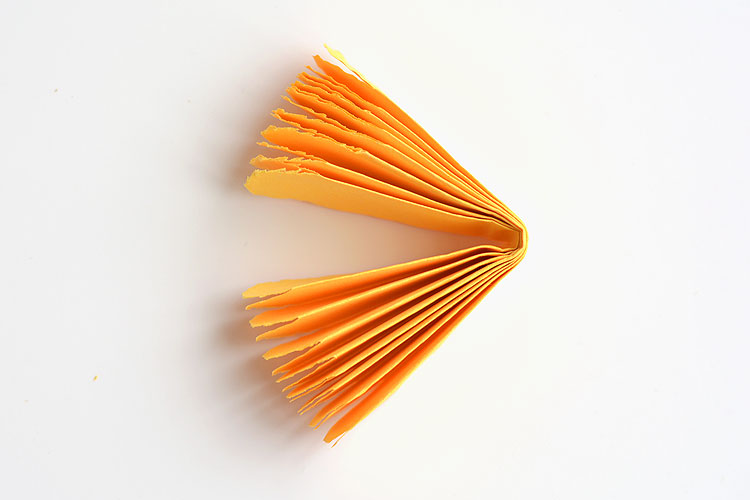
Squeeze some hot glue along the inside edge where the paper was folded.
You can try using double sided tape or crafter’s tape if you prefer, but I find that they’ll hold the paper for about a day, and then they just pop open again, so if you want these for any length of time, you’ll want to use a glue gun to keep everything together.
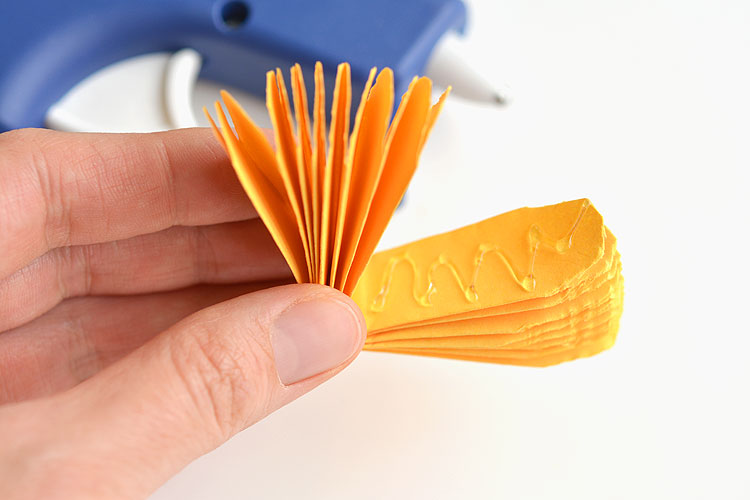
Line up the edges of the paper and pinch it closed over the hot glue and hold until the glue is set.
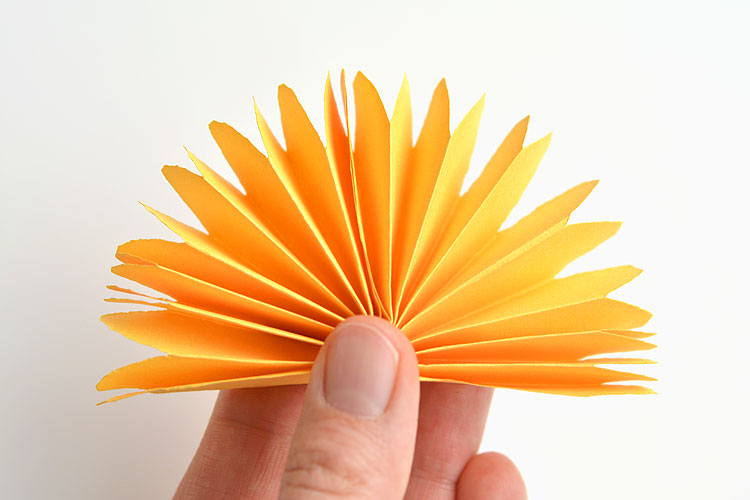
When you open the flower up it should look something like this. Pretty, right!?
Squeeze a line of hot glue on the remaining inside edge of the paper as shown in the photo below.
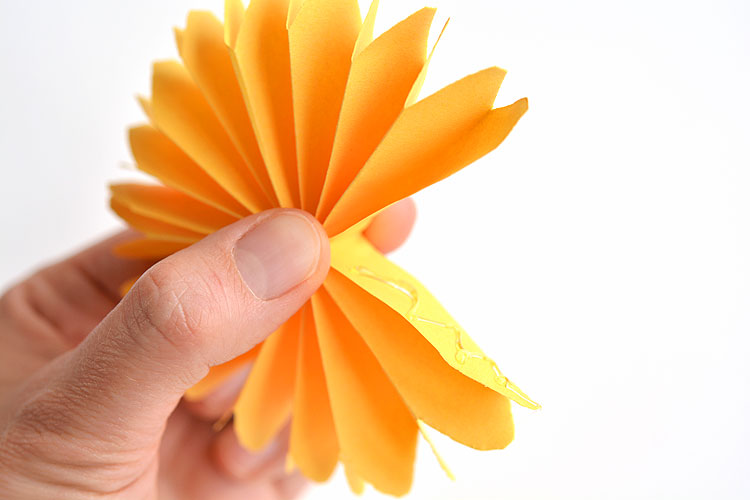
Then carefully line up the two edges and pinch them together so that your folded paper is now pleated in a full circle.
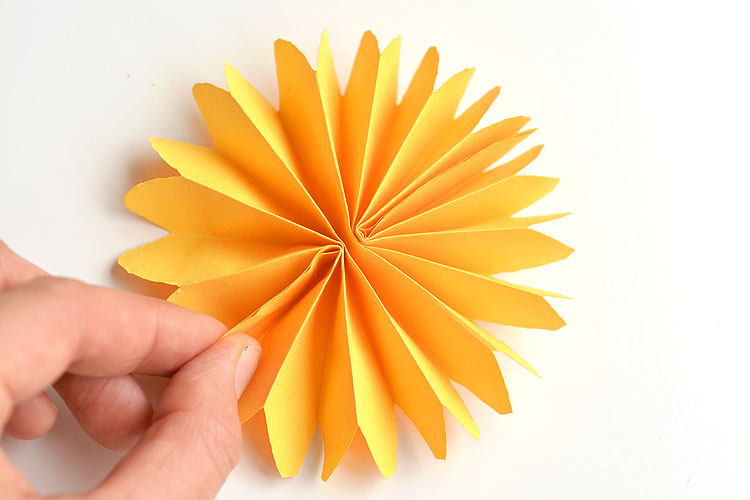
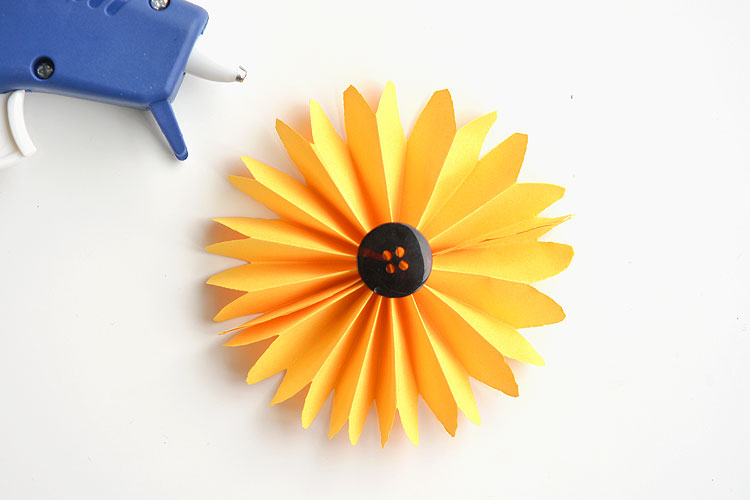
I used a 7/8″ wide, brown button from the dollar store. You can use black or brown, or even red, as long as the colour is fairly dark.
Attach the button to the middle of the folded paper circle using a glue gun.
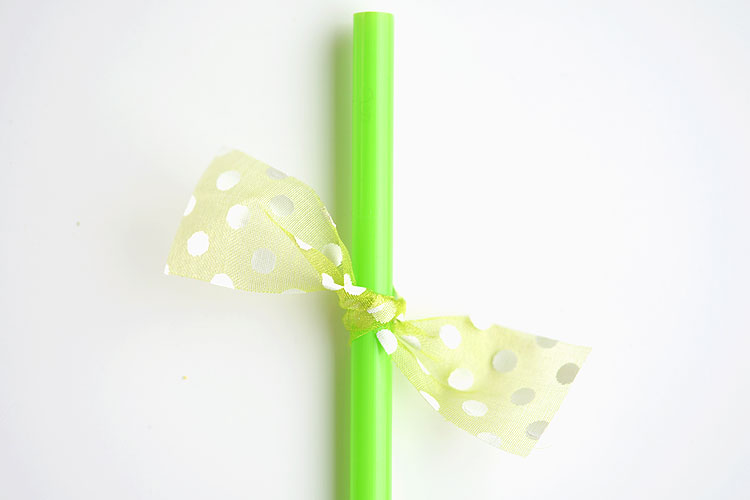
Cut a piece of pretty green ribbon about 4″ long. I got this ribbon from the dollar store years ago, so I couldn’t find the exact ribbon for you on Amazon. Mine was green sheer with white polka dots and was 1″ wide.
Tie the ribbon around the straw to make the flower’s leaves.
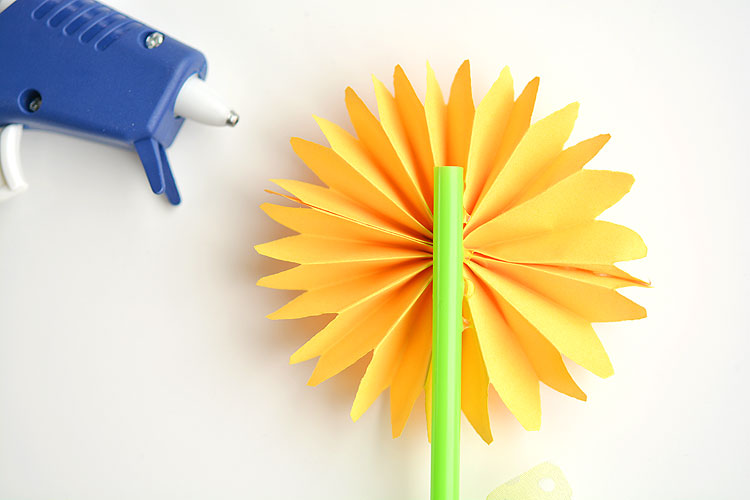
Attach the drinking straw to the back of the flower using hot glue from the glue gun.
Turn it around and you’re done!
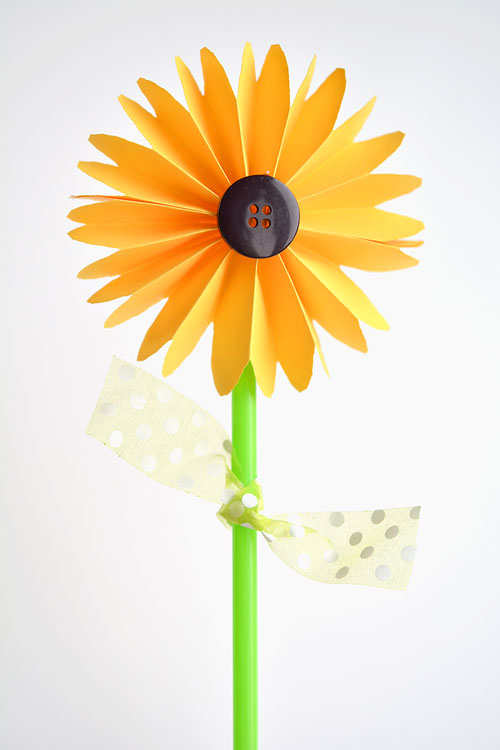
Repeat a few times to make a little group of folded paper sunflowers!
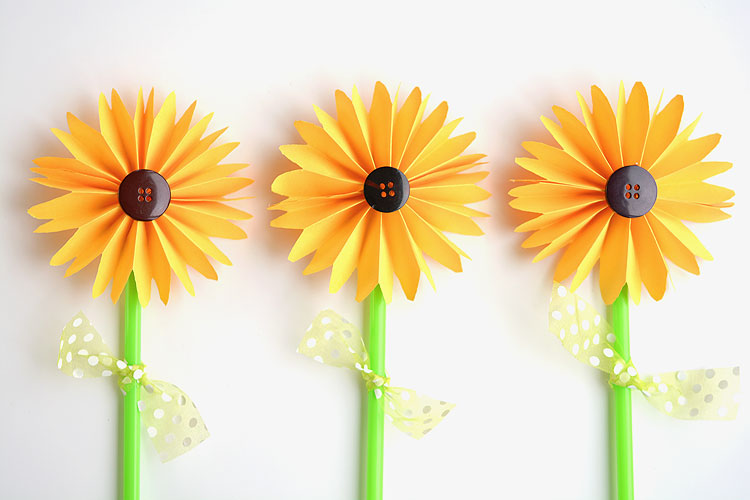
I love how easy these are! They’re super fast to make and they look so bright and festive for summer and fall!
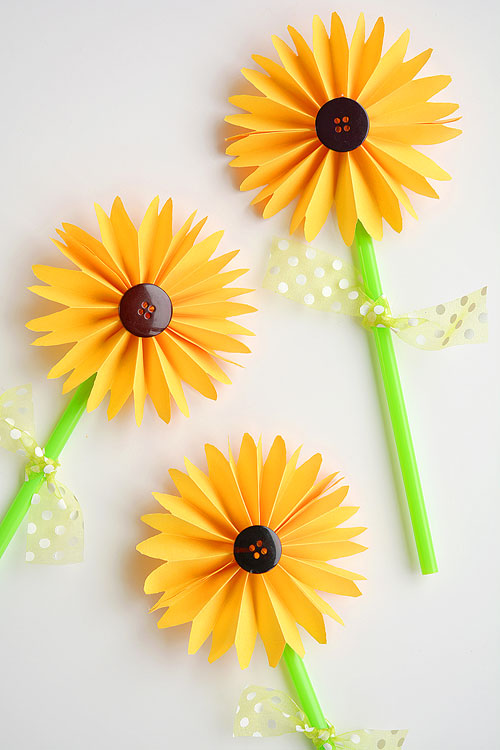
I still have every single craft that I made for the book in two boxes in my office. It may sound like hoarding, but I wasn’t sure what kind of photos I would need to take to promote the book.
Anyway, I saved these folded paper sunflowers with my book projects. I have one of the flowers sitting on my desk as we speak. My 3 year old just came in, picked it up, studied it carefully, then said “Why doesn’t this flower spin, Mommy!?” haha Sometimes you just can’t win!

Making it spin is a problem to solve for another day. lol
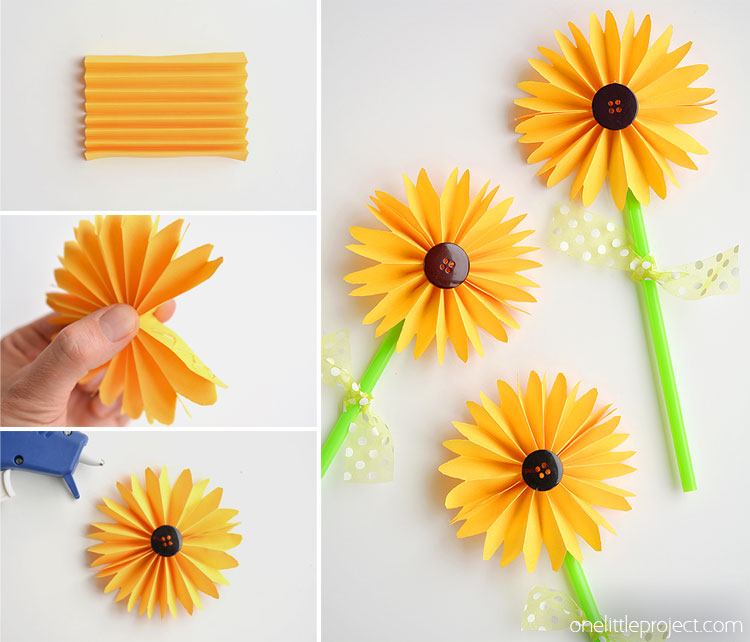
These folded paper sunflowers are SO BEAUTIFUL! And they’re so easy to make! This is such a great craft project for summer and fall! I love the button middle and the simple ribbon leaves and I love how bright and cheerful they look in a little mug or vase.
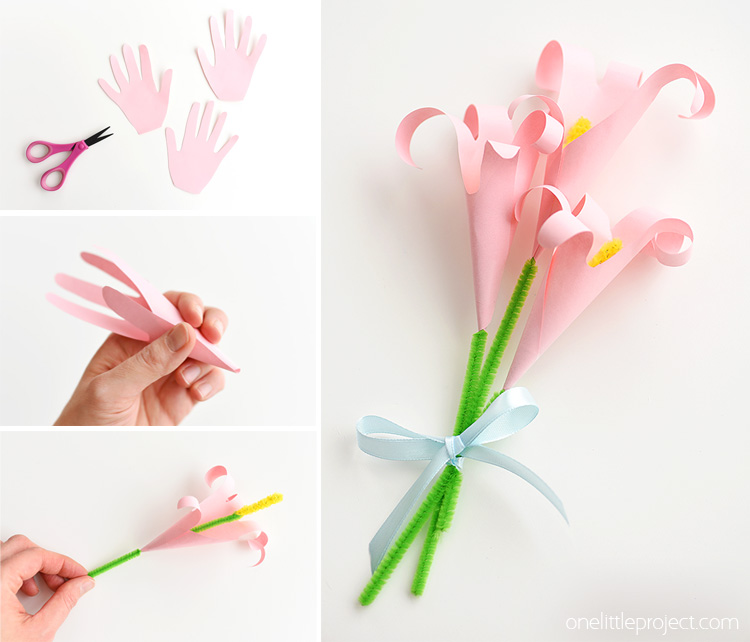
If you want to see more of our popular paper flower projects, be sure to check out our tutorial for making paper lilies from handprints. These went crazy on Pinterest earlier this year!
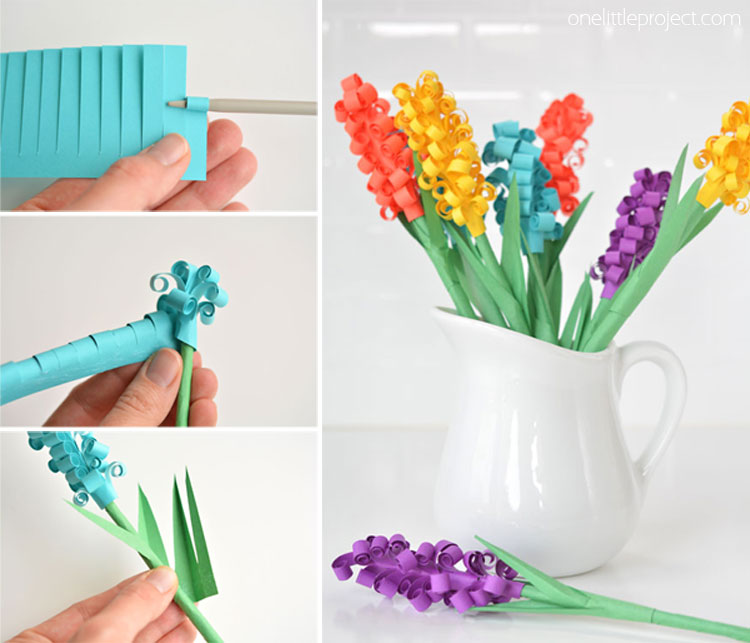
And then these gorgeous paper hyacinths are one of my earlier projects from a time before I knew how to properly focus my camera… 🙂 Still beautiful though and definitely worth making!
Check out our new book Low-Mess Crafts for Kids for 72 fun and simple craft ideas for kids! The projects are fun, easy and most importantly low-mess, so the clean up is simple!
Source : onelittleproject.com
Read more...
Post a Comment
Post a Comment