These egg carton ladybugs are really simple, and ended up looking super cute! I love ladybugs themed projects! They are usually really easy, and because you are sticking to only two colours, they almost always turn out looking fantastic! If you have young children, this project definitely requires some grown up help, but it’s lots of fun and very easy to get it all put together.
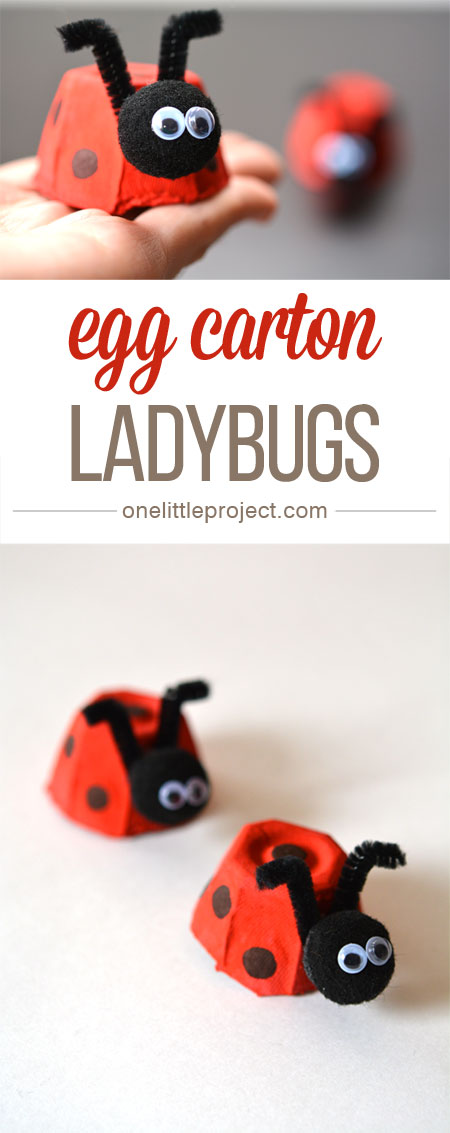
You’ll need:
- egg carton
- black pipe cleaner
- googly eyes
- black pom poms
- red paint
- black marker
- glue gun or white tacky craft glue
- scissors
Start by cutting out a cup from an egg carton. Trim around the edges so it lies flat.
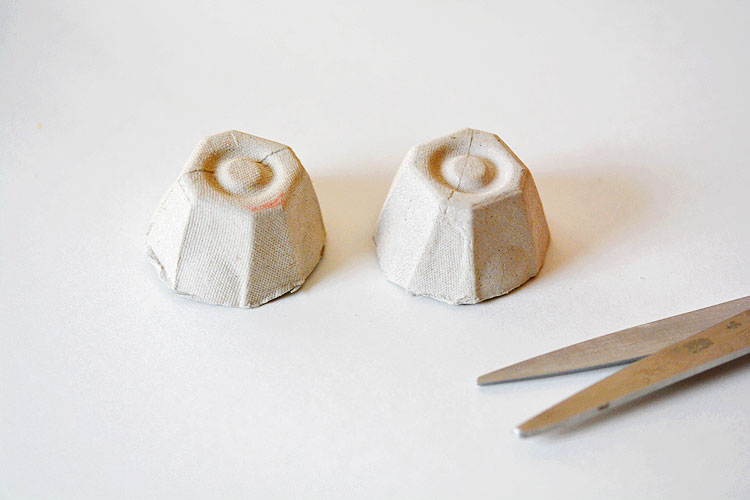
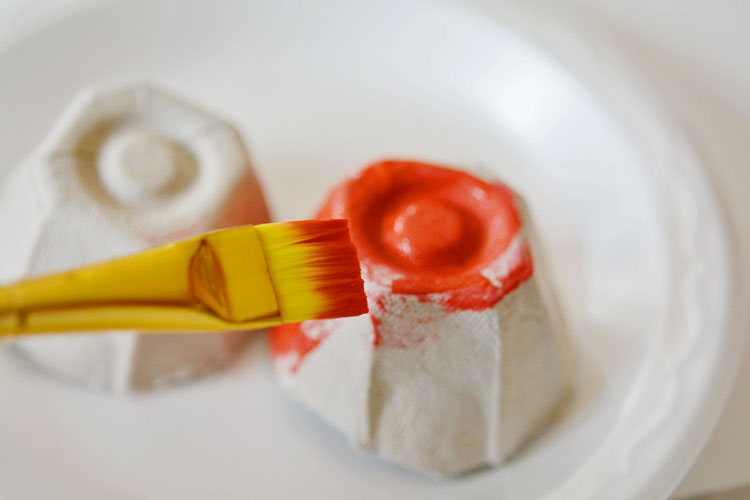
Paint each of the egg cartons red. I painted ours on a paper plate to contain the mess. My girls LOVE painting things, but since they are 3 and 5 years old, a whole lot of paint ends up on the table if you don’t protect it!
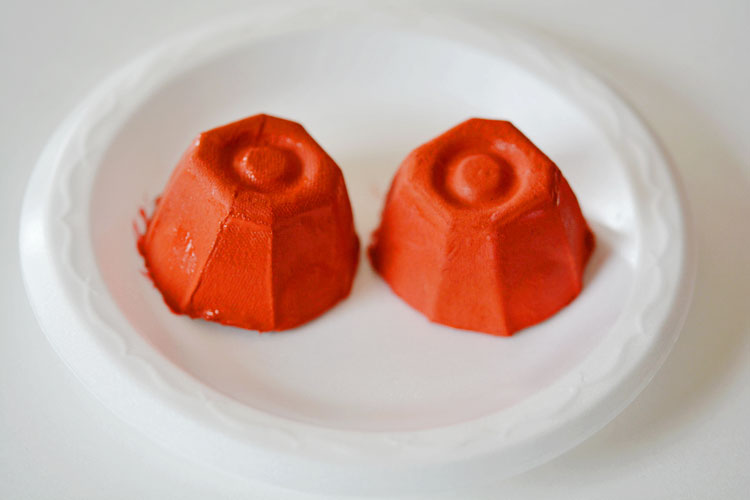
Leave the painted egg carton pieces to dry for a few hours or overnight. If your kids don’t have the patience to wait, try colouring the egg cartons with red crayons or red markers instead. As long as the egg carton is red at the end of it, (or orange, or purple or blue) then you are good to go!
Next, you’ll need a few easy supplies. Collect some googly eyes, black pom poms, a black marker, and some glue. Then cut a few black pipe cleaners into 2″ long pieces and bend them into an “L” shape for the antennae.
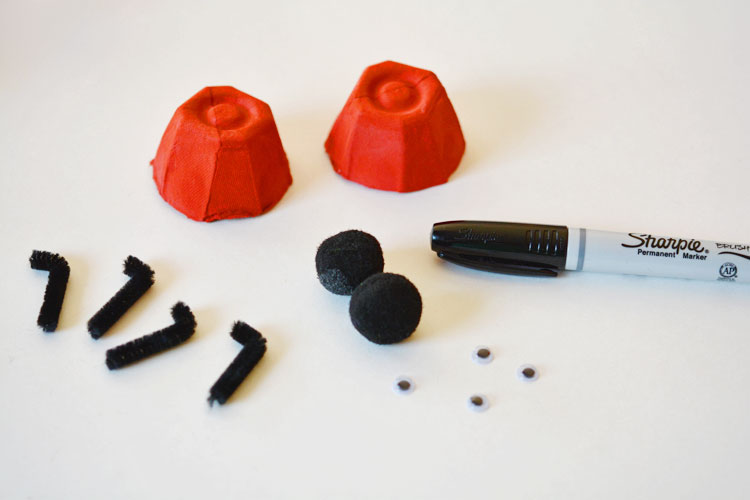
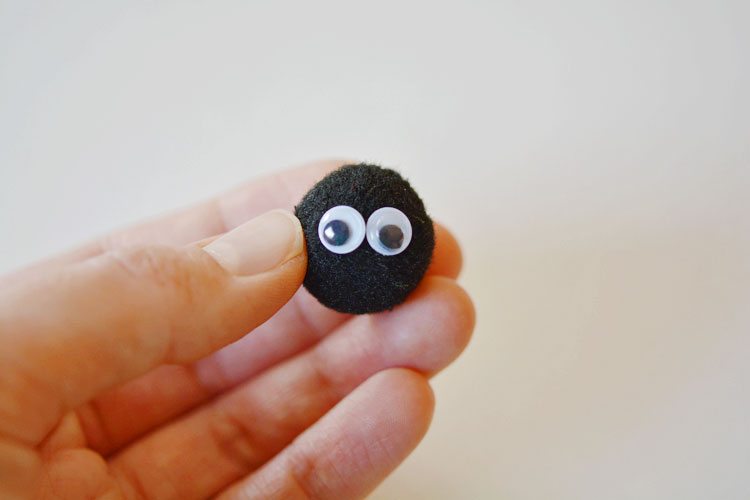
Glue the googly eyes onto the black pom pom. I like to use the glue gun, because it’s instant, but if your kids are more hands on than that, use some fast drying, tacky white craft glue. Just make sure you leave them to dry long enough that they don’t fall off of the pom pom.
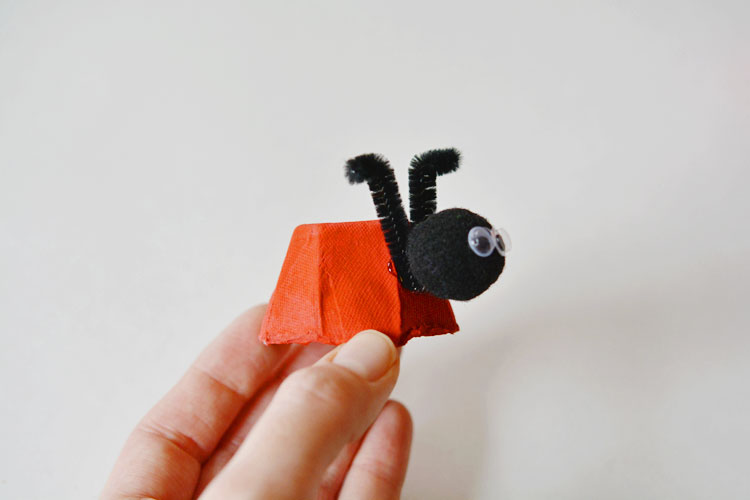
Next, attach the antennae and the pom pom with the eyes on it to the egg carton piece. Again, I used the glue gun because it really helps the little pieces stay in place. But you can use the glue of your choice, as long as you leave it to dry long enough, it will be just fine.
Next, you are going to colour the spots onto your ladybug. I used a fine tip sharpie when I made these, but any washable black marker will work too. I’m guessing you probably don’t want to give your young kids a black sharpie to play with. 🙂
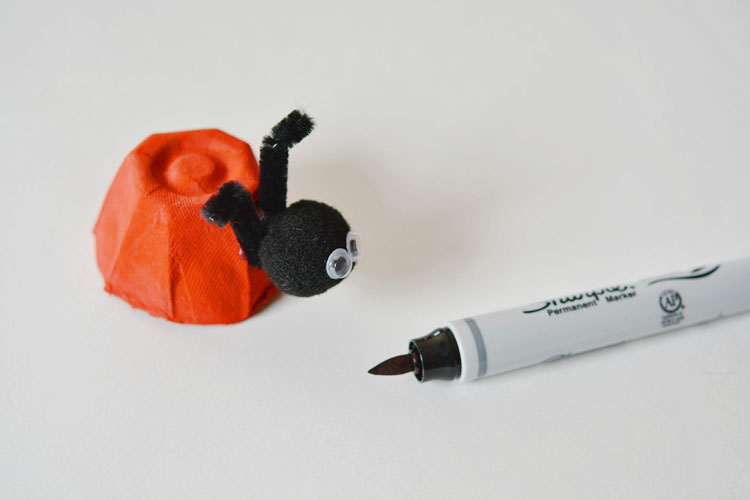
Draw the dots on the ladybug with the black marker.
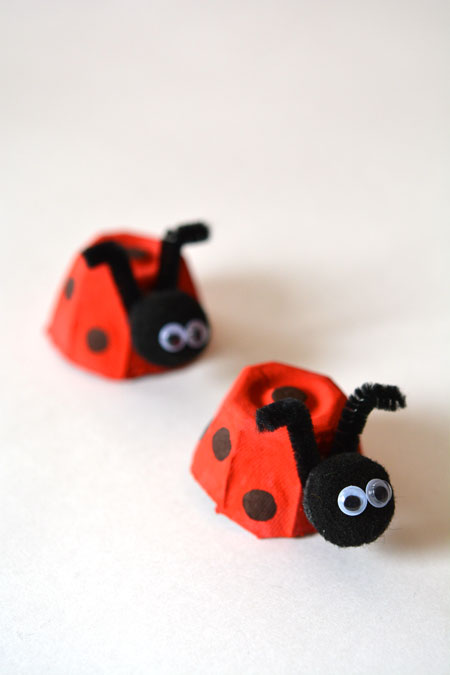
Aren’t they cute? They are so easy, it’s impossible to mess them up! That is, of course, unless you let your toddler put everything together. My 3 year old loves putting the googly eyes on the top of the egg carton, and the antenna get glued randomly to the sides. But she’s always really proud of her work, so who am I to judge!
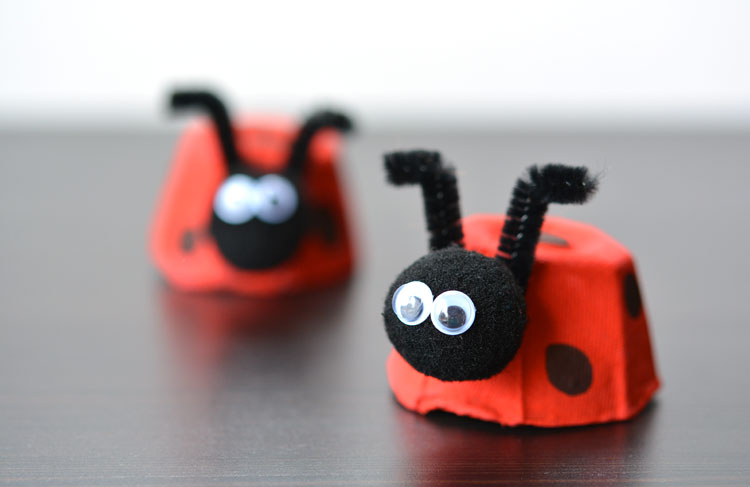
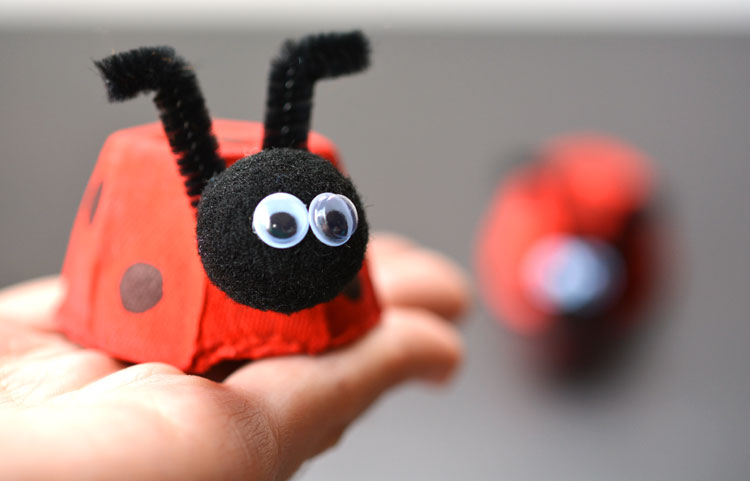
We took these little guys into the backyard and hid them in plants and trees, pretending they were real bugs. The kids thought it was great!
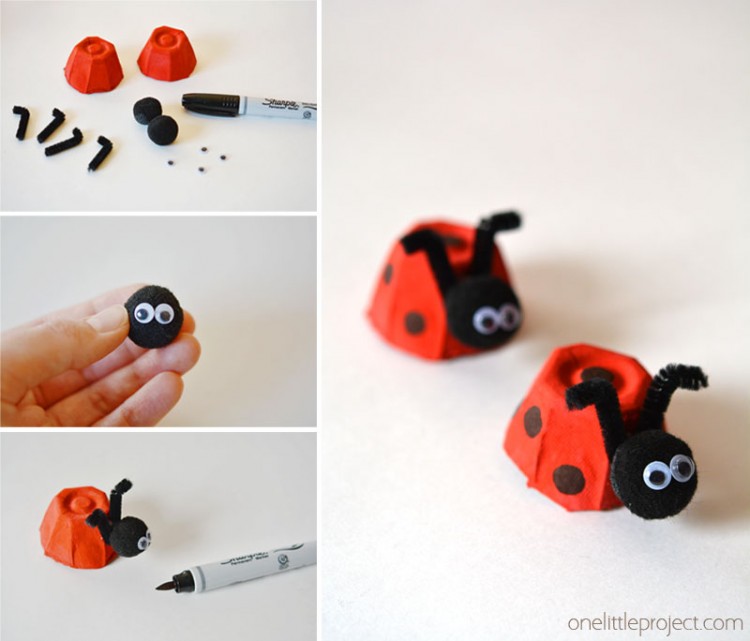
This is an easy craft for kids that ends up looking super cute. Depending on the age of your kids, it does require some grown up help, but most of the steps can be completed by the kids. Depending on their ages, they may not be able to get all the pieces in the right spots, but they’ll be very happy trying!
Source : onelittleproject.com
Read more...

Post a Comment
Post a Comment