Last weekend, my super crafty and creative mom came over with an awesome craft project for us to work on – making wire hanger Christmas tree decorations! She and her friends had a group crafting session a week or two earlier where they all made these metal hanger trees. She was so excited about them that she picked up all the materials and brought them over to my house so that we could make them together too!

How to make a Wire Hanger Christmas Tree
They are so cute, and surprisingly easy (and resourceful!) to make. You’ll need the following materials to make this Christmas tree:
- 6 pack of metal hangers
- Tape
to hold it all together (we used electrical tape)
- 3 dollar store garlands
- At least 2 boxes of 20 Christmas tree lights, also from the dollar store
- Approximately 2 dozen mini ornaments, the colour of your choice
- Ornament hangers

It’s going to be really hard to describe this in words. I’ll do my best, but you’ll probably have to follow the pictures. Take two metal hangers and set them over top of each other like this:

Tape them together at the 3 points where the hangers touch. Repeat until you have done it three times and have used up all six of your hangers:

Take the end of one of the hanger groupings and slide it through the middle of one of the other hanger groupings like this:
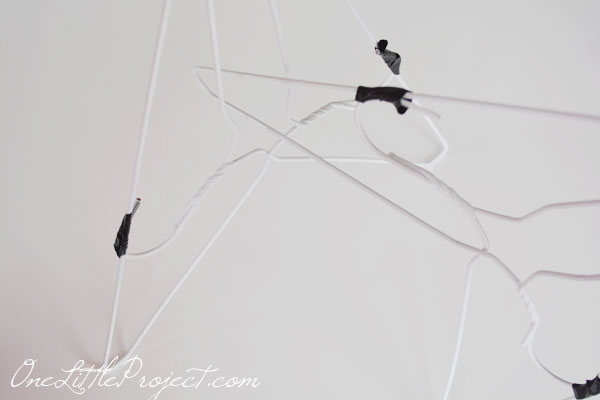
Take a generous amount of tape and secure the tops together:

Take the third hanger grouping and slide it through the middle of the two that have already been fastened:
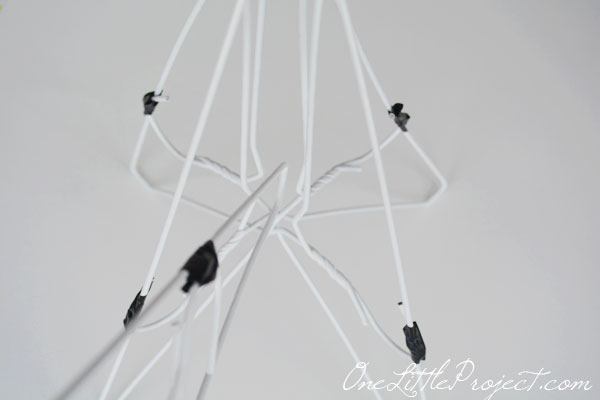
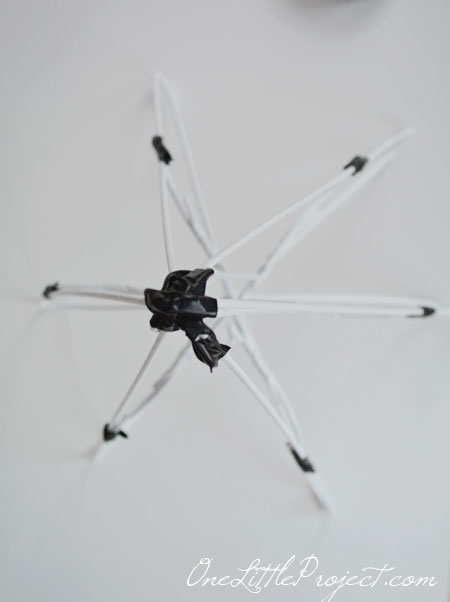
Again, tape the top together with a generous amount of tape. You should end up with a star figure like this:
And from the side, it has now become our Christmas tree form:
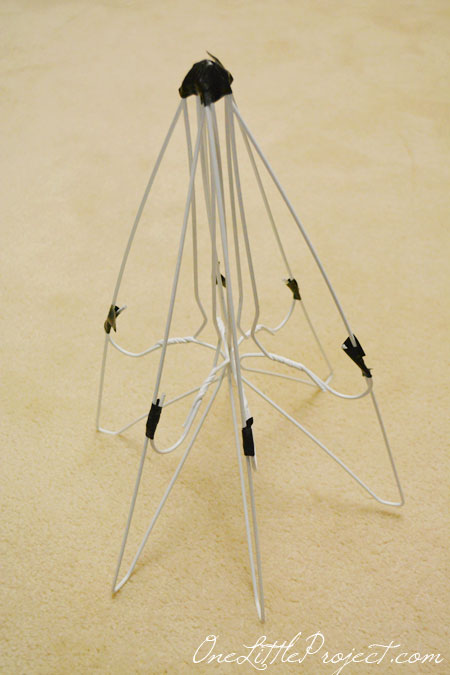
Take the first strand of garland and tuck it through the top of the wire form and loop around the top so that the point is completely covered. Then start winding the garland around the form:
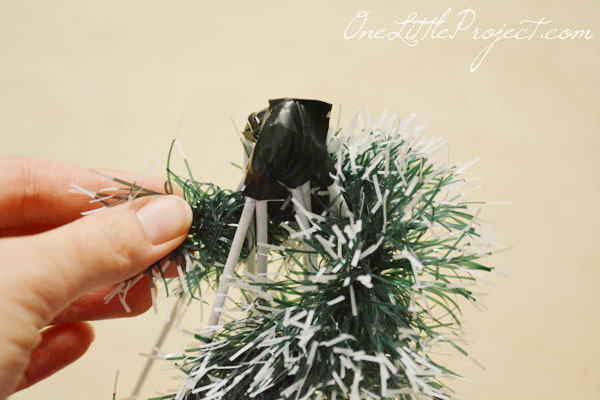
Keep the rows close together to get a more full looking tree. Continue to wrap the garland around the tree form:
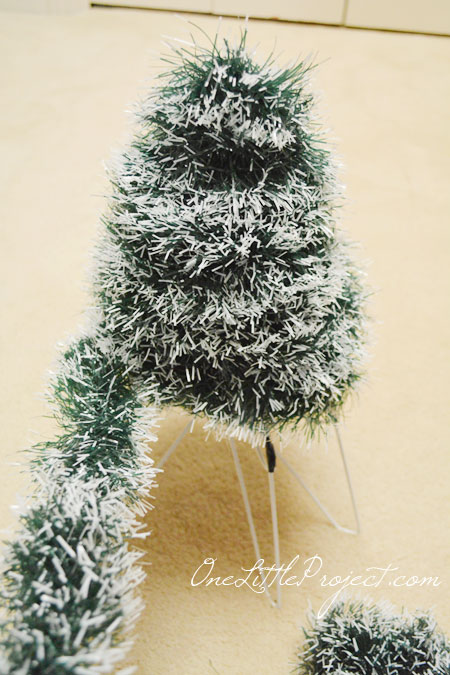
You will end up with a tree that looks something like the photo below. Reshape the hangers if you need to. For some reason mind started to look a little square in the base as you can see below, but I just shifted things around to get it looking round again:

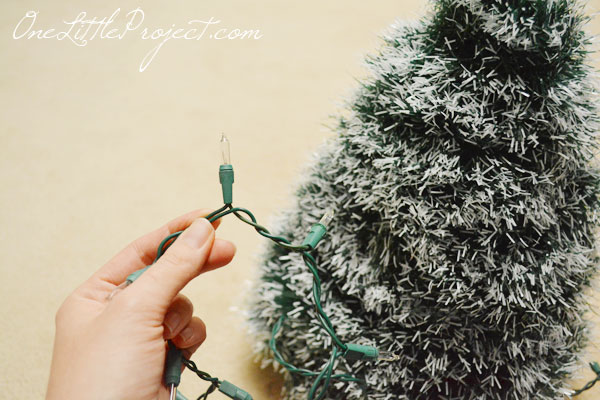
You can use any lights that you want, but we went with two boxes of mini indoor clear lights in small packs from the dollar store:

Wrap them around the tree, trying to poke the wire under the garland as you go to hide it from view:
Since there are no branches on this tree, you will definitely need some ornament hangers to attach the ornament that you choose. Even twist ties will work if you are in a pinch. Mine looked like this:

Decorate the tree with the ornaments by hooking the ornament hanger onto the garland:

There was a nice assortment of balls that came in the package my mom brought. The photo below should give you an idea of the size that we went with. The smaller the better for a tree this size:

I realized after taking this photo that the ornaments were sticking out a little too far, so I did some adjusting to make them bulge just a little less than this photo is showing:

And when we plugged it in, it looked like this:

It’s it cute?! It’s actually a really decent size (about 18″ high) and considerably larger than what I was expecting. You can make it out of any colour garland that you want. It’s such a great way of making a Christmas tree form without breaking the bank, and so easy with the hangers!
Source : onelittleproject.com
Read more...

Post a Comment
Post a Comment