When I graduated from school, my parents got me two dozen long stem red roses. It was the first time anyone had ever bought me flowers and they were beautiful! I had them set out on my desk for weeks, even though by the end of it, most of the petals had fallen off and they were pretty darn wilty. I love flowers, especially roses, and if it wasn’t so cliche, I probably would have made my entire wedding a red rose themed wedding.
Now my husband on the other hand, he doesn’t like flowers at all and thinks they’re a waste of money. I have tried plenty of times to convince him that it’s about the message behind the flowers more than the flowers themselves, but he’s pretty adamantly against spending money on something that’s just going to be thrown in the garbage in a week. Of course, I disagree, and I laugh quietly when I set up a small flower arrangement on the center of our Christmas or Thanksgiving table because I know he’s quietly cringing on the inside as he watches me. haha That’s marriage for you!
So these red rose cupcakes are a pretty good compromise, don’t you think? They are pretty, just like flowers, except they don’t cost as much AND you can eat them. Bonus! If anyone ever went to the effort of making me flower cupcakes, I would definitely be just as happy, and probably even more touched than if I had gotten real flowers.

My three year old has been asking me for weeks to make these cupcakes. She saw this tutorial for them on my laptop screen a few weeks ago when I was browsing Pinterest, and when I told her I was thinking of making them, she came home from daycare every single day afterwards asking if I had made them yet. And then she got upset that I didn’t make them at my day job and indeed I wasn’t allowed to make cupcakes at the office. Poor thing! I guess she doesn’t see the difference between my job as a blogger and my day job as an Engineer yet!
Red Rose Cupcakes
Of course you can make your own cake and icing from scratch, but I just used a boxed cake mix and a tub of store bought icing. Nothing fancy. Both French Vanilla flavours.
Here’s what you’ll need:
- Vanilla Cupcakes
- Vanilla Icing
- Green Cupcake Liners
- Red Food Colouring
- Wilton 1B Icing Tip
- Leaf (or Christmas Light Bulb) Cookie Cutter
- Green Taffy, Green Spearmint Gummy Leaves, or Green M&M’s
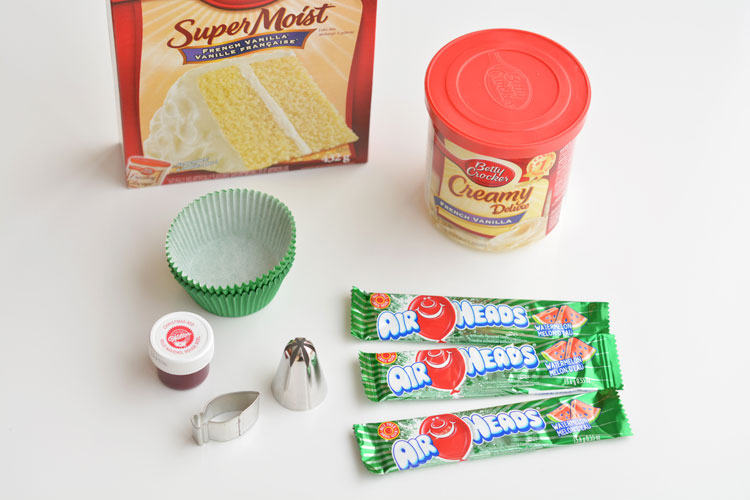
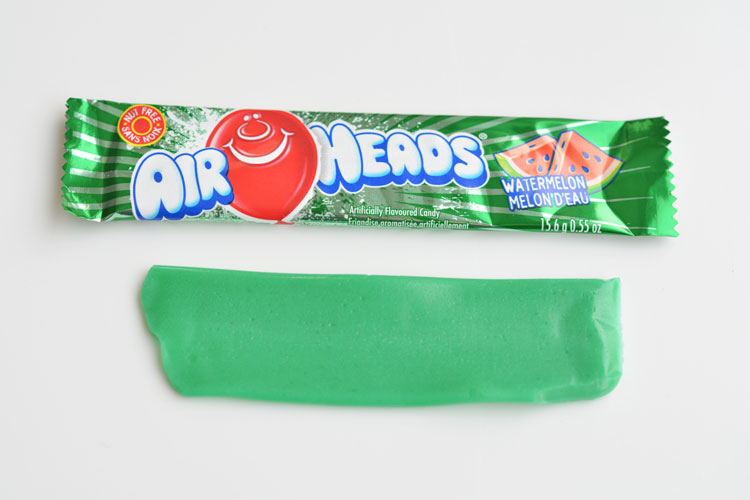
I was pretty excited that I found this green taffy (or rather “taffy-like mystery candy” would probably be more appropriate wording). If you can’t find green taffy you can make leaves out of icing, or even use those green spearmint gummies. And if you’re in an absolute jam, just use a green M&M.
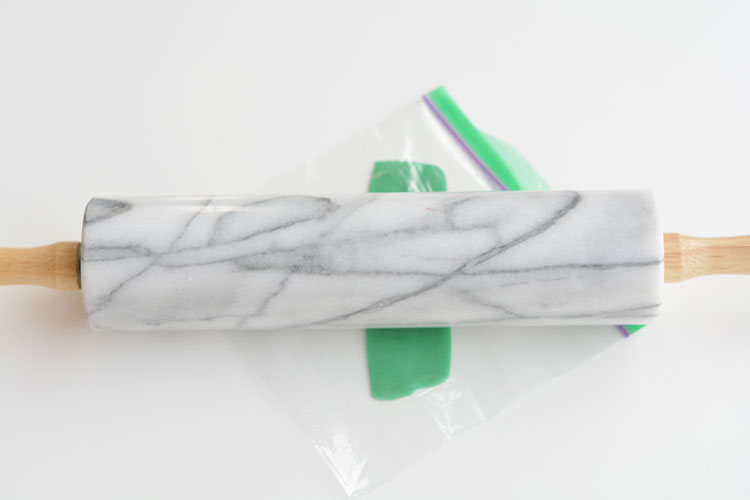
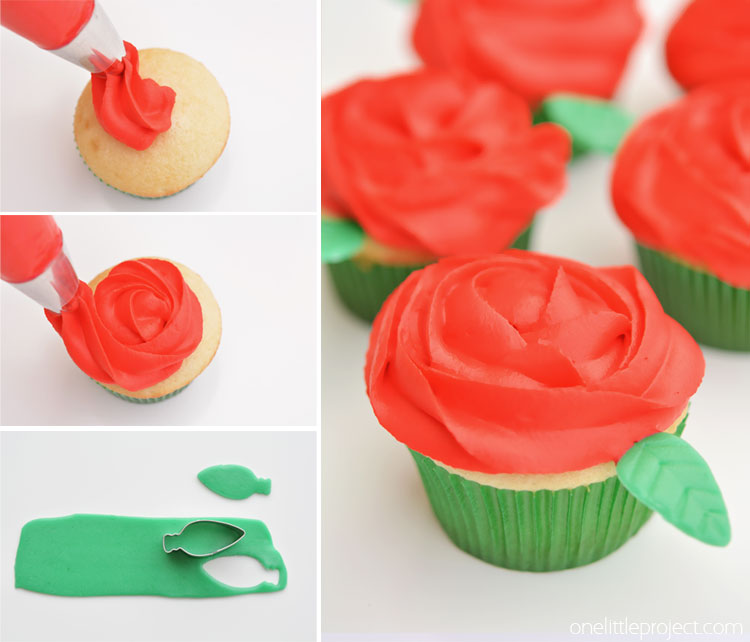
I placed the taffy on a cutting board and covered it with a zip lock bag. It’s not actually in the bag, but you can’t tell in the photo. The bag just helped keep it from sticking to my rolling pin. I rolled it just enough to get rid of the bumps and scratches. Don’t roll it too thin or it won’t hold its shape.
Call me a hack, but I couldn’t find a leaf cookie cutter at the store. But they had lots of these mini light bulb cutters leftover from Christmas – and they worked PERFECTLY!
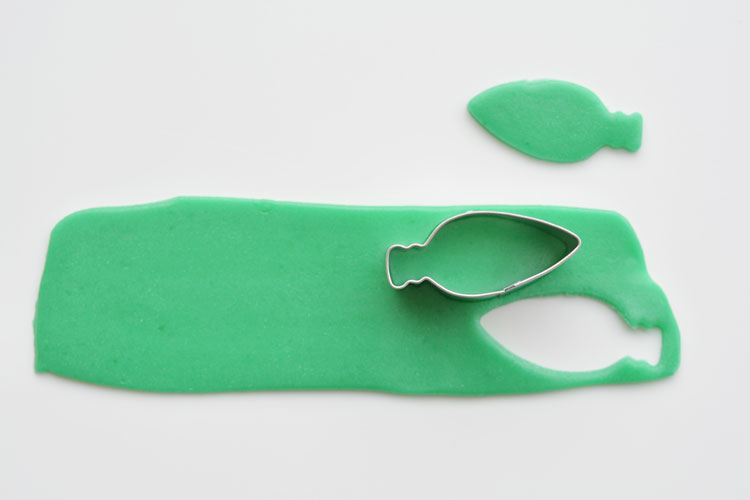
Use a toothpick to press the leaf texture onto the taffy:
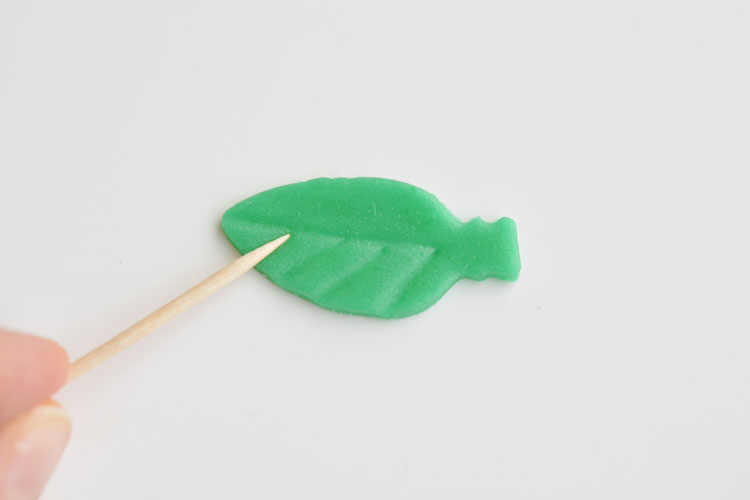
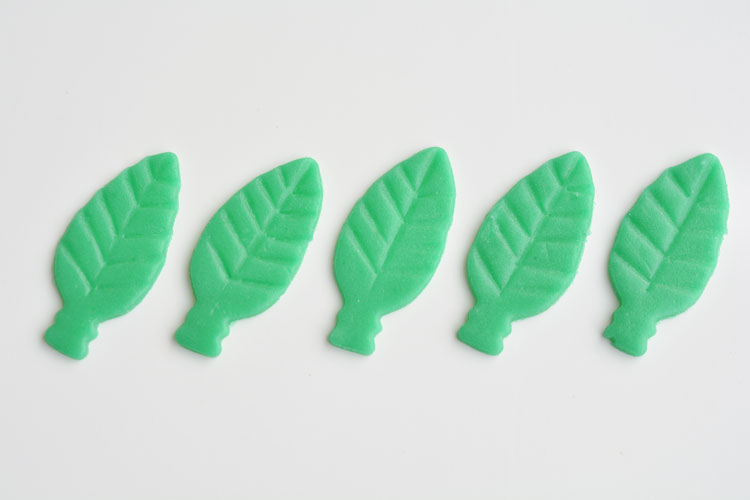
And repeat for all your leaves. I was pretty excited how easy it was to make leaves and how well they turned out!
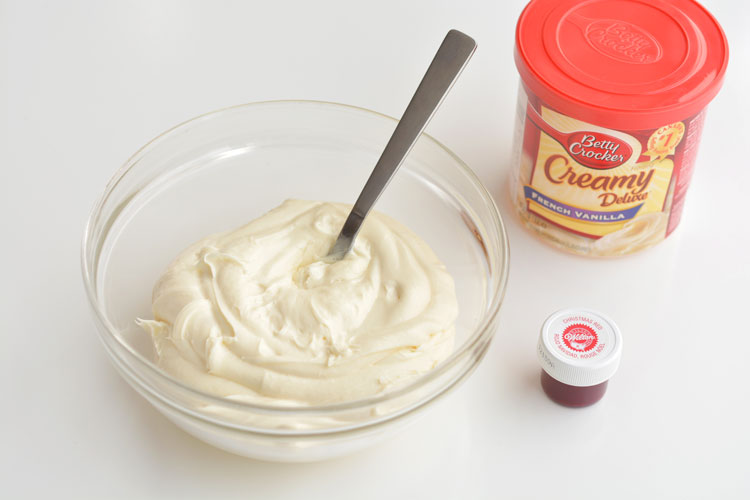
I’m kind of holding my head in shame here, and I apologize in advance, but I used the ENTIRE container of red gel food colouring for that one tub of icing. And the worst part is that it didn’t make it nearly as red as I was hoping it would be! If you make these for yourself, I highly suggest making pink roses instead of red roses.
Don’t tell anyone, but I took one bite of the red icing, and then scraped the rest off. And my tongue was still bright red for the rest of the afternoon. Ha! I ended up giving my 3 year old the smallest smear of red icing on her cupcake. She didn’t seem to mind though.
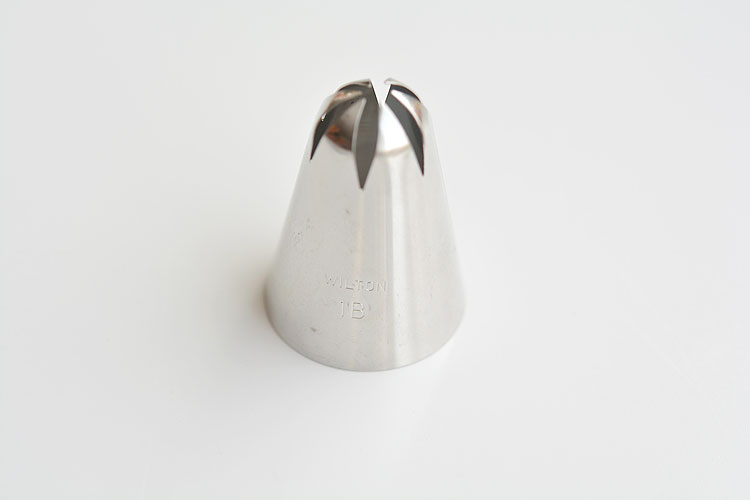
I used Wilton’s 1B icing tip but any large closed star tip will do the job.
Fill up a piping bag, and then gently start squeezing in the middle of the cupcake.
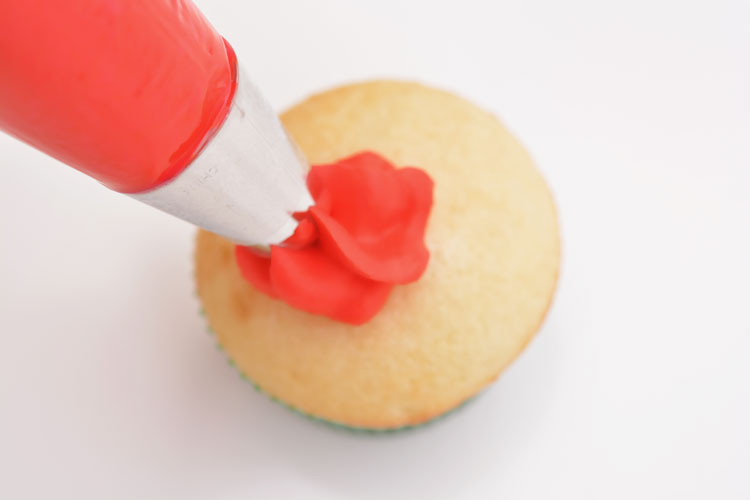
Pipe the icing on the cupcake going around in a circle, out from the center:
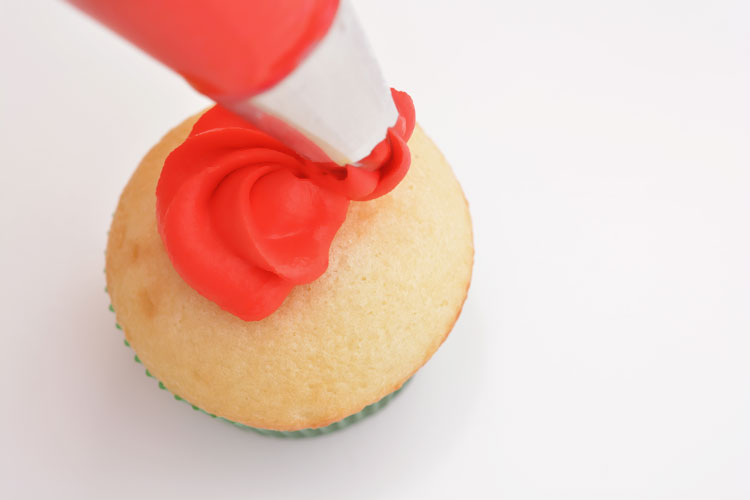
Keep going in a circle from the center of the cupcake to the outside edge until you’ve covered the entire cupcake top. Yes folks, I piped this with my left hand while I took pictures with my right hand. It’s not perfect, but I was pretty impressed with my left handed piping job!
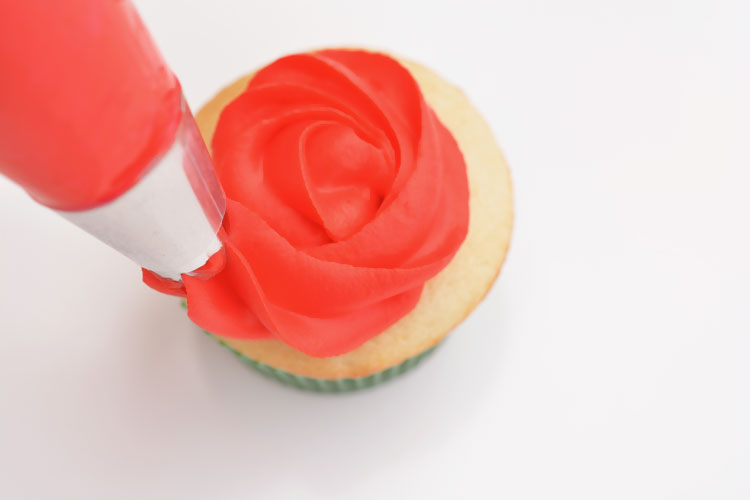
Then gently press one of the leaves into the cake part of the cupcake. Don’t stick it to the icing or it will droop and fall off.
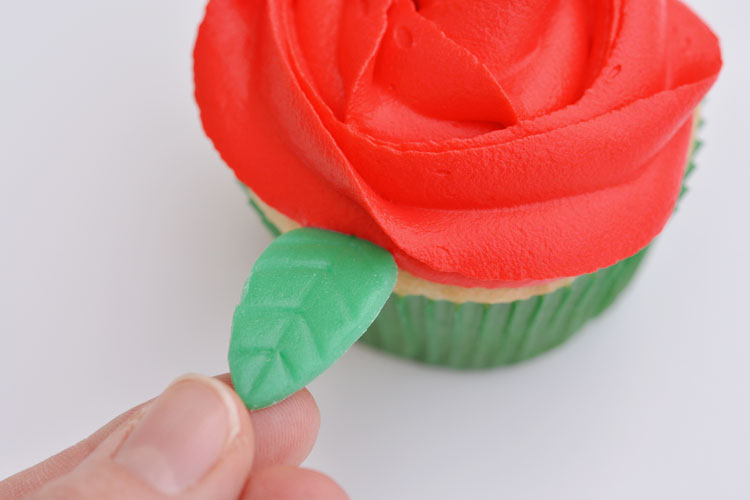
I’ll be the first to admit that I am not a cake decorating expert, but I thought they turned out beautifully!
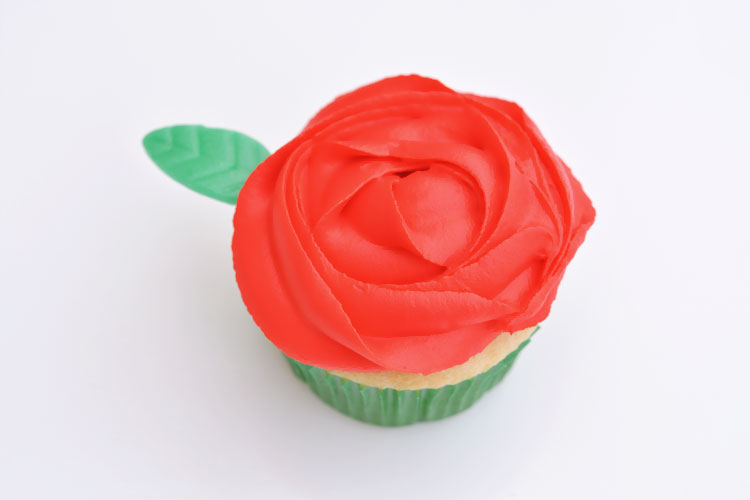
I had some issues with the icing “melting” off the cupcake for the first cupcake, but I just put the icing in the fridge for about 10 minutes, cooled off my hands under some cold water and tried again. I felt like a total amateur, but I also opened the window next to the counter to cool off the air in the kitchen. I have no idea how the experts do it, but cooling things off really seemed to help keep the icing firm for me!
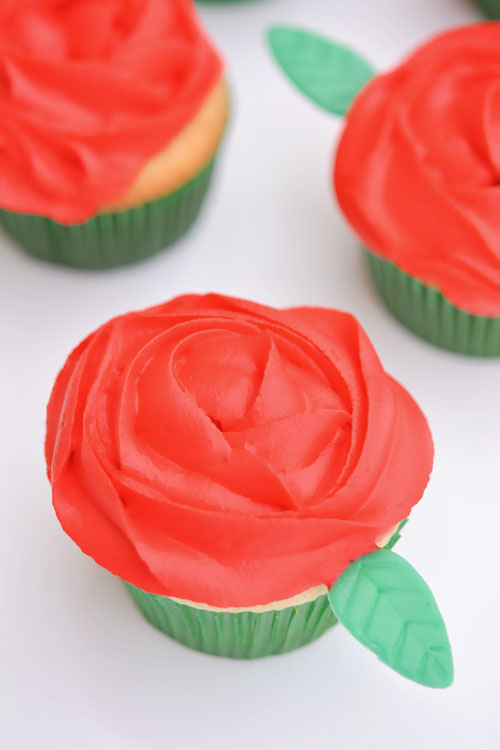
I love that you can make these for any occasion if you switch out the icing colour! They’d be perfect for bridal showers, birthday parties, mother’s day and of course Valentine’s Day! And if you make them yourself you can use as much or as little food colouring as you like.
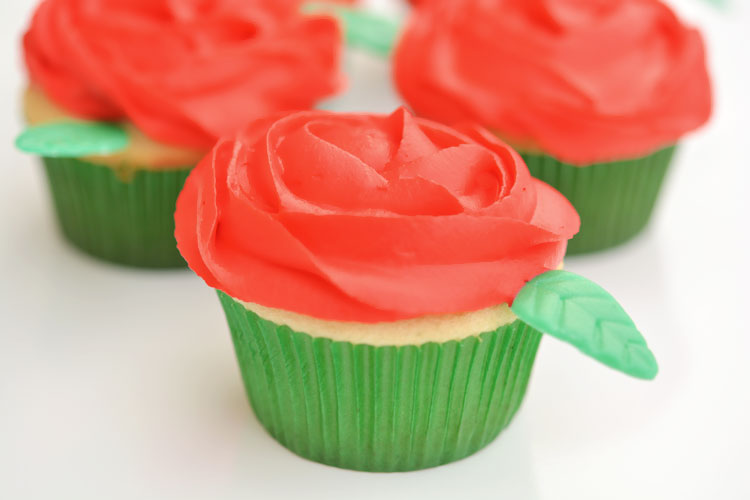
If you’re nervous about food colouring, I would definitely recommend trying a lighter colour, rather than diving in with a whole container of food colouring. Light pink? Maybe even light purple?
These red rose cupcakes are so pretty and they’re really easy to make! Even if you have zero experience with a piping bag, I’m pretty confident you can pull these off! Wouldn’t they be beautiful for Valentine’s Day or Mother’s Day?
Source : onelittleproject.com
Read more...
Post a Comment
Post a Comment