Do you remember magic sand? You could buy it in the 1980’s and make all sorts of fun things underwater. (Ooooo… you can still get it from this affiliate link on Amazon!) I wasn’t lucky enough to have any as a kid, but my husband had some. He said his mom would let him and his brother fill the kitchen sink with water, then they’d pour their magic sand into the sink and play with it.
He only remembers doing it once or twice though. Probably because playing with it in the sink is a terrible idea!? That would be so hard to clean up!? And you don’t want to be pouring sand down the drain. He remembers his mom ended up scooping it out of the sink and throwing it in the garbage. He was really mad about it, but I can’t blame my mother in law!
I recommend experimenting with this magic sand in a glass vase or container. It’s way easier to clean up! Pour it into a glass container filled with water, and watch the magic. Then you can strain the sand through a coffee filter or paper towel, dry it out, and you can re-use it over and over!
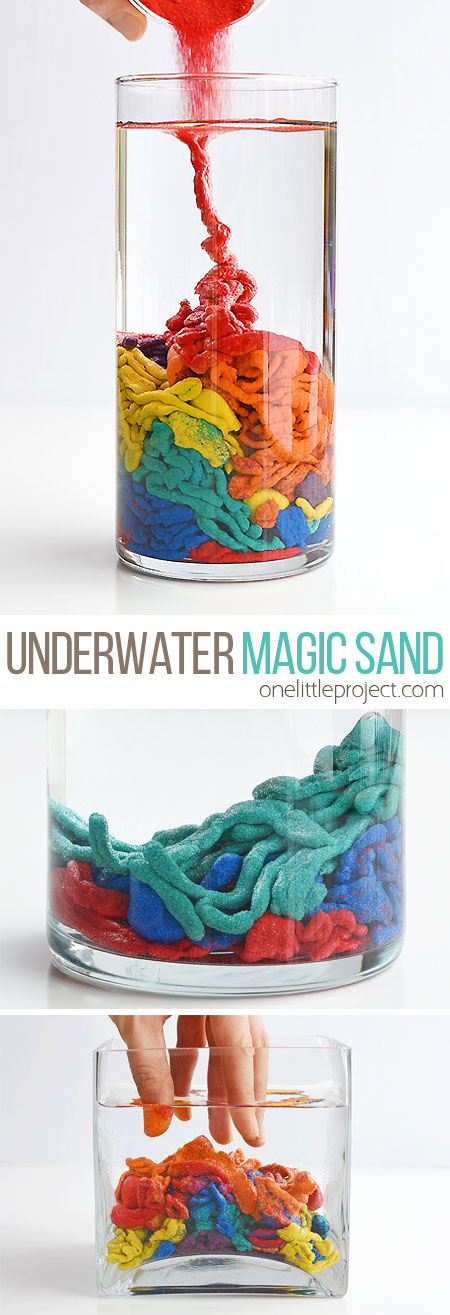
The coolest part about this stuff is that if you use a spoon to bring a big clump of sand up out of the water, the sand is DRY. It’s like the sand is in a bubble, and when the bubble “pops” (or maybe “opens up” is a better description?), it has DRY sand in it. It blows my mind that this magic sand is waterproof!
My kids had so much fun with this science experiment! My 8 year old was really curious why the sand stayed together in string-like clumps rather than spreading out. (I’ll explain the science below!)
I love science experiments and I’ve been looking forward to trying this one for awhile now! I was inspired by the experiment done by Teaching Mama.
How to Make Underwater Magic Sand
Here’s a list of affiliate links to products on Amazon that are either the same or similar to the supplies I used:
- Coloured Sand (This is the exact sand I used)
- Scotchguard Fabric Protector (This is the exact Scotchguard I used)
- Aluminum Foil
- Glass Container
- Baking Sheets
- Water
Cover a baking sheet with aluminum foil. I didn’t want the two sand colours to mix, so I used two pieces of aluminum foil and made two little separate compartments for the sand.
Having separate pieces of foil for each colour of sand makes it a lot easier to stir the sand. It also makes it much easier to pour it into a container once it’s dry.
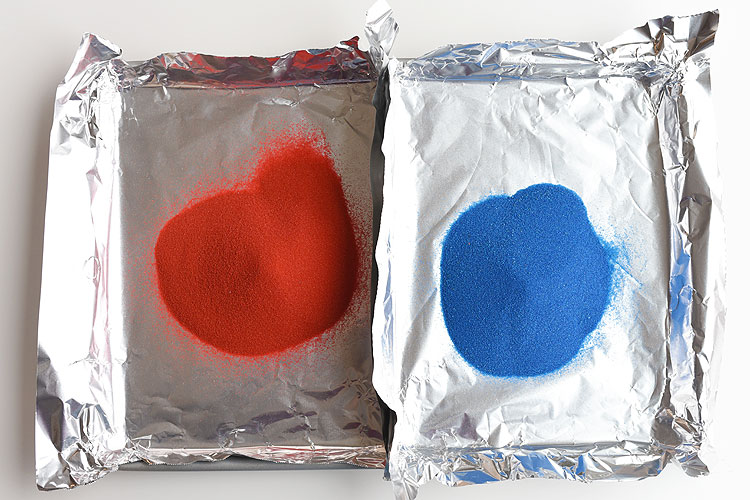
Spray the sand generously with Scotchguard in a well ventilated area. You want the sand as saturated with Scotchguard as you can get it.
Heads up, the smell is STRONG!
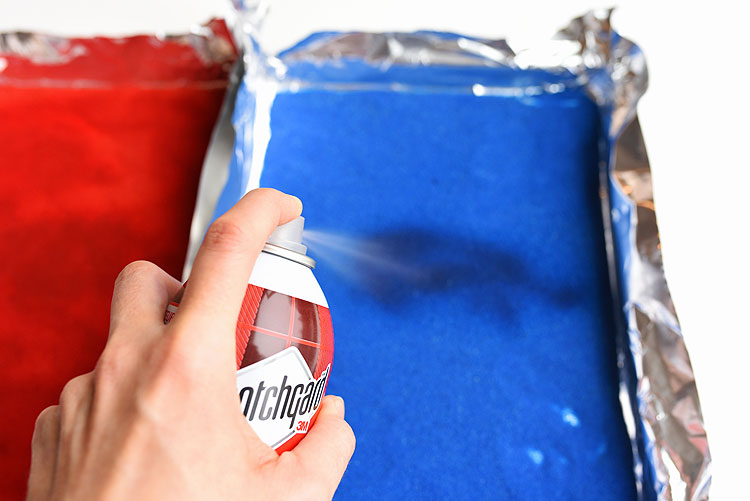
Then stir the sand to mix it together.
Spray the sand, then stir. Spray the sand, then stir. I sprayed my sand 3 or 4 times, stirring in between. I ended up using about three quarters of the can of Scotchguard between my 6 sand colours.
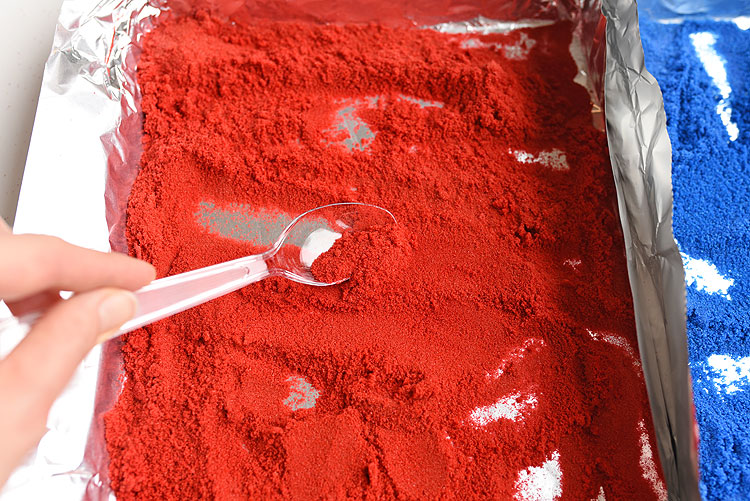
The smell is really strong, so I did most of the spraying in the garage with the garage door open.
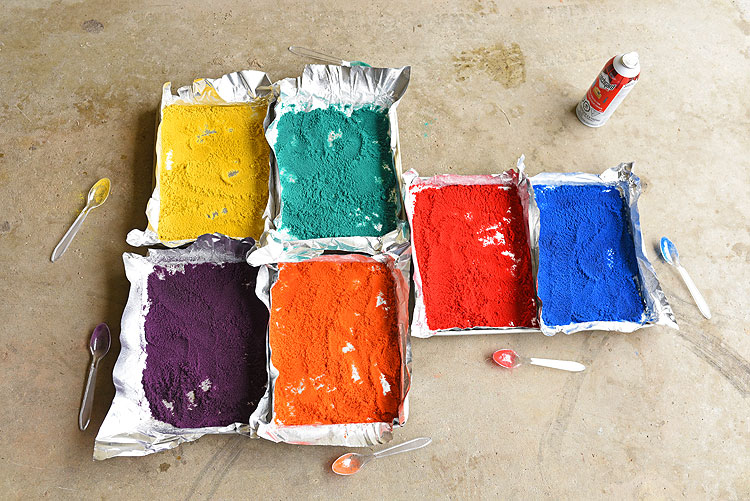
Once you’re done spraying the sand, let it dry completely. It takes about 1 to 2 hours to dry, depending on how much Scotchguard you added.
When it’s dry, it should look like regular dry sand. Pretty much exactly what it looked like when it came out of the package.
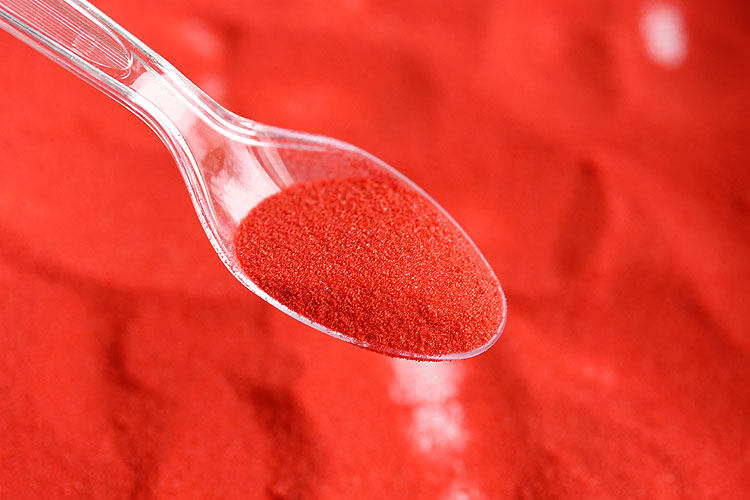
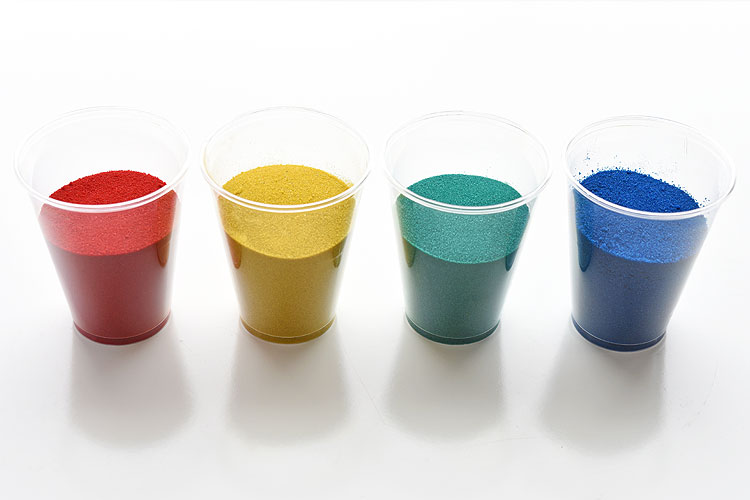
Once it’s dry, lift each piece of aluminum foil and carefully pour the sand into little cups or bowls.
I used disposable, clear plastic cups to make it easier for the kids to see the sand colours.
Fill a glass vase or container with water, leaving about an inch or two of space at the top of the vase. Remember, when you add the sand, the water level will rise, and you don’t want it to overflow.
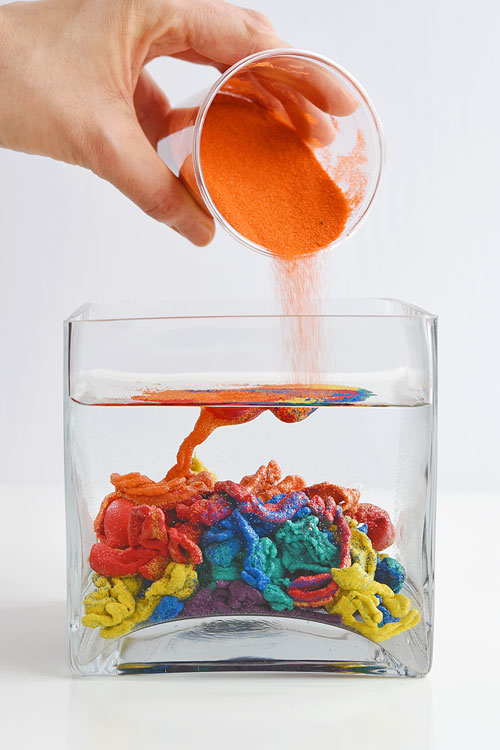
Then slowly pour the sand into the water and watch what happens!
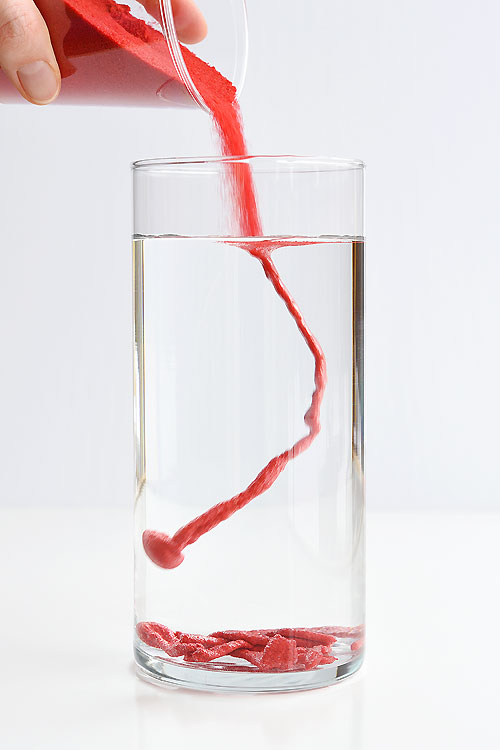
The Scotchguard creates a “hydrophobic” coating on the sand, which basically means the sand wants to stay away from the water. (In science, hydrophobic means “water-fearing”).
This causes the grains of sand to stick together in the water, rather than spreading freely as they’d normally do.
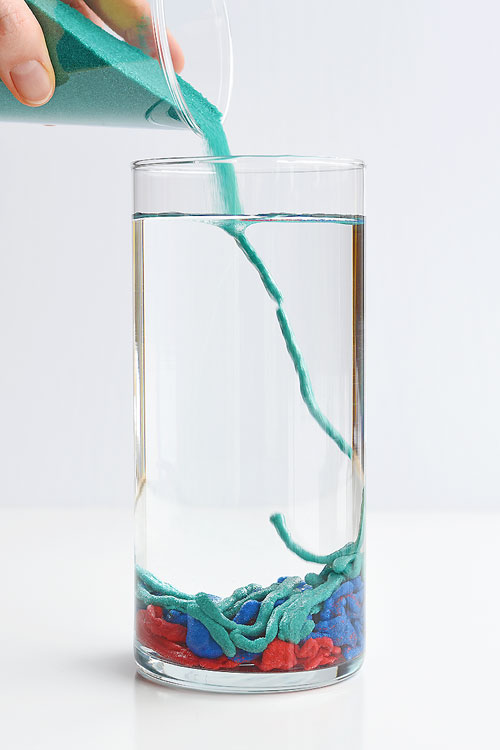
In fact, normally, sand is hydrophilic (which in science means “water-loving”), which means they love to mix together. If you poured normal sand into the water, it would spread naturally at the bottom of the vase, pretty similarly to how it would act if there wasn’t any water in the vase.
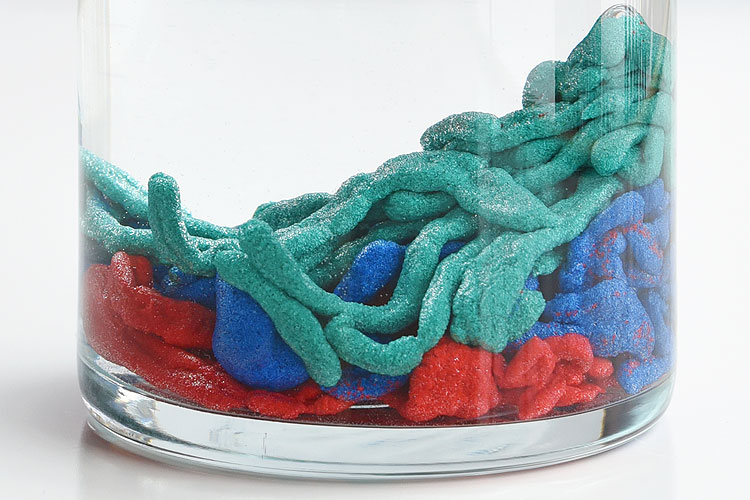
But by adding the Scotchguard, the sand becomes hydrophobic. Do you know what else is hydrophobic? Oil.
When you pour oil into water, the oil stays separate from the water. Just as oil forms little beads on top of the water, the magic sand sticks together and doesn’t mix with the water.
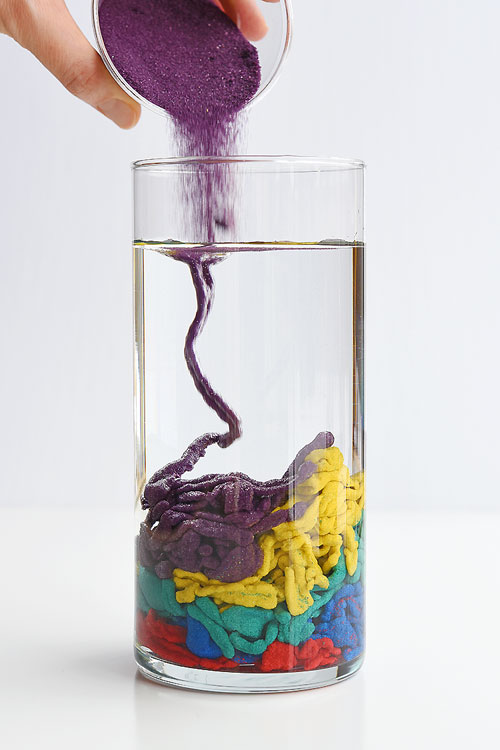
Which makes it super cool to watch! You can watch the sand falling in as dry grains, and the moment it hits the water it switches to a string like clump that falls to the bottom.
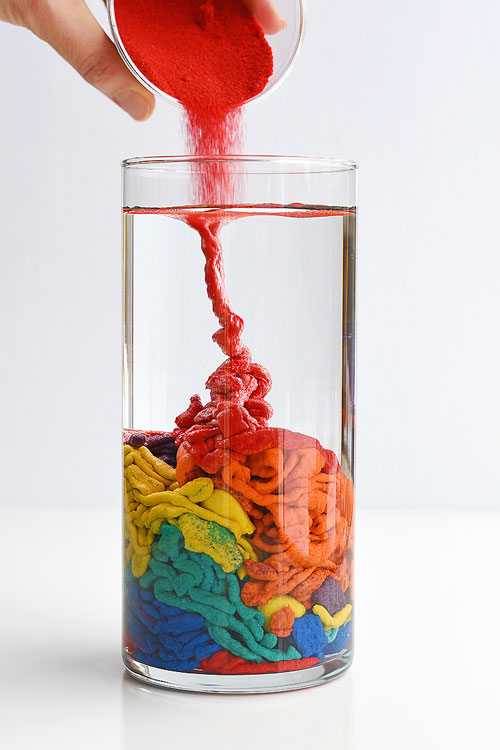
Since the sand has the “water-fearing” layer on it, when it hits the sand that’s already at the bottom of the vase, the clumps of sand keep a thin layer of water between them – which is why they keep their shape.
So rather than a simple pile of sand at the bottom, it gives you a totally awesome string looking texture!
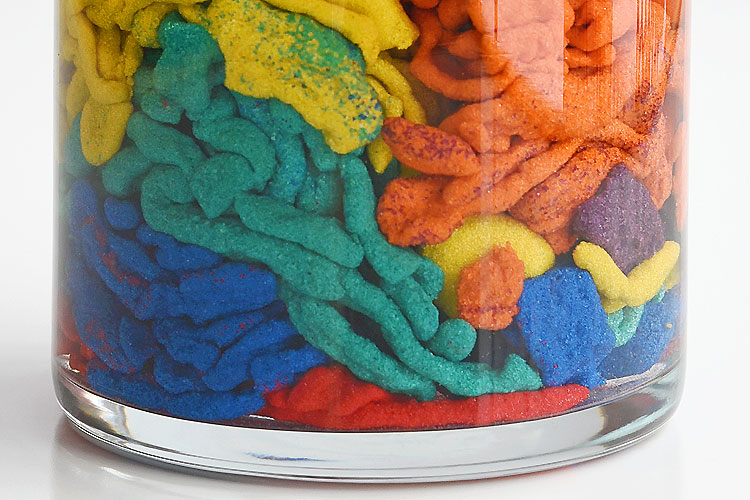
My kids had so much fun with this experiment!
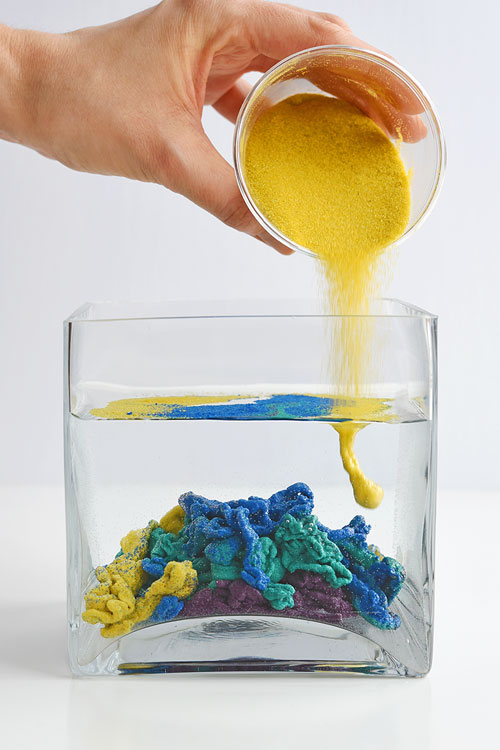
They were mesmerized that the sand fell down to the bottom and stayed in clumps.
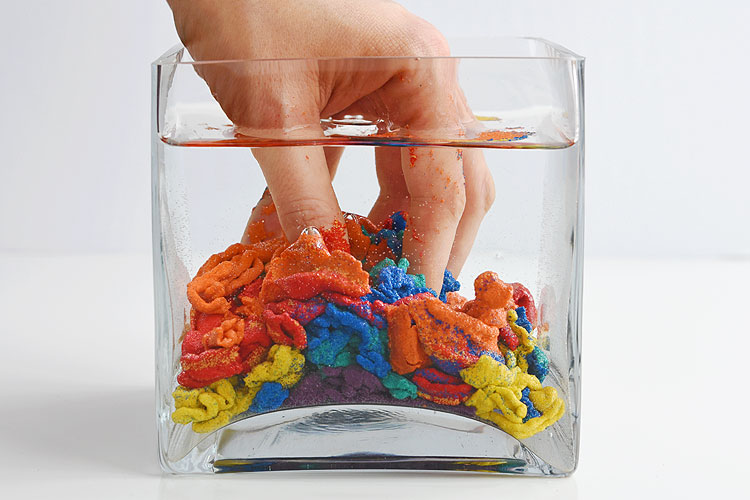
And they couldn’t resist dipping their hands into the water to feel the sand!
When you’re all done with the experiment, drain the vase in a strainer lined with a coffee filter or paper towel.
You can dry the sand out and use it again! We’ve used ours 3 times and it still seems to be working. You just have to make sure the sand is completely dry before you pour it into the water again, otherwise it won’t work.
If your sand loses its “magic” after a few uses, you can re-spray it with Scotchguard to restore it.
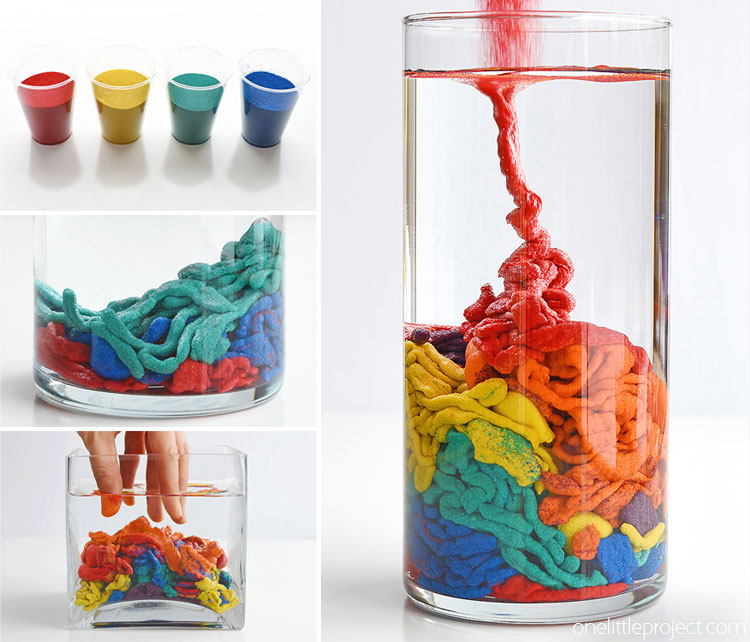
This underwater magic sand is SO COOL! This is such a fun science experiment to try with the kids! It’s simple to put together, easy to clean up and you can use the sand again and again. Making your own waterproof, aqua sand is a great way to learn about science!
If you’re looking for more cool science experiments to try, check out our tutorial for growing crystals on pipe cleaners. This is one of my favourite science activities! The crystals are so pretty, it almost seems like magic!
For more fun craft ideas, check out our new book Low-Mess Crafts for Kids for 72 fun and simple craft ideas for kids! The projects are fun, easy and most importantly low-mess, so the clean up is simple!
Source : onelittleproject.com
Read more...

![Easy Chicken Shawarma Quinoa Bowl [Video] Easy Chicken Shawarma Quinoa Bowl [Video]](https://blogger.googleusercontent.com/img/b/R29vZ2xl/AVvXsEjke0cxW9oE_yFH8Adx_PFDYoM0uY5_Sfhu9obss7PT24aPBoVB2cjrIzq_6Kx7De-55IBXMaRvZ8E2RxAeH_slmP0qyhH2Pb2qN6LiCnACEhDmLvyRW9of9_eEs5bg3b40N25Htp55yLyh/w75-h75-p-k-no-nu/3+%25282%2529.jpg)
Post a Comment
Post a Comment