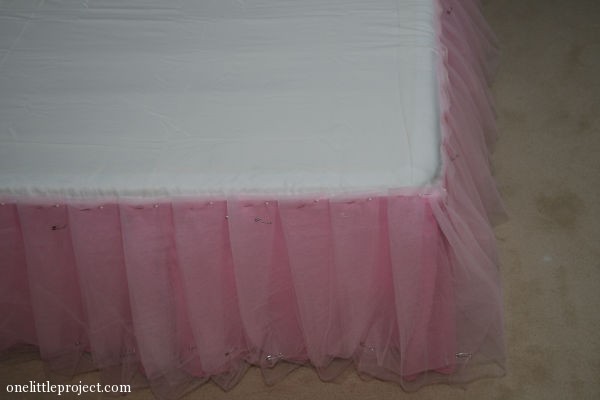
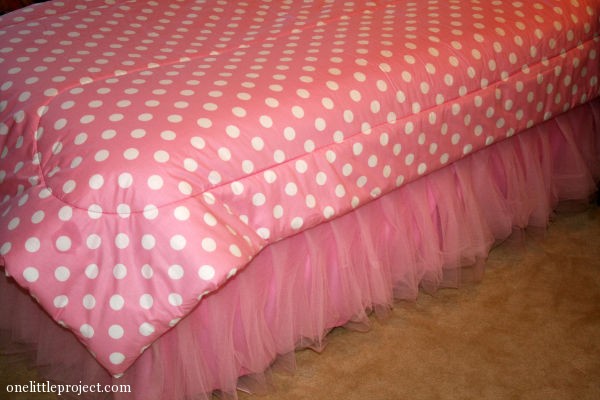
Leah’s tutu bedskirt is finished and I love it! I think it is the prettiest bedskirt I have ever seen! This is for my beautiful little girl who loves pink. As promised, here is the tutorial for how to make a tulle bedskirt.
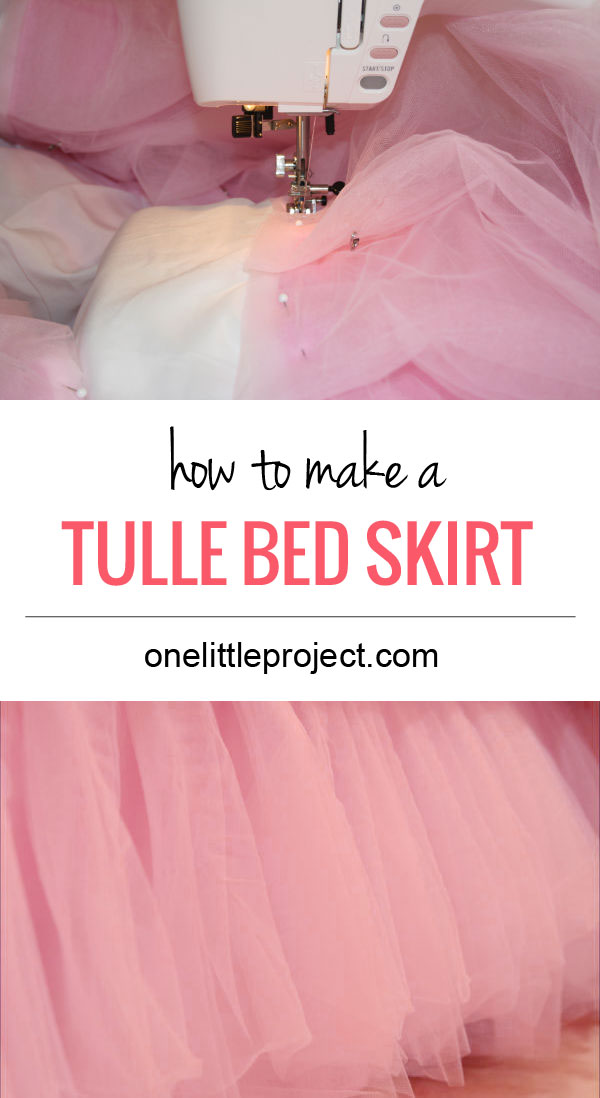
I’m not going to lie, this project drove me a little crazy. Tulle is REALLY finicky to work with and no matter what I did I just couldn’t get everything perfect. So it drove the perfectionist in me nuts. I pinned it, and unpinned it, and repinned it several times before I just had to let it be.

How to make a tulle bedskirt
I measured the single mattress on the three sides that would have the bedskirt and it was a total of 5m. I originally wanted to get 20m (20 yards) of tulle, but the longest piece that the fabric store had was 14.5m so that’s all I purchased. It ended up being the perfect amount though and even that was painful to work with! I used 54″ pink tulle.
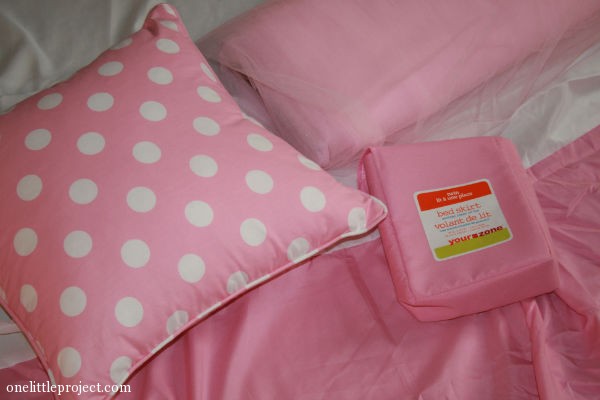
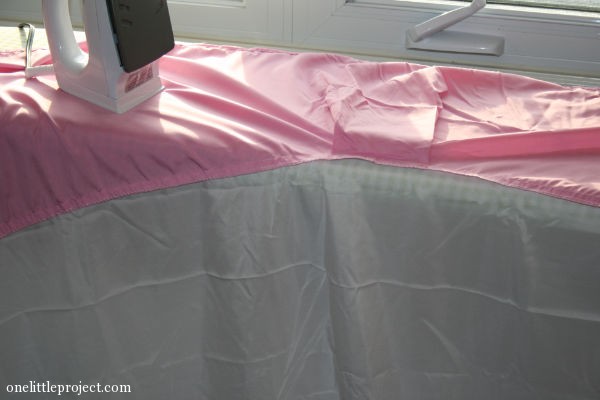
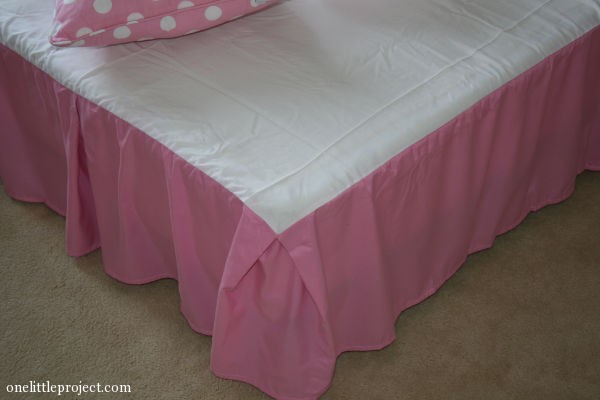
Since tulle is relatively see through, I wanted something behind it so you couldn’t see under the bed. So I also bought a simple pink bedskirt from Walmart and used that as a backing. (Something like this pink bedskirt would work well too.) I pulled it out of the package and decided it needed to be ironed, so that was my first step.
I had all of the materials, and theoretically I knew it would work but I had no idea how I was going to do it?! It took at least an hour of test pinning it to figure out how to start.
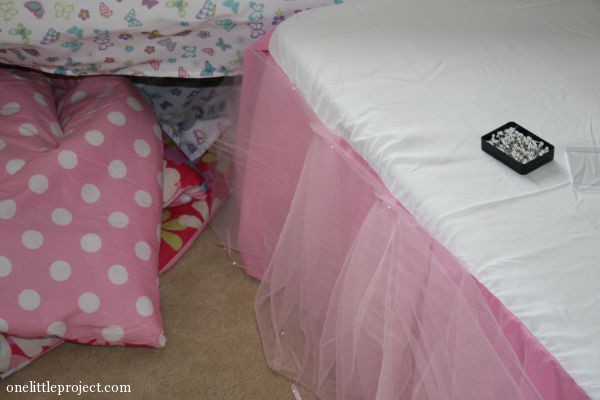
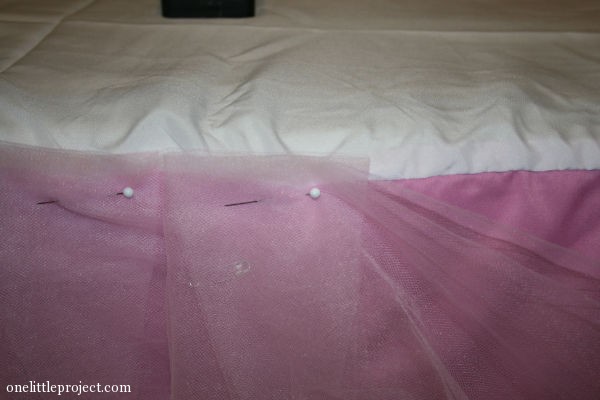
Once I had it somewhat figured out I started pinning it in place. And I pinned like crazy to keep it all where I wanted it to be. Tulle is slippery and really deceptive since you can’t really see where the layers are once you overlap it.
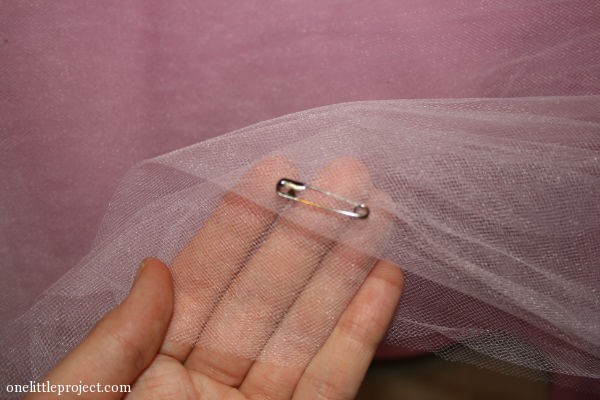
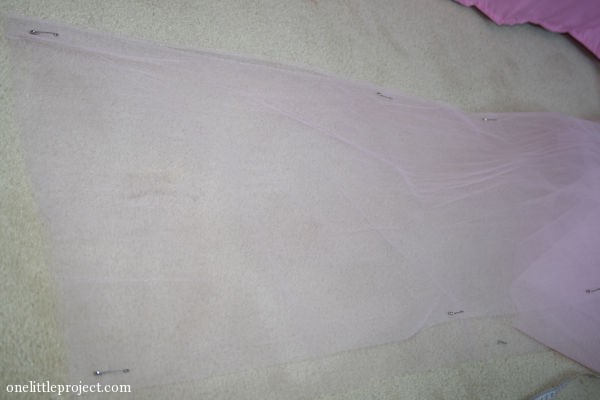
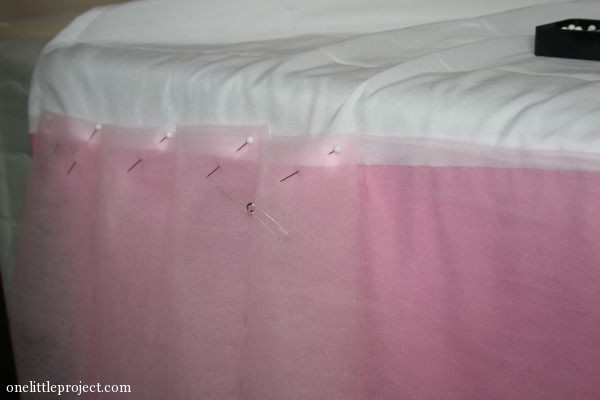
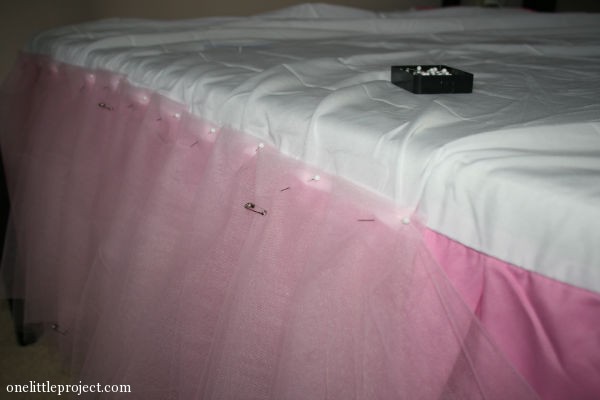
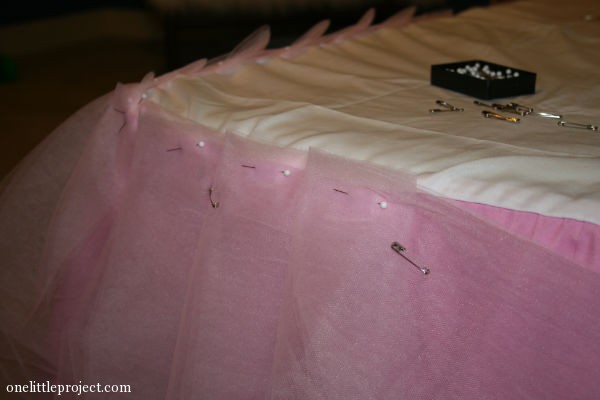
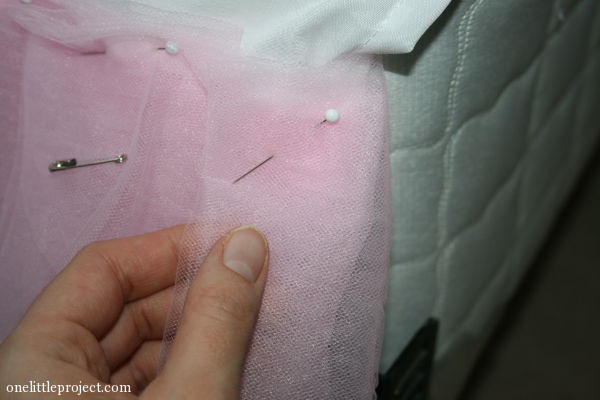
I folded the tulle in half lengthwise, and then folded it nearly half again so it was the same height as the backing bedskirt (around 14″). There were four layers of tulle so I used safety pins at both the top and the bottom of the tulle to keep it from slipping.
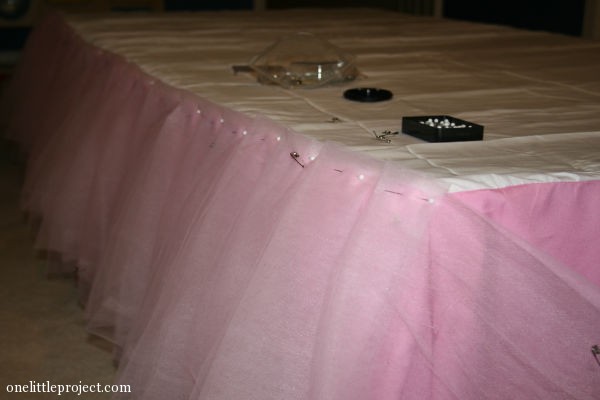
I safety pinned a few feet at a time and then I pinned it to the backing bedskirt.
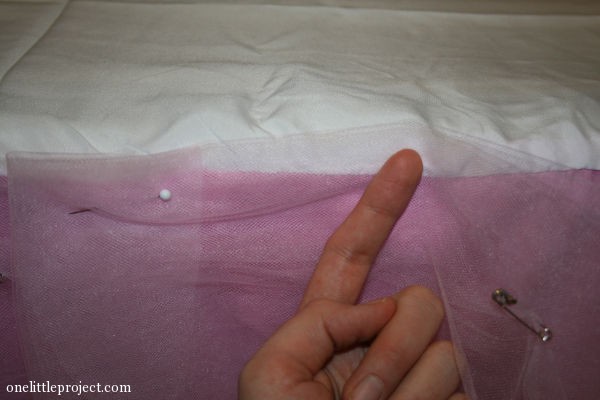
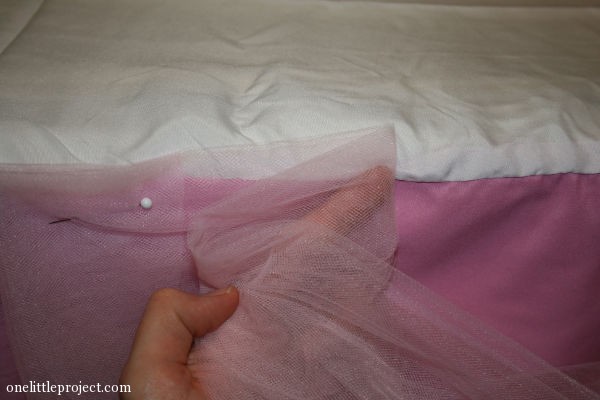
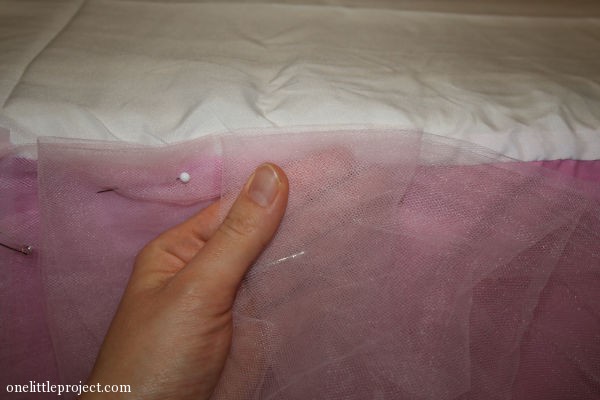
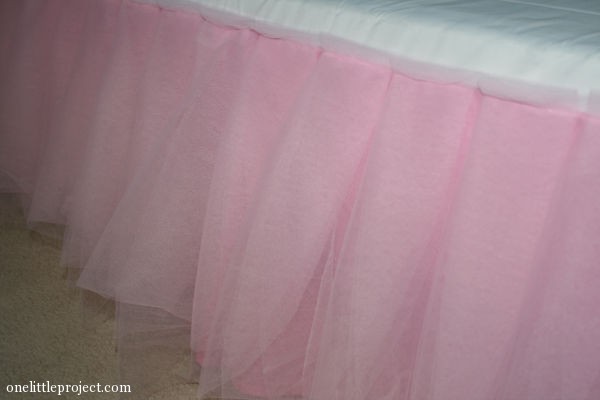
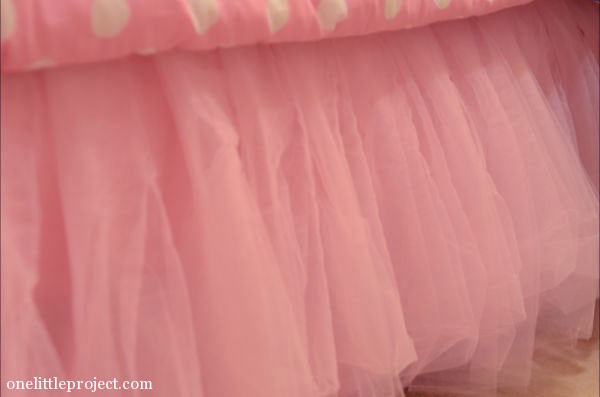
To get the ruffles I folded the tulle back on itself by about 2″ and pinned it in place – so forward-back-forward-pin repeat.
I did this what felt like a million times before I finally made it around the entire bedskirt! It’s a lot more work to make a tutu bed skirt than I anticipated!
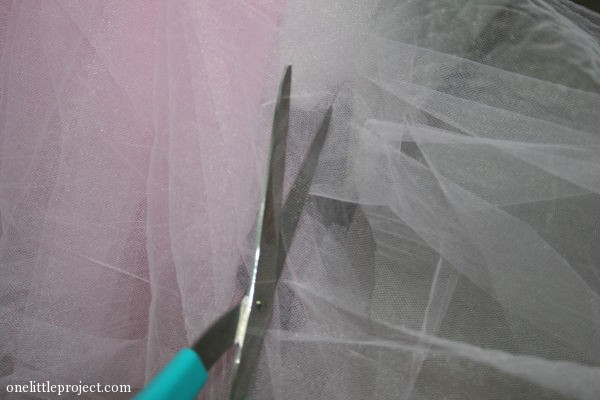
When I got to the end I still had a about 1m of tulle leftover (thankfully…) so I cut it off near the end, folded it under and pinned it in place.
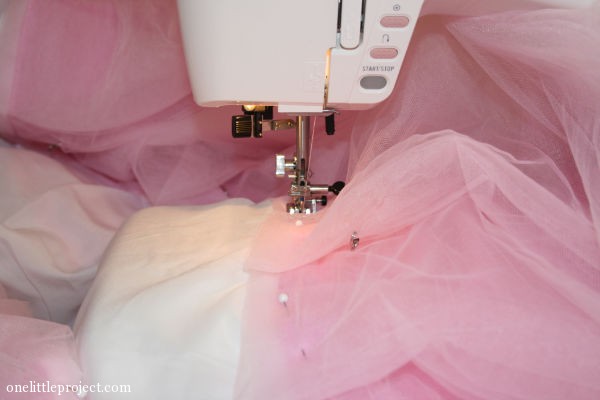
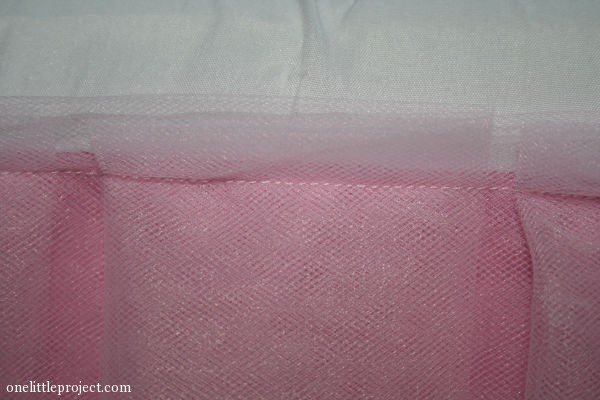
Phew! That took a LONG time. So then, I took it off and put it through the sewing machine with just a regular straight stitch. I did a few back stitches every few feet in case the seam ever rips. I went with the direction of the folds so it was pretty easy to sew. It was very pink and poofy at my sewing machine!
When I reached the end I breathed a sigh of relief! I put it back on the boxspring, admired my work and removed all of the safety pins. You can see that I left about 1/2″ between my seam and the top of the tulle because I wanted to make sure that the sewing machine caught any of the layers of tulle that might have slipped a little.
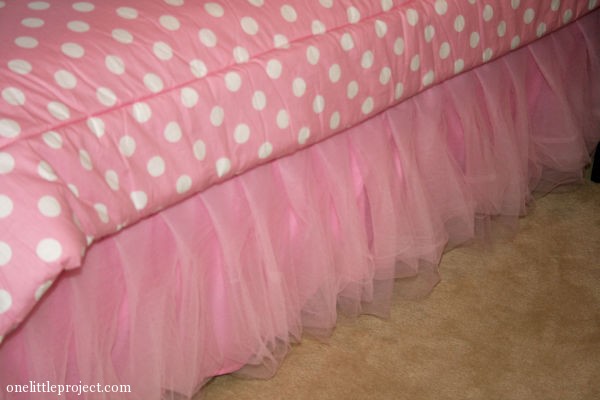
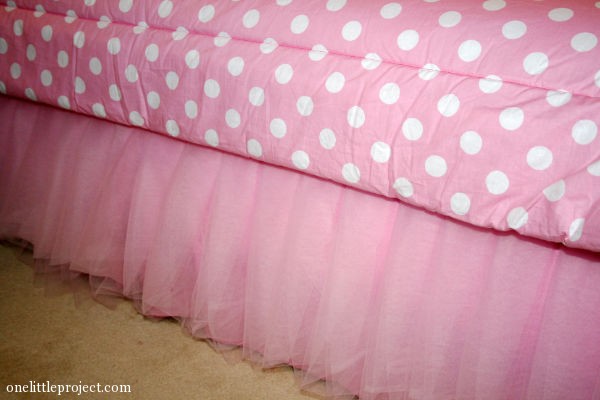
I’m really happy with the result! It was a lot of work, but it was worth it! It was a time consuming project, but it really wasn’t difficult – just finicky. There is still lots to be done in Leah’s room, but I walk in and I smile when I see her bed!
I really wanted to sew pink ribbon onto the bottom of it, but after I had it put together I found that the layers of tulle weren’t consistent enough so I decided against it.
It matches her polka dot comforter perfectly!
Tulle must be more expensive in Canada because I had to pay at least $1.25 per meter and that was after a 40% off sale. The backing bedskirt was also around $20. So although definitely cheaper than the ones sold at Pottery Barn, this one still cost around $50 for all the materials.
It’s unique, it’s beautiful, it’s girly, and I think it’s perfect for my little girl!
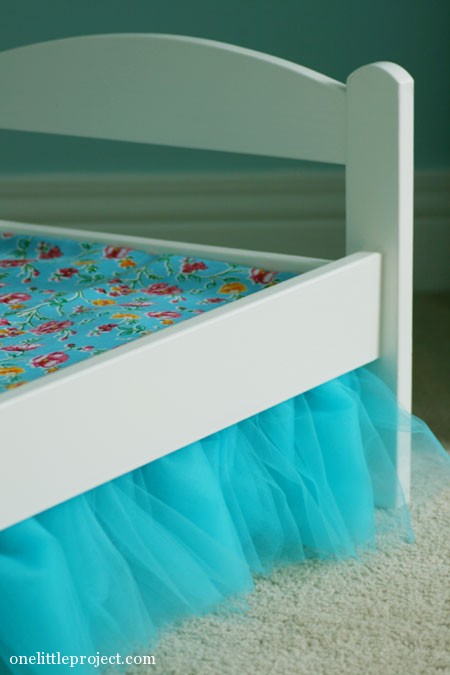
If you want to start with a smaller project, be sure to check out the tutorial for how to make a tulle bedskirt for a doll’s bed:
Source : onelittleproject.com
Read more...

Post a Comment
Post a Comment