Finger knitting is so easy! And it’s so fun! It’s sooooo much easier than regular knitting. And you can actually make something from beginning to end in less than 10 minutes. OK, so we’re only making bracelets, necklaces and headbands here, but out of all the time I’ve spent knitting with my girls, we still haven’t actually finished anything. Not even a Barbie blanket. (lol We’ll get there some day…)
I’ve spent quite a bit of time this year trying to teach my 7 and 9 year olds how to knit with knitting needles. It’s definitely been a struggle for them. They end up knitting such crazy tight rows that even I have trouble knitting their work. They end up getting frustrated and losing interest really quickly.
Finger knitting is a great alternative for kids! I sat down with my 7 year old on the weekend and within a few minutes she was finger knitting all by herself. And 10 minutes later she finished a bracelet that she’s been wearing all week. She’s so proud of it that she even took it to school to show everyone.
 is a great way to make friendship bracelets, necklaces or even headbands. It's super simple and kids can do it by themselves. In less than 15 minutes you can learn how to finger knit AND make your first bracelet! All you need is yarn and your hands!")
I learned this finger knitting technique when I was a kid, and it’s really easy! Do you remember learning this when you were younger? You can just keep going and going and going and basically keep making a long rope.
I checked Pinterest and apparently other people finger knit differently than me. Who knew!? The other tutorials show more weaving over and under the fingers, which is more effort than you really need. This method is way easier and you still end up with a great looking bracelet/necklace/headband at the end.
Finger knitting is a great way to introduce kids to the concept of knitting lines back and forth – without them getting bored or frustrated.
Check out our video for how to finger knit:
Guys, I can’t lie. This is waaaaaay easier to show you in the video. But for those of you who prefer written instructions and pictures I’ll explain everything below. But if something isn’t clear in the tutorial below (or vice versa), check out the video because it really does show you just how easy it is!
Tutorial – Finger Knitting Instructions:
All you need is yarn and your hands!
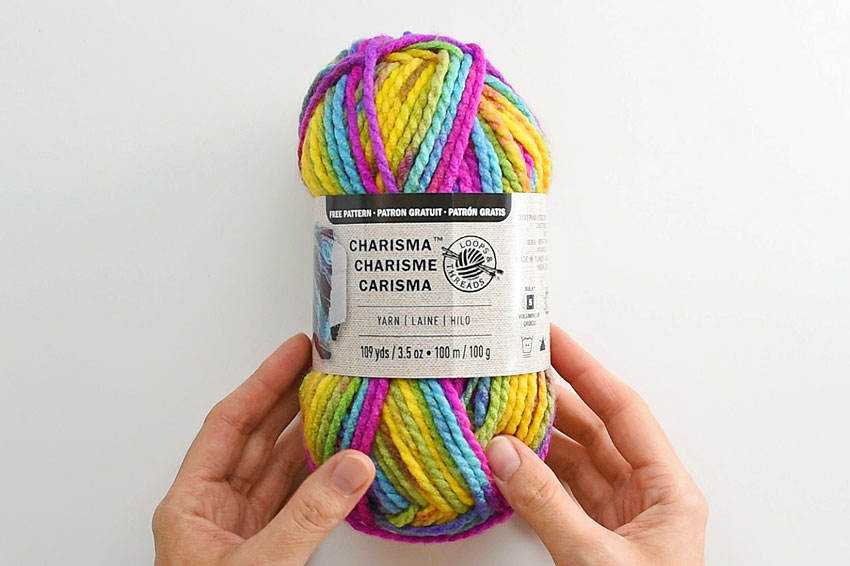
I personally like using chunky yarn for finger knitting because it goes faster (and the kids have an easier time with the thicker yarn), but you can definitely use whatever type of yarn you have on hand.
I used Loops & Threads Charisma – Passion chunky yarn. The affiliate link will take you to the yarn on Amazon but it might be cheaper at the craft store. I got mine on sale at Michaels.
Start by tying a slip knot near the end of the yarn. Leave yourself about 6 inches of yarn after the knot.
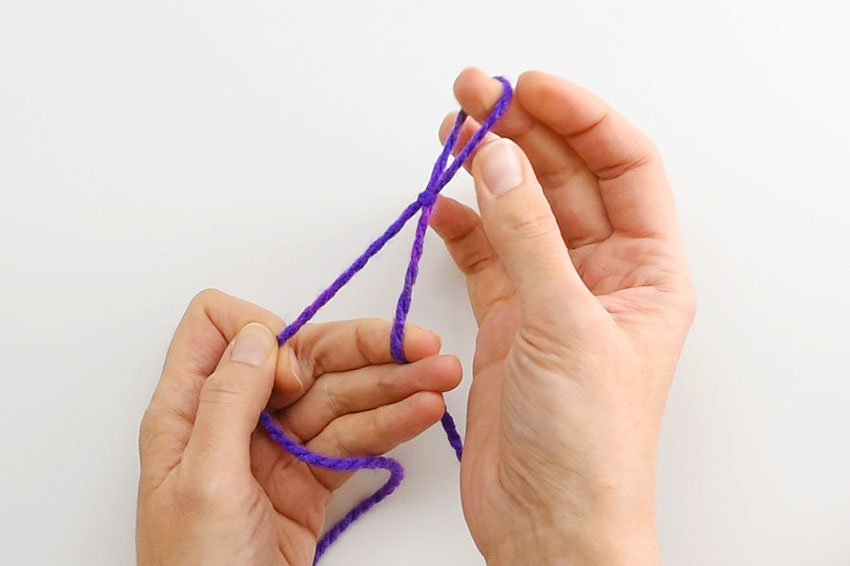
Place the loop over your pointer finger and tighten it a little.
Take the 6 inch length of yarn and move it out of the way. You’ll need it so you can tie your bracelet at the end.
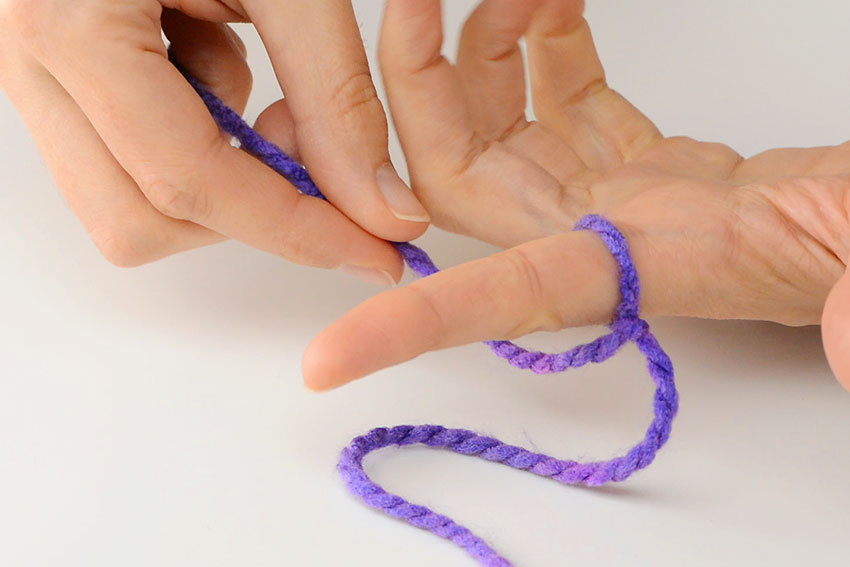
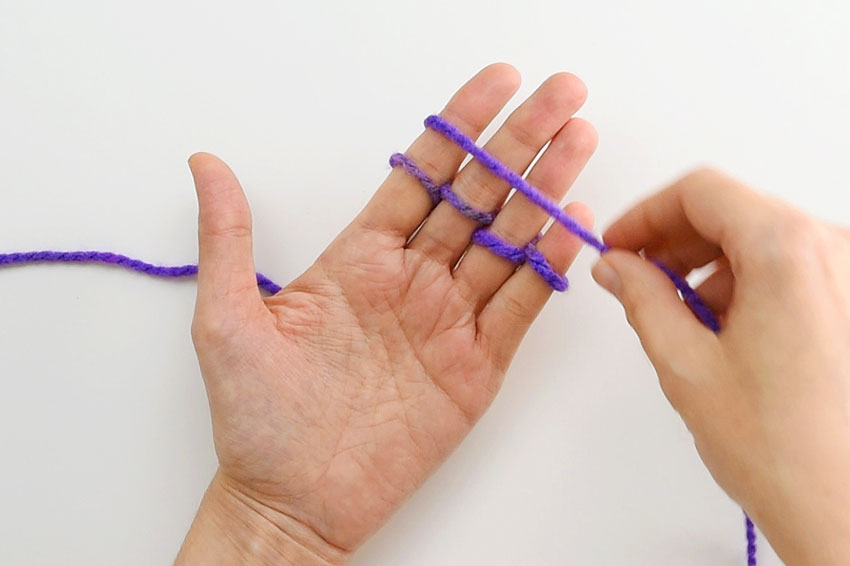
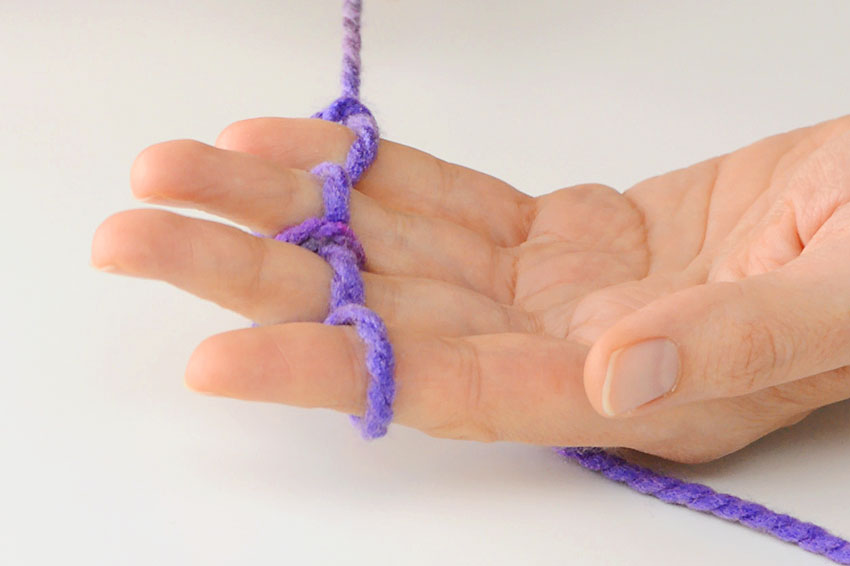
Using yarn from the ball from the yarn (not the 6 inch end), weave the yarn UNDER your middle finger (it’s important you go under your middle finger), then OVER your ring finger and UNDER your pinky.
Then wrap the yarn around and OVER your pinky, UNDER your ring finger, OVER your middle finger and UNDER your pointer finger.
Got it? Over, under, over under, just like in the photo below.
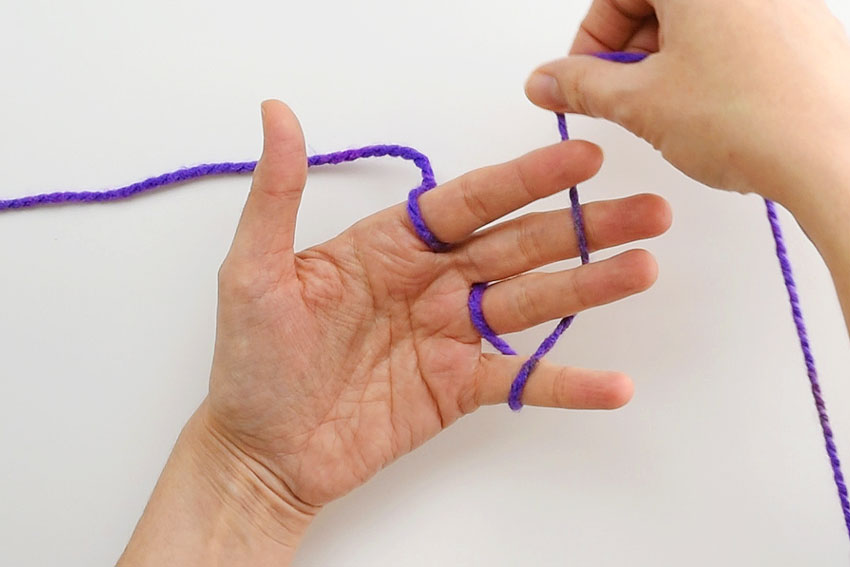
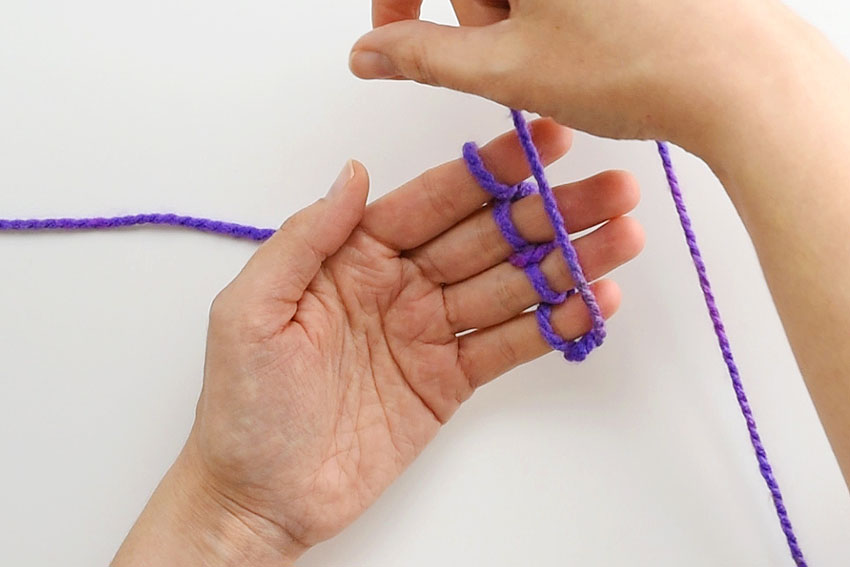
You’ll end up with a loop on each of your four fingers. Push the loops to the same spot on your fingers so they line up in a straight line, like in the photo below.
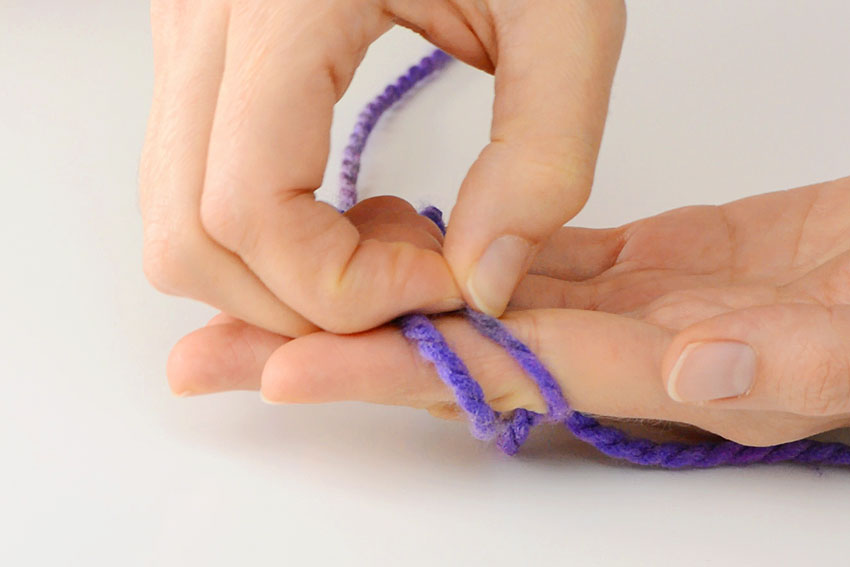
Then wrap the yarn (which will be coming from UNDER your pointer finger) over and across all of your fingers, above the line of loops that you just finished weaving.
It should look like the photo below:
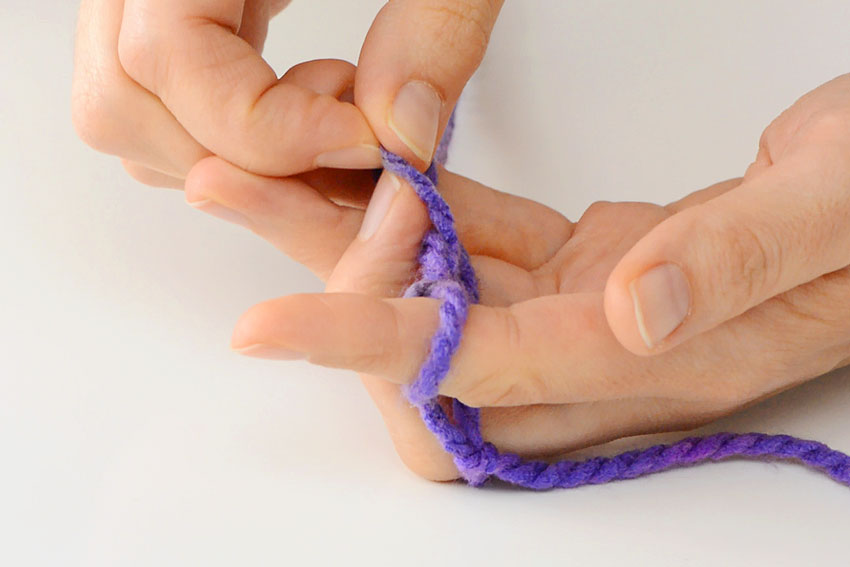
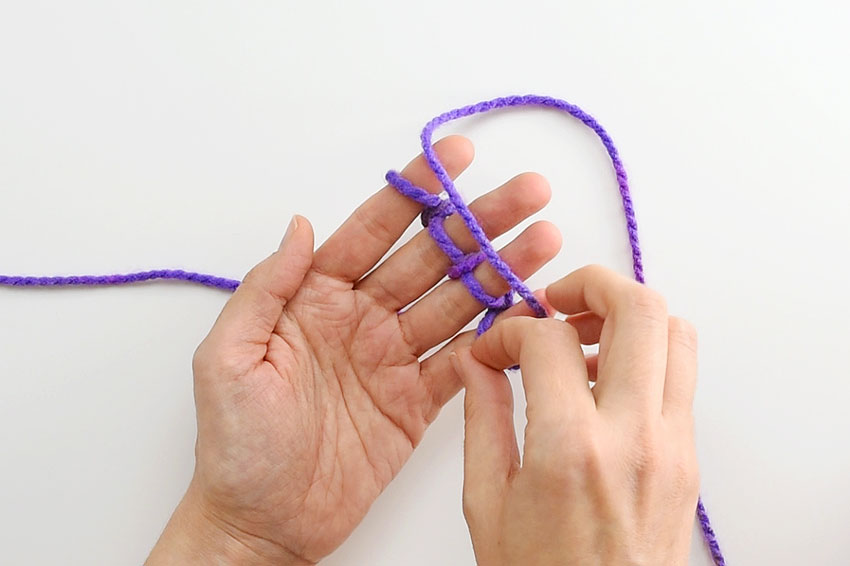
Starting with your pointer finger, take the bottom loop, lift it up and over the top yarn that you laid over your fingers, and then over your finger and to the back.
You’ll be left with one loop on your pointer finger.
Then move on to your middle finger, and do it again – take the bottom loop, lift it up and over the yarn that you laid over your fingers, and then over your finger and to the back.
Repeat for your ring finger and your pinky.
You should be left with one loop on each finger.
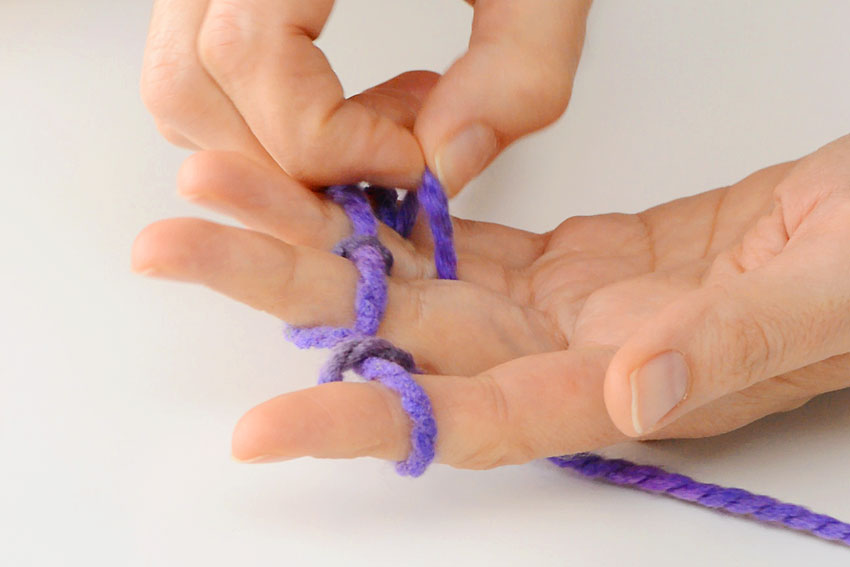
Now take the yarn and lay it over your fingers above the loops, just as you did before.
Starting with the bottom loop on your pinky, lift it up and over the yarn that you laid over your fingers, and then over your pinky and to the back.
Keep lifting the bottom loop on each finger up and over in this way. Every time you finish a row you should be left with one loop on each finger. Then you’ll take the yarn and lay it over your fingers above the loops, and you’ll lift the loop on each finger up and over it.
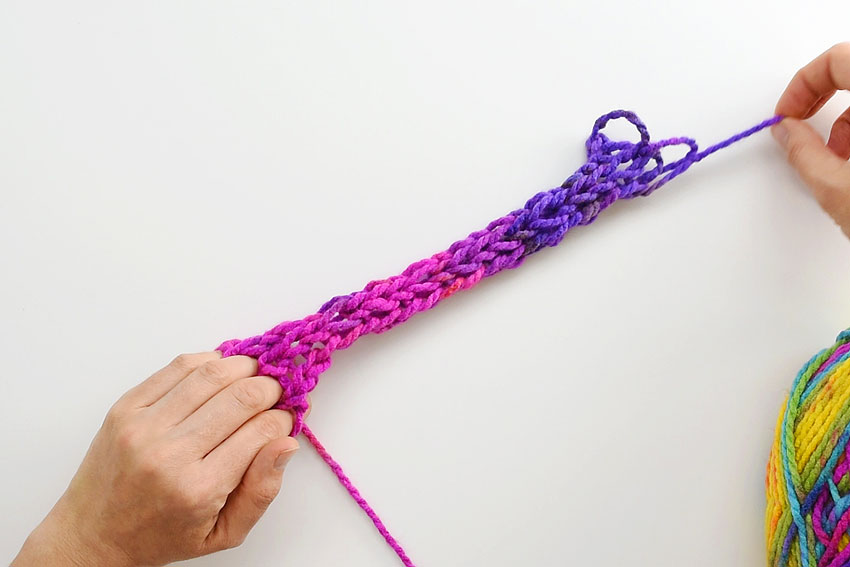
Repeat, repeat, repeat until you’re happy with the length.
How to Tie Off When You’re Done:
When you’re done, cut the yarn, leaving yourself about an 8 inch length at the end.
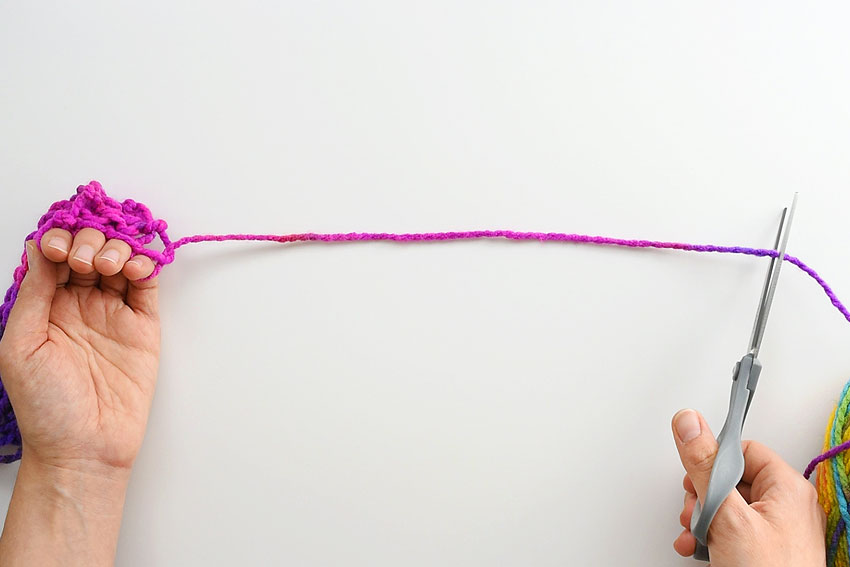
This is way easier to show in the video, so if you’re confused, please watch the video!
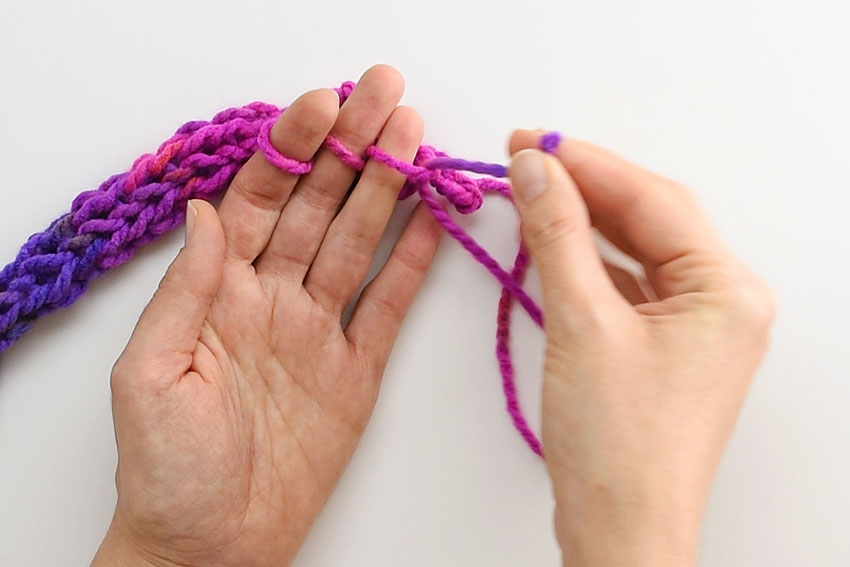
Take the end, and pull it through the loop on the last finger you knitted. In my case, I finished on my pinky, so that’s where I pulled the end through first. Once the end has been pulled through the loop, you can take that loop off your finger.
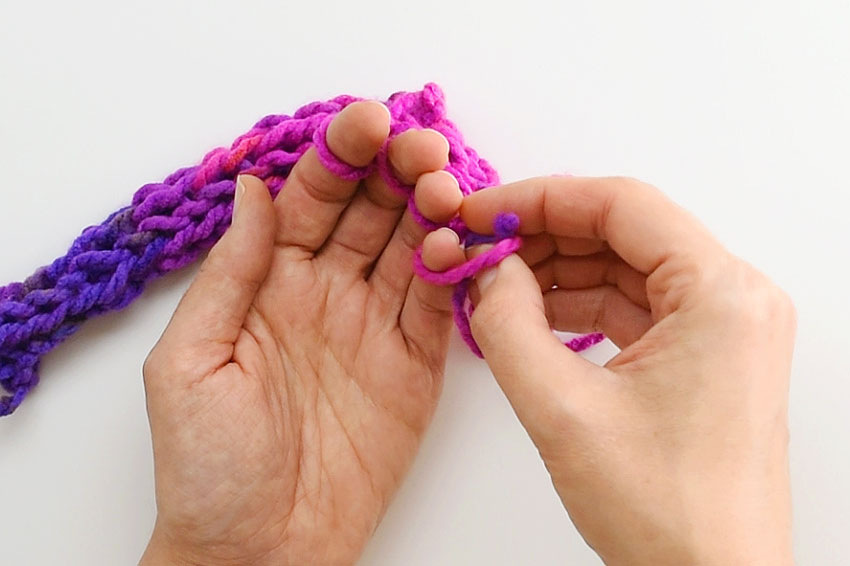
Then push the end of the yarn through the loop on the next finger. When it’s through that loop, you can take the loop off your finger.
Repeat for all your fingers, pulling the yarn through each of the loops before you take it off your finger.
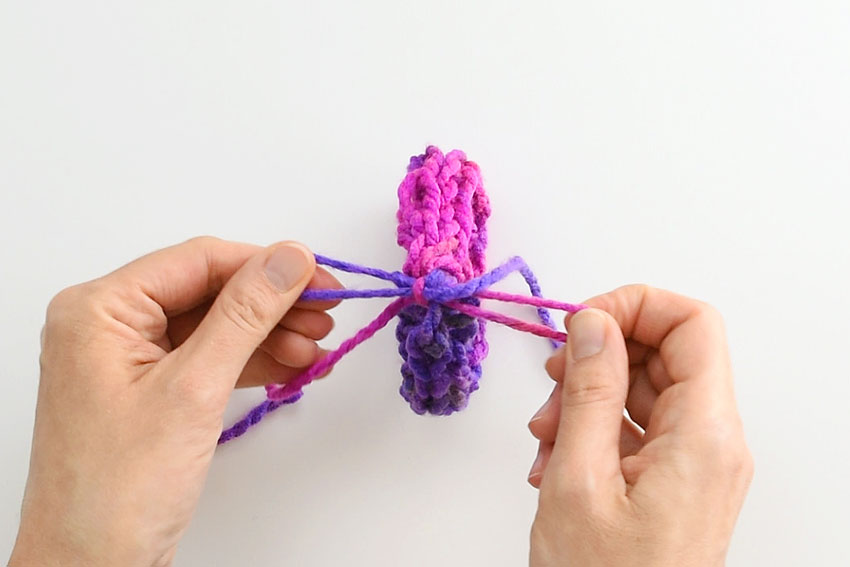
Take the two loose ends of yarn and tie them together. You can tie them in a knot and trim the ends, or you can tie it in a bow like I did.
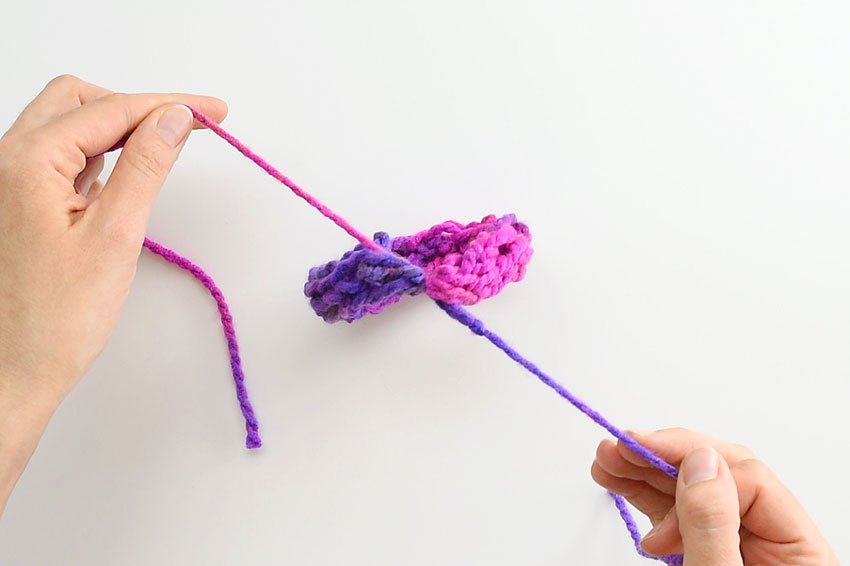
My daughter wanted the option to wear hers as either a necklace or a bracelet, so we wanted to be able to easily untie it.
It makes a super cute bracelet!
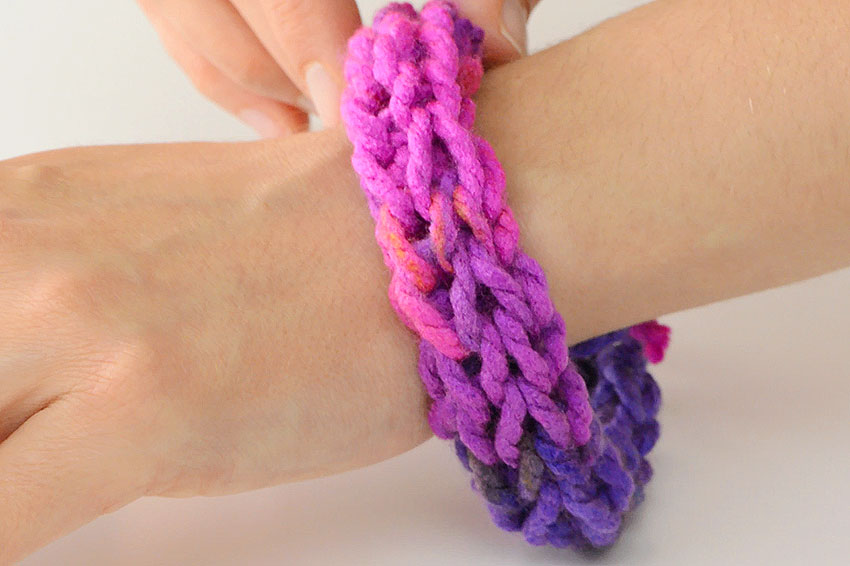
They’d also make terrific friendship bracelets for the kids to give to their friends!
 is a great way to make friendship bracelets, necklaces or even headbands. It's super simple and kids can do it by themselves. In less than 15 minutes you can learn how to finger knit AND make your first bracelet! All you need is yarn and your hands!")
You can use solid coloured yarn, or multicoloured yarn. I don’t really recommend switching yarn colours in the middle, but if you do, you can always knot the two yarns together if that’s what you choose.
 is a great way to make friendship bracelets, necklaces or even headbands. It's super simple and kids can do it by themselves. In less than 15 minutes you can learn how to finger knit AND make your first bracelet! All you need is yarn and your hands!")
They’re quick, easy, and fun. And older kids (I’m thinking ages 6 and up, depending on their patience?) can do this by themselves.
 is a great way to make friendship bracelets, necklaces or even headbands. It's super simple and kids can do it by themselves. In less than 15 minutes you can learn how to finger knit AND make your first bracelet! All you need is yarn and your hands!")
Finger knitting is such a fun and easy craft for kids! This kids activity (it’s also a fun craft for adults!) is a great way to make friendship bracelets, necklaces or even headbands. It’s super simple and kids can do it by themselves. In less than 15 minutes you can learn how to finger knit AND make your first bracelet! All you need is yarn and your hands!
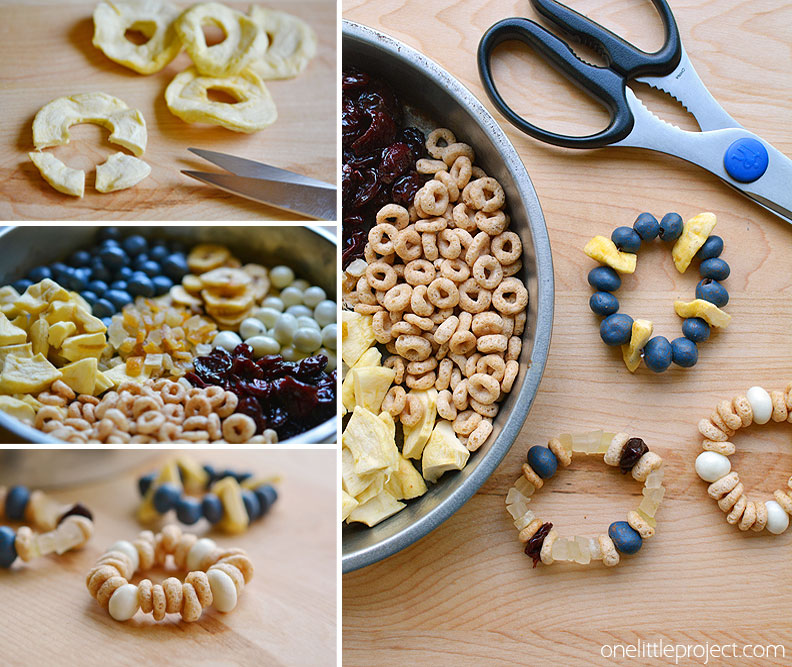
If you’re looking for more ways to make fun kids jewelry check out our tutorial for making healthy candy bracelets. The kids LOVE making these and you can choose exactly what to put on them!
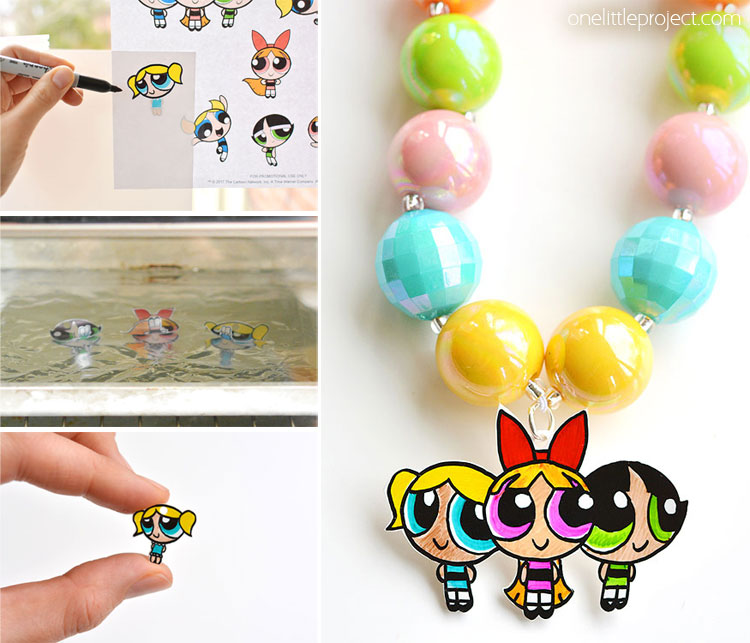
Or you can check out our tutorial for making Shrinky Dink Jewelry. Do you remember shrinky dinks? These are soooo fun!!
Source : onelittleproject.com
Read more...


Post a Comment
Post a Comment