We moved into our house two months ago, and we love it! Couldn’t be happier with everything about it. Except… the dishwasher! In our old house, we had the cheapest builder’s model dishwasher, but we never thought twice about it because it worked well. Our dishes were always clean, and we could pile things into that dishwasher like crazy and they’d still come out sparkling.

That is not the case with our new dishwasher, which as luck would have it, turns out to be 12 years old. Super. We noticed right away that our dishes weren’t getting clean and we were willing to try anything to 1) not have to buy a new dishwasher, and 2) not have to pay a repairman to come in only to tell us we need to buy a new dishwasher.
So when I came across an article on Pinterest from One Good Thing about how to clean a dishwasher I realized it had never even occurred to me to try cleaning it! So that is exactly what we set out to do!

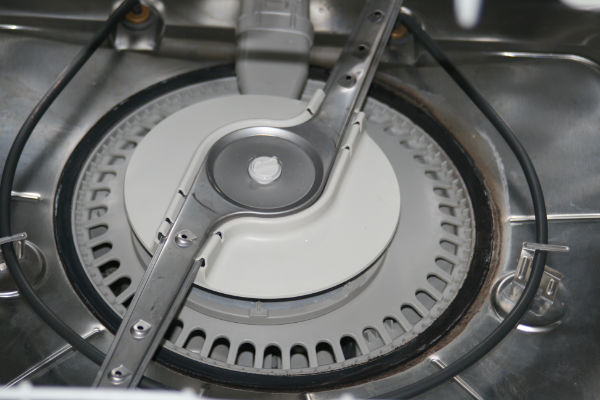
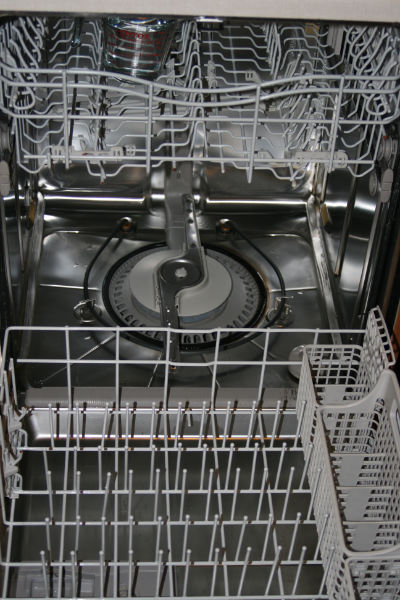
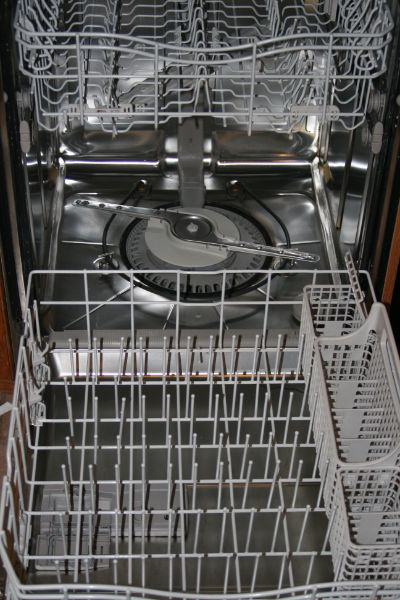
Above are pictures of what we started with. It really didn’t look that bad to me.
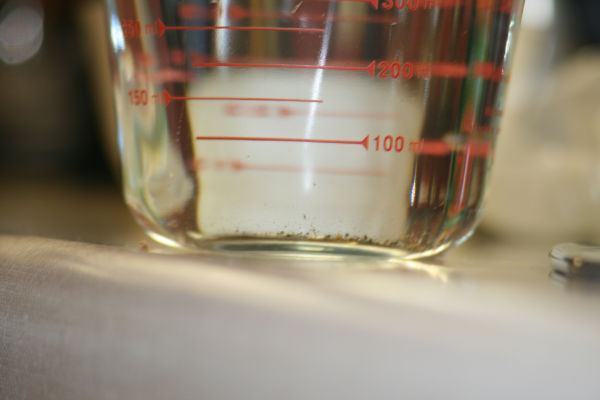
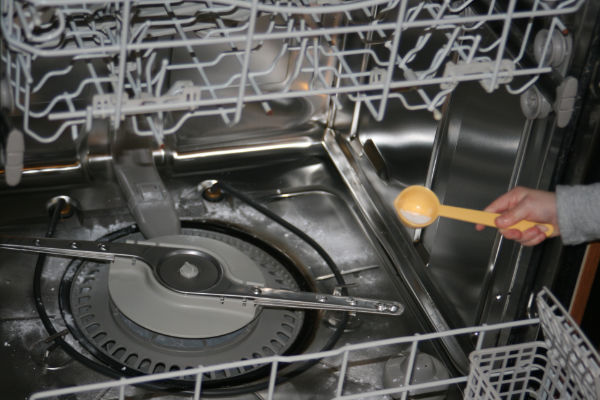
Put 2 cups of vinegar in top rack and run a cycle
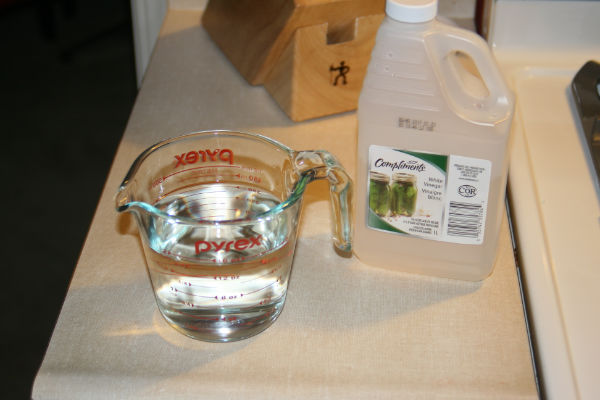
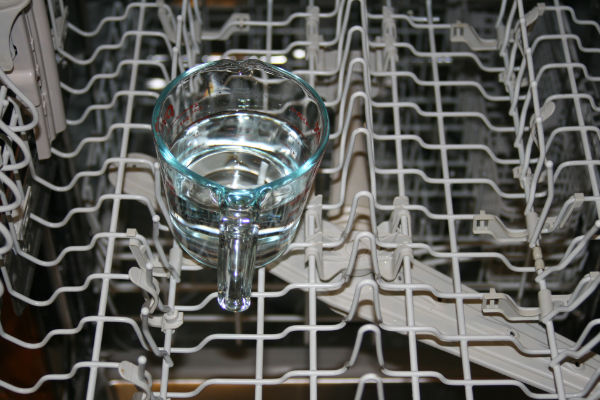
I started by pouring 2 cups of white vinegar into a measuring cup, and placing it in the top rack of the dishwasher. Then, with the rest of the dishwasher empty I ran it through a complete cycle.
Then we ended up with the above pictures, which frankly, look pretty darn similar to what we started with! But check out all the gunk that accumulated in the bottom of the cup during the cycle! Yuck!
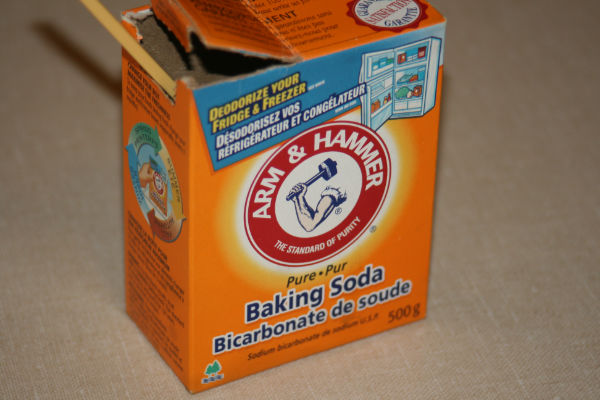
Losing hope that this was going to do anything, I then scattered lots of baking soda around the bottom of the dishwasher and again ran it through another complete cycle.
Scatter baking soda on the bottom and run a cycle
At this point, the results were somewhat disappointing. I managed to get rid of some water stains with this cleaning method, but this was just not going to cut it. Some elbow grease was going to be required!
It took a few more days of dirty dishes to motivate Jason to take apart the entire dishwasher to scrub it down. It was disgusting! Twelve years of black grime was everywhere! Things weren’t even sealing properly because there was so much grime in the way!
Cleaning Mixture
- 1/4 cup vinegar
- 1 Tbsp dish soap
- 1 Tbsp baking soda
I put together the above cleaning mixture and Jason went to work on cleaning it out.
Unfortunately we were so disgusted by it that we didn’t take any photos of the really black stuff. But tonight, about 2 weeks after we cleaned it, we took it apart again to take photos and we were able to assess the cleanliness and show the hot spots that needed cleaning.
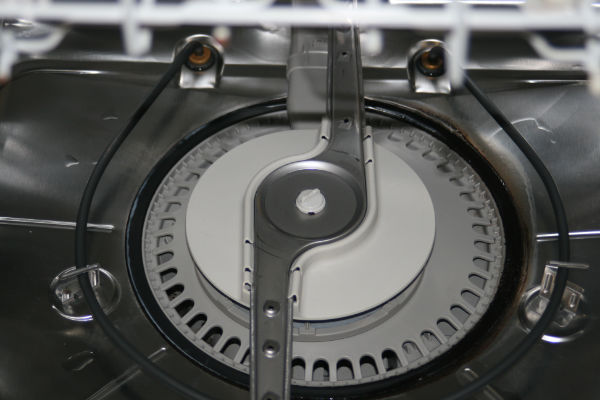
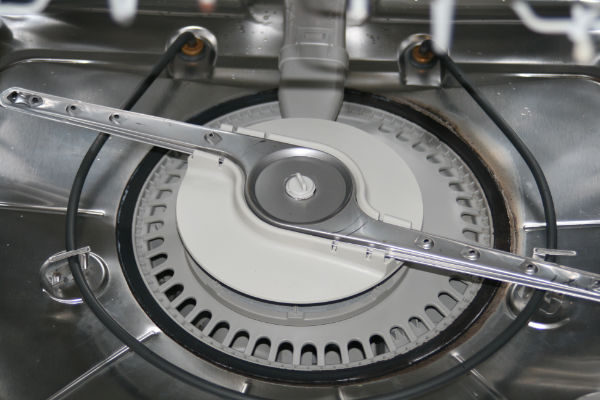
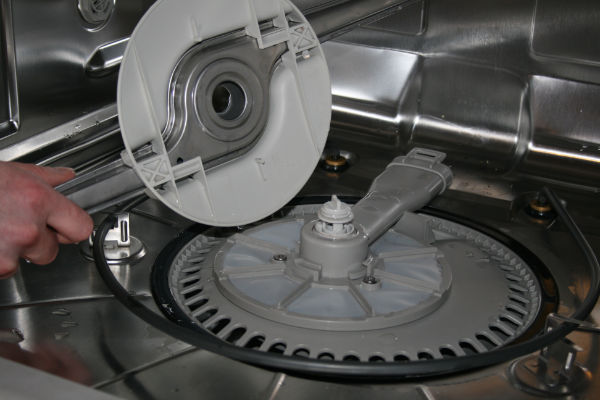
Dirt had already accumulated at the bottom where the seal is (below left). The filter was still really clean though, so that was reassuring (below right).
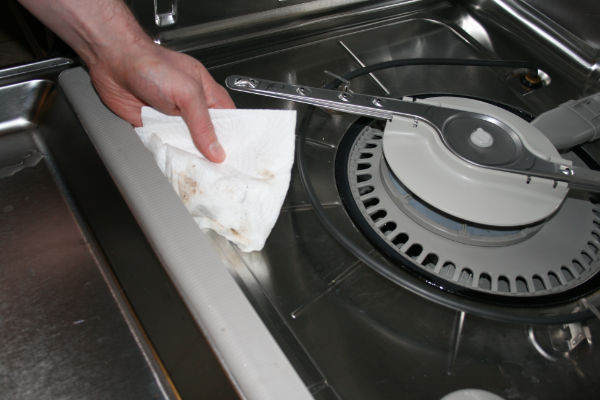
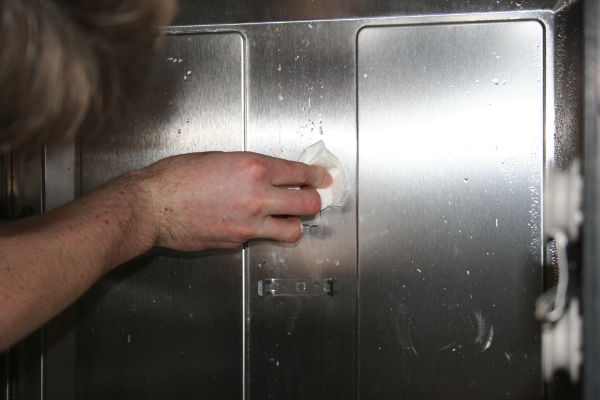
Take the dishwasher apart and scrub it down
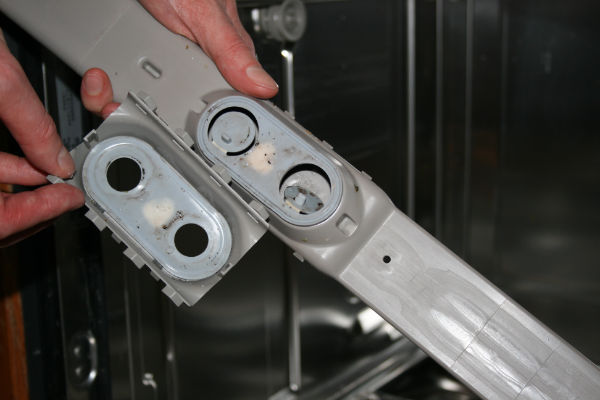
The arm at the back that distributes water to the upper shelf seems to be our trouble spot. It already had some dirt that had accumulated behind it.
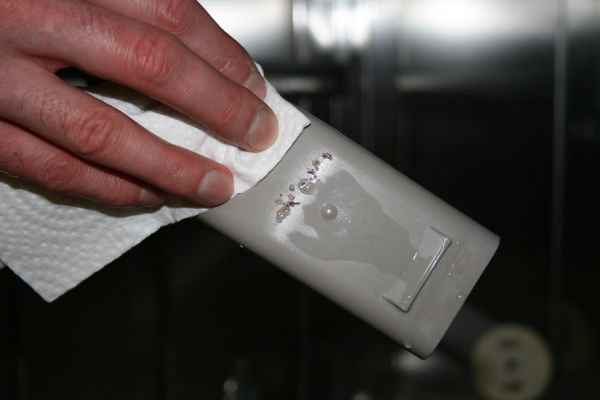
And we are pretty sure this seal needs to be replaced. This is just two weeks worth of dirt in it!
So unfortunately in our case, someone had to get on their hands and knees and scrub the heck out of every nook and cranny of our dishwasher (luckily that someone, was not me…) But as luck would have it, our dishes are actually coming out clean! So although it was a ton of work, scrubbing out the dishwasher saved us the cost of a new dishwasher, not to mention the headache of hand washing all the not-so-clean dishes!
Source : onelittleproject.com
Read more...


Post a Comment
Post a Comment