This post is in partnership with Universal Pictures Home Entertainment. As always, the opinions are entirely my own.
Despicable Me 3 Special Edition is now available on Blu-ray and DVD! All 5 of us watched it together the other night and it was such a fun family movie! My 3 year old little guy burst out laughing every time the Minions came on the screen. So funny! We love the Despicable Me movies so we made some Holiday Minion window clings inspired by the latest release.
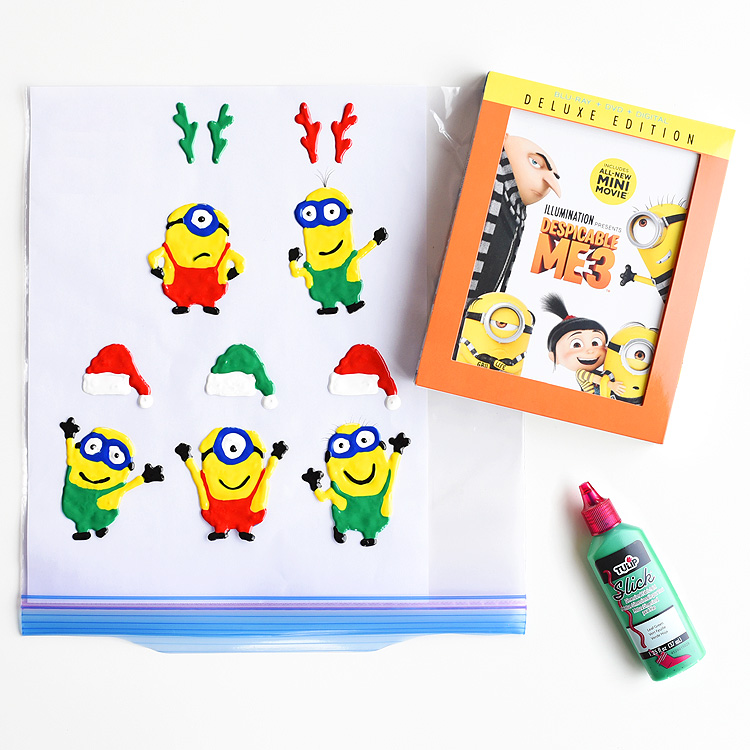
Window clings are seriously one of my ALL TIME favourite crafts. It’s so easy to make them look amazing, and um, they stick to the windows, which is just so cool! (Don’t worry, they come off the windows without any trouble too.). They’re so much fun for the kids! I think one of my favourite things about the Despicable Me movies is how easy it is to make awesome looking Minion inspired crafts!
The Despicable Me 3 Special Edition DVD is actually a pretty cool holiday gift idea. It even comes with 2 sheets of temporary tattoos and some fun collectible cards! The Target exclusive not only features an all-new mini-movie, but also 20 minutes of additional content so this heartwarming comedy can provide hours of family fun! I’m pretty sure my kids were the most excited about the surprise tattoos inside:
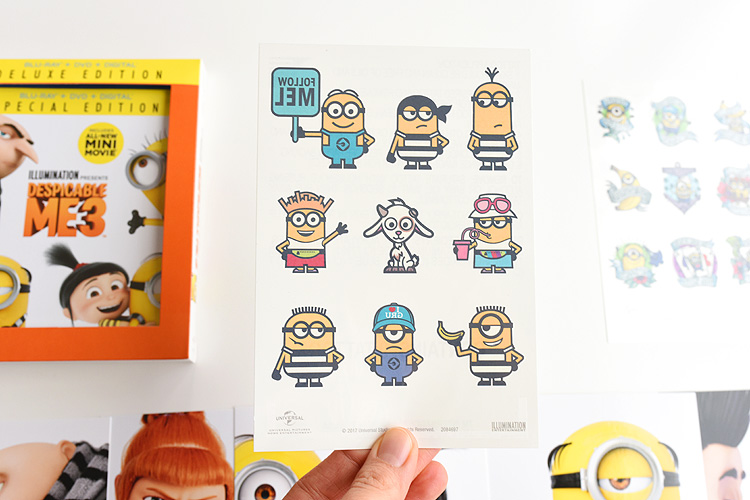
The kids even told the waitress at the pizza restaurant we went to that night that we were going to have a family movie night together. It always feels like a parenting “win” when the kids are so excited that they tell our plans to a complete stranger!
Despicable Me 3 has all the beloved characters (Gru, his wife Lucy, their three daughters—Margo, Edith and Agnes—and the Minions). Here’s the trailer if you haven’t seen it:
You can follow @DESPICABLEME on social media here: Facebook | Twitter | Instagram
Now onto the Holiday Minion window clings tutorial…
Holiday Minion Window Clings
My kids have made window clings a few times with me over the years and they LOVE them.
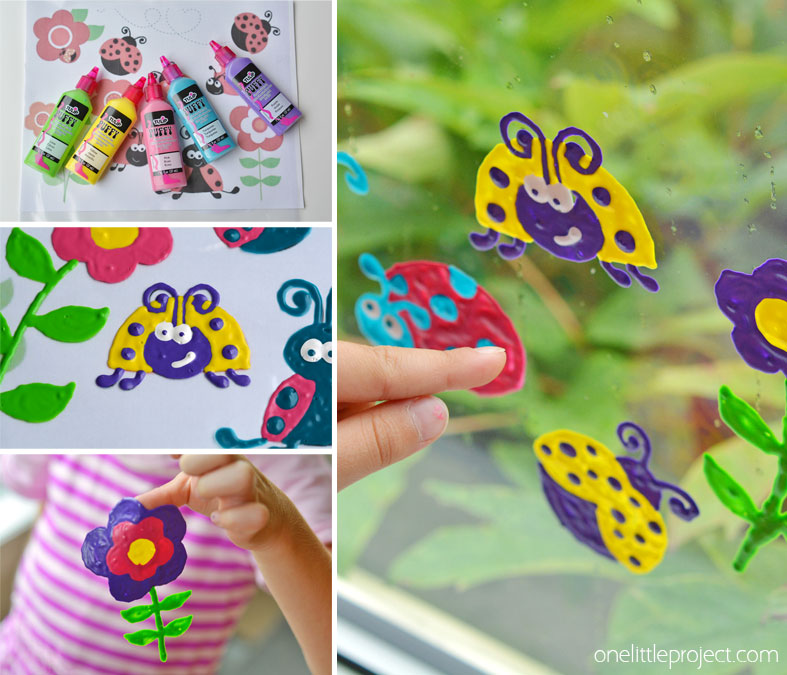
You can check out our Glittery Snowflake Window Clings and our Ladybug Window Clings to see what they look like if you use Tulip Puffy Paint instead of Tulip Slick paint. I have no idea what the official difference between the two paints is, but they both work for window clings. Puffy paint works slightly better in my opinion, but I couldn’t find puffy paint in the right colours for the Minions. The Slick paint still worked, they just ended up being a little harder to peel off the window and they took an extra day to dry. It’s definitely still possible to move them if you need to, you just have to be more careful so they don’t rip.

Paint always makes me a little nervous – just with the mess potential – but the Tulip paint really isn’t too bad as long as you plan a little. Just make sure you protect your table with an inexpensive tablecloth and be sure to remind your kids that they have to keep their creations near the middle of the Ziploc bag and not on the edge.
I would have sworn that would be common sense, even for kids, but my 5 and 7 year old daughters decided to paint free handed right on the edge of the plastic bag. *big sigh* At least we had a plastic tablecloth underneath!
What you’ll need for your Minion window clings:
Here’s a list of affiliate links for the supplies you’ll need to make this craft:
The Tulip Slick paint pack that I used was perfect for making Holiday Minions to go along with Despicable Me 3! This particular pack has all the colours you need – red, green, yellow, blue, white and black. I ended up using all 6 of the colours to make the Minions.
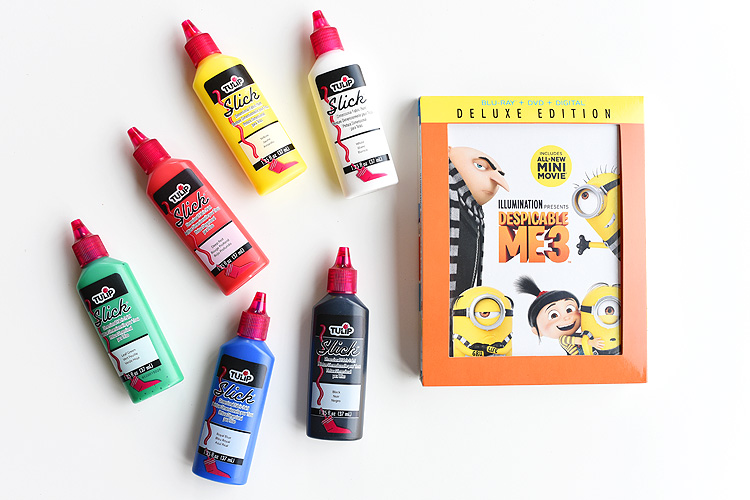
Start by printing out your free printable Minion template. Once you click the link, it will open up a pdf in a new window that you can print on regular 8.5″ x 11″ letter sized paper. You can get the template here:
—> Free Printable Minion Template <—
Slide the template into a large freezer bag. It fit in my freezer bag perfectly, but if your freezer bag isn’t quite big enough to fit the paper, feel free to use scissors to cut off the zipper part of the plastic bag so that the paper lies flat.
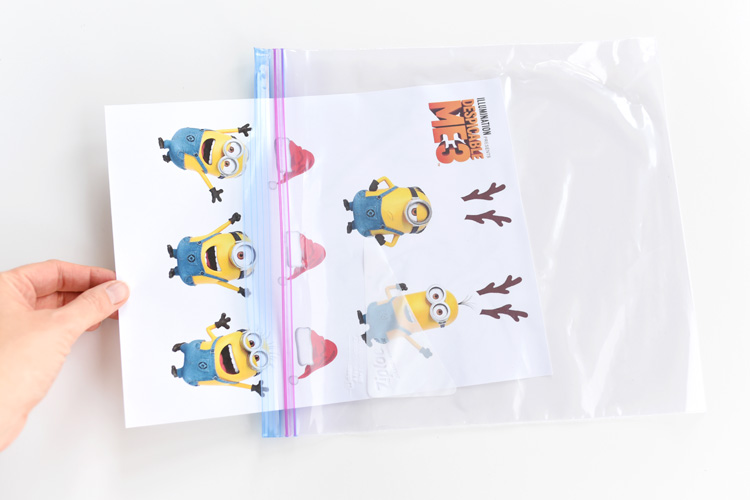
I also recommend taping the template to the the inside of the freezer bag so that it can’t shift around while you’re tracing. You’ll want to put the tape into the bag sticky side up, so that you tape the paper to the top of the inside of the plastic bag. It will just help to make it shift around less. I was even able to zip my bag closed to keep the paper stable.
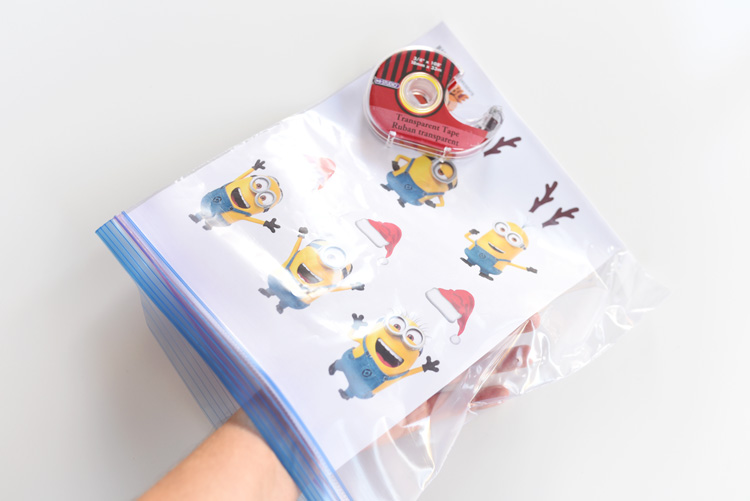
Once everything is secure in the plastic bag, you can start painting the Minions. Make sure you add the paint to the plastic bag, NOT to the paper. The paint will not peel off of paper!
I started with the white paint first. Fill in the circle for the eyes, leaving a small gap in the middle for the eyeball.
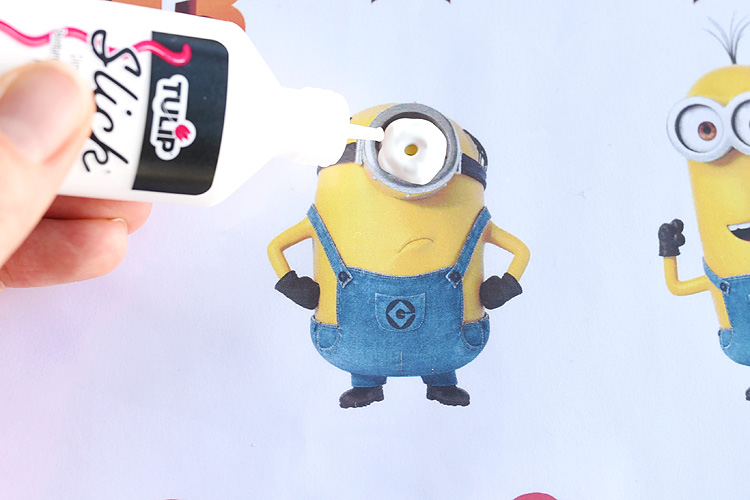
Then start adding all the details. When you get to the larger areas, trace around the edges first, then fill in the middle sections. Try to make sure you pop any air bubbles as you go and smooth out any big bumps with the paint tip.
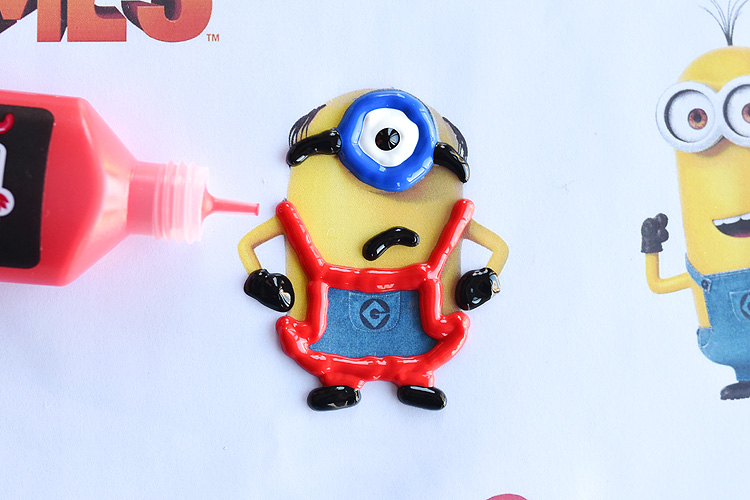
I painted in the yellow parts of the Minions last. I tried painting the mouth a few different ways, but it looked best when I drew the black line of the mouth first, then traced around it with yellow paint to make the mouth look like a thin black line.
Make sure that you use a very generous amount of paint when you paint any of the small/thin areas like the feet and arms. The thin/skinny parts are the trickiest to peel off when they dry, so you want to make sure there’s enough paint so that they don’t end up ripping.
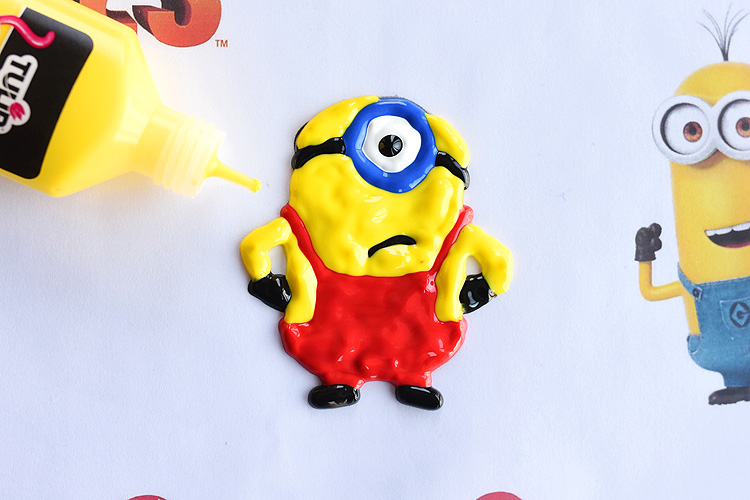
And if it’s not the holidays, no problem! Just paint your Minions in regular blue overalls. (Or you could even try the white and black striped prison outfits from Despicable Me 3!)
I really love how festive the red and green overalls look for the Holidays!
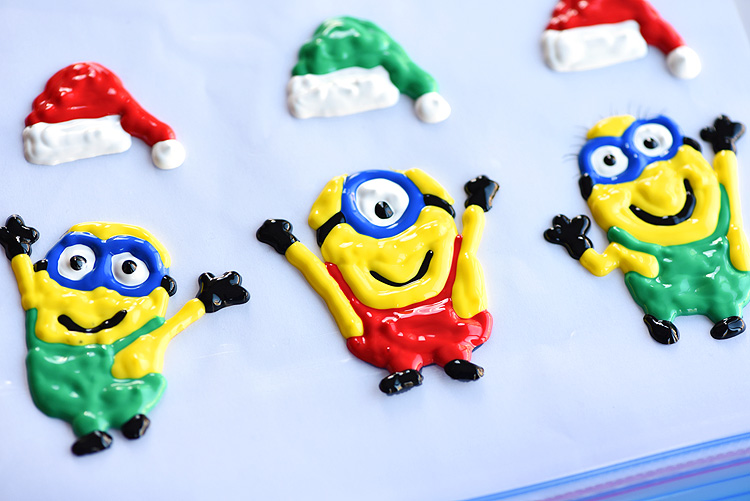
The Slick fabric paint looks really thick after you finish painting, but remember that it will thin out a LOT after it dries. So make sure you are very generous with the amount of paint you use. You’ll want them to be about as thick as mine are in the photo below before you let them dry:
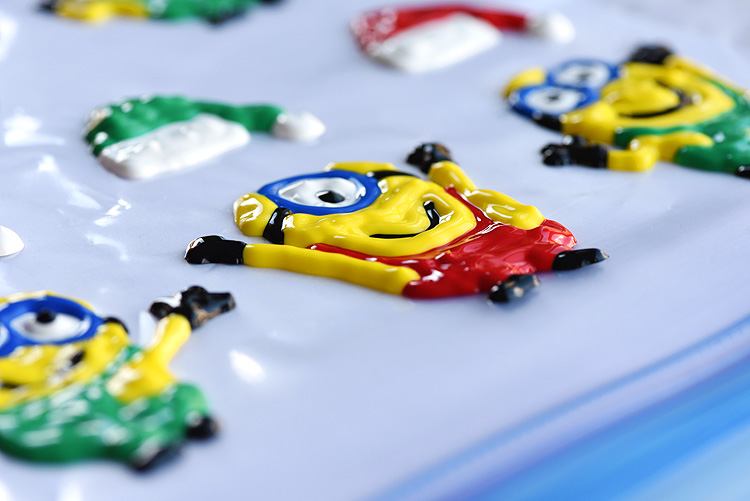
Make sure you let the window clings dry for about 3 days. When we made window clings from Tulip Puffy Paint, they only took 2 days to dry, but it’s worth waiting the extra day for the Tulip Slick paint. The longer you wait for them to dry, the easier it is to peel them off.
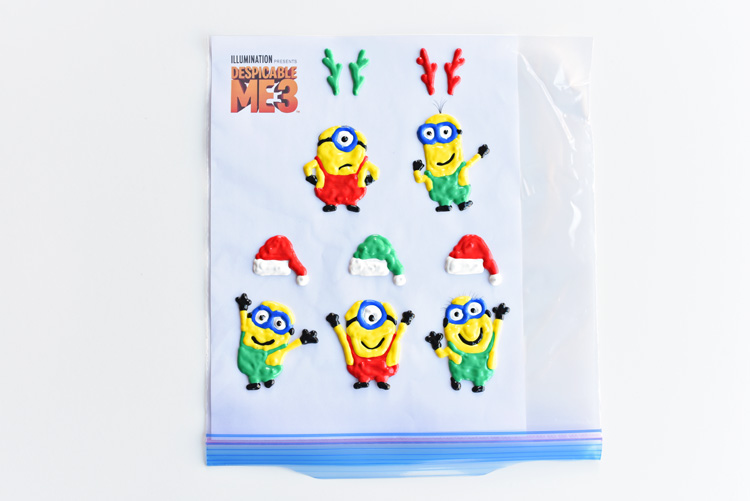
Once they are completely dry, use your fingernail to lift an edge, then peel them off the plastic bag. It can be tricky to get them started, so look for an extra thick area with lots of paint.
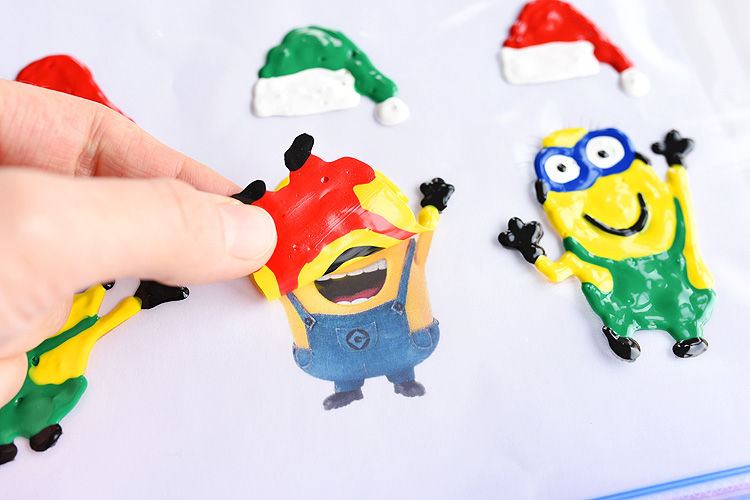
Then press them onto the windows! Aren’t they cute?!
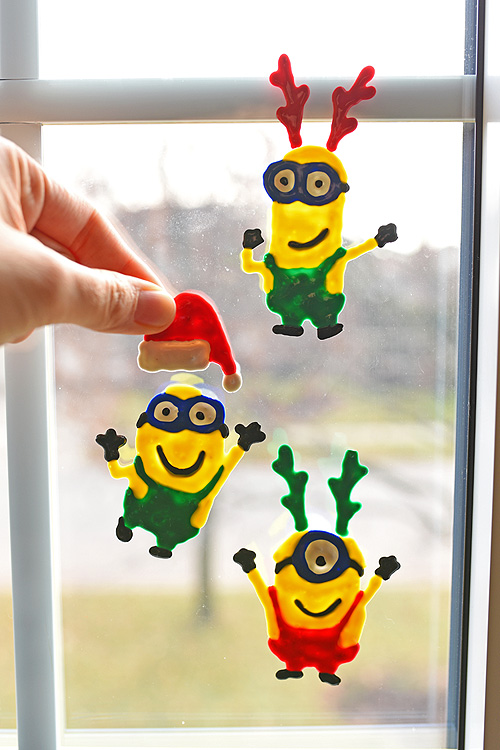
Once you press them onto the window, I kind of recommend leaving them in place. It’s definitely possible to move them around if you have to, but they are a little more sticky and stretchy than the window clings we made from Puffy Paint, so make sure you are very careful as you peel them off the window so that they don’t rip.
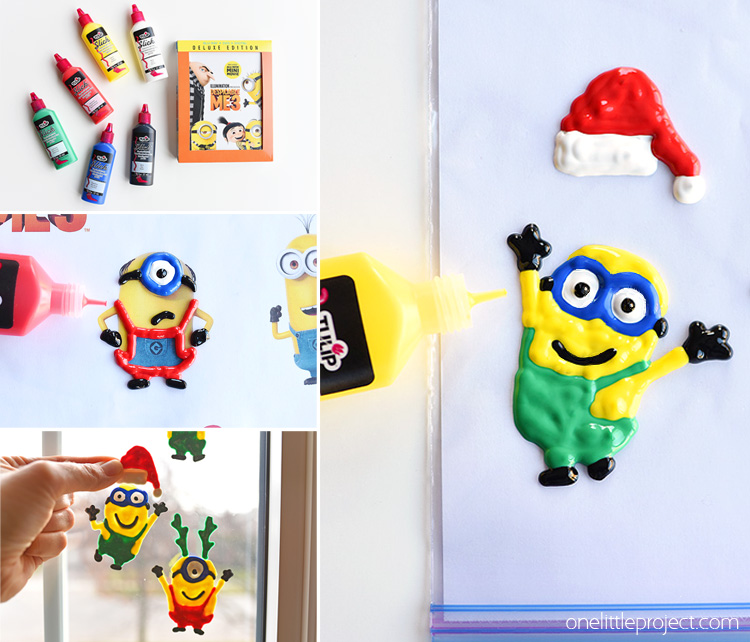
These Holiday Minion window clings are so easy to make and they look so adorable!! It’s such a fun and easy craft for kids to do. And since the kids just have to trace the characters on the printable, even younger kids can make pretty awesome looking Minions. It’s a safe, creative and festive way to add some holiday cheer to any room in your house!
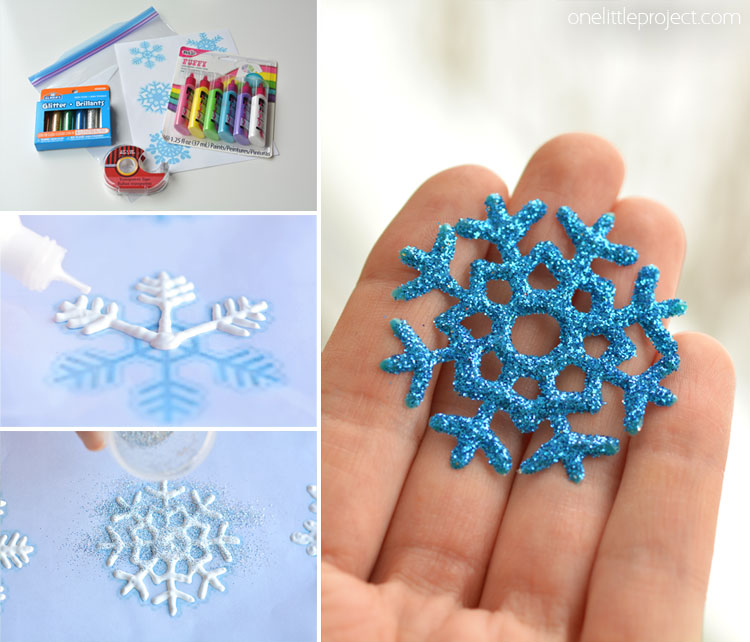
If you’re interested in seeing how our other window cling projects turned out, here are the Glittery Snowflake Window Clings we made:
And here are the Ladybug Window Clings we made:
Source : onelittleproject.com
Read more...


Post a Comment
Post a Comment