I had no idea that as a parent, Christmas would come with so much work and stress!? Christmas shopping. Wrapping. Planning Christmas dinner. Hosting it for 20 people. Cleaning the house to make it respectable for visitors. And to top it all off my husband’s birthday is a couple days before Christmas too. Ahhhhh!!
And then at the beginning of January I have to go back to my day job as an Engineer. My maternity leave is officially over! 🙁 Thankfully this blog has been very successful this year, so I’m only going back part time. But I’m still stressed about how I’m going to do everything I do now, plus get up and go to work each day.
So I tossed and turned in bed last night until about 2am listening to my husband breathe, while I laid there trying to think un-stressful thoughts. Why do we do this to ourselves?! I can totally understand why there were years that my mom finished her Christmas shopping and wrapping in October!

At least I’ve managed to fit in a little bit of Christmas baking. Since this was the first time in YEARS that I’ve used my rolling pin, I figured I better take advantage of the situation and get two cookie designs from it. So these came from the same batch as the Christmas Tree Sugar Cookies I posted about last week. I got the idea for them here – Aren’t they the cutest cookies ever?! They are so easy!
I have no idea how to properly roll dough. I thought the cookies turned out okay though? Are the edges of the rolled dough supposed to be so ragged, like in my picture below? I have no idea?

I didn’t have a circle cookie cutter, so I just used a wine glass to cut out my circles. Worked like a charm!
The cookies turned out beautifully! Perfectly round, with even colour and no darkening around the edges. Not too shabby, if I do say so myself!

To decorate them, I used Wilton’s Black Gel Icing, Wilton’s White Decorating Icing, and red and brown M&M’s. The recipe for the cookies is at the bottom of this post.
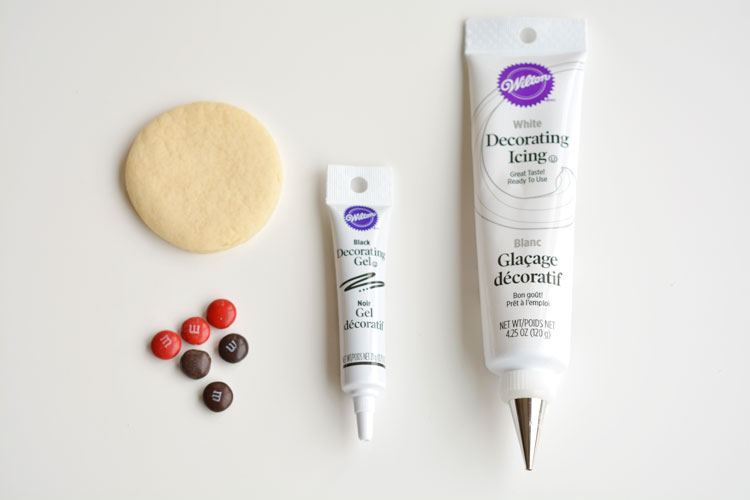
Start by using the black gel icing to draw two tiny eyes, pretty much right in the center of the cookie.
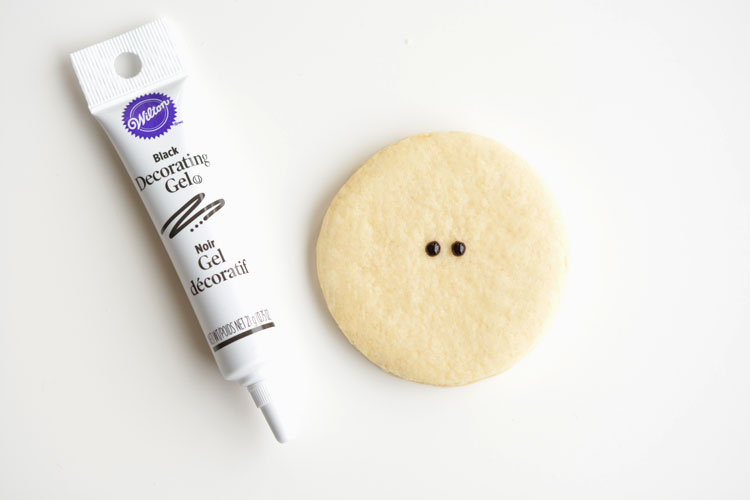
Then draw two diagonal lines upwards away from the eyes.

Then more diagonal lines to complete the antlers.

Add a generous dot of white icing where the nose is going to go.
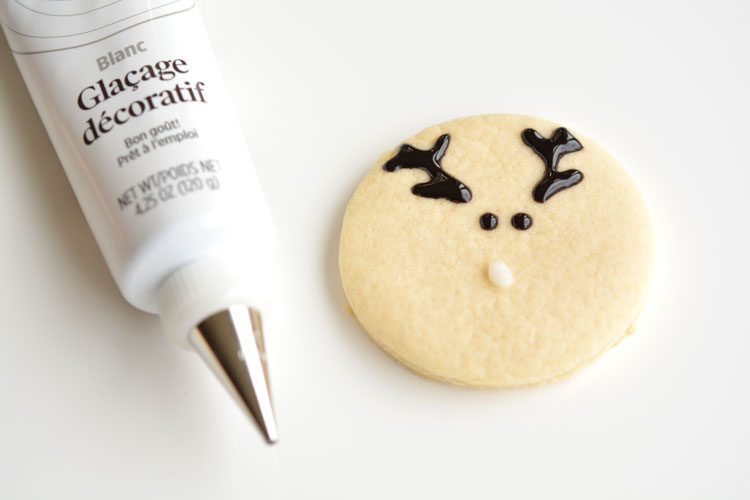
Then gently press on the M&M with the “M” side facing down.

Easy peasy!

Aren’t they cute!?
My 5 year old doesn’t really like icing, so she enjoyed these much more than the Christmas Tree sugar cookies we made. There’s just enough icing on these to add a tiny bit of sweetness, but it’s not over powering.

The black gel icing dries surprisingly firm. It looks wet in the photos, but it’s just shiny. It’s relatively firm to the touch, and just a bit sticky.

My husband thought I should have only made one Rudolph cookie with a red nose, and the rest brown, but I thought the red ones were way cuter! I love the pop of colour!
This is the same recipe I used for the Christmas Tree sugar cookies, and it’s wonderful! The cookies were perfect, even though I’m a newbie sugar cookie maker.
Easy Reindeer Sugar Cookies
Ingredients
- 1 cup butter softened
- 1 cup sugar
- 1 teaspoon vanilla extract
- 1 egg
- 2 teaspoons baking powder
- 3 cups all-purpose flour
Instructions
- Preheat the oven to 350F.
- Cream together the butter and sugar with a mixer until smooth.
- Beat in the vanilla extract and egg.
- In another bowl, combine the flour and baking powder and mix well.
- Add the dry ingredients to the wet ingredients a little at a time.
- When it's all mixed in, wet your hands and knead it by hand until it's a good dough consistency.
- Immediately roll small batches out onto a floured surface to about ¼" thick, then cut with cookie cutters. (Don't chill the dough)
- Bake at 350F for 8 to 9 minutes.

These reindeer sugar cookies are really easy to make and they look ADORABLE! The gel icing dries hard enough that they’ll travel well. And I love that it’s just enough icing to add some sweetness. Wouldn’t they be perfect to send to a class party or to bring to a Christmas potluck?
Source : onelittleproject.com
Read more...


Post a Comment
Post a Comment