If you’ve never tried whipped feta before, you’ve been missing out. Seriously, I’m not exaggerating when I tell you that you need it in your life. It is SO DELICIOUS! I made Whipped Feta Crostini for the first time a few years ago, and they have been my favourite appetizer ever since! So when I decided to make these cherry tomato tulips, I knew I had to use whipped feta as the filling!
Now, I’m not going to lie to you. If I had to say whether the difficulty level of these cherry tomato tulips was easy, medium or hard, I would say the difficulty level is hard. They were really finicky. It was difficult to get them to look nice without getting little dabs of filling everywhere. It takes a little bit of patience, so if you decide to make them, make sure you leave yourself lots of time.
The effort is definitely worth it, because they turned out to be SO PRETTY! I love tulips! Don’t they look super spring like? They’d be the perfect appetizer for a party or even Mother’s Day! I ate the whole plate for lunch with crackers and they tasted amazing!! Fresh, and sweet and delicious with the whipped feta filling.

I know it’s not exactly summer yet (at least not where we live, maybe it’s warmer where you are?), but one of my favourite things is planting cherry tomatoes in the garden and watching them grow. At the end of August, the kids have so much fun picking them off the plants and doing some major snacking as they play in the backyard. I’ll definitely be making these again in a few months when our tomato plants are ready to harvest!
Cherry Tomato Tulips With Whipped Feta Filling
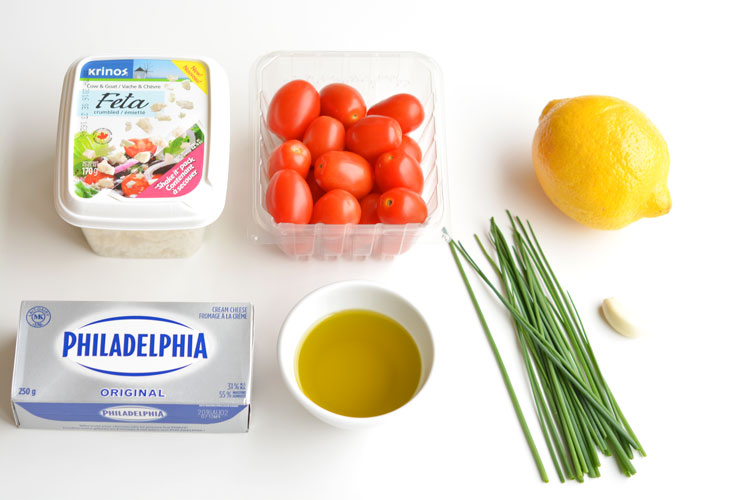
The full printable recipe is at the bottom of this post, but here’s what you’ll need:
- Cherry Tomatoes
- Chives
- Crumbled Feta Cheese (Good feta, not the cheap stuff)
- Lemon
- Cream Cheese
- Garlic
- Olive Oil
- Pepper
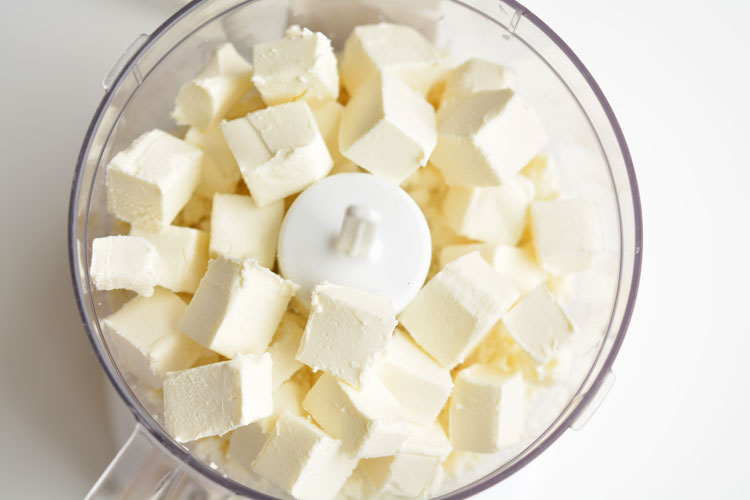
Place the feta in a small food processor and put the cream cheese on top. If you cut up the cream cheese into little cubes, the blender has an easier time mixing it all together without you needing to get in there with a spatula every 5 seconds to push it down.
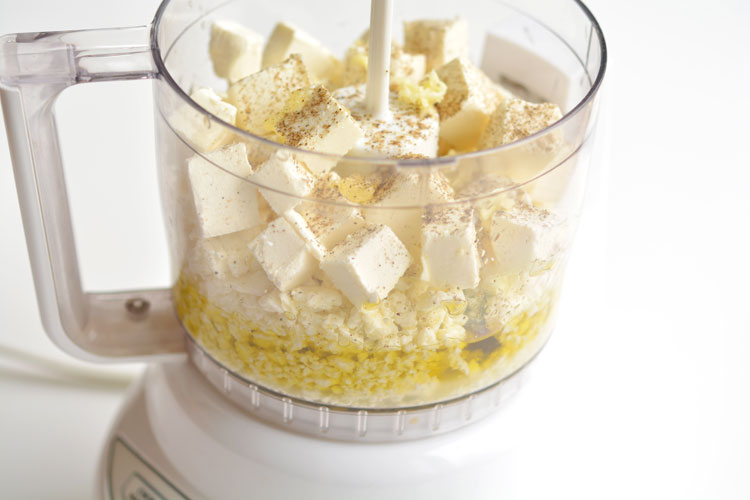
Add the rest of the filling ingredients to the food processor. (See the full recipe at the bottom.)
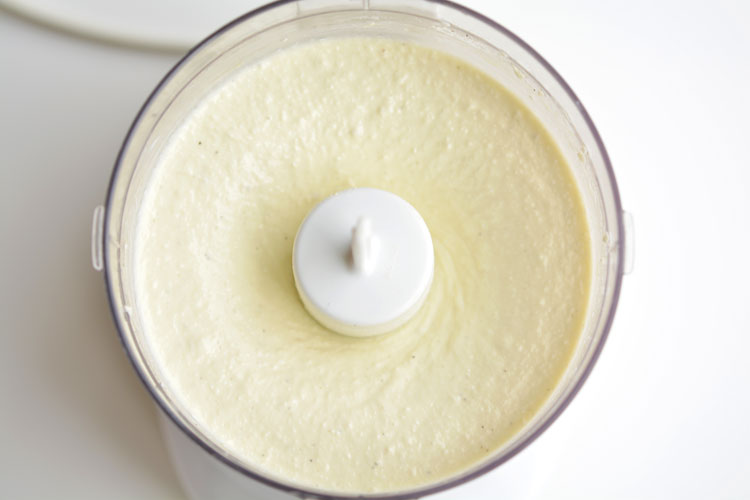
Mix it in the food processor until it’s creamy and smooth.
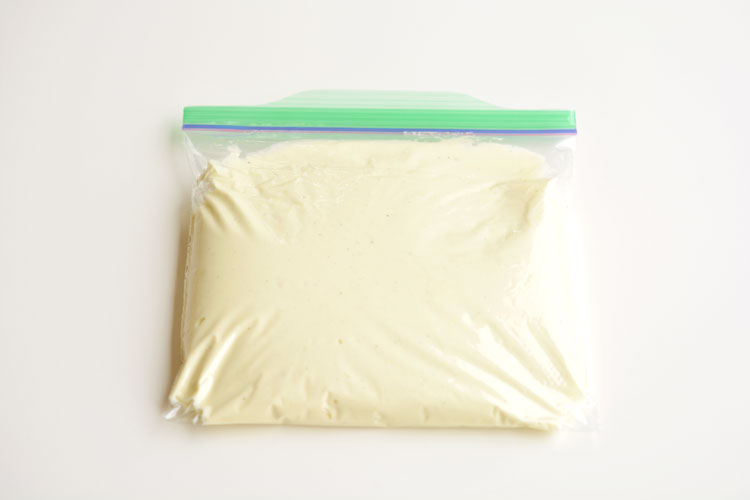
Scoop the whipped feta into a zip lock bag. Put it in the fridge while you prepare the tomatoes so it hardens up a little bit.
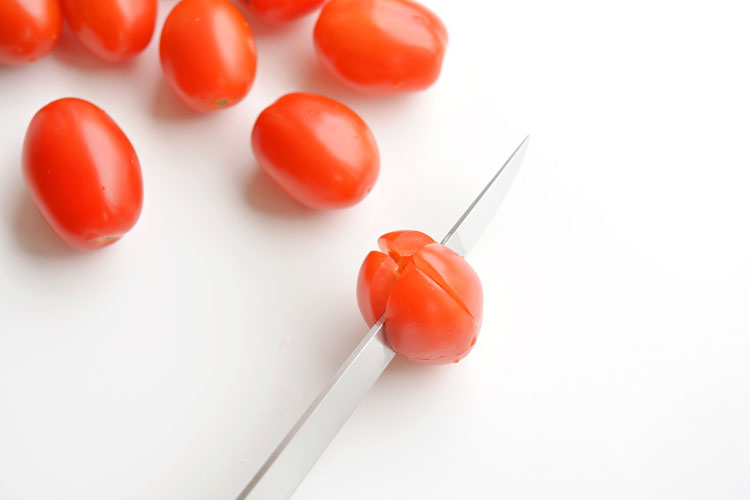
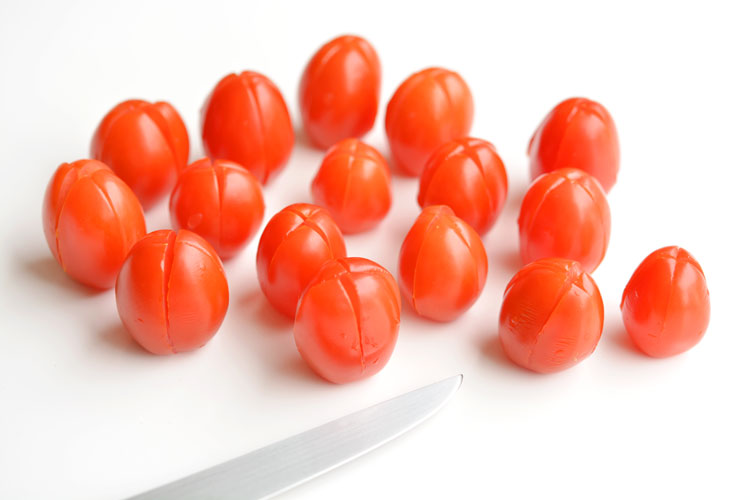
Cut a cross in the tomatoes using a sharp knife. Slice down through approximately 3/4 of the tomato so that they open up easily without falling apart.
Ideally you would want to use a small spoon to scoop out the insides of the tomatoes, but I didn’t bother. My tomatoes were too firm, and I couldn’t get the insides out without squishing the tomatoes into an unusable mess. If you take out the insides, there will be room for more filling. And more filling = YUMMY.
Use a wooden skewer to poke a hole in the cherry tomato where the stem used to be. You’ll be sliding the chive into this hole after you add the filling, so make sure your hole is big enough.

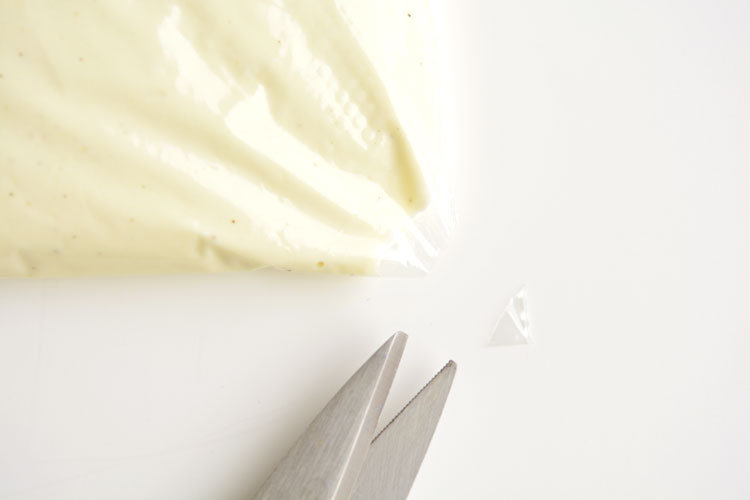
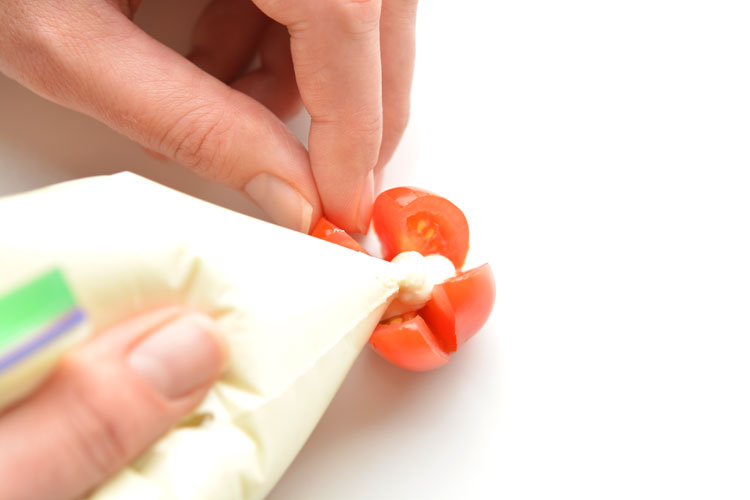
Take the whipped feta out of the fridge and snip off a small corner of the bag, about 1/4″.
Use your fingers to open up the cherry tomato. Start at the bottom and gently squeeze in the filling as you slowly pull the bag up and out. Since I didn’t remove the insides of my cherry tomatoes I could only fit about 1/2 teaspoon to 1 teaspoon of filling in each tomato.
Don’t over fill them or the filling will squeeze out onto everything. Less is more, trust me!
Poke the pointy end of the chive into the hole at the bottom of the tulip.

Use a damp paper towel to wipe off the excess filling from the tomatoes and then set the cherry tomato tulips out onto a serving plate in a bouquet shape.
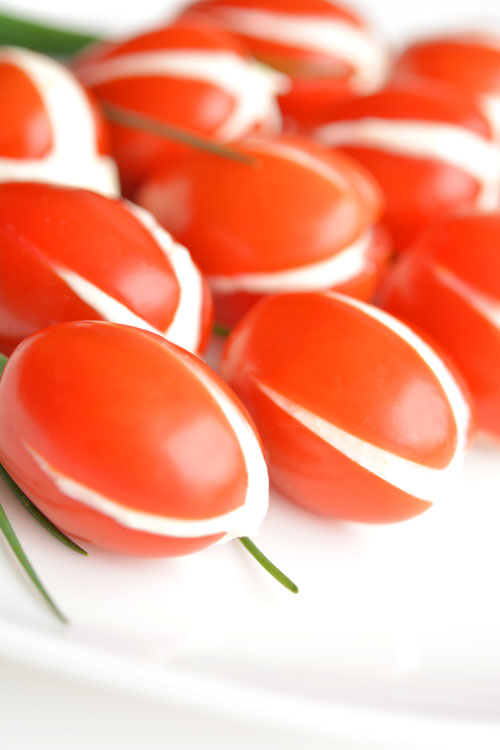
Aren’t they pretty!?
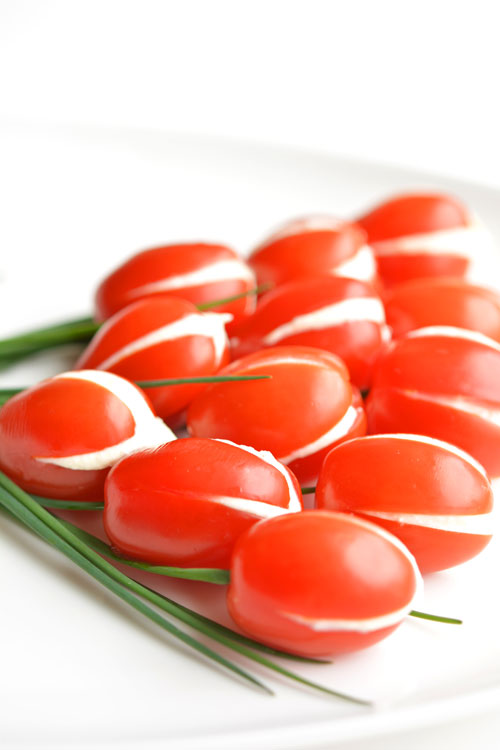
Add a few extra sprigs of chives to your arrangement and then tie the “stems” together with a chive.

It took a bit of effort to set up the arrangement on the plate without making a giant mess. Even after I had wiped them with a paper towel, I had to use a small paint brush to clean up some of the small globs that had accidentally squeezed out.
I left my whipped feta filling on the counter the whole time I was preparing my tomatoes so I think it was just too soft. If you put yours in the fridge, it will firm up nicely and should be way easier to work with.
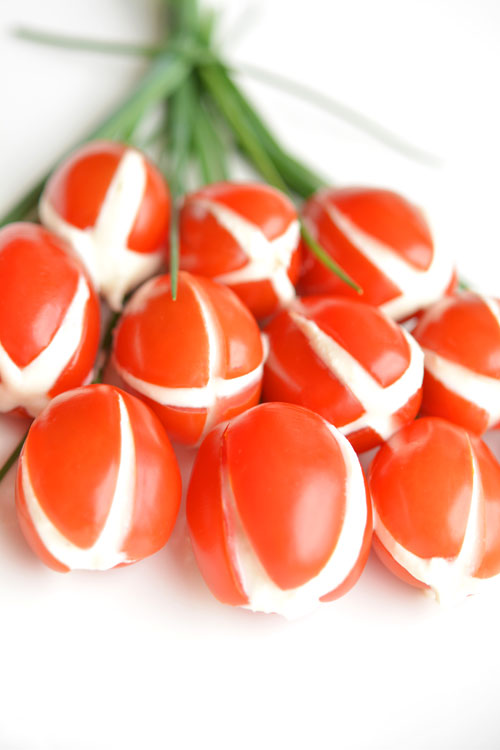
Cherry Tomato Tulips With Whipped Feta Filling
Ingredients
- 1 pint of cherry tomatoes
- a few chives
- 6 ounces 170 g feta cheese, crumbled
- 4 ounces half a block cream cheese, softened and cubed
- 3 Tablespoons olive oil
- 1 lemon juiced
- 1/2 clove garlic or the full clove if you like a stronger garlic flavour
- pepper to taste
Instructions
- Add the feta cheese, cream cheese, garlic, olive oil, lemon juice and pepper to a small food processor.
- Blend it until the whipped feta is smooth and creamy.
- Scoop the whipped feta into a zip lock bag and place it in the refrigerator for about 10 to 15 minutes (or the freezer for 5 to 10 minutes) while you prepare the tomatoes. You'll want it to harden up just a little bit so it's easier to work with.
- Gently slice a cross through the tomatoes, about 3/4 of the way through.
- Optional - Use a small spoon to scrape out the insides of the cherry tomatoes.
- Use a wooden skewer to poke a hole in cherry tomato where the stem used to be.
- Remove the whipped feta bag from the fridge and cut a small hole in the corner (about 1/4" opening).
- Place the cherry tomato on a flat surface and using your fingers to hold it open, gently squeeze the whipped feta into the cherry tomato. (Approximately 1/2 teaspoon to 1 teaspoon of filling, depending on the size of your tomatoes).
- Gently insert the pointy end of the chive into the bottom of the tulip.
- Use a damp paper towel to wipe off any excess filling and place the tulip on a serving plate.
- Repeat until you've finished your bouquet.
- Add some extra sprigs of chives to the arrangement and tie the chive "stems" together with another chive.
- Serve on their own, or with crackers or baguette.
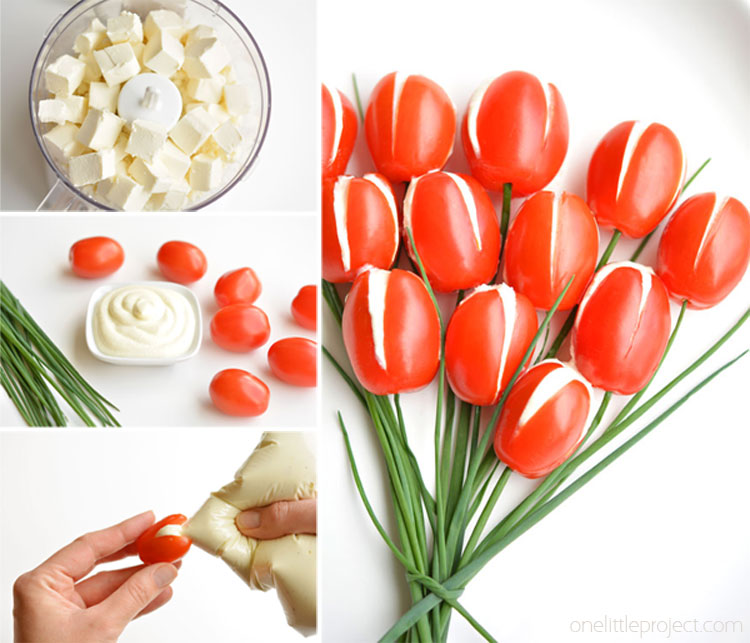
These cherry tomato tulips are SO PRETTY and they taste amazing! They’d be an amazing appetizer for a spring party or even Mother’s Day! Eat them on their own or serve them with crackers or baguette as a fancy lunch. They take a bit of effort, but it’s definitely worth it!
Source : onelittleproject.com
Read more...


Post a Comment
Post a Comment